The “Login & Registration Form” element from the Thrive visual editor can be used whenever you want to offer your visitors the possibility of registering for an account on your website.
Another way in which it might come in handy is if you want to grant access to a Thrive Apprentice product to anyone that’s registering through this form. This way, you create an automated workflow, without you having to identify all new users and add them to your product.
What you’ll need to set up in order to achieve the above workflow is:
- a Thrive Apprentice product
- a unique form identifier for your “Login & Registration Form”
- an automation in which the start trigger is “Registration form submitted”
Here are the steps:
1.Create the Thrive Apprentice Product
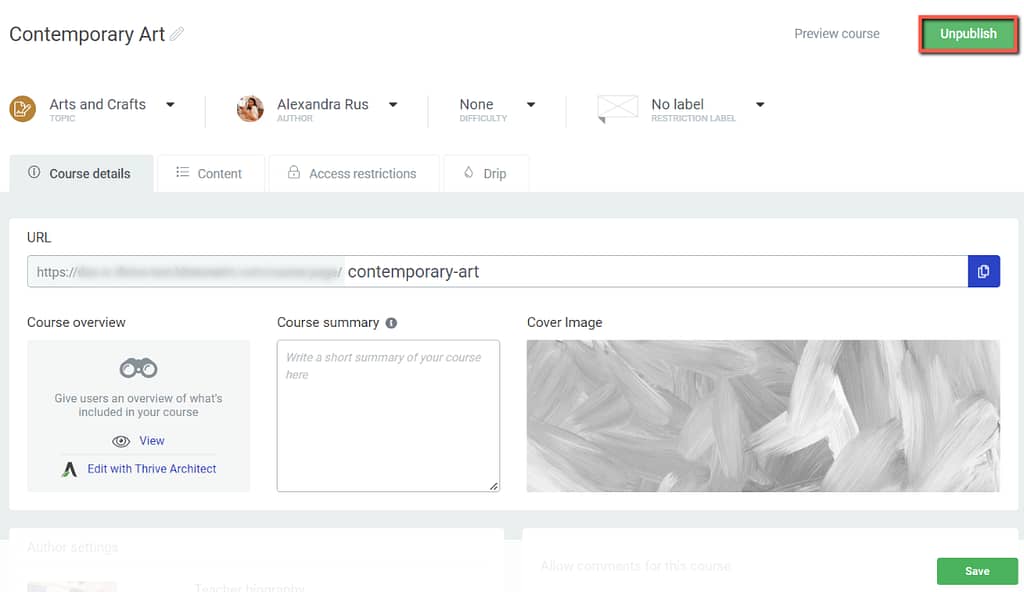
First of all, you need to have your Thrive Apprentice course created and published:
Then you need to add it to a product, as the ultimate goal is to grant access to this product through an automation:
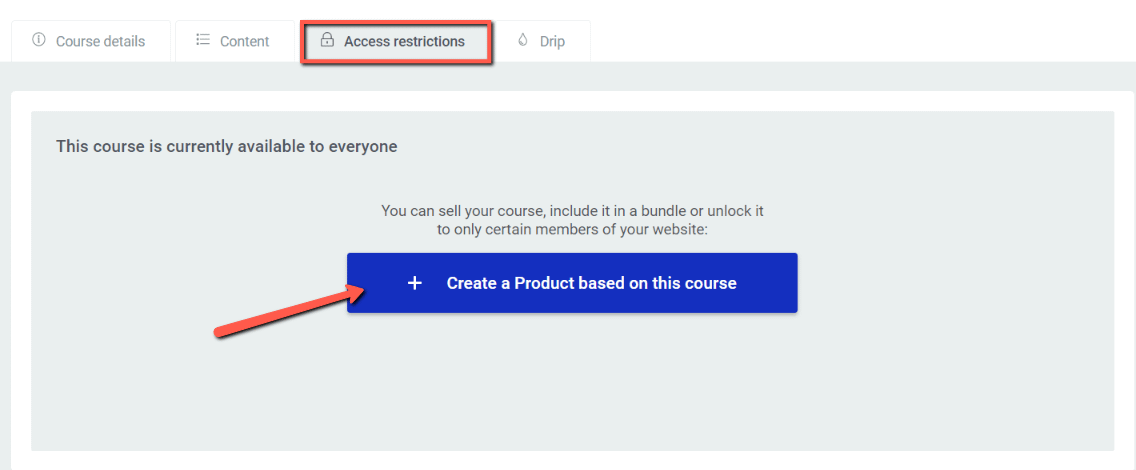
Naturally, after you create your product, you will have to set up the necessary access requirements and access restriction rules:

Here are some articles that will guide you through the process of configuring these:
- How to Use the Access Requirements to Create Subscribers-Only Courses
- Access Restriction Rules at Product Level
With all this set up, you can proceed with setting up your “Login & Registration Form” element.
2.Set up the “Login & Registration Form” Element
Head over to the page or post on which you plan on adding your form:
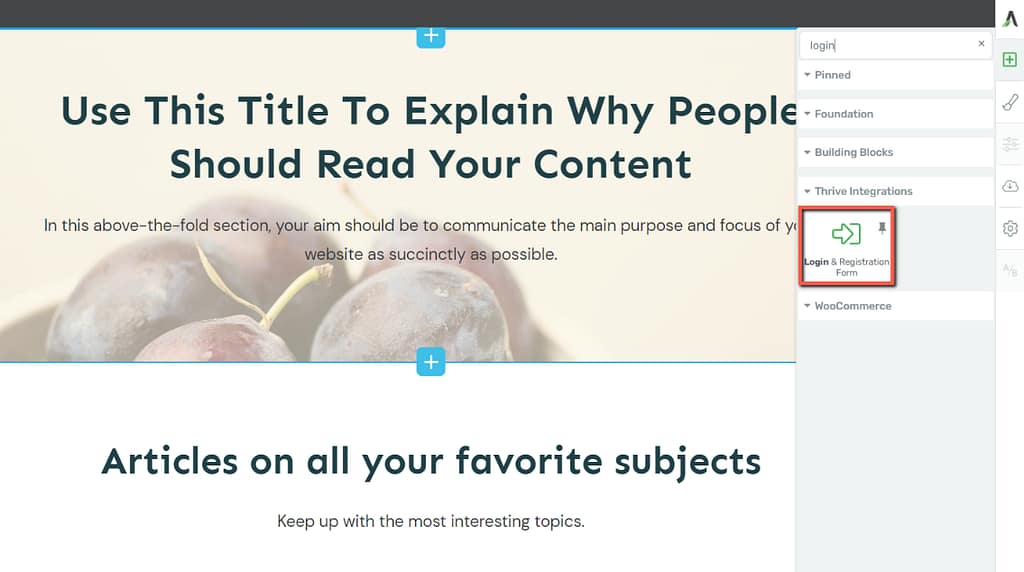
This article will help you learn more about how to use all the options available for this “Login & Registration Form” element:
Then, after you add your element, swipe over to the “Register” button of the “Main Options” tab, as this is the one that needs to be selected in order to start configuring the identifier:

Click on the “Edit Form Elements” button:
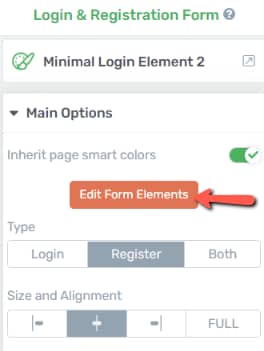
In the new set of options that appears, expand the “Advanced” tab:
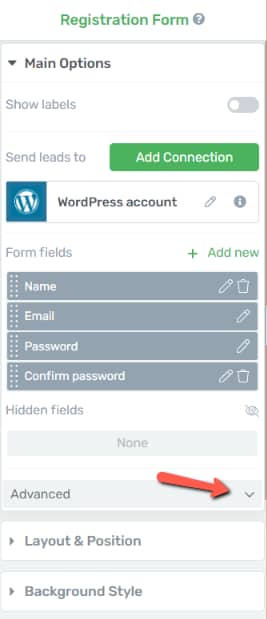
The system will generate a unique identifier:
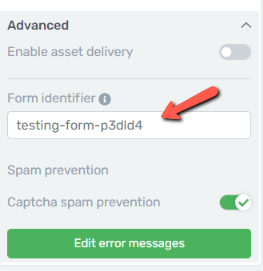
You can remove it and insert your own:
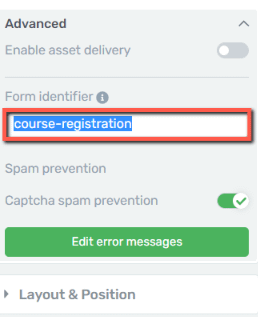
This identifier that will be recognized in Thrive Automator when setting up the action for the “Registration form submitted” trigger. So make sure you remember what you’ve added here (or simply copy it), as you will be needing it in the next step.
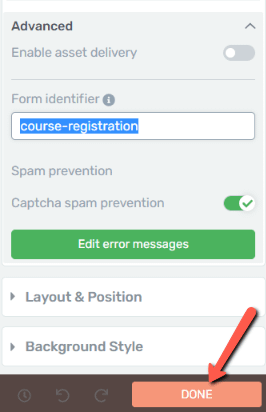
Now click on “Done” to return to the main options and then save your work:
3.Create the Automation in Thrive Automator
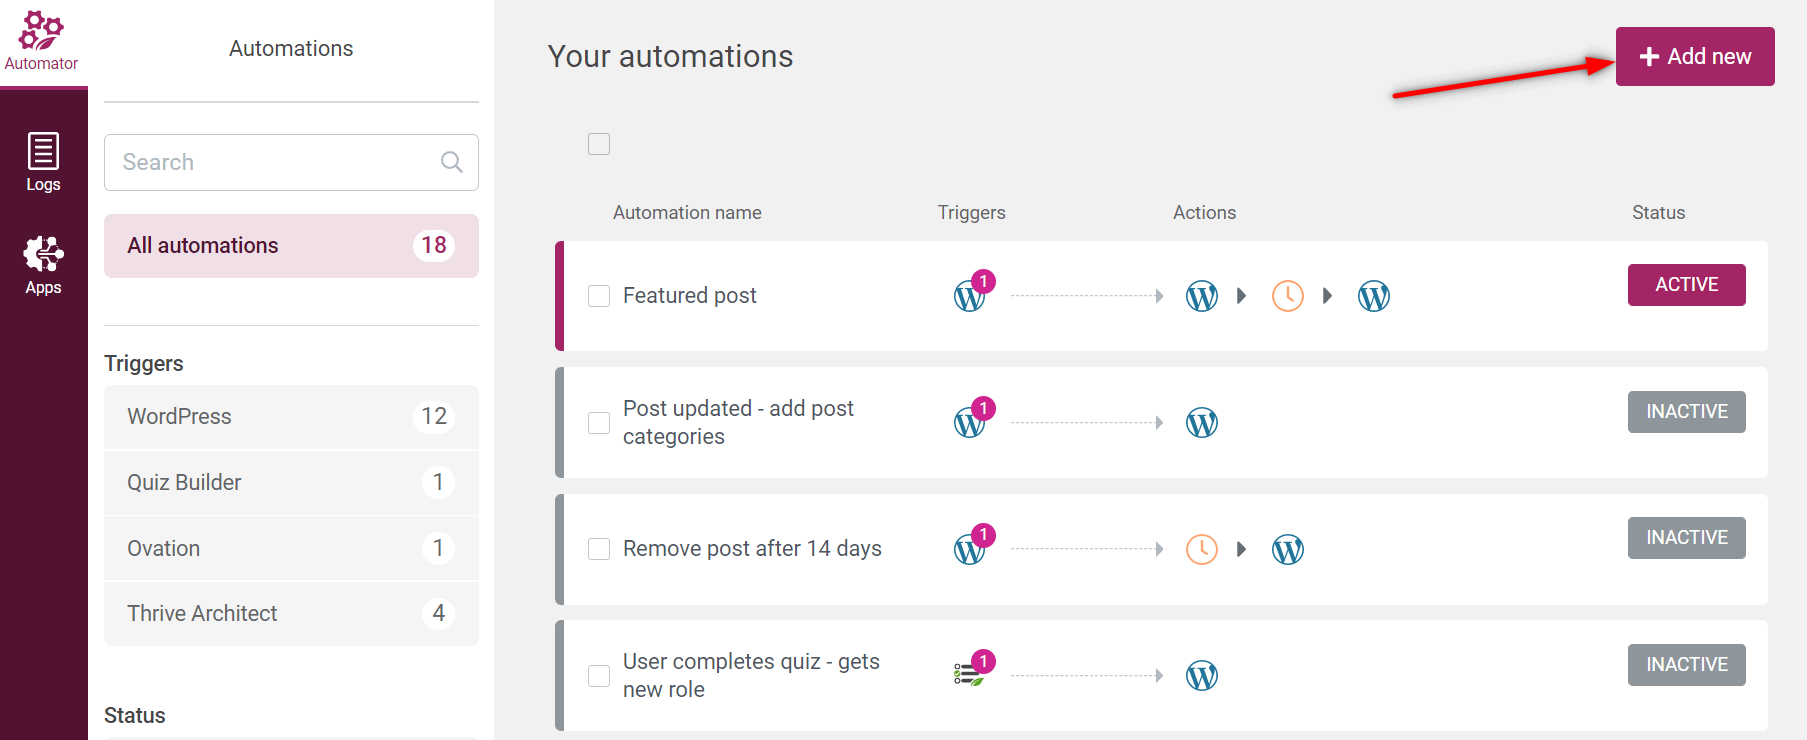
Start by adding a new automation:
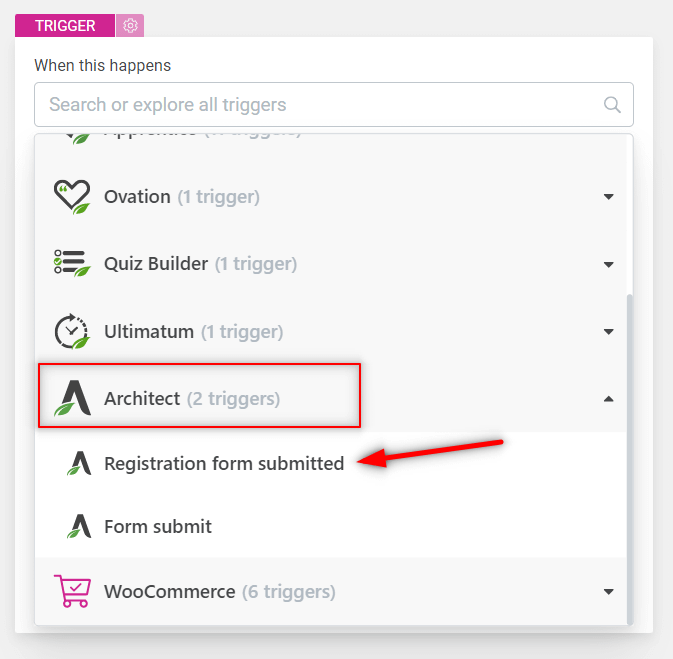
Next, give it a name and then, set your start trigger to be “Registration form submitted”:
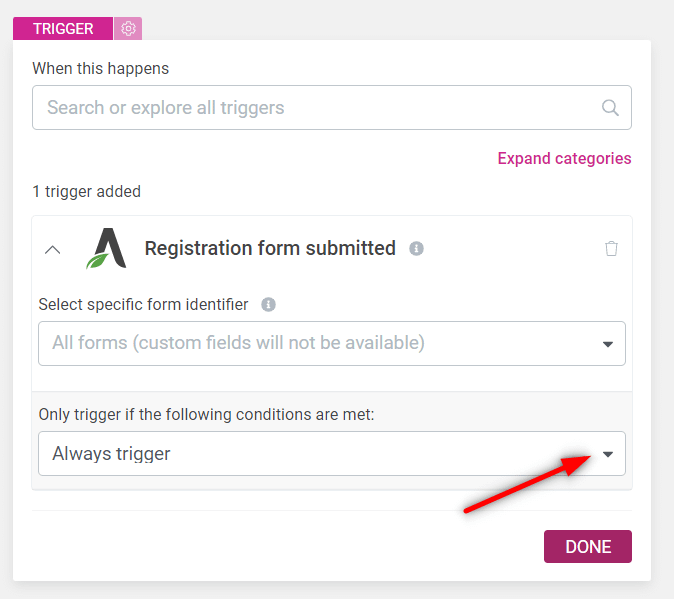
And open the condition drop down list:
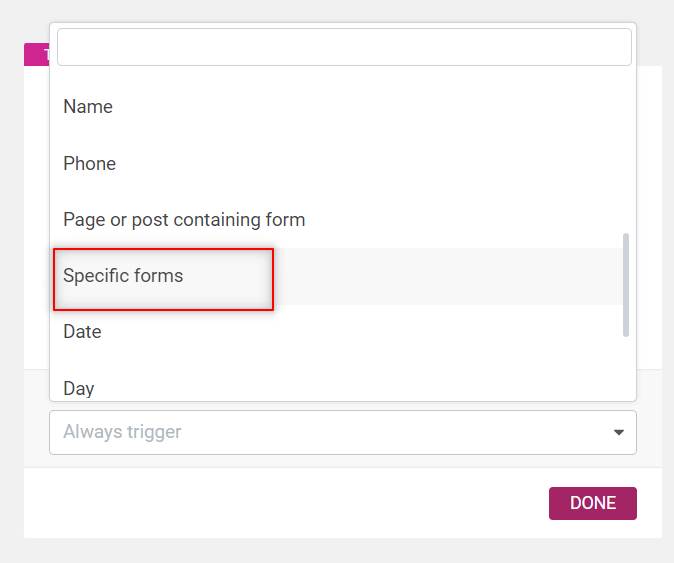
And make sure you set it to “Specific forms”:
Look up the identifier that you’ve just added on your form:
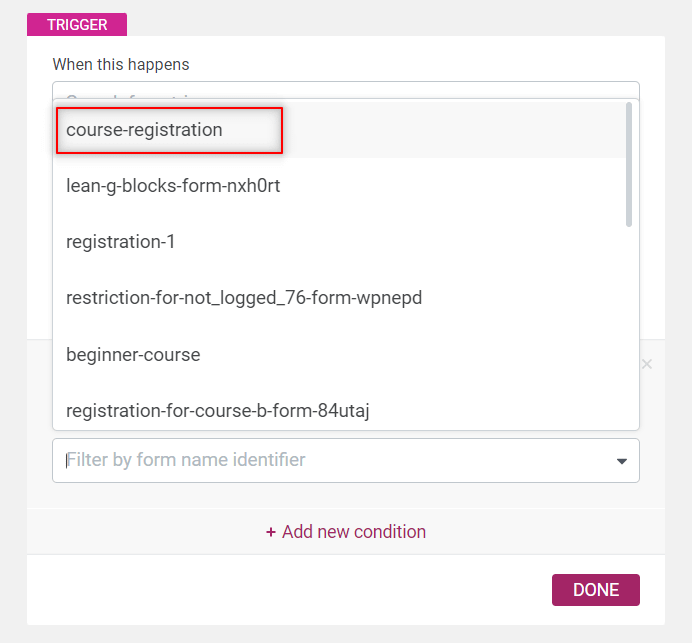
Then click on “Done” and proceed with adding the action of granting access to a product, located under the “Apprentice” card:
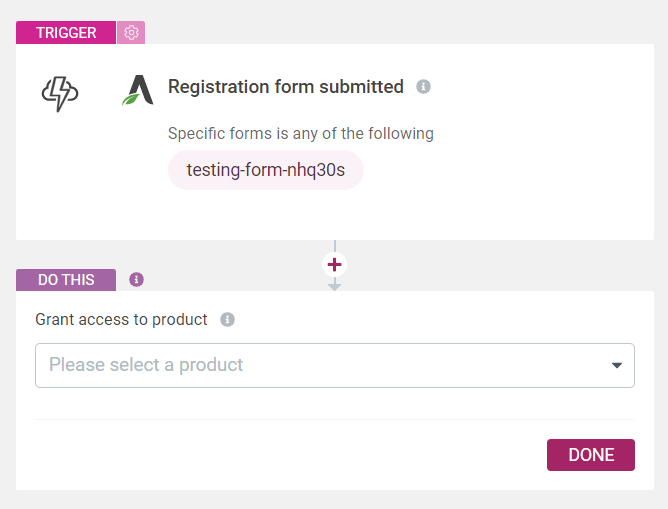
Look up the product created in Thrive Apprentice:
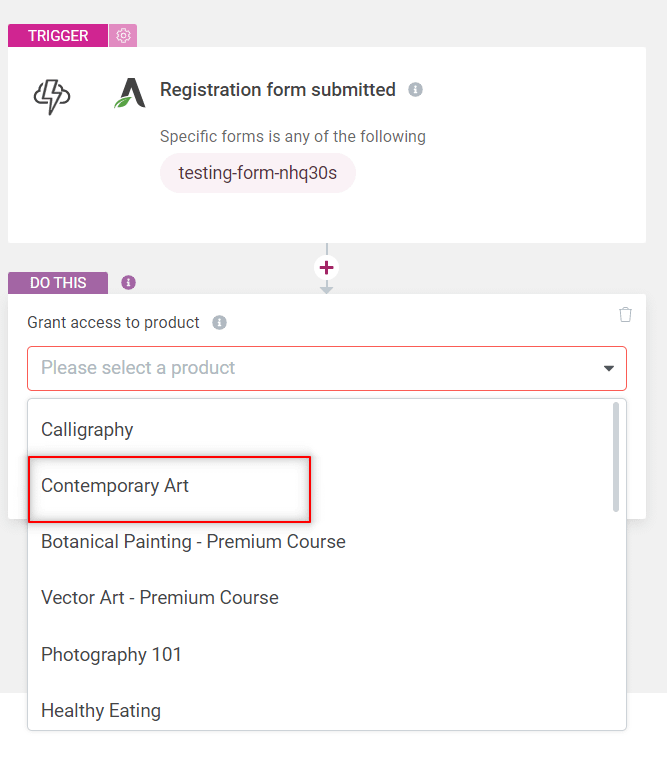
And the only thing left to do is to save your automation:
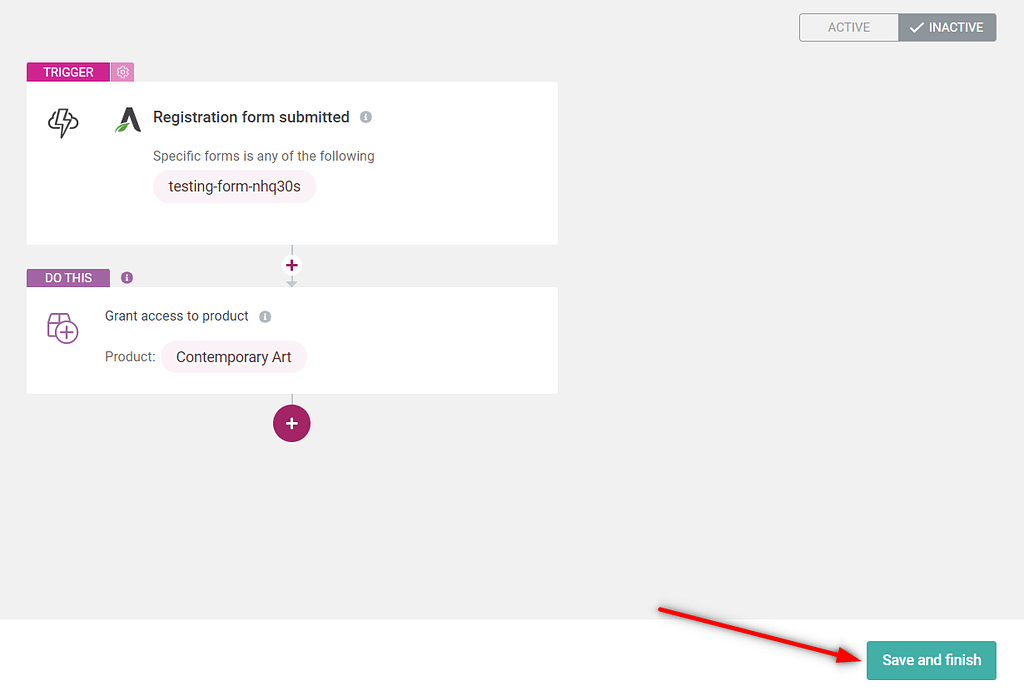
And then activate the “Publish” toggle next to it whenever you want to start the workflow:

Now, by going through all the above mentioned steps, you will set up an automation and the necessary setting for automatically granting access to your chosen product to all visitors who register through this form .
This form submitted action will only fire when a new user is created through this form, so if, for example, an existing user tries to fill in this form, with an email address that is already registered, the action will not be completed.
Their email address will be identified as already existing in the system, the trigger will not fire so no access will be granted to those users.
This is how you can use the “Registration form submitted” trigger from Thrive Automator and a “Login & Registration form” element to grant access to a Thrive Apprentice product to all visitors signing up through that form.
I hope you found this tutorial useful. Don’t hesitate to rate it with a smile if that was the case.
Lastly, our knowledge base is one click away if you want to learn more about our products.