Customizing your Blog Template is a very important part of building your own Thrive Theme Builder theme. This article will explain how you can set up and edit the Blog Template.
Upon installing and activating Thrive Theme Builder on your site, you will get some “Core Templates“, which can be the starting point for you when you begin with the theme customization.
One of these templates is the “Blog Template”, which is the template that is going to be applied to your blog page:
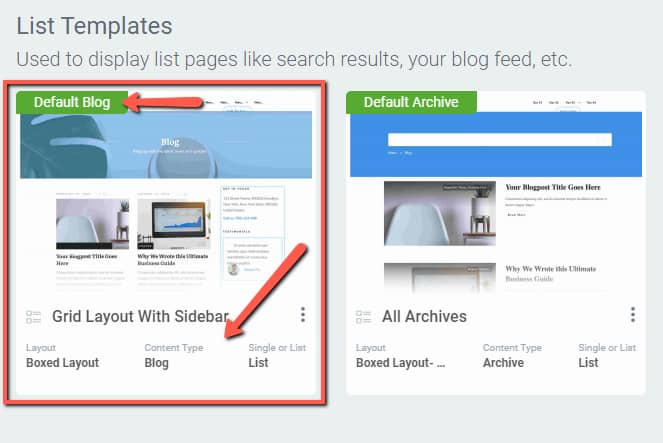
The way to choose what this template looks like is fairly easy.
Choose the Default Blog Template
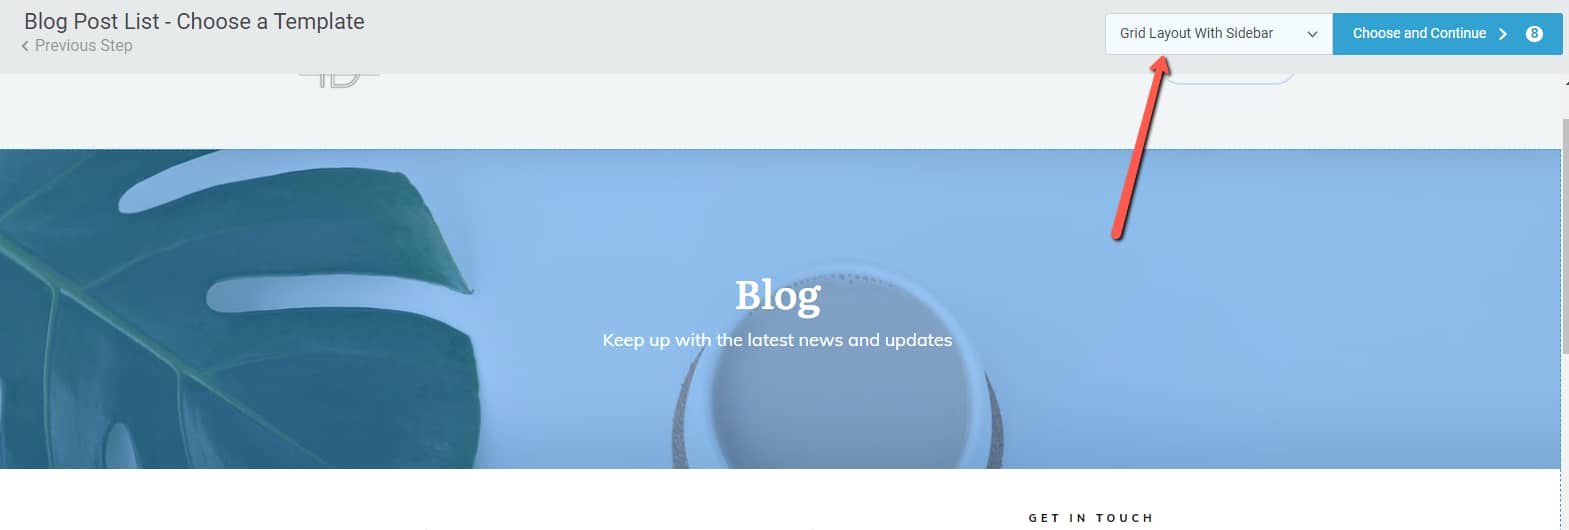
When going through the steps from the Site Wizard, you will notice that the 7th step is the “Blog Post List” one. This is where you will have to choose the actual Blog Template.
In the Wizard, click on the template name, from the top right corner, in order to open the pop-up and choose the desired template:
A pop-up will open, with a variety of templates that you can choose from. Click on the one you prefer:
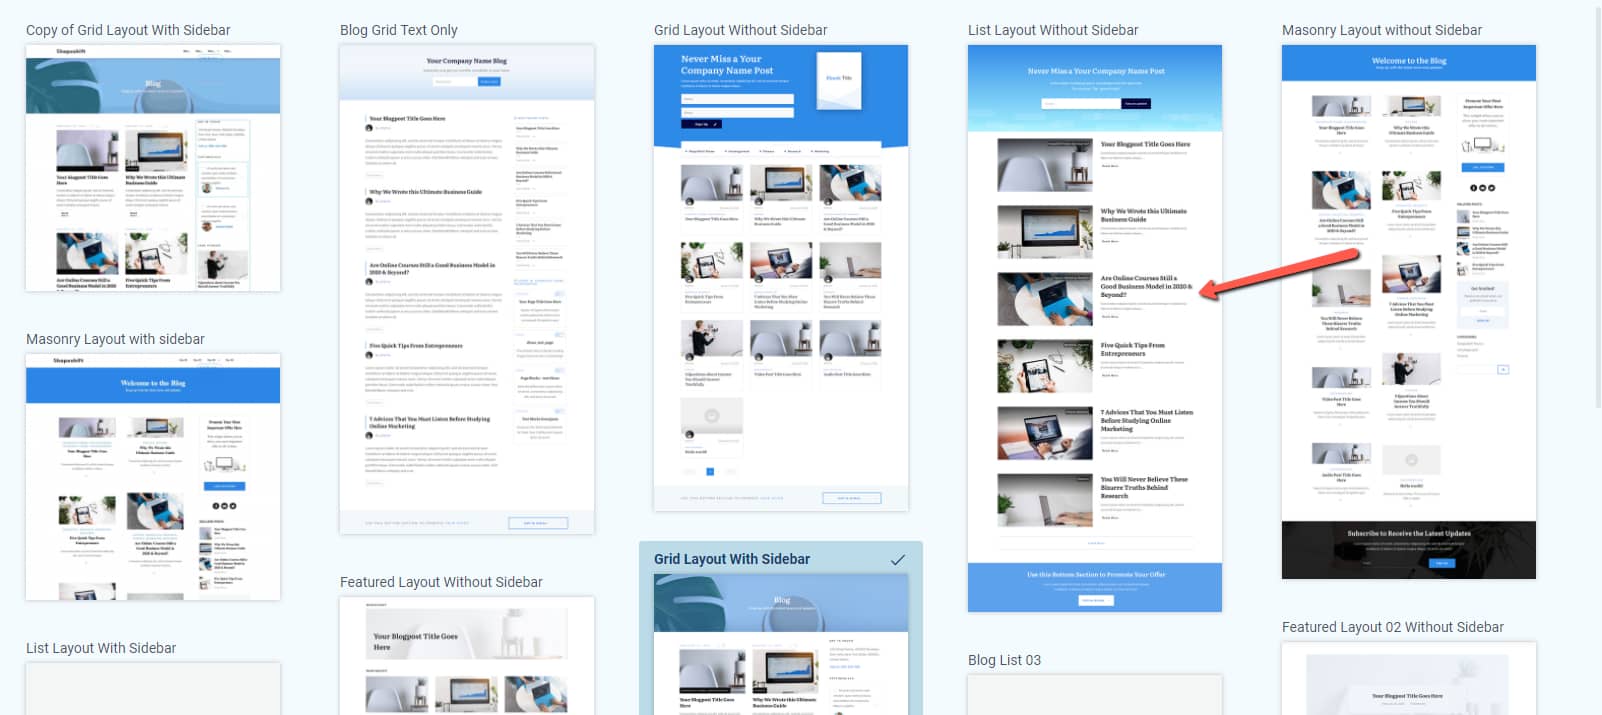
Then, make sure you click on the “Choose and Continue” button, to save the template and go to the next step:

This will now be your Blog Template. You can continue setting up the theme in the Site Wizard, as advised here, and then you can move on to editing the Blog Template.
Customize the template
To customize this template, first access the “Templates” section of the Thrive Theme Builder dashboard:

Here, under the “List Templates” section, look for the “Default Blog” one, hover over it, and click on “Edit”:
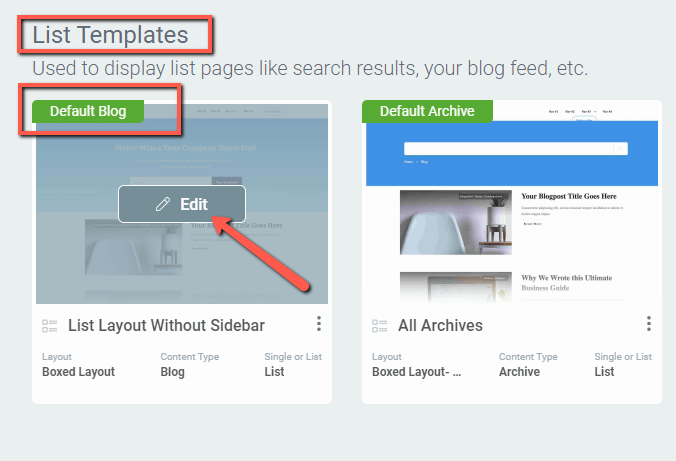
This way, the template will open in the Thrive Theme Builder editor. You can then start customizing it as you wish.
Edit the Blog List Element
The Blog Template will contain a particular element, that can only be found in this template. This is the “Blog List” element, and it can be customized using the options from the left sidebar.
In order to customize the element, select the blog list from the editor, by clicking on one of the posts:
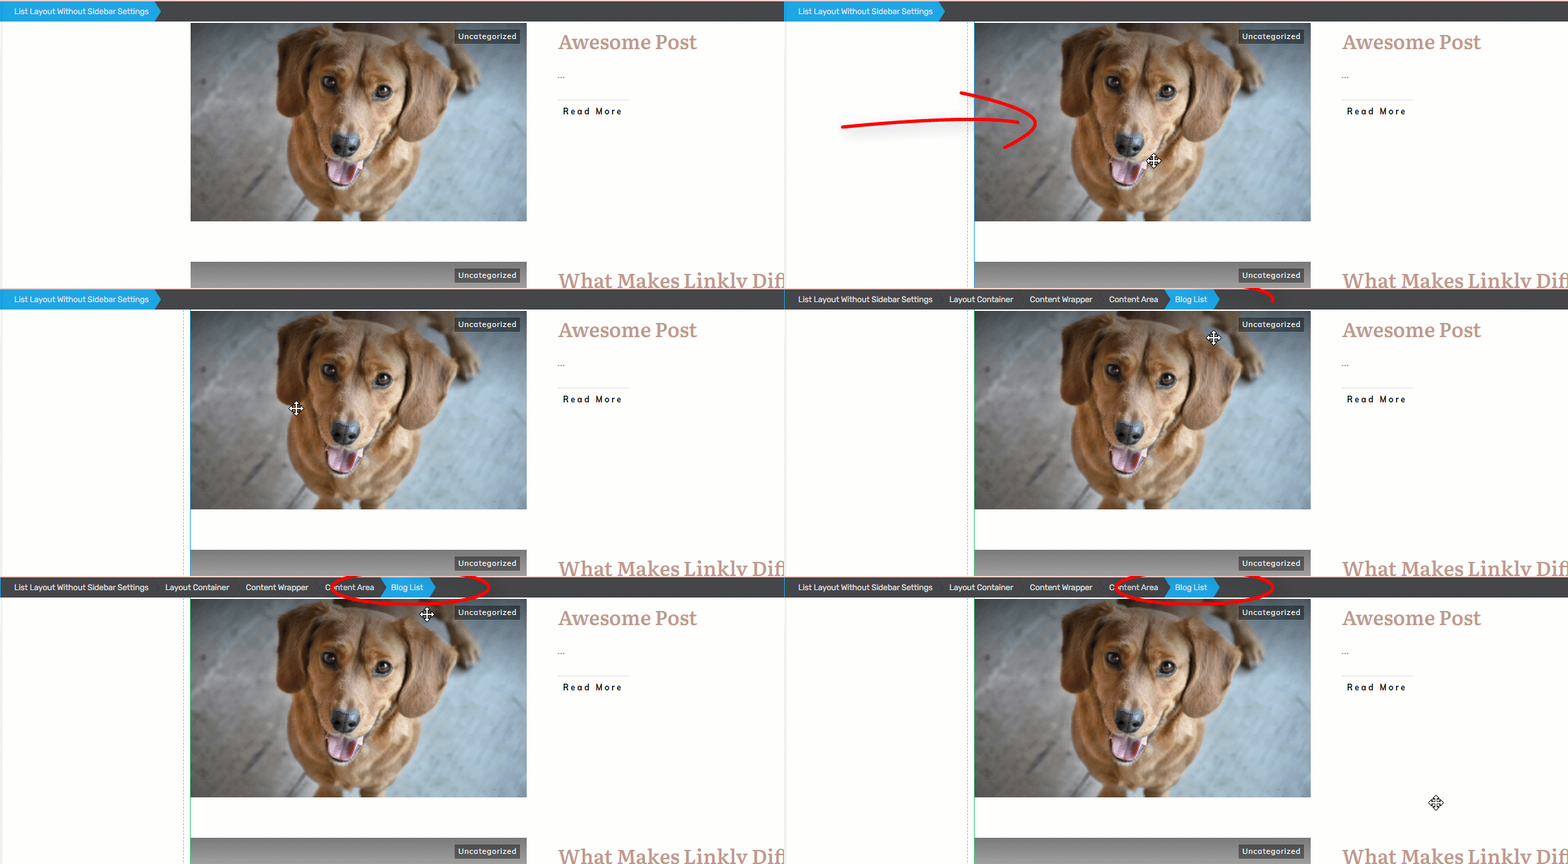
Once you select the “Blog List” element, its options will appear in the left sidebar:

Important!
The “Blog List” element is similar to the “Post List” element, but it is called “Blog List“, since it is specific to the Blog Templates. Therefore, the ways to use all of these options are described in this article, so please check it out if you need more information about each of the left sidebar options.
Once the element is customized, you can also use the right sidebar options of the editor to customize the Blog Template further.
These were the ways to manage a Blog Template in the Thrive Theme Builder dashboard. If you need more information about various Thrive Theme Builder products, you can check out our tutorials page.
I hope this article was useful for you. If so, don’t forget to rate it with a smile below 🙂