When using the “Post List” element from the Thrive editor, you can display your chosen blog post inside a layout, anywhere you want on your website. You can decide which blog posts are displayed based on various filters that you can select when setting up the element.
With Thrive Automator, you can automatically add tags to certain blog posts when they are being published and then make sure they are displayed in the “Post List” element. In addition to this, you can customize your automation even more, so that it will remove the tag after a certain amount of time, without you having to manually do that.
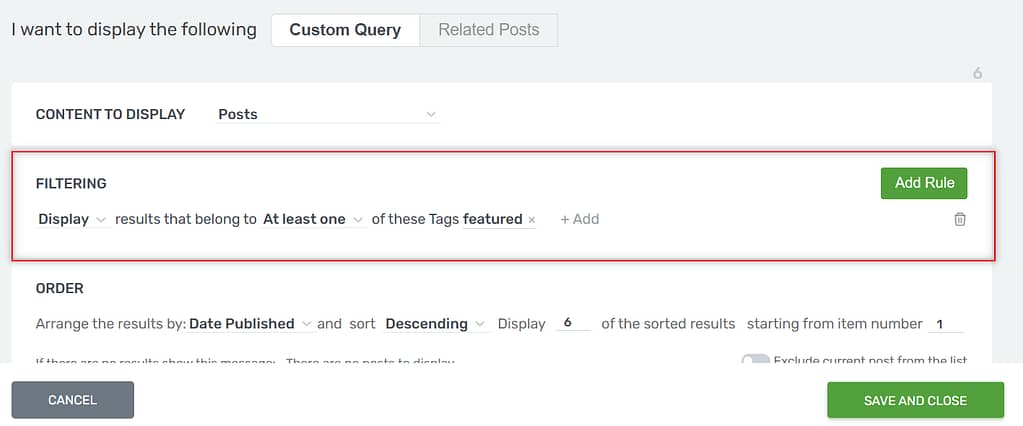
For example, in this tutorial we’ll add the ‘featured’ tag to all new blog posts that are published on our website. We’ll also configure the ‘Post List’ element in order to display those posts that are tagged as ‘featured’. A week later the tags will automatically be removed from the blog posts, meaning that the posts will also stop showing up in the “Post List” element.
All this process can be automated with the help of Thrive Automator.
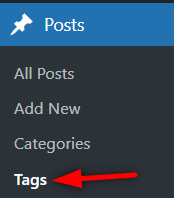
First, make sure you add the tag in the “Tags” dashboard, listed under the “Posts” section of your WordPress admin dashboard:
Then, use the “Post List” element anywhere on your website:

Open the filtering options, and make sure you filter the displayed posts by tag:
If you want to learn more about the “Post List” element, and how to use it, make sure to check out the dedicated article and video:
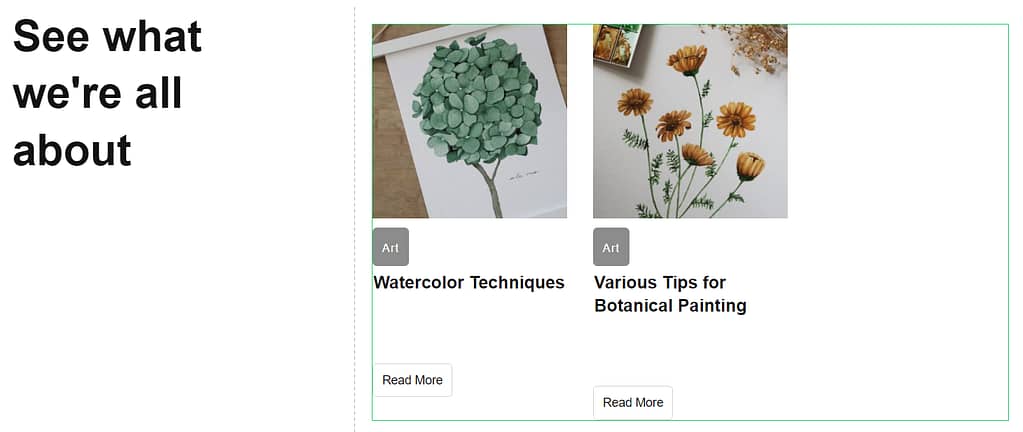
At the moment your “Post List” will display all the posts that already have this tag applied to them:
With this set up, you can proceed to creating your automation.
Setting up the Automation in Thrive Automator
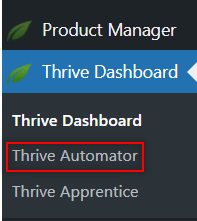
Access Thrive Automator from the Thrive Dashboard:
Then, create a new automation:

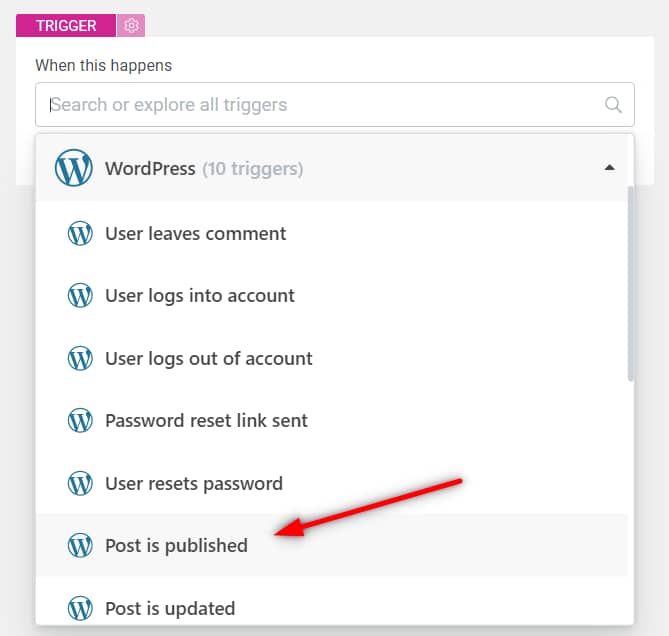
Set the “Post is published” as your start trigger:
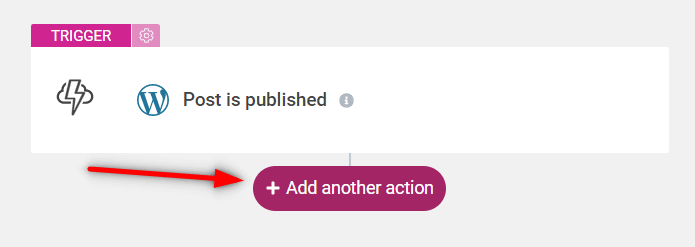
Then, proceed to adding an action to your automation:
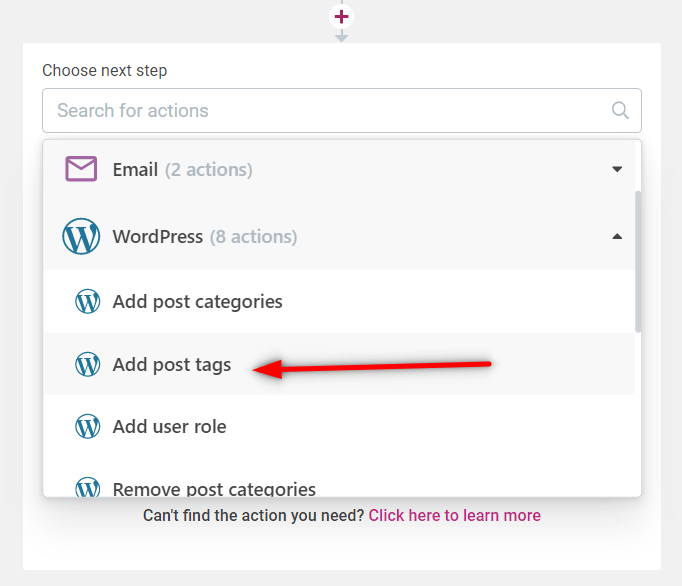
Select the “Add post tags” action from the list:
Type in the name of the tag you want and hit “Enter” to make sure it’s saved:

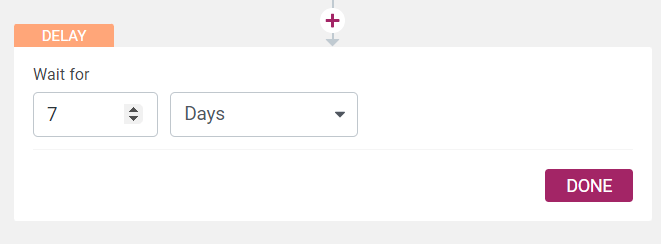
Proceed with adding a new action to your automation, in the form of a “Delay”:

Insert the desired amount of time in the corresponding fields:
Finally, add one last action to your automation:
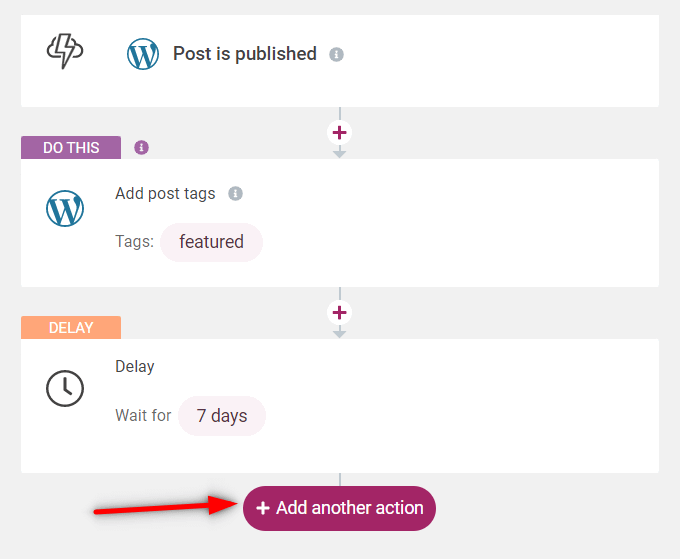
This time, select the “Remove post tags” action:

And type in the name of the same tag and hit once more “Enter”:
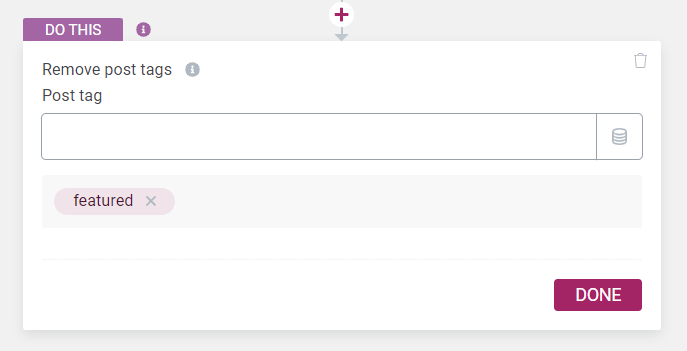
With all this set up, you can activate and save your automation.
Now each time a new post gets published, it will automatically get the “featured” tag and be listed in the “Post List” element for the next seven days:

After a week has passed, the automation will remove the tag and the post will stop showing up in the “Post List” element.
If you want to check how your automation is performing, and if it’s successfully triggering the actions, make sure to check the “Logs” section of Thrive Automator:

You can find more tutorials of this type in our knowledge base: