Thrive Leads allows you to open an Opt-in form only when the user clicks on an element that you specify (e.g. a paragraph, an image, etc).
The following article will show you how to do this using a Lead Group, but in case you want an even easier solution, please check out this article to see how to create and use a ThriveBox.
Here’s how to set up the Lead Group for your Opt-in Form on Click:
Define the Right Trigger in Thrive Leads
Access Thrive Leads and add a new Lead Group if you haven’t added one already:

Add a new type of Opt-in form to the Lead Group (we’ll add a Lightbox):

Next, add a form, edit and customize it to your liking and then, look for the “Trigger” option and select the blue text below it:

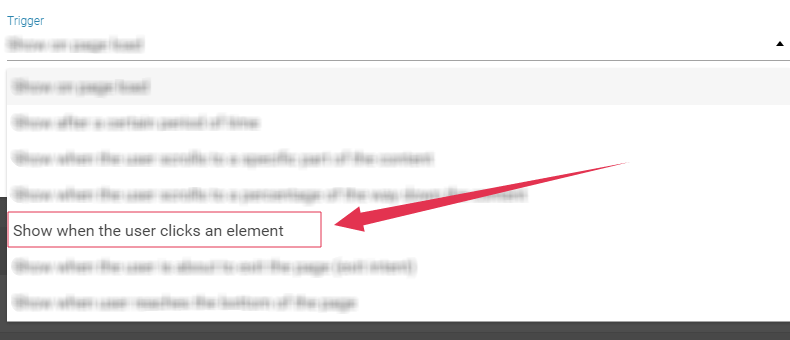
On the window that pops up, click on the “Trigger” drop-down and select “Show when the user clicks an element”:
Moving forward, you will be presented with two fields: Class and ID. You will have to assign a label (only for internal use) to the lightbox and type it in one of the fields. In this example, we will type in “LightboxTrigger” in the Class field:

Now, we will demonstrate how you can actually trigger an element by using the Thrive Architect plugin or the WordPress TinyMCE editor.
Important!
Before you trigger the actual Opt-in form in the editor, you need to make sure that the Display Settings for the Opt-in form allow it to be displayed on that page.
Trigger an Element Using Thrive Architect
Use Thrive Architect to edit the page you want to display the Opt-in form on:

You will then have to choose one element on the page, which will trigger the Opt-in form, on click.
For example, you have an image on the page, and you want to trigger the Opt-in form when the user will click on the image.
Select the image and, expand the “HTML Attributes” option from the sidebar editor:
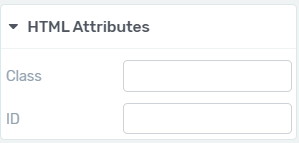
Next, in the Class field, type in “LightboxTrigger” (or any other text that you have chosen for the trigger).
Save the Thrive Architect page and, the Opt-in form will now show up on click on the element with the defined class.
Trigger an Element with the WordPress Editor
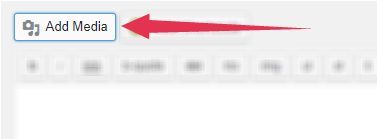
The same action can be done using the WordPress editor, as well. We’ll add an image by clicking on “Add Media”:
After the image is added, it will look something like this, in the WP editor:

Moving forward, you will have to add a class in the code, along with the trigger text (e.g. LightboxTrigger):

Save the changes on the page and you’re done!
Hope you found this article useful! If so, don’t forget to rate it, below.