Would you want to just copy a theme into another website, rather than creating it from scratch? We make it easy to use your theme on other WordPress sites.
In this article, we’ll see how to export and import an already customized Thrive Theme Builder theme.
Important Notes:
- Before we start exporting and importing the theme, please make sure that the Thrive Theme Builder is installed and activated on both websites.
- Please be aware that this process of exporting and importing a theme will also carry along the headers and footers from the source website.
Exporting a Thrive Theme Builder Theme
To get started, log into your WordPress website. Then, navigate to Thrive Dashboard >> Thrive Theme Builder. This will take you to the Thrive Theme Builder Wizard.
Next, click on the Themes option seen in the left-side panel.
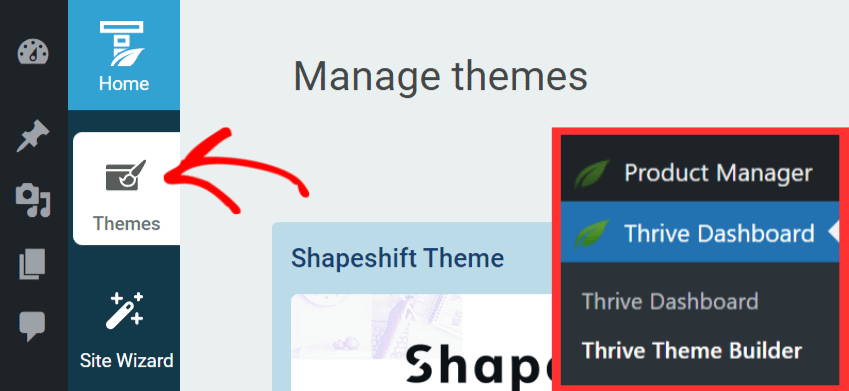
Once you click on Themes, you’ll see all the themes you’ve worked on. In order to export a theme, hover over the specific theme and click on Export.

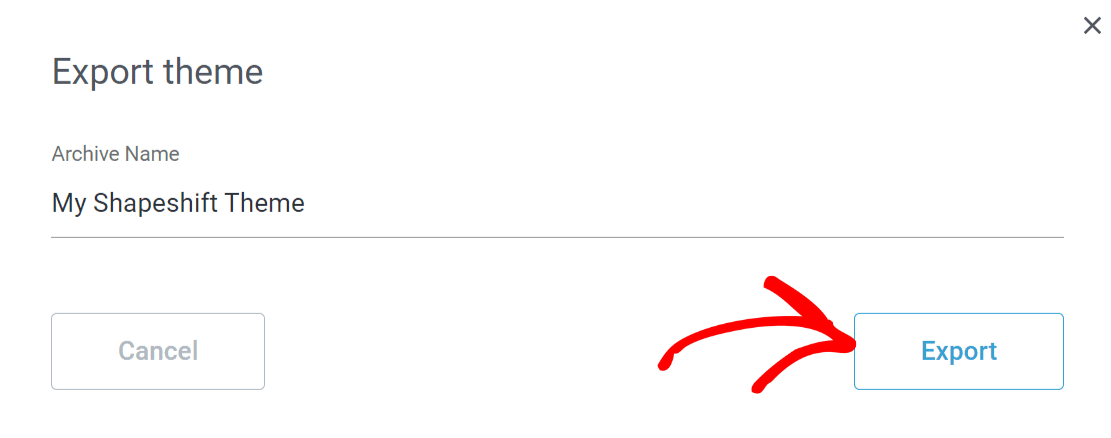
Under Archive Name, go ahead and name the .zip file for your theme. This name will be used as a part of the file name being downloaded, and as an identifier of the theme when imported to another website.
After you enter a name, click the Export button.
Notes:
- The .zip file will be named [Archive Name] [current date] [current time]. This file should be imported as it is when needed. Please do not unzip or rename this file.
- In some cases, this file may unzip as you download it and instead appear as a regular folder. However, the folder must be zipped to use the WordPress plugin uploader. For more details on how to zip and unzip files, be sure to check out these guides for Windows and Mac operating systems.
Importing a Thrive Theme Builder Theme
In order to import a theme, please ensure that you’ve exported the Thrive Theme Builder Theme following the steps above.
To get started with importing, log in to the WordPress website. Then, navigate to Thrive Dashboard >> Thrive Theme Builder. This will take you to the Thrive Theme Builder Wizard.
Now, on this page, click on the Themes option seen in the left-side panel.

From the top-right corner of the page, click on the + Add Theme button.

When you click this button, you’ll see a popup that asks you to select the source. Since you’ve already downloaded the theme, you’ll need to click on the Import From File option.
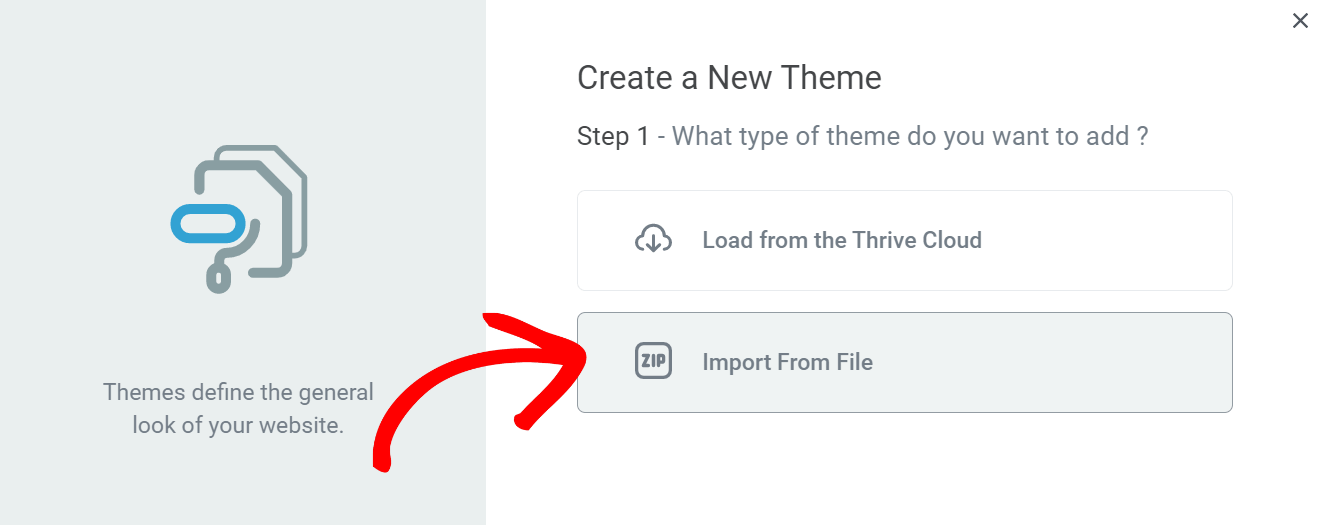
After choosing to import the theme from a file, you’ll see a popup where you can upload a file through your computer.
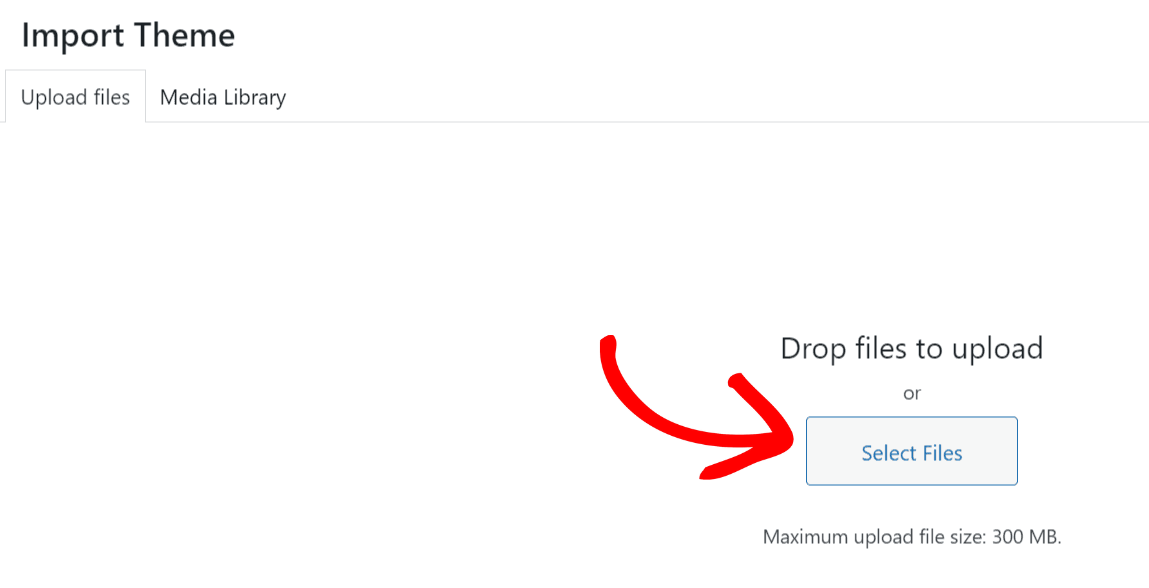
Once you’ve uploaded the .zip file, make sure you select it.
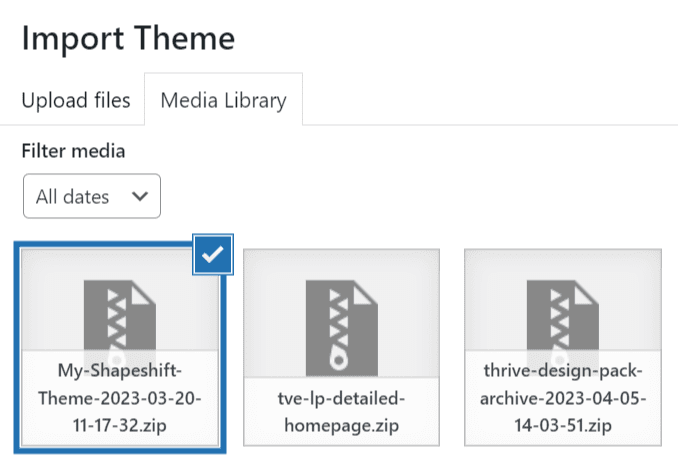
After selecting the file, click on the Import button seen at the bottom right of the popup.
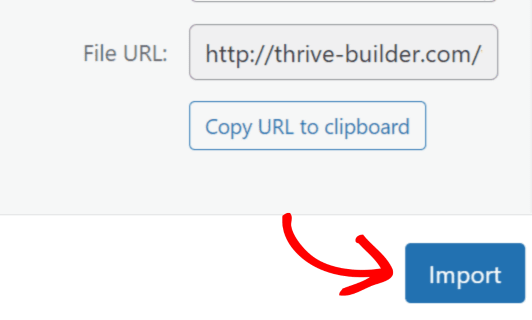
The theme is now imported and you’ll see it appear on the Themes page in the Thrive Theme Builder Wizzard.
To get started with the newly imported theme, hover over it and click on Activate.

Your imported theme is now being used on this site! You can use this theme exactly as it is or customize it further as needed.
That’s it! We’ve just seen how easy it is to export and import a custom theme built using the Thrive Theme Builder.
Next, want to export and import specific areas of your website? You can try: