Our new Thrive Apprentice visual editor is here, and it will let you fully customize the entire experience for the users or customers of your online school.
This article will be a quick guide on how to get started and how you can benefit from the new visual editing experience of Thrive Apprentice.
An important part of building your online school using Thrive Suite is that you can create a different identity for it, that will be separate from the rest of your website.
For example, if you are using Thrive Theme Builder and building your branding from there (logo, theme color, etc.), you will be able to set up a different branding for your online school only, from the Thrive Apprentice visual editor. This means that you will be able to set up different logos, theme colors, etc.
When you first create the design your online school, you will have to go through some steps, before making it public and available for your students. You can use this article as a guide, to make sure you’ve covered everything, before launching your online school.
Also, before getting started, you can go through this article, that explains how to switch from the legacy editor to the new one.
Set Up Your Content
Naturally, the first thing you can do is create and customize the content to be published.
However, this is not mandatory, as you do not need the content available in order to visually edit your online school. You also have the possibility to use demo content, and customize your templates using that, instead of your own content.
You can start with the visual editing process and use demo content to preview the modifications, and come back and add your own content later. This is entirely up to you.
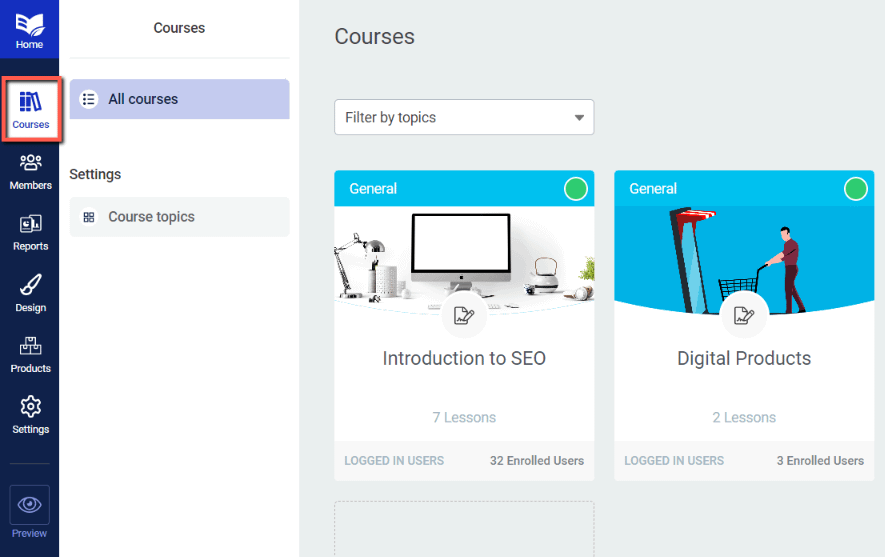
If you do decide to create the content now, you can easily do so. As you might know by now, Thrive Apprentice lets you organize your content into lessons, chapters and modules. Everything can be set up from within the “Courses” section of your Thrive Apprentice dashboard:

Here are some articles that can help you create a structure for your content:
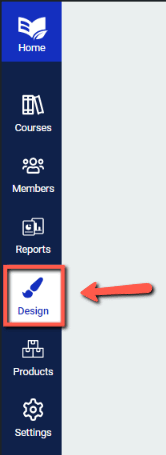
Once you’ve set up the content that you want to publish, you can move on to the actual visual editing part. For that, you can go ahead and access the “Design” tab of your Thrive Apprentice dashboard:

The “Design” tab will allow you to modify the basic design aspects of your online school in a quick and easy manner.
You can check out this article to see how you can use this entire section, and what each of the cards represents.
Create a Design
The principle is fairly easy – you will now be able to create different designs for your online school, and publish the one that you want to be applied.
When creating a design, you will be able to start from a pre-build one, that comes with a variety of templates.
You can edit and customize each of those templates, or even create new ones. You also have the possibility to use the wizard for a quick and easy set-up of your school.
The Wizard
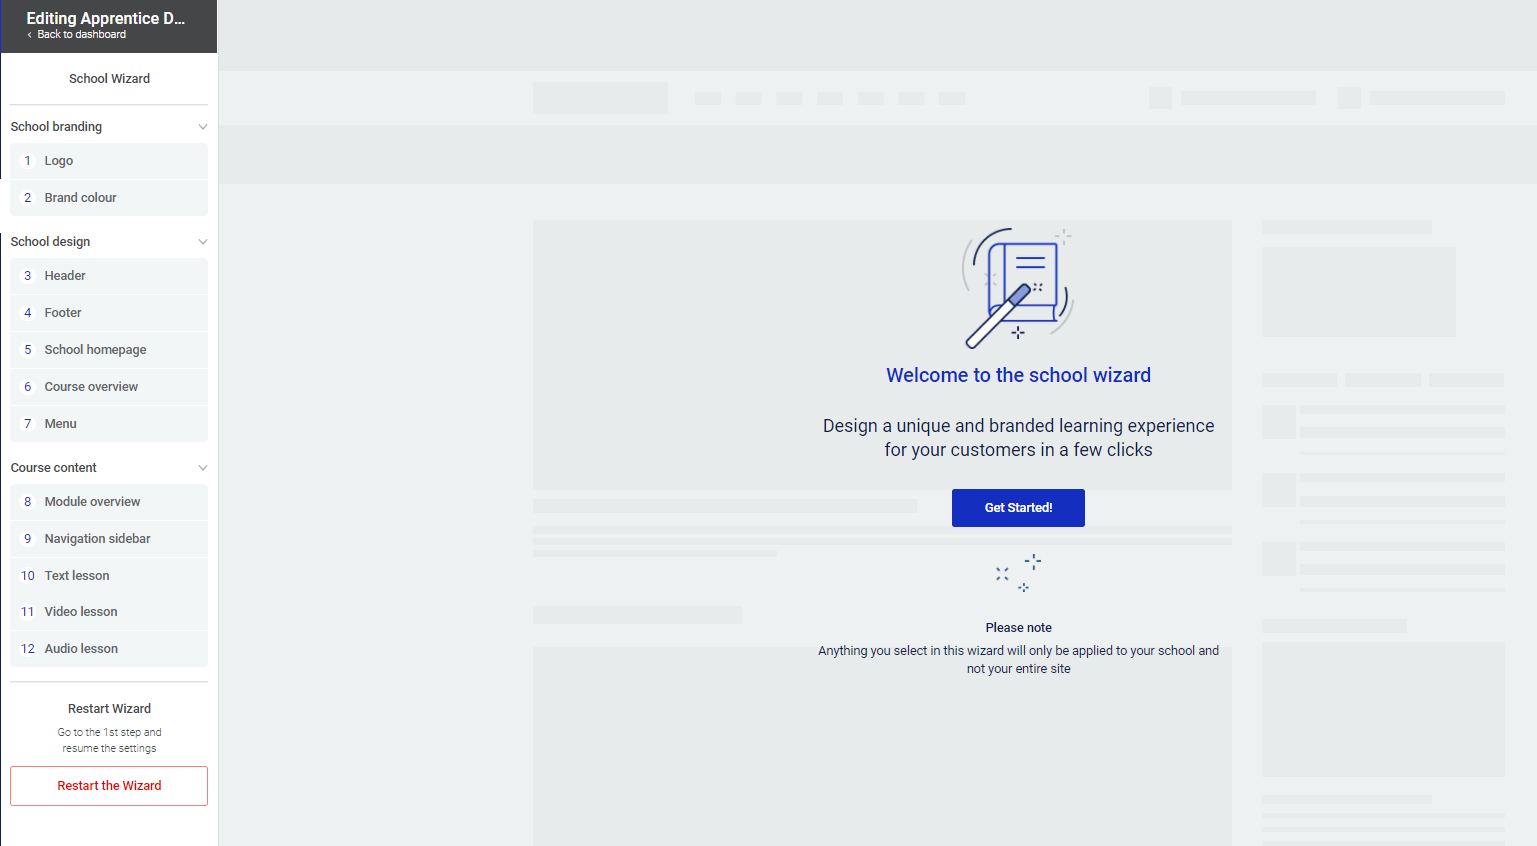
If you want a guided way to get started with designing your online school, the wizard is exactly what you should go for.
Going through the wizard will help you construct a basic skeleton for your school, as it will lead you through the basic steps of creating it, such as choosing a logo, a sidebar, a menu, etc.

If you need help or more information on how the Thrive Apprentice wizard works, please check out this article:
Going through it, you will make sure that all of the important parts of your online school have been set up.
From there on, you can go back to the “Design” tab and modify the rest of the aspects.
Choosing the Typography
Just like in the case of the branding of your school, which can be customized separately from the rest of your website, the same goes for the typography of it.
You have the option to either inherit the same typography style as the one set up in Thrive Theme Builder, applied globally on your site, or you can choose a different typography set for your online school:

The process of setting up your online school’s typography has been described here:
The Templates Editor
Much like Thrive Theme Builder, the new Thrive Apprentice allows you to create various templates, which you can then apply to your content.
You can create a few different kinds of templates:
-
School Homepage Templates
-
Lesson Templates
-
Module Templates
-
Course Overview Templates
These can then be applied to each type of content. You can create as many templates as you wish, and apply them to the content of your choice. For example, you can have a course that has two modules, with three lessons each.
Each module can have a different design, and each lesson inside the two modules can have different templates applied to them. For this reason, it is very easy to create a fully unique experience for your students when using the visual editor.
Please see this article if you need help managing the templates:
Once you’ve created a template, and have used our template editor to customize it, you also have some extra options inside the Templates dashboard. We’ve created this article to show you how to use those ones, as well.
In order to apply a template to a piece of content, you can preview it as a student would, and edit it with Thrive Architect.
For example, let’s say you want to apply a different template than the default one to a lesson. What you will have to do is preview a lesson and hover over the “Edit with Thrive” section. When the sub-menu opens, click on the “Edit with Thrive Architect” option:

The lesson will open in the Thrive Architect editor. From the breadcrumbs, click on “Thrive Apprentice Lesson”:

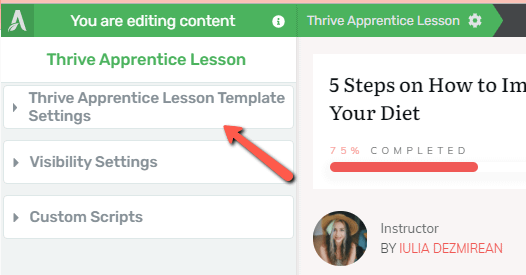
Some sections will show, and you can click on the “Thrive Apprentice Lesson Template Settings” one:

You will be able to see what template has been applied to this lesson, and also change it, by hovering over and activating the template that you want to be applied to this specific lesson:

Set Up Restriction Rules
Lastly, once the courses have been set up, both their content as well as the templates and their designs, you also have the possibility to set up access rules in order to create subscriber-only/premium courses.
Here are some resources to help you achieve that:
-
How to Use the Access Requirements to Create Subscribers-Only Courses
-
How to Configure the Access Restriction Rules in Thrive Apprentice
Set Up The Course Completion Behaviour
As a last step, you can decide what you want to happen once someone successfully completes the course. This means that you can set up the course completion page and choose whether you want to issue certificates for the students or not.
You can set all of that up as advised in these help articles:
Once you take care of these aspects, your online school should be ready to be published, and you can start publishing your content.
We have also created this walkthrough that you might find useful:
For more information about designing your courses, please be sure to check out this knowledge base section.
As always, if this article was useful to you, don’t forget to leave a smile 😄