Do you want to add extra, customized information to your WordPress posts, pages, or custom content types? Integrating and using the Advanced Custom Fields (ACF) plugin lets you easily create and manage custom fields, giving you greater flexibility and control over your website’s content.
In this article, we’ll show you how you can add and integrate custom fields to display dynamic data on your website.
- Installing and Setting Up the Custom Post Type UI Plugin
- Installing and Setting Up the Advanced Custom Fields Plugin
- Creating a Thrive Theme Builder Template
Installing and Setting Up the Custom Post Type UI Plugin
To begin, first ensure you install and activate the Custom Post Type UI plugin from the WordPress repository.
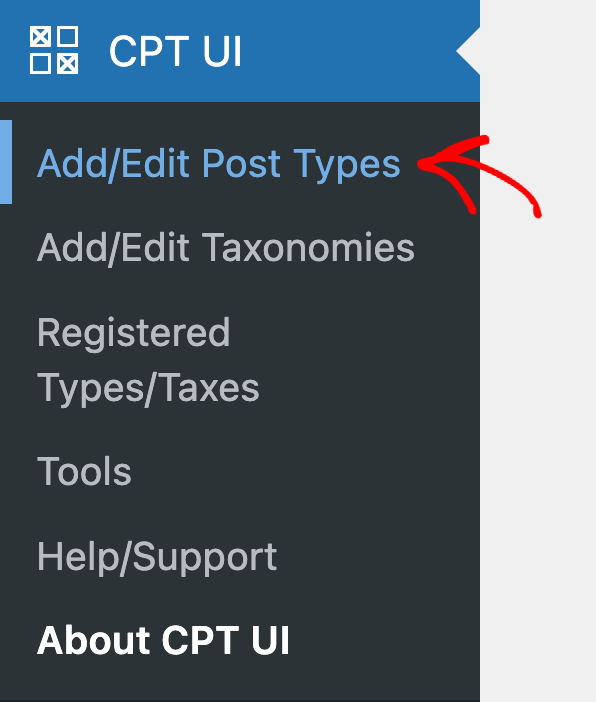
After you’ve installed and activated the plugin, you’ll see the Custom Post Type plugin’s settings available in the WordPress admin area.
Under these CPT UI settings, click on Add/Edit Post Types.
Clicking to add or edit a custom post type will open a page where you can enter the details of the post type you want to create.
On this page, under the Add New Post Type tab, enter the slug and the labels in the Basic Settings block.
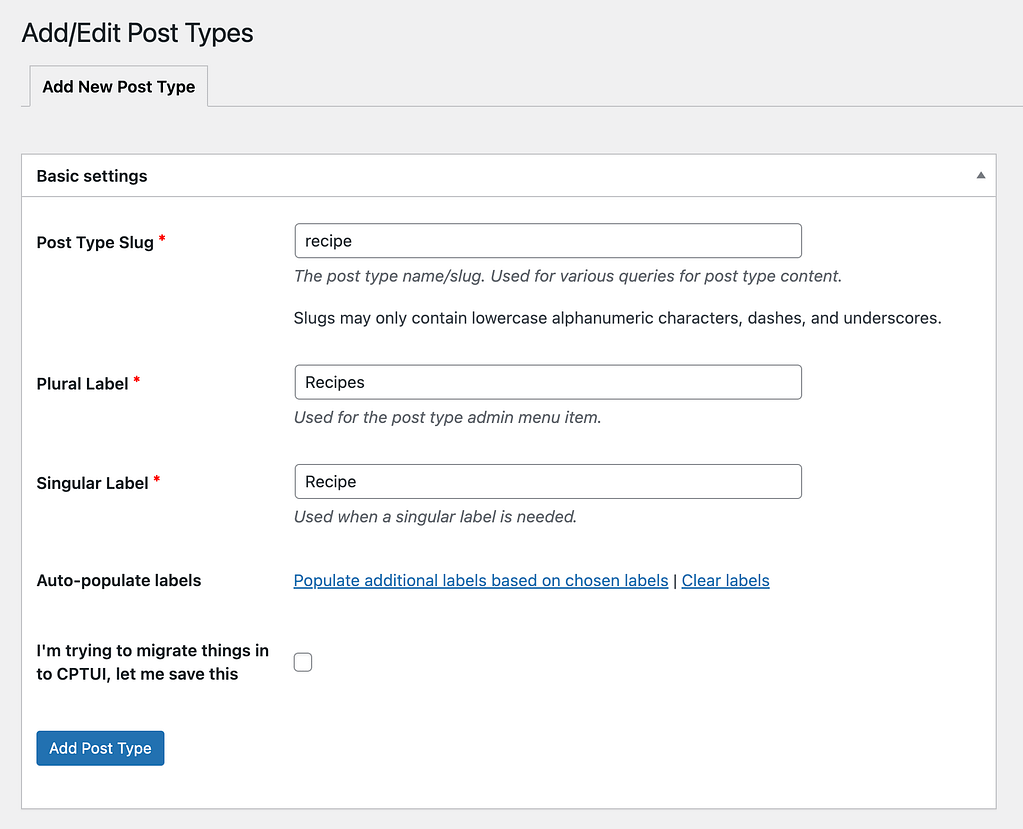
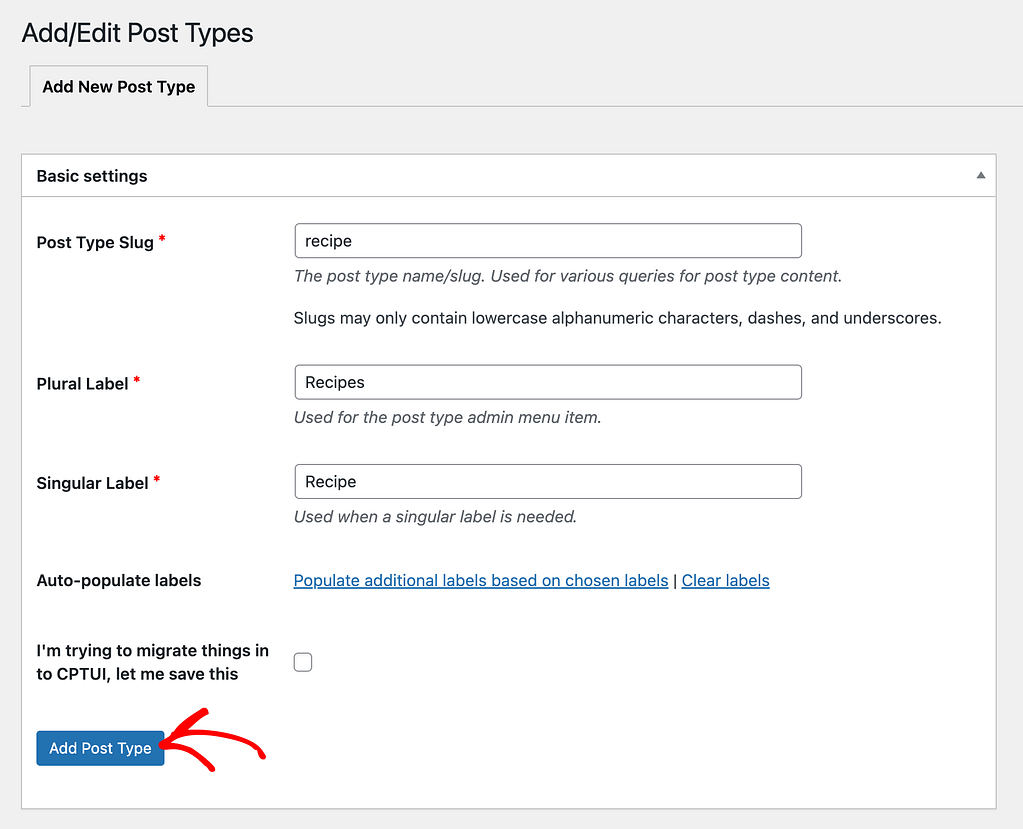
After adding the post type slug and labels, click the Add Post Type button.
Once you add a new post type, the next step is to edit and publish it on your website.
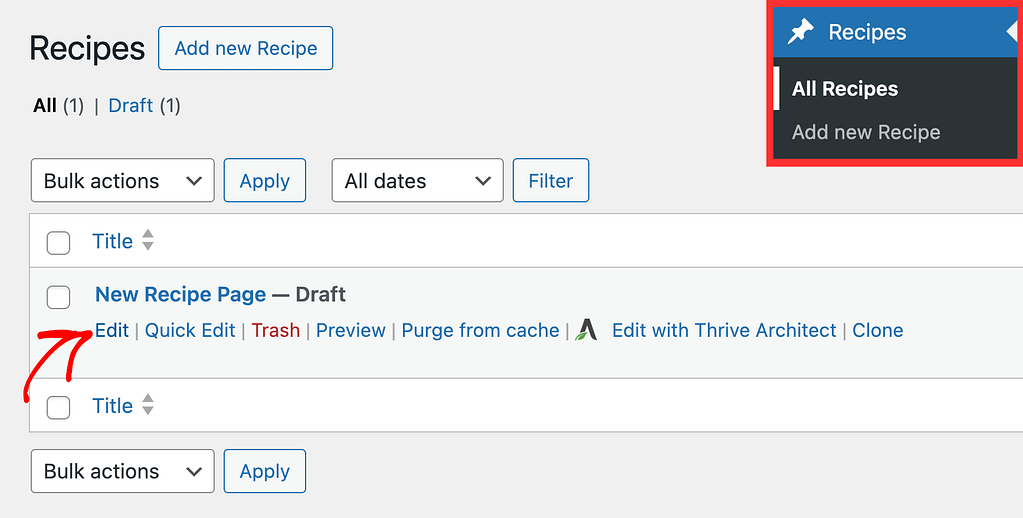
To access and customize the newly created post type, open your WordPress admin area, navigate to the new post type you created (Recipes) in this example and click on Add new Recipe (Add new Post type).

After you click to add a new post under the new post type, you’ll see a new post created where you enter the post title. This post can be edited using the WordPress editor or the Thrive Architect editor.

Once you complete customizing the post, click the Publish button.
Installing and Setting Up the Advanced Custom Fields Plugin
After you’ve installed, activated, and set up the Custom Post Type UI plugin on your website, the next step is to install and activate the Advanced Custom Fields Plugin.
Here are a few documents that’ll help you work with the Advanced Custom Fields plugin on your website.
- Using the Advanced Custom Fields Plugin to Create Custom Fields
- Using the Fields Created With Advanced Custom Fields Plugin in Thrive Architect
- Creating the Specific Types of Advanced Custom Fields Needed for Thrive Architect Elements
When you install and activate the Advanced Custom Field plugin, you’ll have to proceed with a few more steps to set this up.
- Adding a Custom Field Group
- Setting Up the Location Rules
- Assigning Values for Each Custom Field Type
Adding a Custom Field Group
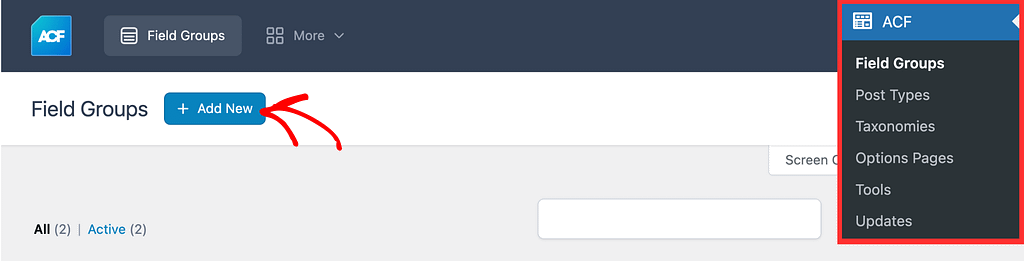
To add a Custom Field group in the Advanced Custom Field plugin, open your WordPress admin area, navigate to ACF >> Field Groups, and click on the + Add New button.
When you click to add a new field group, you’ll see that added and you can enter the field group name in the field above.
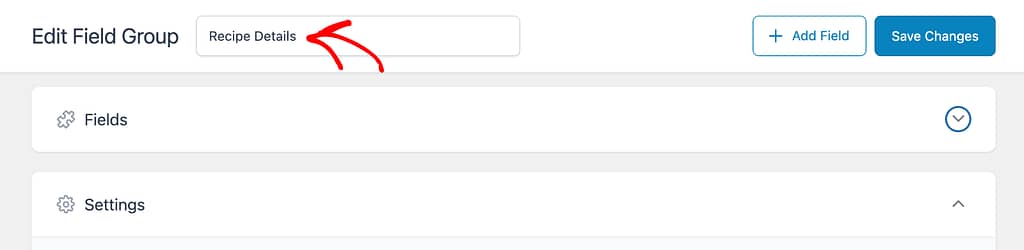
After you’ve created the field group, the next step is to create a field or a number of fields in this field group.
In this example, we’ll create three fields in this field group.
- Text type field for the Recipe Title
- Image type field for the Recipe Image
- Number type field for the Cooking Time
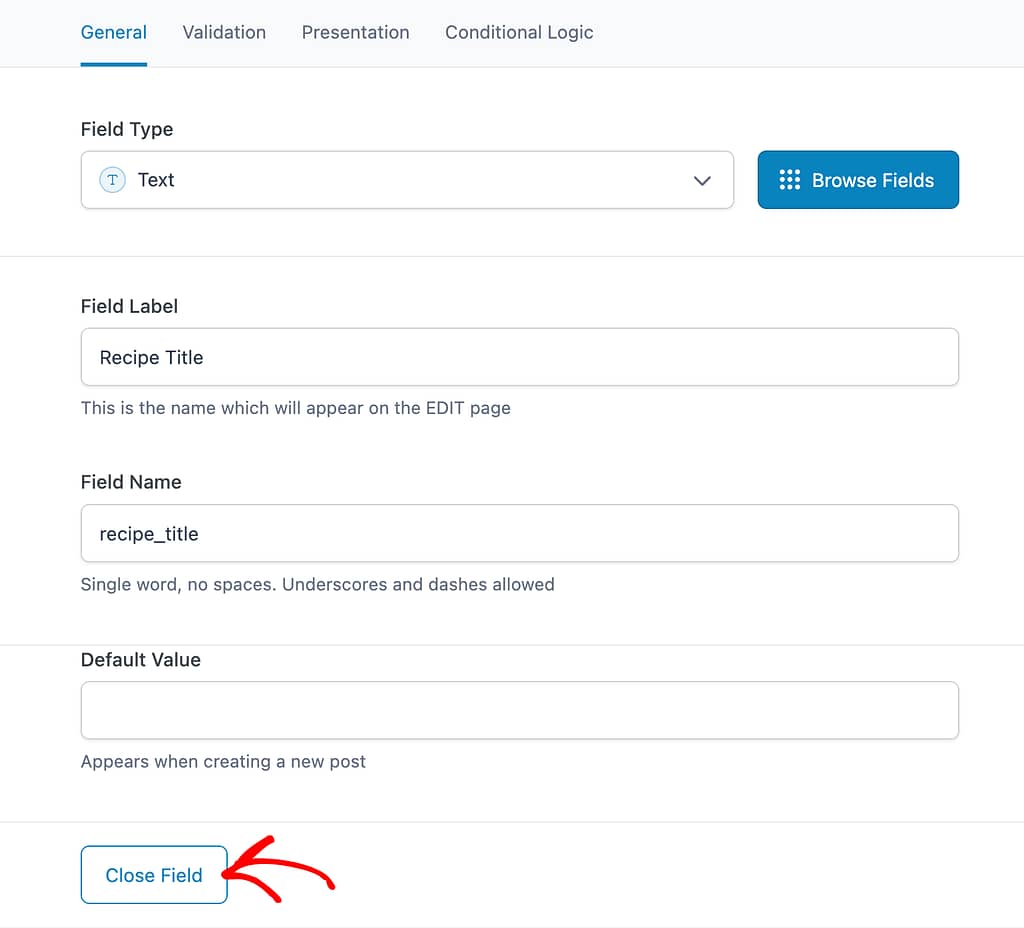
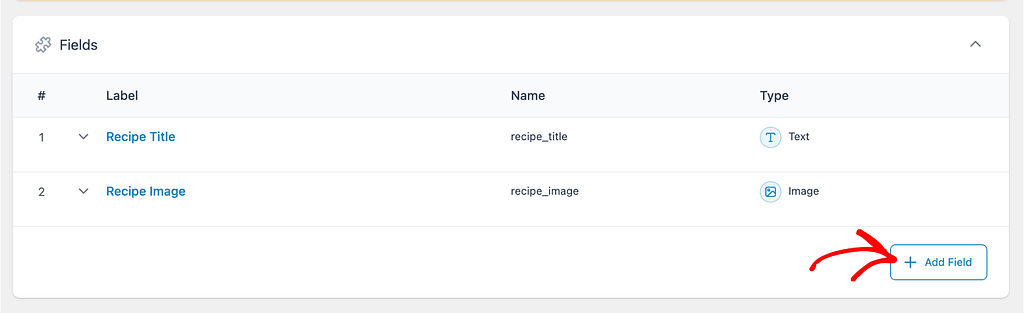
To create the Recipe Title field, select the field type as Text, enter the Field Label and click the Close Field button.
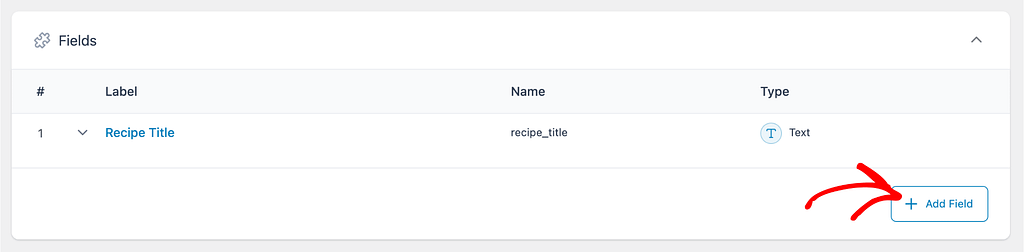
After you add one custom field, click the + Add Field button to create a new custom field.
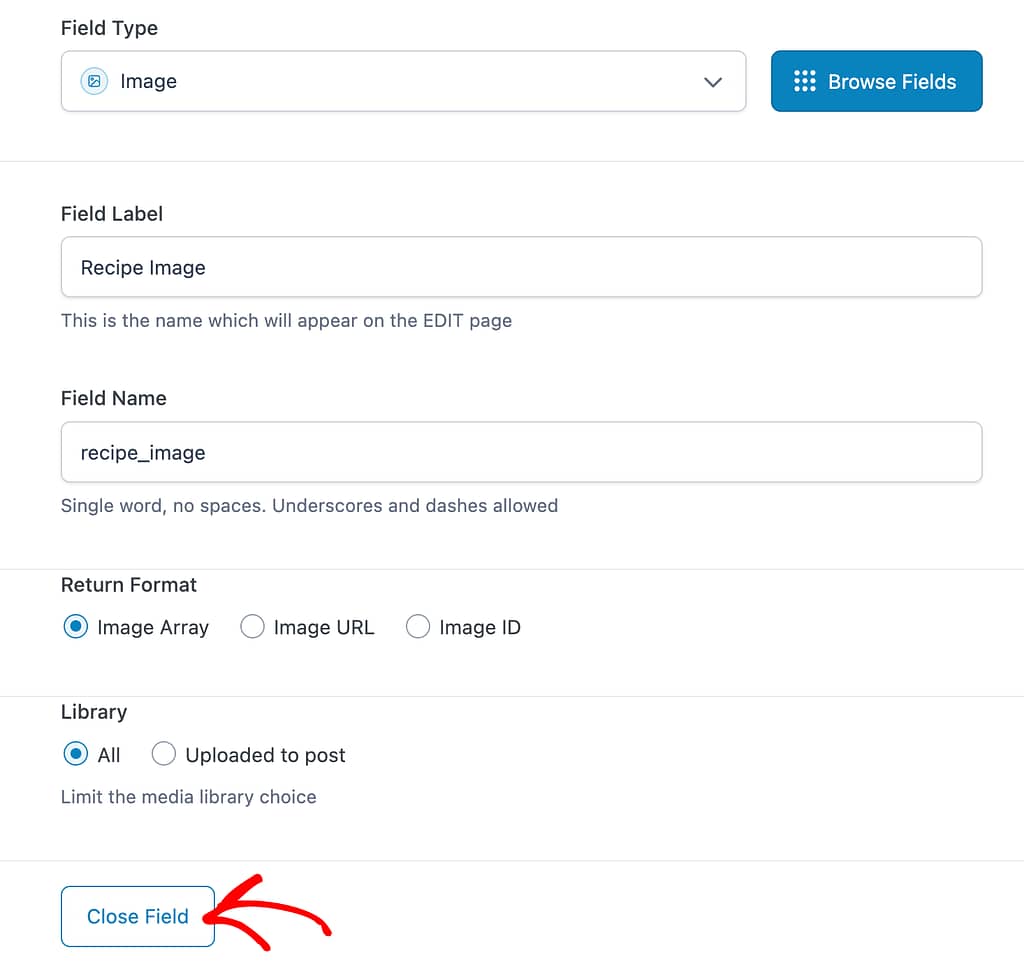
To create the Recipe Image field, select the field type as Image, enter the Field Label and click the Close Field button.
To add the third field, again, click the + Add Field button.
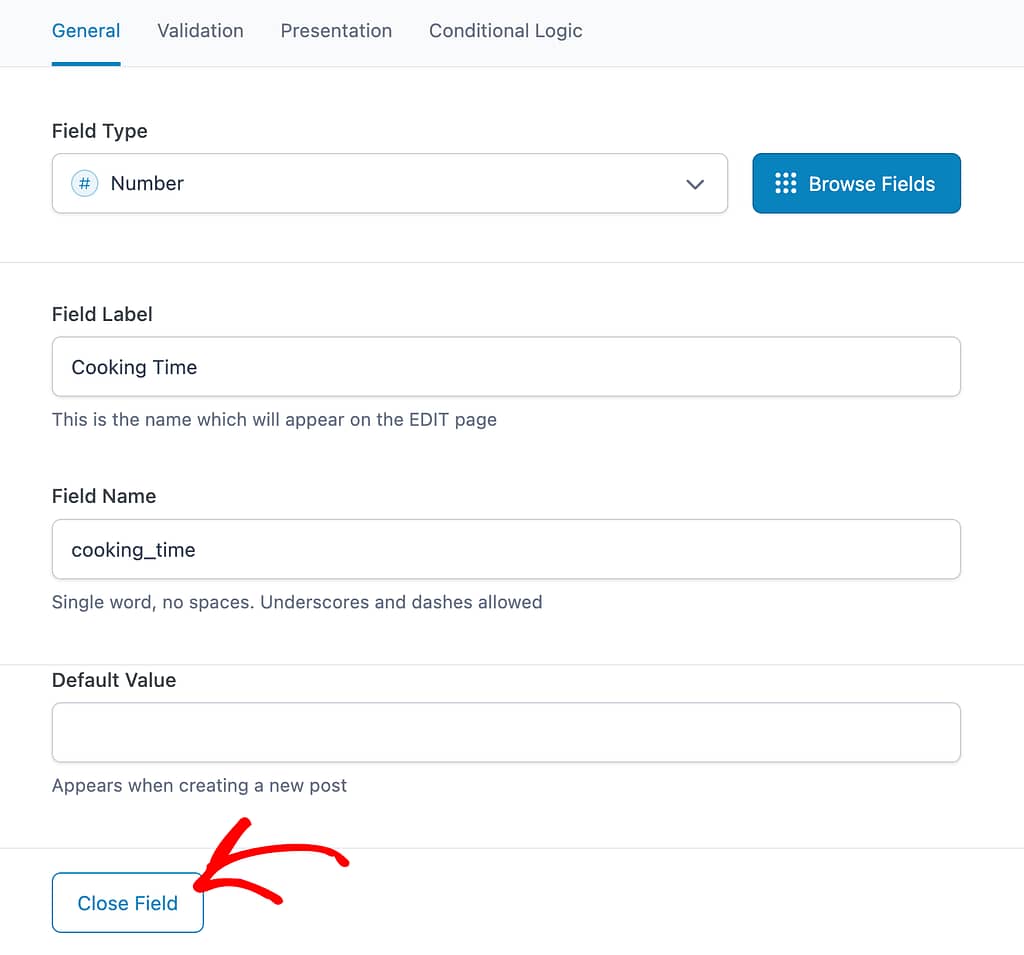
To create the Cooking Time field, select the field type as Number, enter the Field Label and click the Close Field button.
Setting Up the Location Rules
The custom fields you just created should be added to the custom post type you created using the Custom Post type plugin.
To make sure this happens, you need to set things up so that this group of fields only shows up when you’re editing a recipe.
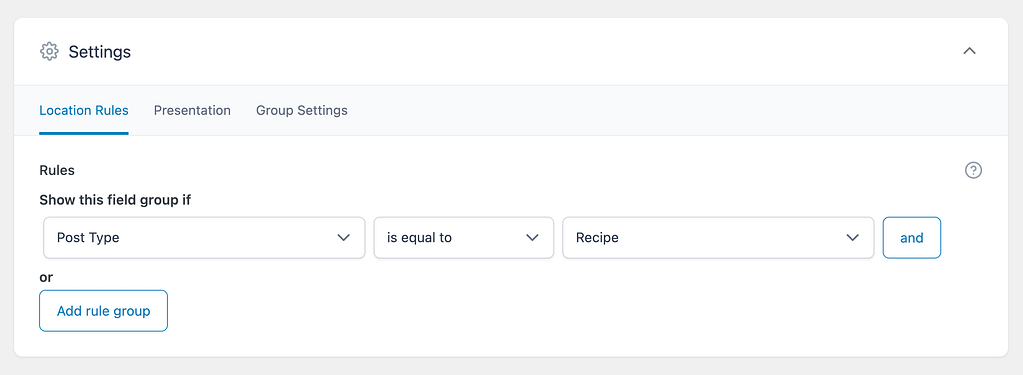
To do this, within the Advanced Custom Field plugin’s field group dashboard, under Settings, open the Location Rules tab.
Under the Location Rules tab, set the rule as follows:
Show this field group if Post Type is equal to Recipe.
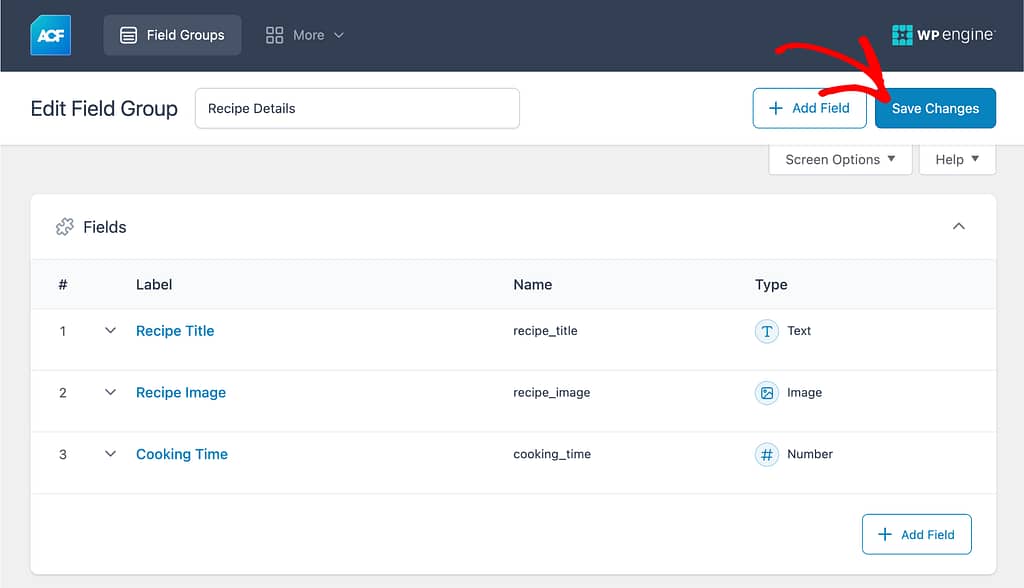
After you add the fields in this field group and add a location rule as well, scroll up and click the Save Changes button.
Assigning Values for Each Custom Field Type
The next step after creating a custom post type and custom fields is to assign values to each field type under a custom post type.
To do so, open your WordPress admin area, navigate to the Custom Post type you’ve created (Recipes in our example) >> All custom posts (All Recipes in our example), hover on the custom post and click on the Edit link.
When the custom post is open in the editor, scroll down to the Custom Field Group and enter the values for the custom fields in there.
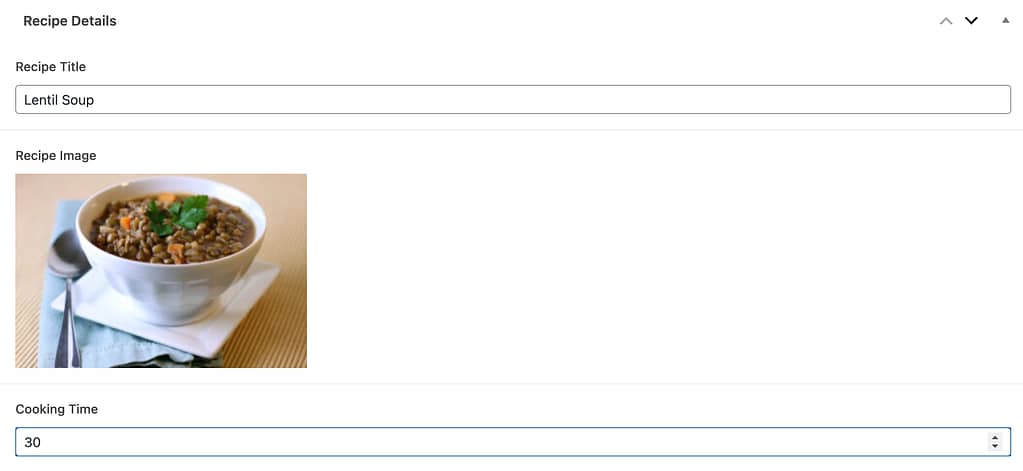
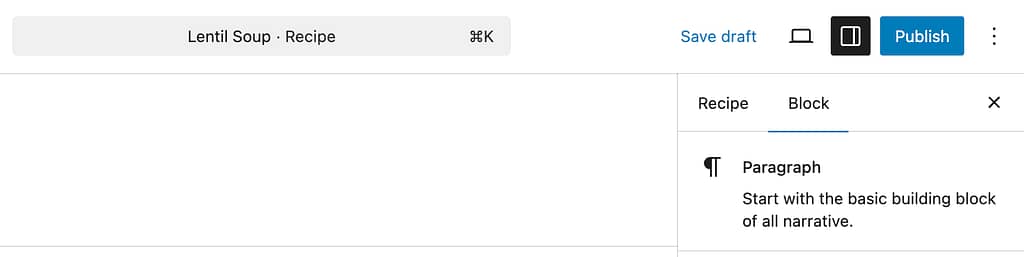
Once you’ve added values to the custom fields, scroll up and click the Save draft link if you want to save the post as a draft for now, or click the Publish button to publish the post.
Creating a Thrive Theme Builder Template
The final step is to create a Thrive Theme Builder template for your custom post type.
This means you create one template that you can use again and again for all your custom posts (for example, recipes). You don’t have to design each recipe post from the beginning – just use your template, and it will automatically give your custom posts the same look and layout. This saves you time and makes all your custom posts look consistent.
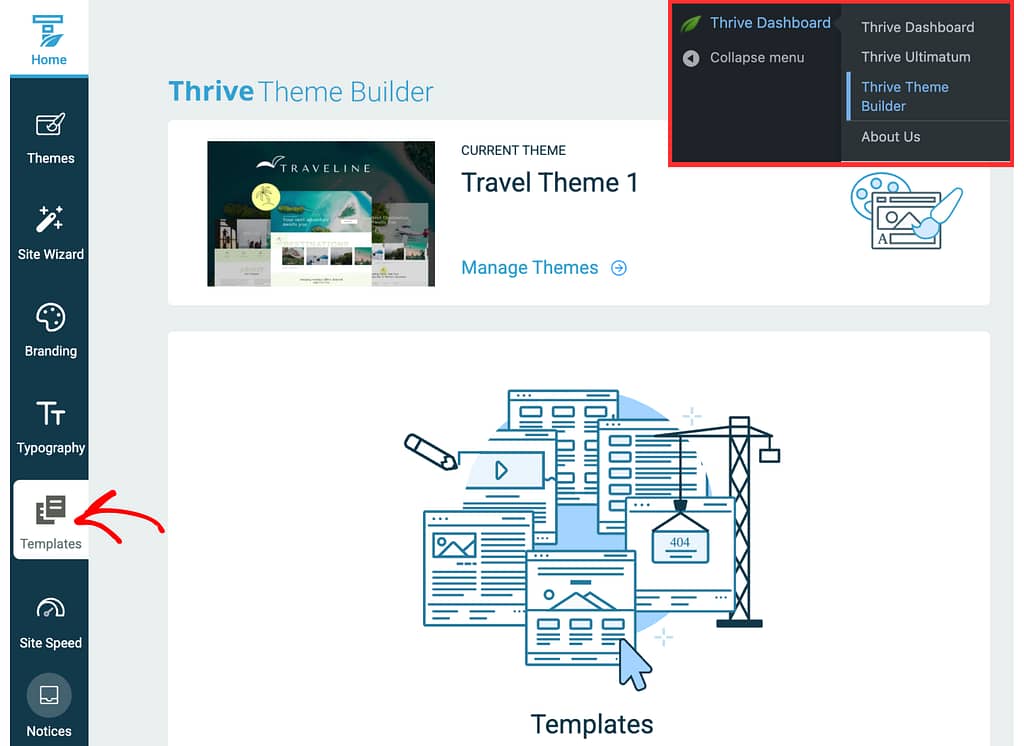
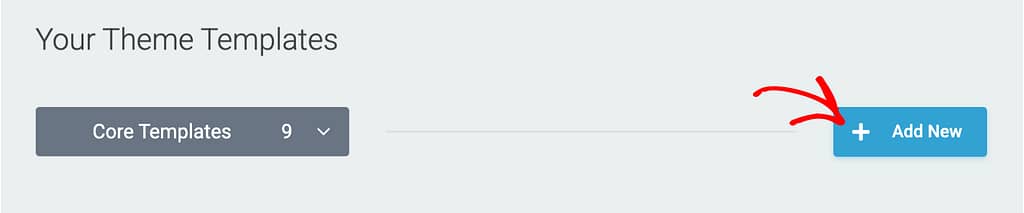
To create a Thrive Theme Builder Template, first open your WordPress admin area, navigate to Thrive Dashboard >> Thrive Theme Builder, and click on Templates in the left panel.
On the Thrive Theme Builder templates page, click the + Add New button to add a new template.
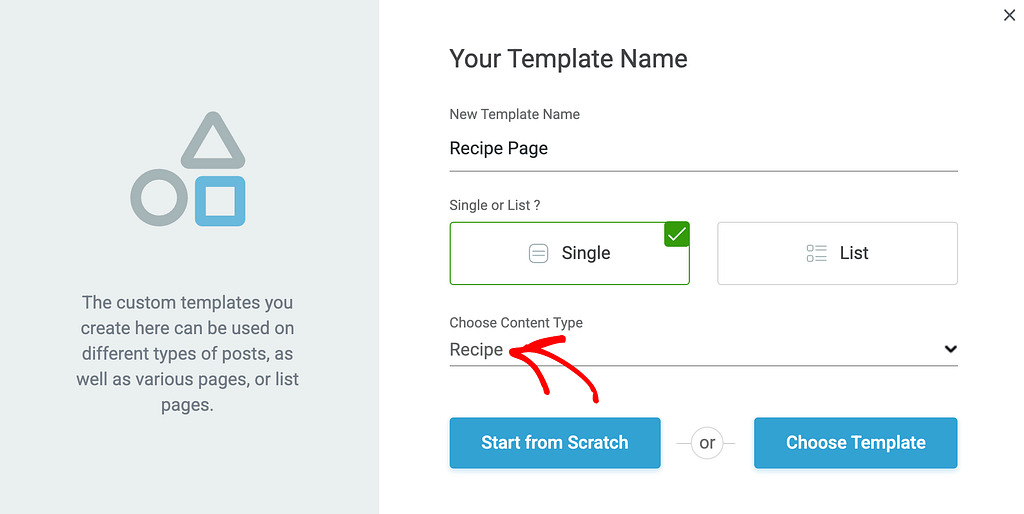
Clicking on the Add New button will open a popup where you can enter the template name, choose the content type as Recipe, and choose how you want to create one.
To know more about template creation in Thrive Theme Builder, you can refer to our document here.
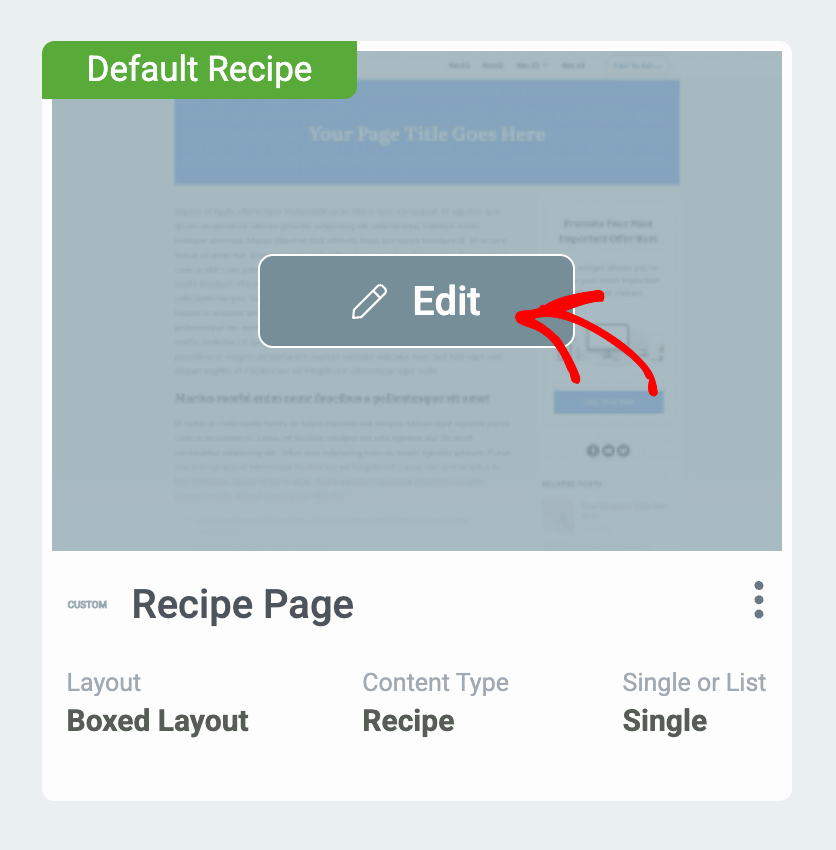
To edit the newly created template, on the Thrive Themes templates page, hover on the newly created template and click Edit.
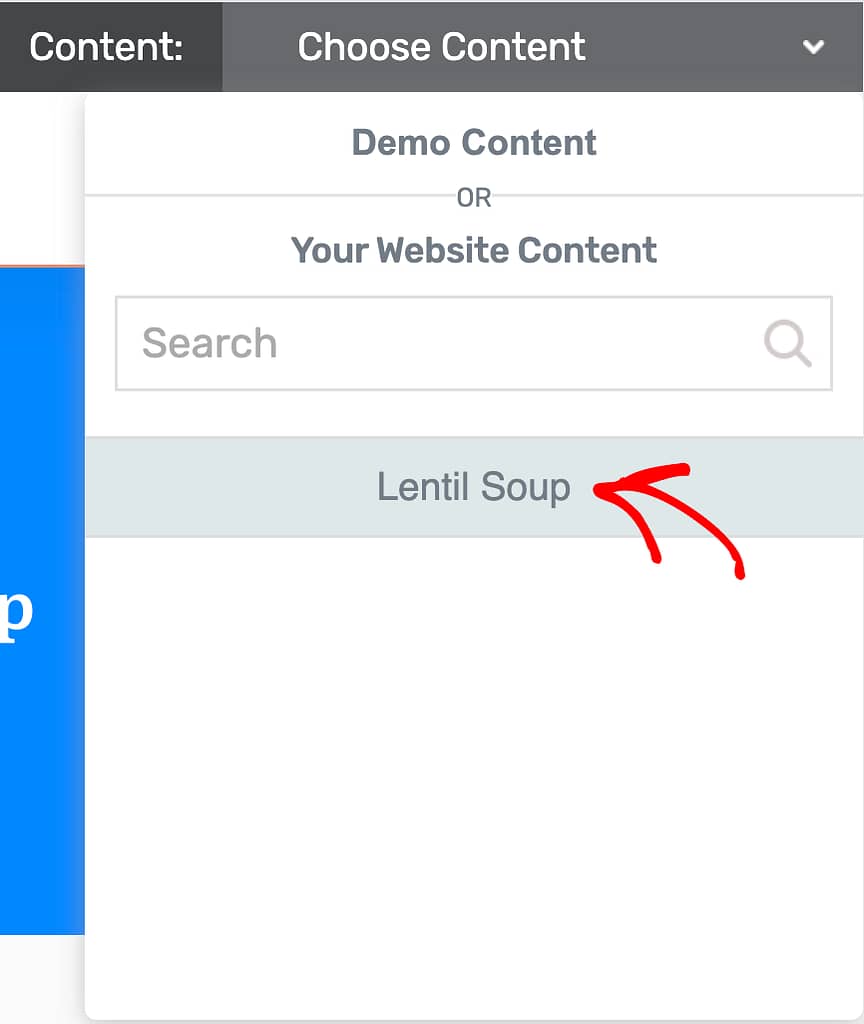
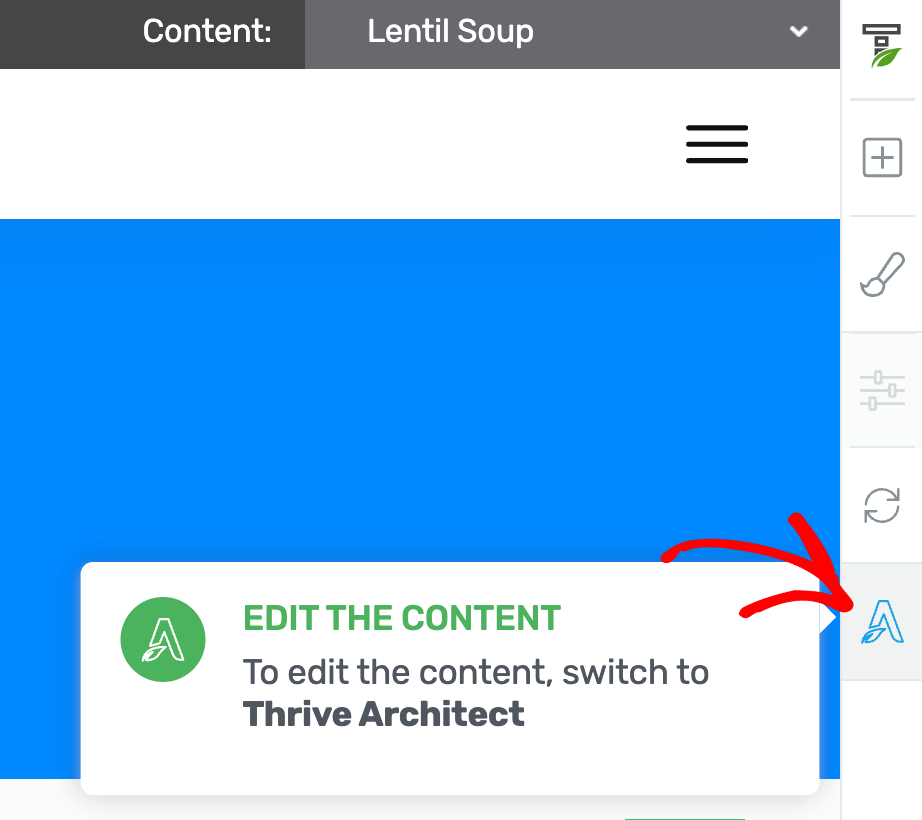
In the template editor, in the top bar, click on Choose Content.

After clicking Choose Content, select the custom post from the options that appear.
To know more about the Content dropdown, read our document here.
After selecting the content for the template, the next step will be to add dynamic text and fields where you can fetch the custom field values you’d set.
Fetching the Recipe Title
Once the template is opened in the Thrive Architect editor, in the text block, click at the position you want to add the recipe title. This will open the floating formatting panel.

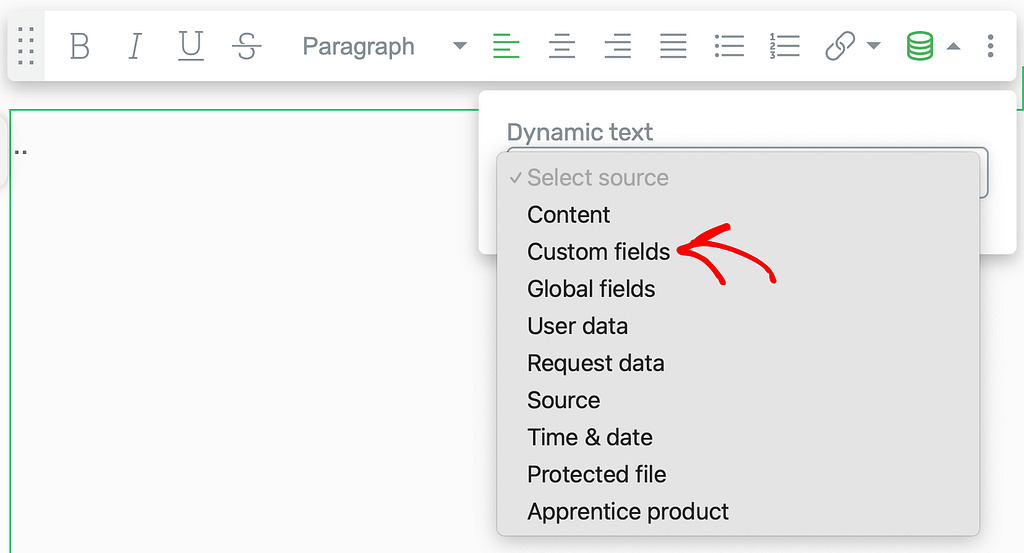
On the floating panel, click the drum icon to add dynamic text.

In the dropbox that appears, select Custom Field as the Dynamic source in the dropdown field.
After you select the source as Custom field, in the next dropdown, select Recipe Title and click the Insert button.
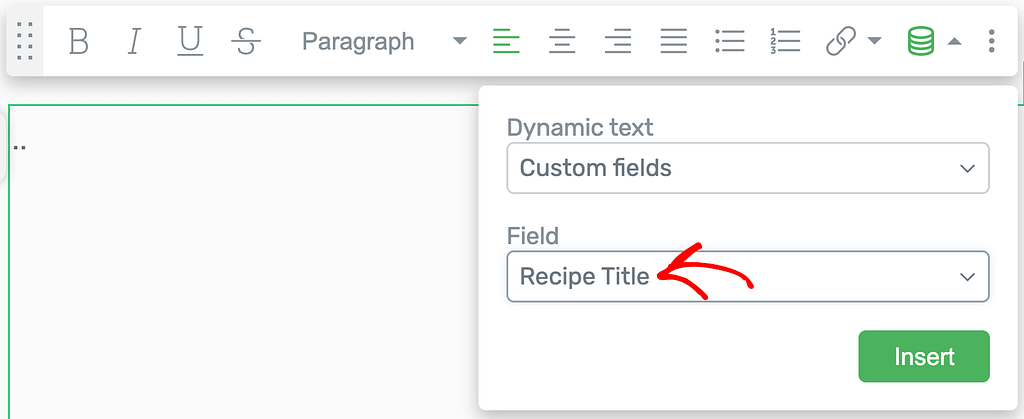
Inserting the custom field value in as a dynamic text will add the Recipe Title at the position you’d clicked in the text block.

Fetching the Recipe Image
When the template is opened in the Thrive Architect editor, drag and drop an Image element on the page, add a temporary image in it, and click on it to open its options in the left column.

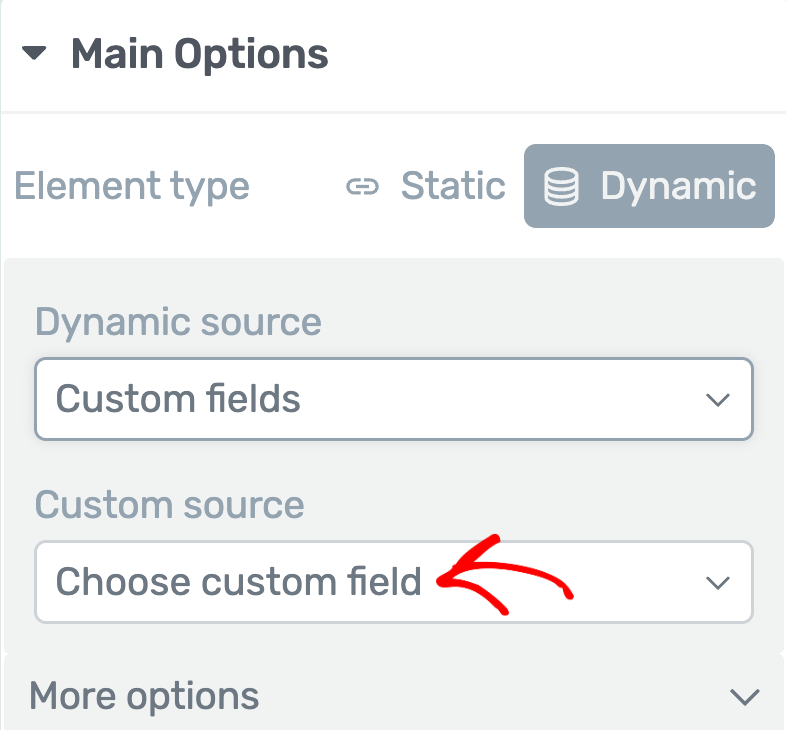
In the left column, beside the Element type, select Dynamic and click on the dropdown to select the dynamic source of the image.
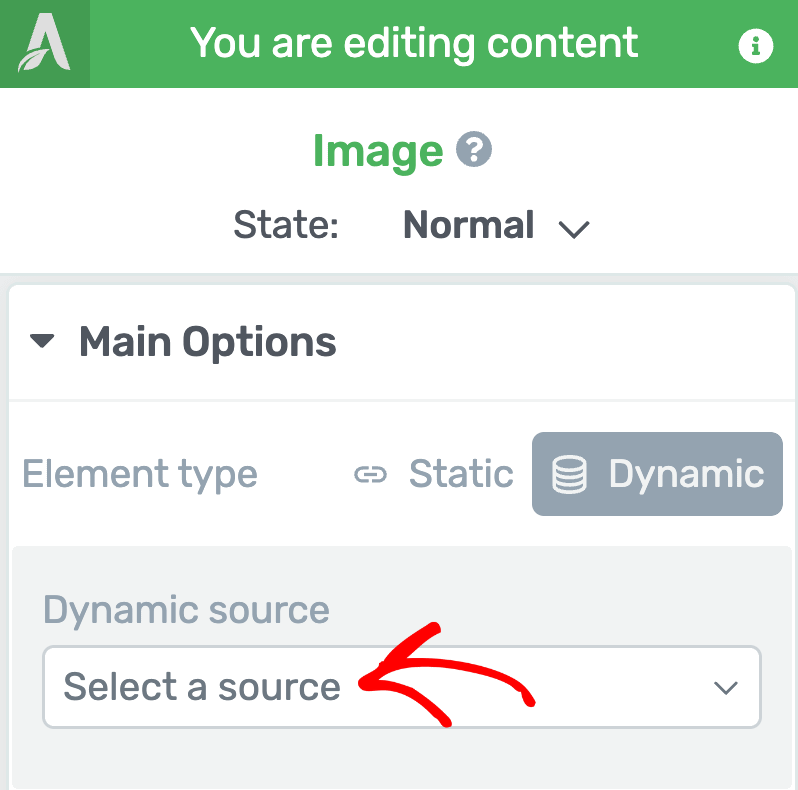
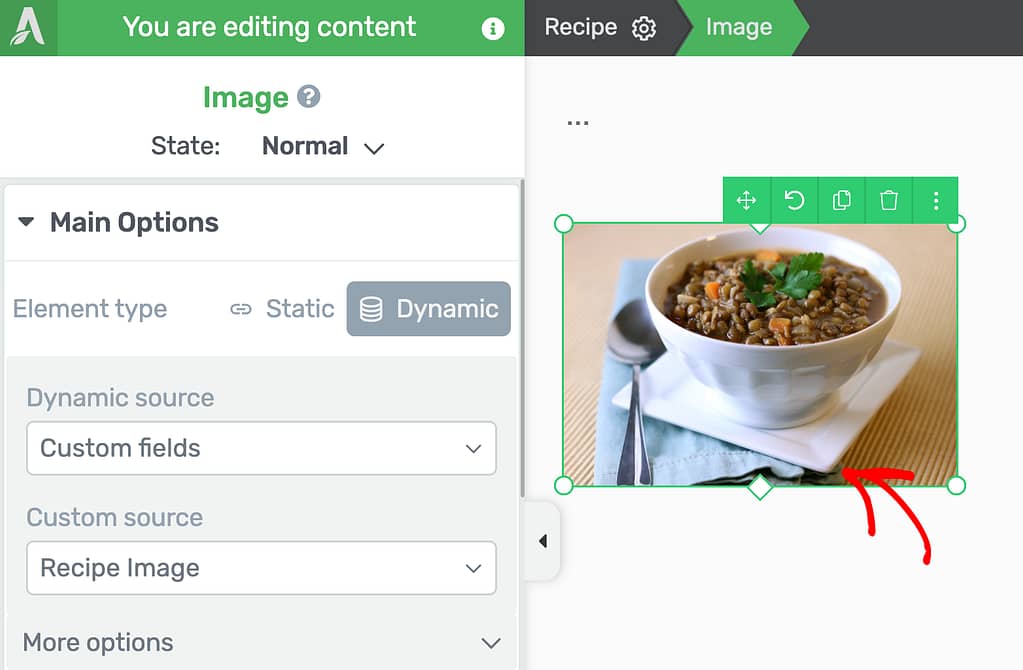
When you select the Dynamic source as Custom Fields, click on the next dropdown to select the Custom Field you want to fetch here.
As per our example, select Recipe Image.
After you select the source and the custom field, you’ll see the recipe image added on the page.
Fetching the Cooking Time
Just like the Recipe Title, you can fetch the Cooking Time value from the custom field.
When the template is opened in the Thrive Architect editor, in the text block, click at the position you want to add the recipe title. This will open the floating formatting panel.
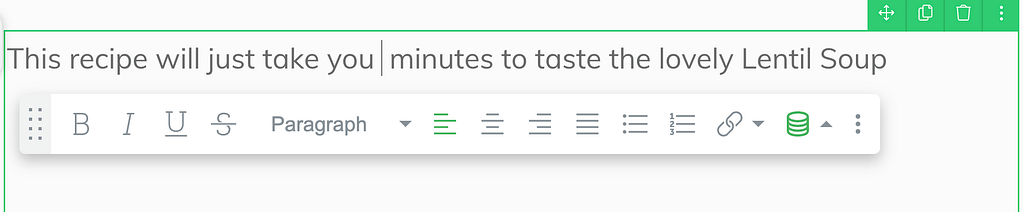
On the floating panel, click the drum icon to add dynamic text.
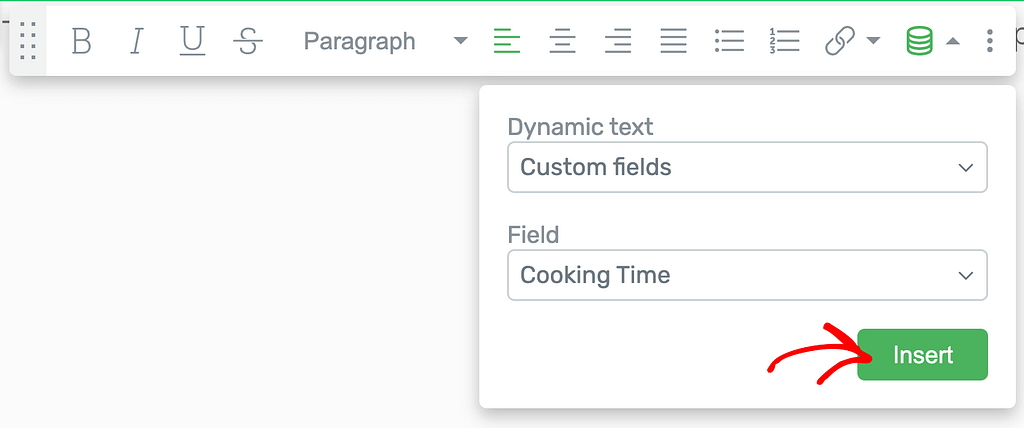
In the dropbox that appears, select Custom Field as the Dynamic source in the dropdown field.
After you select the source as Custom field, in the next dropdown, select Cooking Time and click the Insert button.
Inserting the custom field value in as a dynamic text will add the Cooking Time at the position you’d clicked in the text block.

We’ve just seen how you can integrate custom post types and custom fields together to be able to use custom fields on a custom post on your website. You can also take a look at the visual tour in the video below.
Next, do you want to use Dynamic Colors in Thrive Architect? Here’s our document that’ll help you add dynamic colors using the Advanced Custom Fields plugin on your website.