A smooth user experience is key to high quiz completion rates. In this article, you’ll learn how to customize the navigation buttons, set up progress bars, and control the overall flow of your quiz.
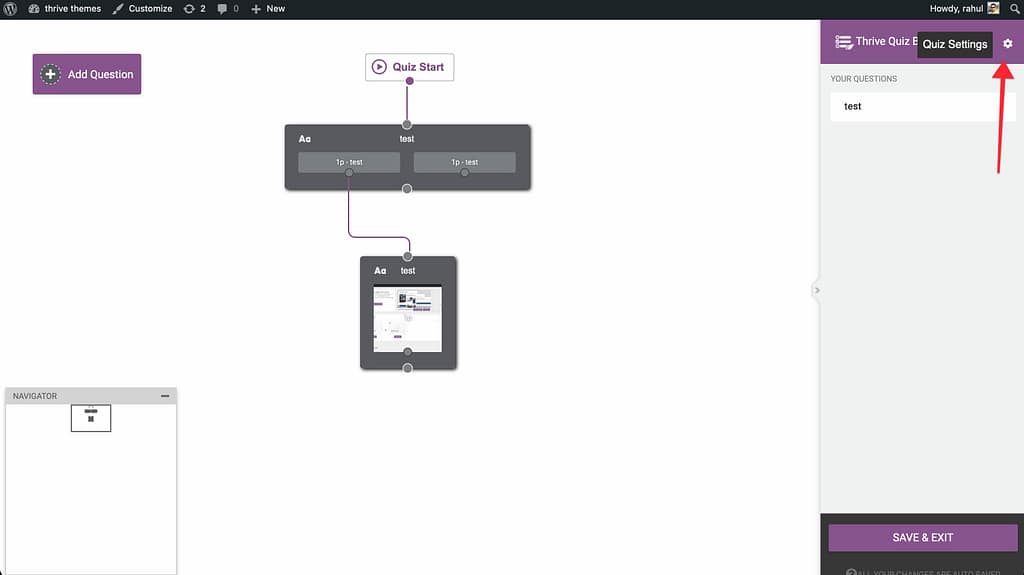
Managing Navigation Buttons
By default, Thrive Quiz Builder can automatically advance to the next question when an answer is selected. However, you can give users more control by enabling navigation buttons.
- In the Questions Editor, click the Gear Icon in the top-right corner.
- Toggle the Display navigation buttons switch to ON.
- This will display Back and Next buttons on your quiz pages.
Adding and Customizing Progress Bars
Progress bars help users understand how much of the quiz is left, which reduces drop-off rates.
1. Enable the Progress Bar
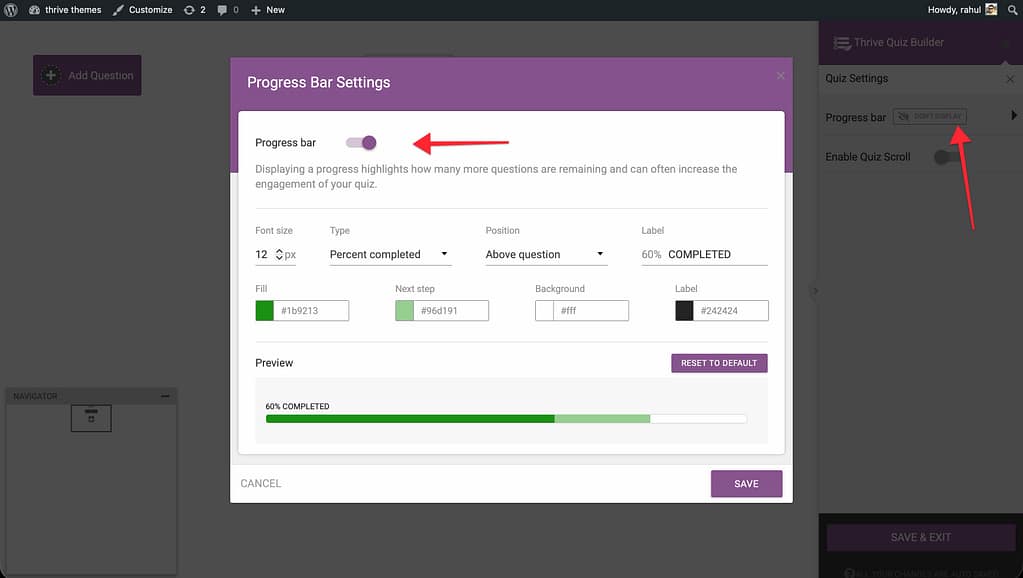
- In the Questions Editor, click the Gear Icon.
- Click the text next to Progress Bar (e.g., “Don’t display”).
- Select whether to show the bar Above or Below the question.
2. Customize the Appearance
Once enabled, you can customize the bar’s look:
- Type: Choose between Percentage completed (e.g., 25%) or Percentage remaining (e.g., 75%).
- Label Text: Customize the text displayed (e.g., “Page %s of %s”).
- Colors: Change the fill color, background color, and label color to match your brand.
Manual Flow Control (Live Editor)
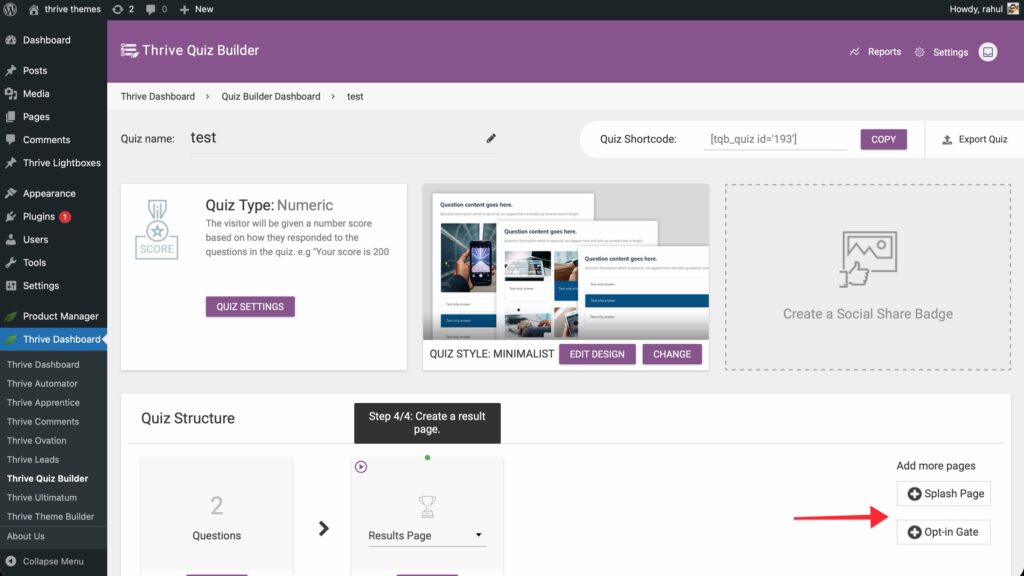
Sometimes you want to create custom links that take users to the next stage of the quiz (e.g., from a Splash Page to the first question).
- Open the Splash Page or Opt-in Gate in the Thrive Architect editor.
- Select the element you want to use as a link (Button, Text, or Image).
- Locate the Link field in the Main Options section of the sidebar.
- Click the Dynamic Link icon (the stacked database-like icon) inside that field.
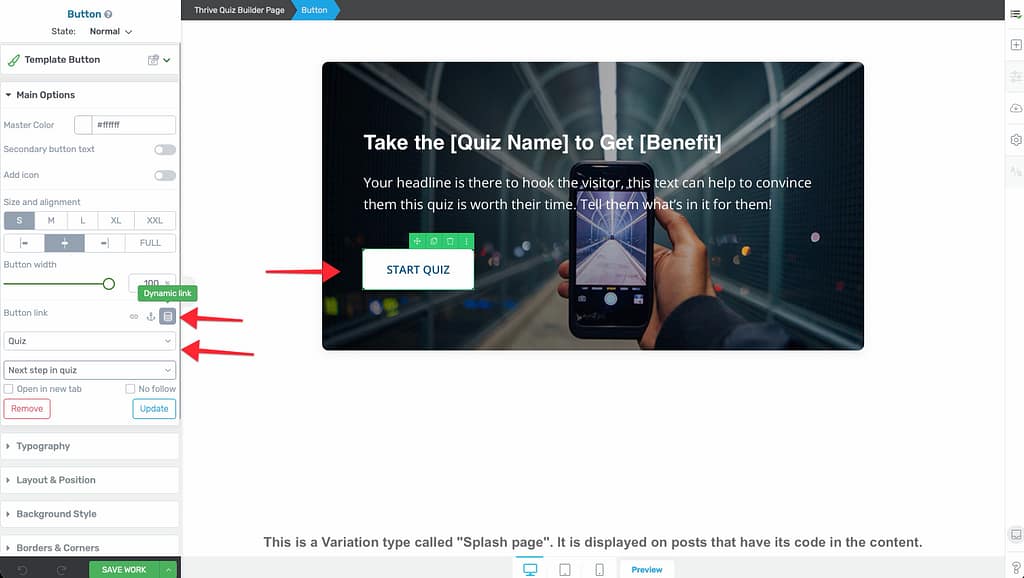
- Select Quiz as the source and choose Next step in quiz.
Technical Flow Settings
Under the Gear Icon in the Questions Editor, you can also toggle:
- Quiz Scroll: When enabled, the page will automatically scroll to the top of the next question as the user progresses.
- Save User Progress: Found in the main Quiz Element settings in Thrive Architect. Enable this to allow logged-in users to resume their quiz if they leave the page.
Related Resources
- Questions Editor: How to Add and Manage Quiz Questions
- Publishing: How to Publish and Display Your Quiz
- Results Page: How to Customize Your Quiz Results Page
- Thrive Quiz Builder Documentation: Explore the full Thrive Quiz Builder knowledge base