In this article, you’ll learn how to configure access expiry settings on your Thrive Apprentice products so that student access automatically expires after a set period. This is essential for subscription-based courses, limited-time promotions, and time-sensitive content offerings.
What Is Access Expiry?
Access expiry is a feature that lets you set a time limit on how long a student can access a product’s content. Once the expiry period is reached, the student loses access to all courses and content within that product. This is ideal for:
- Subscription-based models — Grant access for a recurring period (e.g., monthly or yearly) that must be renewed.
- Limited-time offers — Provide temporary access to a course as part of a promotional deal.
- Cohort-based learning — Restrict access to a specific timeframe aligned with a live course schedule.
- Trial access — Let users explore your content for a limited period before requiring a purchase.
Enabling Product Access Expiry
To turn on access expiry for a product:
- Navigate to Thrive Dashboard > Thrive Apprentice > Products.
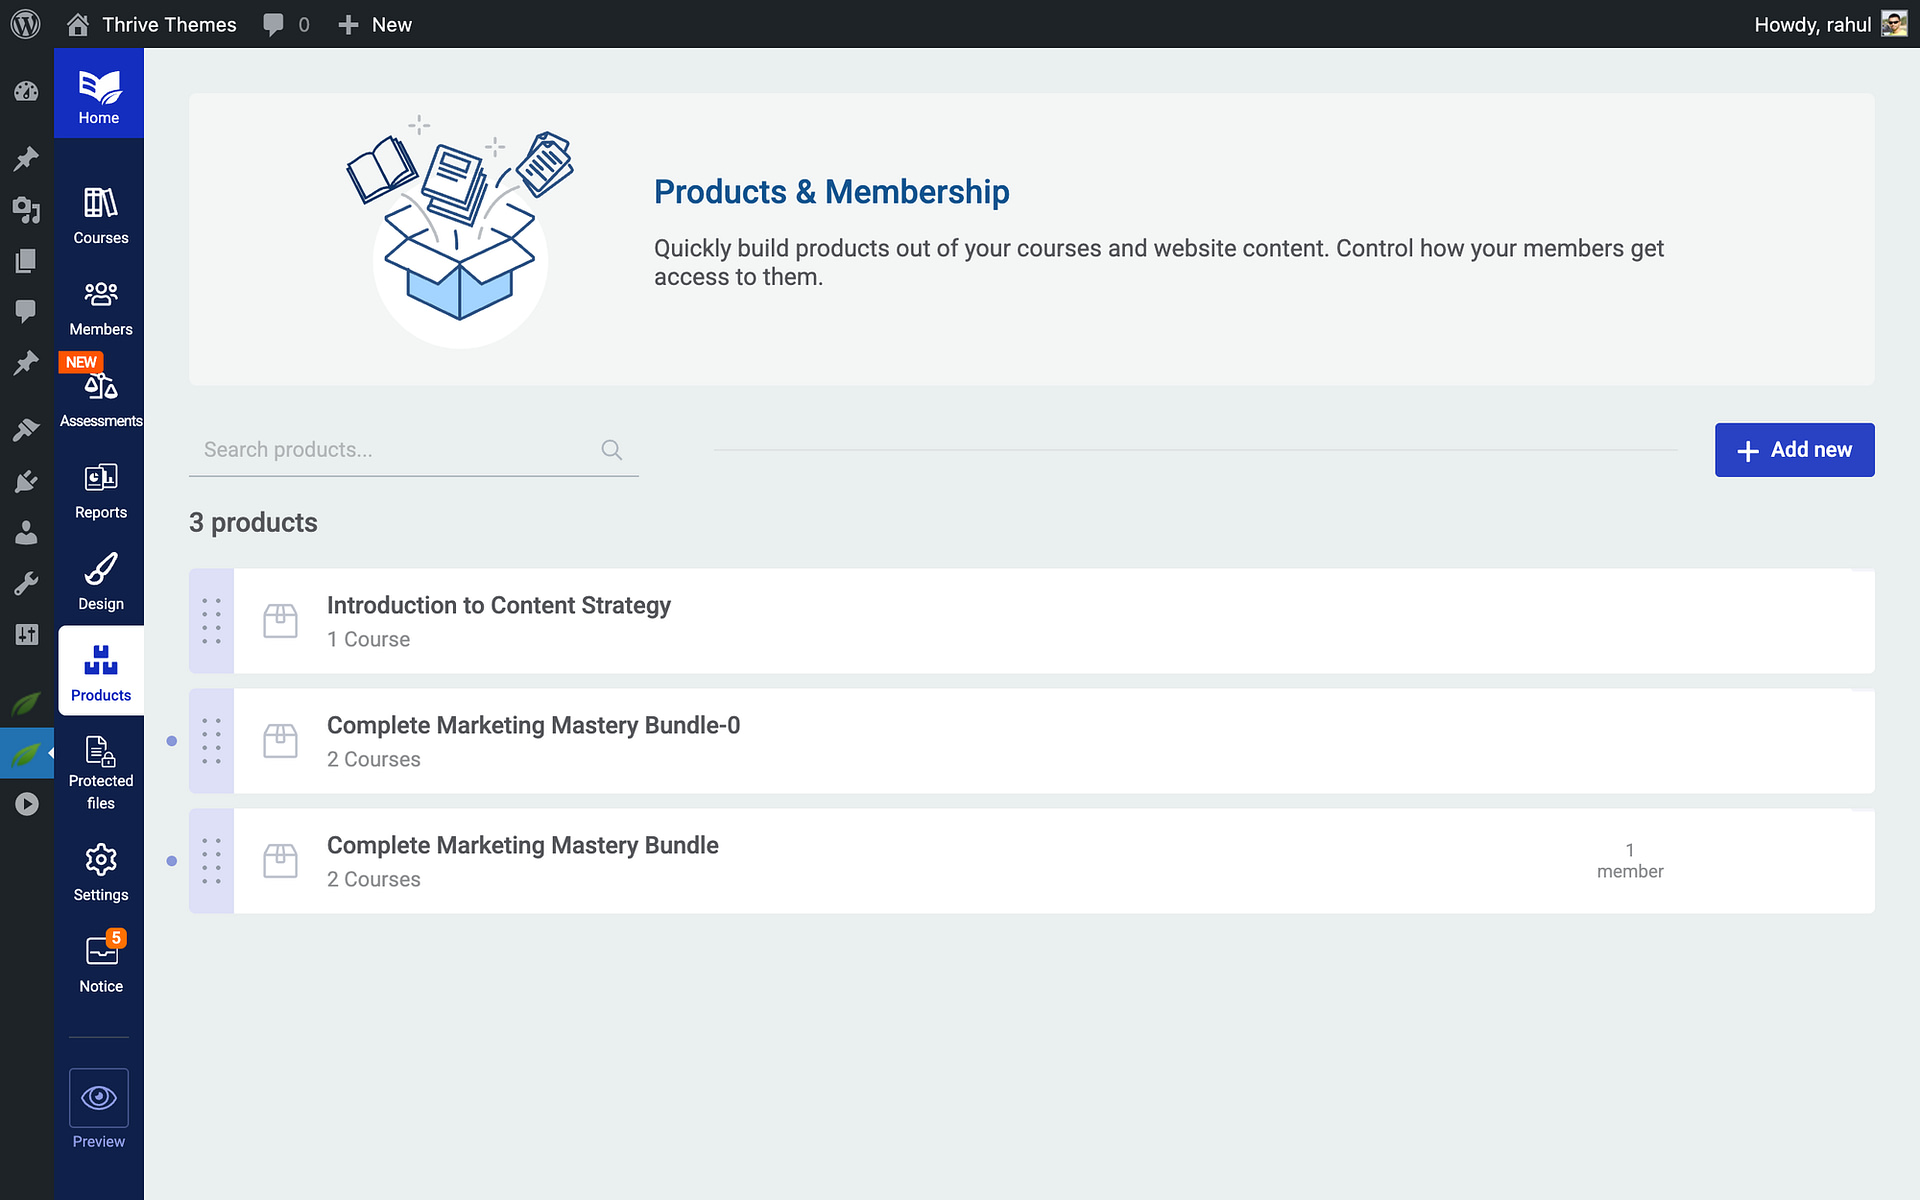
- Click on the product you want to configure.
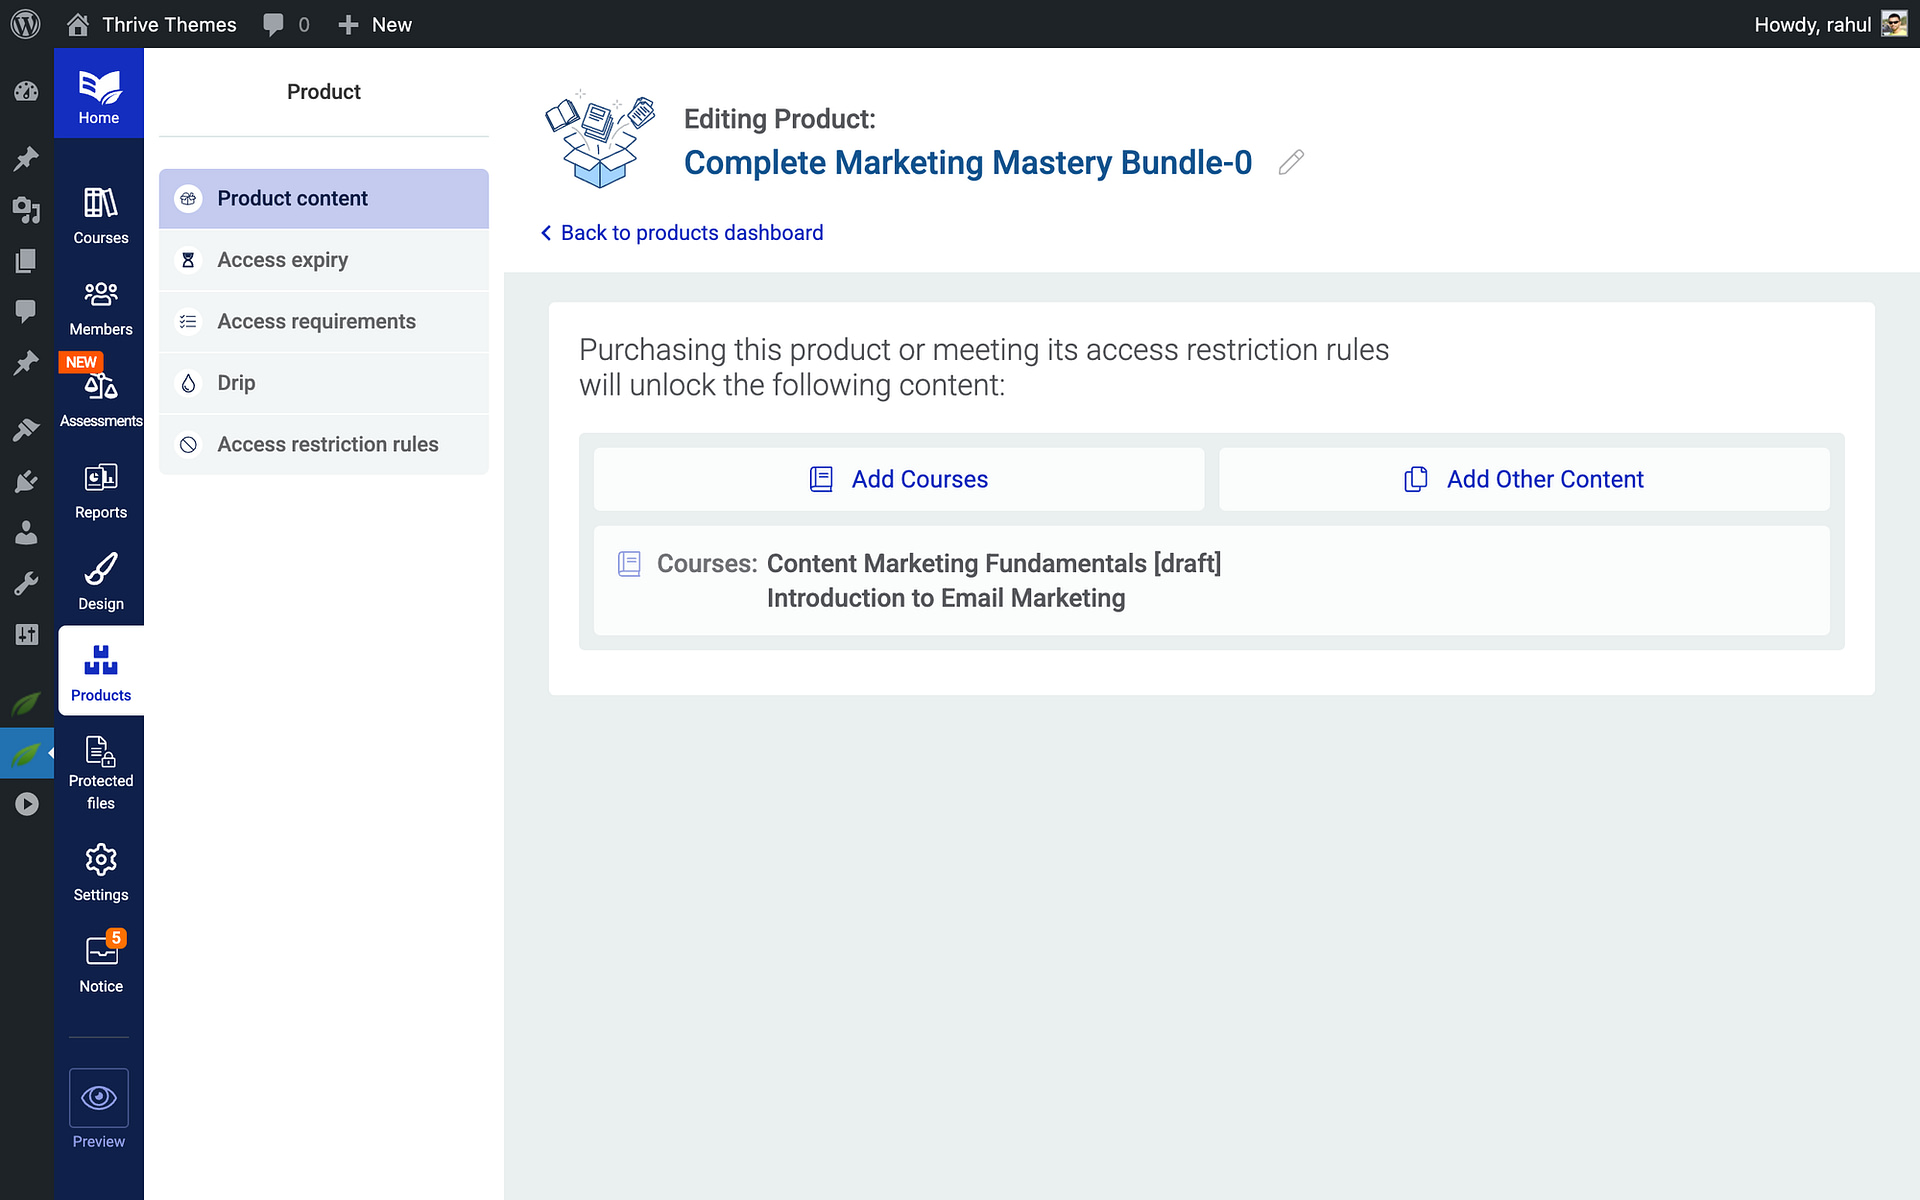
- Open the Access Expiry tab in the product settings.

- Toggle the Enable Access Expiry option to On.
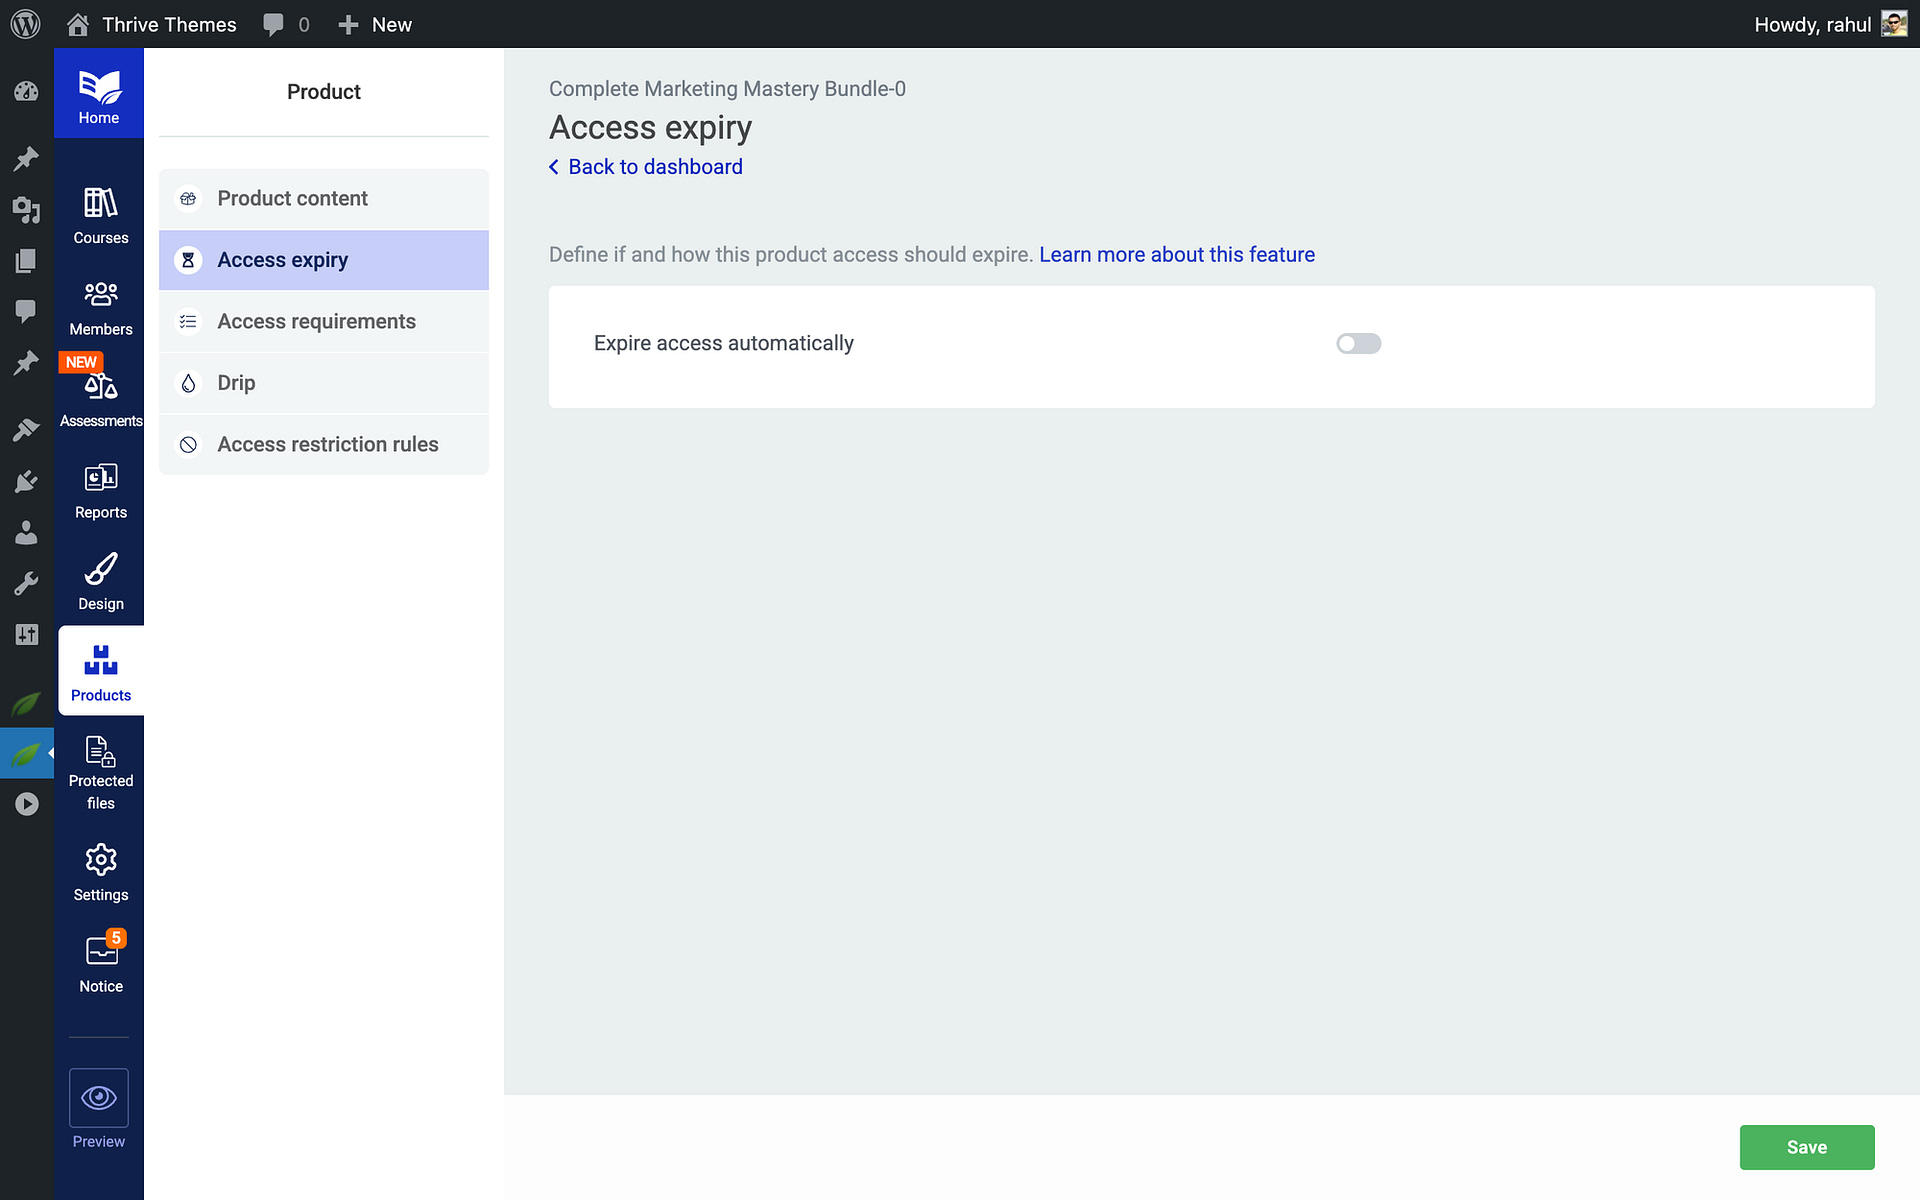
Once enabled, you’ll see additional configuration options for setting the expiry duration and related behaviors.
Setting Up an Access Expiry Date
After enabling access expiry, configure the duration:
- In the Access Expiry tab, locate the Expiry Duration setting.
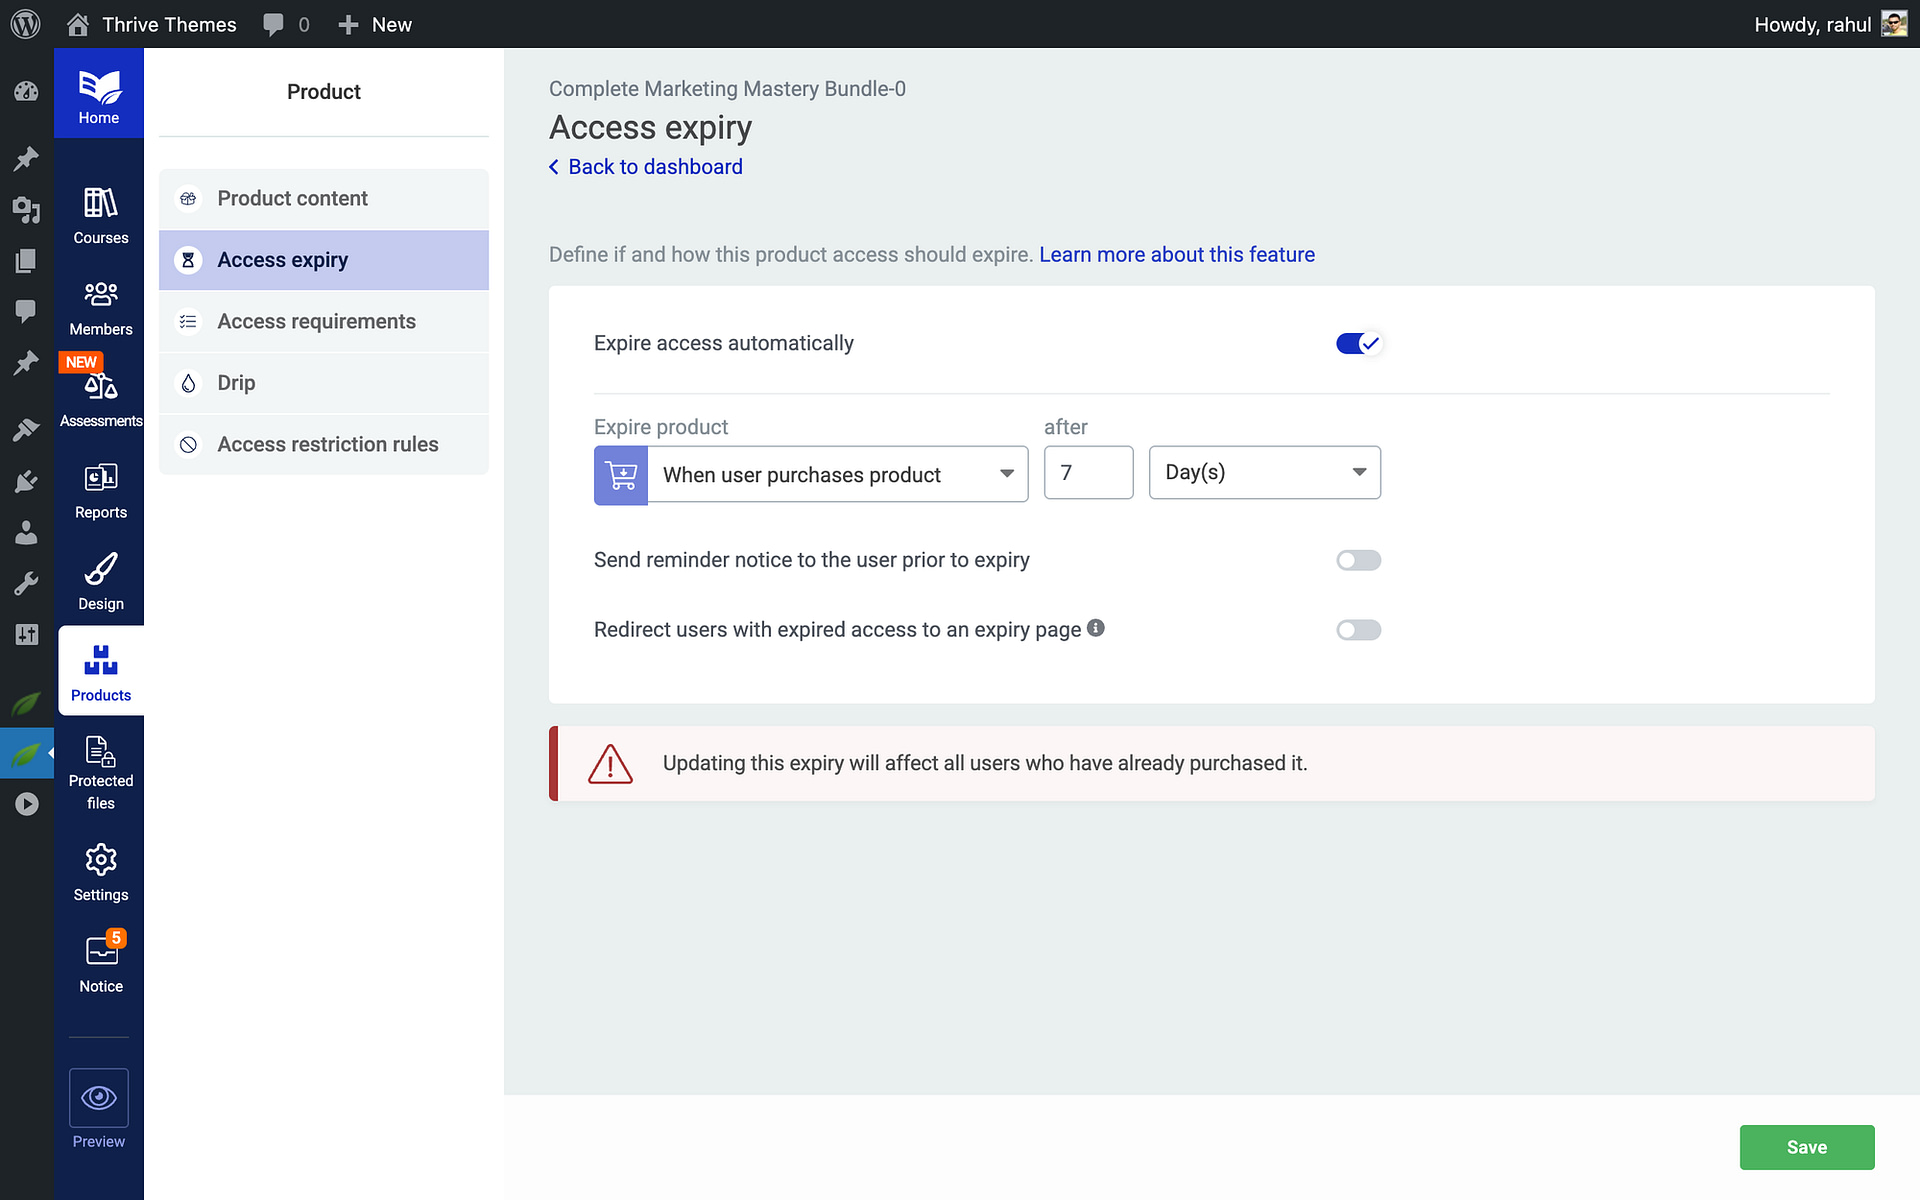
- Enter a number and select the time unit—days, weeks, months, or years.

- The expiry countdown begins from the moment a student is granted access to the product.
- Click Save to apply.
Enabling a Reminder Notice for Users
You can notify students before their access expires so they have time to renew or complete their coursework:
- In the Access Expiry tab, find the Reminder Notice section.

- Toggle the Send Reminder Email option to On.
- Set the timing for the reminder—for example, 7 days before expiry.
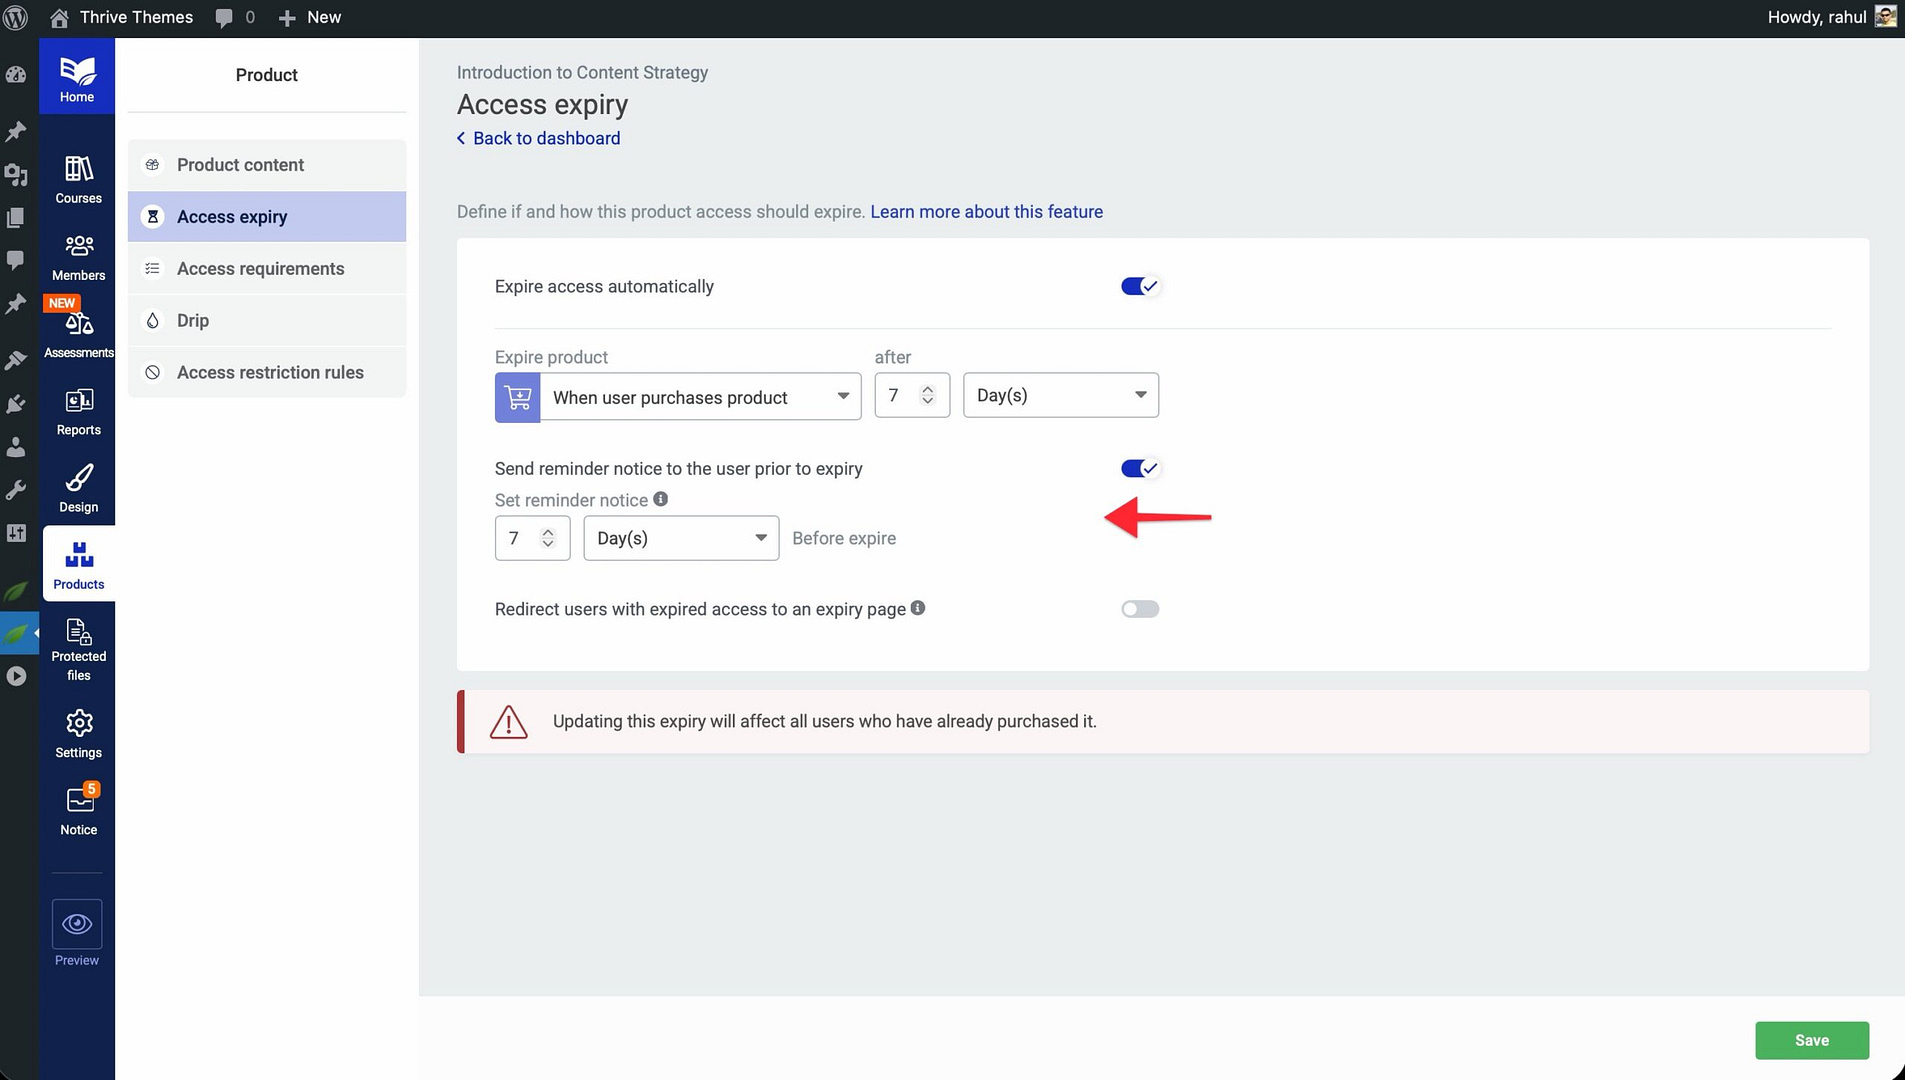
- Save your changes.
Thrive Apprentice will automatically send an email notification to the student at the specified interval before their access expires.
Editing the Expiry Reminder Email Template
To customize the reminder email your students receive:
- In the Settings section, click Email Template.
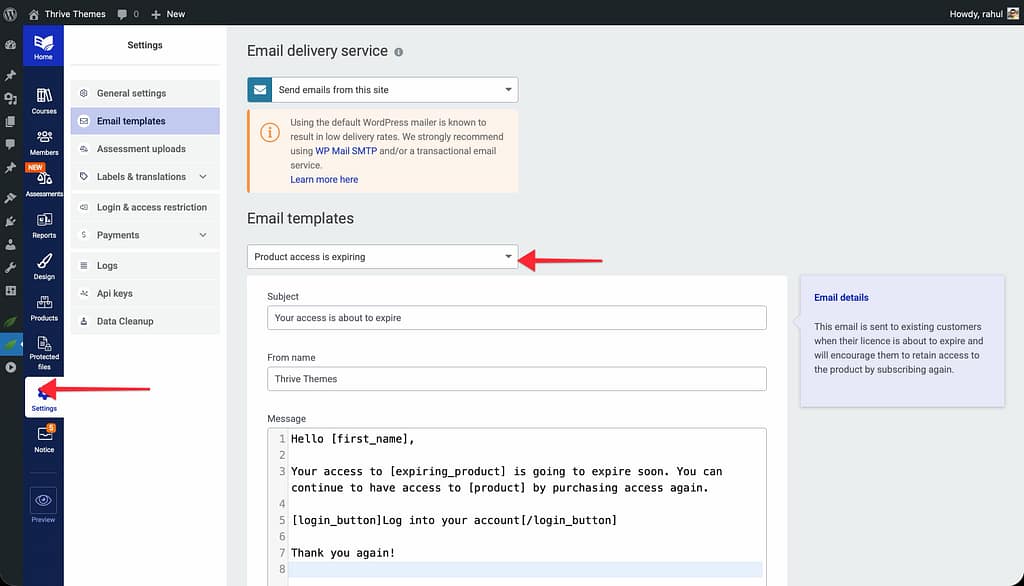
- Modify the subject line, body text, and any dynamic placeholders (such as the student’s name, product name, or expiry date).
- Preview the email to ensure it looks correct.
- Click Save to apply your changes.
What Happens When Access Expires
When a student’s access expires:
- They can no longer view lessons, modules, or other content associated with the product.
- Their progress data is retained—if they regain access later, they pick up where they left off.
- They see the access restriction message you’ve configured for the product instead of the content.
You can also redirect expired users to a specific page:
- In the Access Expiry tab, find the Post-Expiry Redirect setting.

- Enter the URL of the page you want expired users to see—such as a renewal page, a special offer page, or a re-enrollment form.
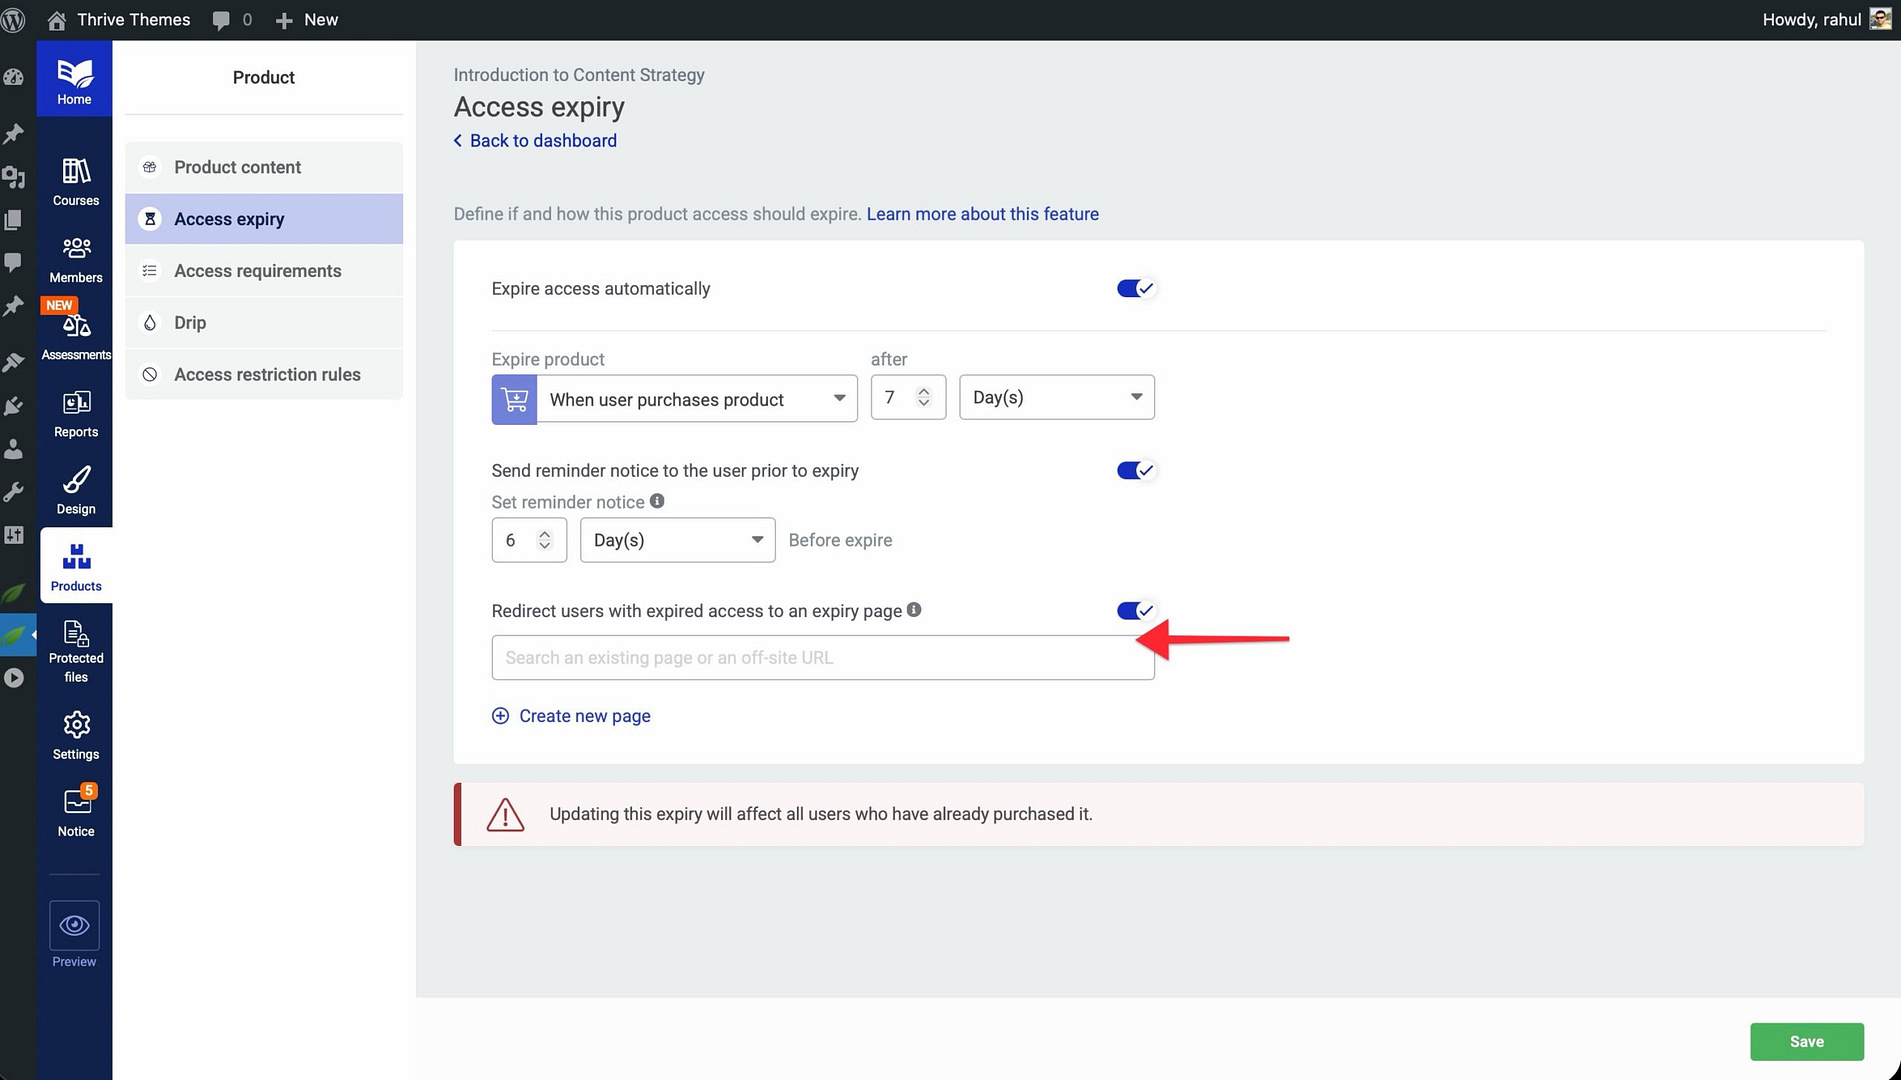
- Click Save.
Conclusion
That’s it! You’ve successfully learned how to set up and manage product access expiry in Thrive Apprentice. By configuring expiry durations, reminder emails, and post-expiry redirects, you can create time-limited access models that fit your business strategy.
Related Resources
- Products — How to Use the Products Section in Thrive Apprentice
- Access Restrictions — How to Set Up Access Restrictions and Rules in Thrive Apprentice
- Custom Payment Links — How to Set Up Custom Payment Links in Thrive Apprentice