From now on, it is possible to set up the visibility, as well as publish/unpublish a page or a post, directly from the Thrive Architect editor.
You do not need to go back to your WordPress admin dashboard when you want to manage the “Status & Visibility” of the page/post you are working on.
Here is how to do this:
During or after you have edited your page/post with Thrive Architect, you can easily publish it directly from the editor. Depending on what you are editing, look for the “Page” or “Post” option in the breadcrumbs, next to the left sidebar:
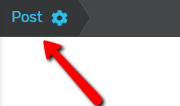
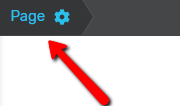
Once you have found it, click on it and the “Status & Visibility” options will open in the left sidebar:
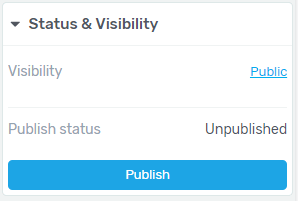
Just as its name says, here you can set two things: the visibility and the status of the page/post you are currently working on. These work exactly the same way as they do in the WordPress editor.
Moreover, these options are the same and you can use them in the same way both in the case of a page and that of a post.
Visibility
The “Visibility” section contains the settings related to who will be able to view your page/post after it is published. Click on the current Visibility setting to see the options you have here:
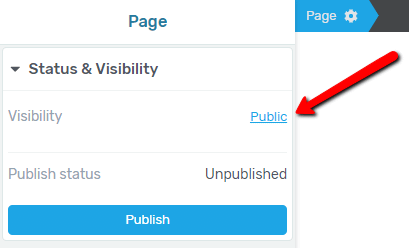
This will open a drop-down with the three Visibility settings you can choose from:
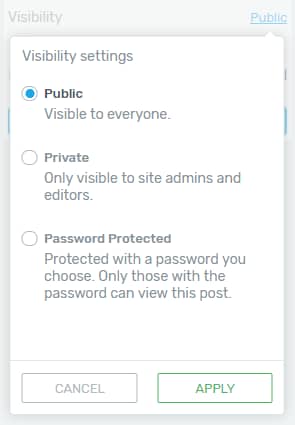
Public:
If you choose this setting, then, the page/post will be visible to everyone, after it will be published. It will be available for anyone who accesses it.
After you click on this setting, you will have to click on the “Apply” button from the drop-down to apply it to your page:
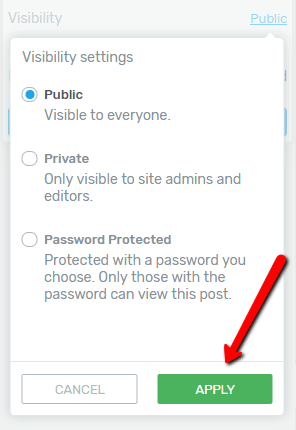
Note: If your page/post is not published when you apply the “Public” Visibility setting to it, you will also have to publish it after applying the setting; in order to make the post available to everyone.
Private:
If you select this setting, then, the page/post will only be visible for the administrators and the editors of your website, after it will be published. Thus, you should select this setting, if you want to make the page available only for the people who have those two user roles on your website.
In case your page/post is not published yet when you click on this setting to select it, a pop-up window will appear. In this window, you will have to confirm that you want to privately publish this page by clicking on the “Yes, privately publish” button.
Once you have done that, the “Private” setting will be applied to the page/post and at the same time, the page/post will also be published.
Password Protected:
You should select this setting if you want to restrict access to the respective page/post even more. This will allow you to add a password to the page/post and make it available only to the people who have/know the respective password.
If you click on this setting, another field will be displayed. Here, you can enter the password you want to protect the page/post with:
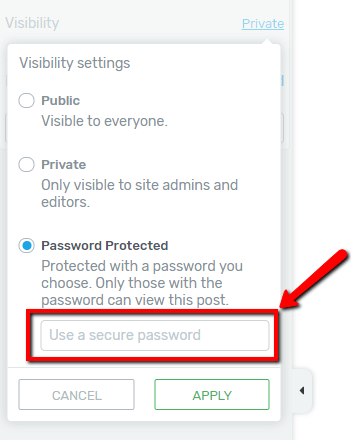
Once you enter the password, click on the “Apply” button to apply it to the page/post.
Note: If your page/post was not published yet, after applying the “Password Protected” setting to it, you will also have to publish it, to make it available for those who have the password.
Whenever you want to change the Visibility setting of a page/post, you can simply access the “Visibility” section again and select another setting from here.
Publish Status
This option is very simple. Here you can see whether your page/post is published or not and you can publish/unpublish it if you want.
There are two possibilities here: your page/post is unpublished (it is still a draft), or it is already published.
Publish an unpublished page/post
If at the “Publish Status” section, your page/post has the “Unpublished” status, then, you can very easily publish it, once you have finished editing it. Just click on the “Publish” button from this section:
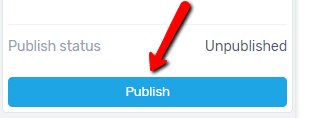
A pop-up window will open, where you will have to confirm that you indeed want to publish the page/post by clicking on the “Yes, publish” button. Once you have done that, the page/post will be published and available, according to the “Visibility” settings that you have defined for it.
Unpublish a page/post
If you have already published your page/post, but for some reason, you would like to unpublish it/make it a draft, then, you will have to use the “Switch to Draft” button, from the “Publish status” section:
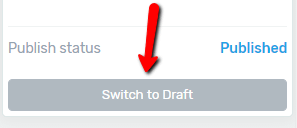
A pop-up window will appear where you will have to confirm that you want to unpublish the page/post by clicking on the “Yes, unpublish” button.
After you have done that, the page will be unpublished and you will be able to publish it again, whenever you want.