Thrive Comments has multiple features which can be accessed through the comments dashboard. If you have just started using the plugin, don’t forget to check out this article first: How to Get Started with Thrive Comments – First Steps.
In order to access the plugin, in your WordPress admin dashboard, go to Thrive Dashboard, and then select Thrive Comments from the sub-menu that opens:

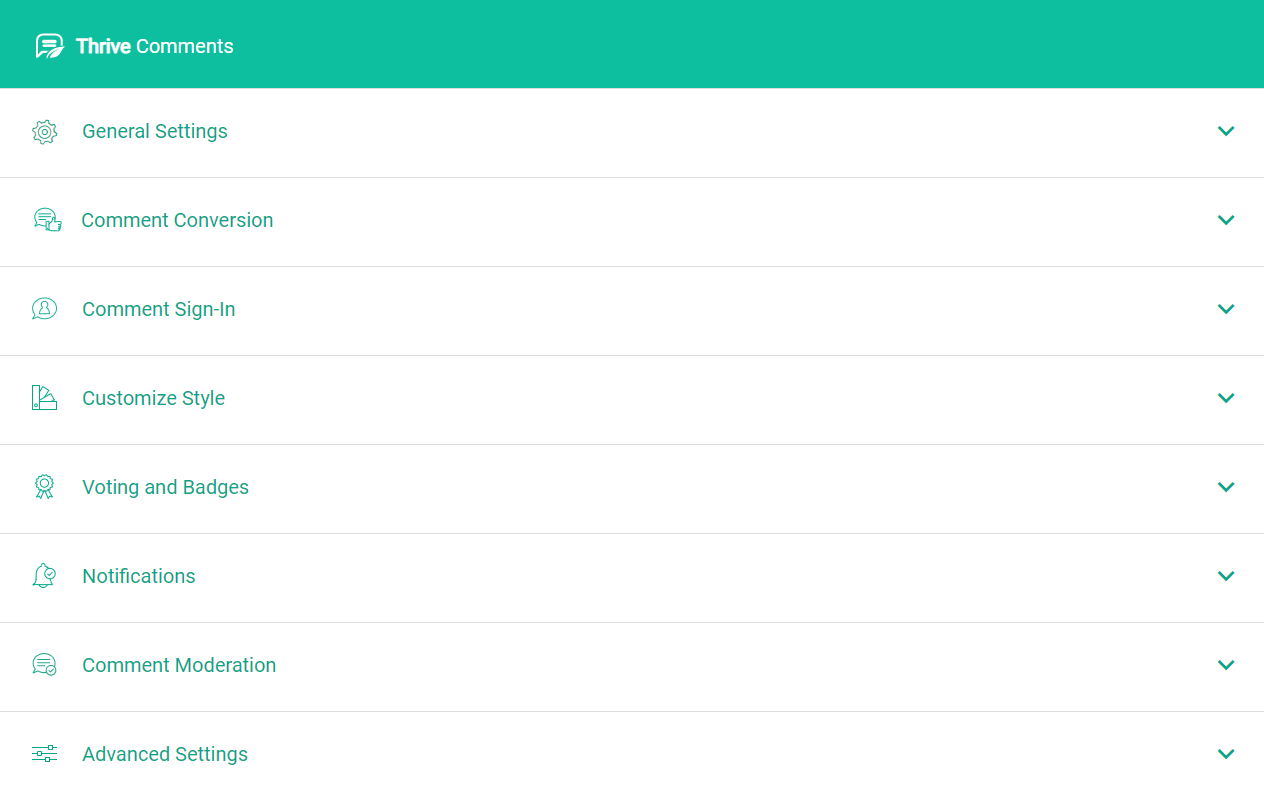
This will take you to the dashboard:

Moving forward, we’ll go into details regarding each section available in the dashboard. However, for each section, you will have a separate in-depth tutorial that you can read, which you can find listed below, next to each corresponding section.
1. General Settings
The “General Settings” is the place where you can access the most basic options for the plugin. Most importantly, as mentioned in this article, you will need to turn on Thrive Comments on your site from this first toggle:

Then, if you use a caching plugin on your website, you must also take into account the following message:

For an in-depth tutorial about each available feature from this section, check out this article: Thrive Comments General Settings – Tutorial.
2. Comment Conversion
This option allows you to determine what happens after a visitor leaves a comment. In this way, you can set up various actions, all in order to give the user a better experience on your site:

Find out what these actions consist of and how they can be set up, in the following tutorial: How to Use the Comment Conversion Feature in Thrive Comments.
3. Comment Sign-In
With the help of this feature, you can allow users to comment on your website using their social media accounts (Facebook, Google). Also, you can allow guests to insert their website URLs when they are submitting a comment:

Read the entire in-depth tutorial for the “Comment Sign-In”, here: How to Use the Comment Sign-In Feature.
4. Customize Style
This feature allows you to make changes to the design of the comments interface. In this way, you can assign avatar images to your visitors, set the type of the comment date, as well as the option to share individual comments:

Here’s the full tutorial on how to do that: How to Customize the Style of the Comments.
5. Voting and Badges
Voting
With this feature, you can add a voting option to your comments. You have 3 voting options:

The users can then choose to vote for a comment. You can determine if only logged-in users can cast their votes or if all visitors can do this.
Check out the entire in-depth tutorial for Comment Voting: How to Enable Comment Voting in Thrive Comments.
Badges
This feature allows you to assign certain badges to users when they reach a milestone (e.g. 10 upvotes received, 20 approved comments, and so on):

You can give a name to the badge you choose to assign, choose an icon, as well as set up how and when will the badge be displayed.
Here as well you can check out this tutorial from our knowledge base if you want to learn more about this feature: How to Award Badges in Thrive Comments.
6. Notifications
Here, you can opt for sending notifications by email, and for that, you also need to set up a 3rd-party system:

Furthermore, you can set up two types of notifications:
The first one called “Customize Comment Notification” gives the user the possibility of receiving a notification when someone is replying to his or her comment.
The second one, “Customize Post Notification” allows the user to receive email notifications whenever a new comment/reply is added to the post to which that user has subscribed.
Read the entire in-depth tutorial for the notifications, here: How to Use the Thrive Comments Notification Feature.
7. Comment Moderation
In this section, you can change the way in which the comments are moderated. You can choose which user roles from your website can moderate comments:

You can also choose if you want your comments to be manually approved at all or if the comment author must have a previously approved comment.
Check out the dedicated article from our knowledge base if you want to learn more about this feature: How to Use the Comment Moderation Feature
8. Advanced Settings
Here, the features are divided into 3 parts, that focus on keywords, labels, and page speed optimization.
Automatically link keywords in moderator replies
This first option allows you to automatically link certain words from the moderator replies to a URL or even a page/post from your site:

Customize & translate labels
This option will open up a pop-up where all the labels (placeholder text, tooltips, etc.) from the front-end interface can be modified:

Page speed optimization
By using this option you will be able to improve the speed of the page/post where comments are displayed:

In this way, you can load the comments only when the user scrolls down on the page until he reaches the actual comment section. This means that the comments will not load when the user opens the page, and the loading speed will be much faster.
Read the entire in-depth tutorial for the “Advanced Settings”, here: How to Set Up the Advanced Settings in Thrive Comments.
9. Reports
This option that is found on the navigation bar will send you to an area separate from the Thrive Comments dashboard:

Here you will be able to see a chart with all the comments that were posted on your website, vote engagements, as well as the most active commenters and popular posts:

Here as well you can read more about this topic in this dedicated article from our knowledge base: How to Use the Reports Area in Thrive Comments.
10. Go to Comments Moderation
The “Comments Moderation” section is separate from the dashboard, as opposed to the features presented above. However, to access it, click on “Go to Comments Moderation” in the top right-hand corner of the dashboard:

This will send you to an entirely new dashboard, on which all of the comments from your website will be displayed:

Along with the comments, you will also have multiple moderation options, for example, you can reply to comments directly from this dashboard; you can also find a certain comment by using the search bar, use filter options for your comments, and so on.
Here’s an entire tutorial about this: How to Find Your Way Around the Comments Moderation Dashboard.
11. Comments Preview
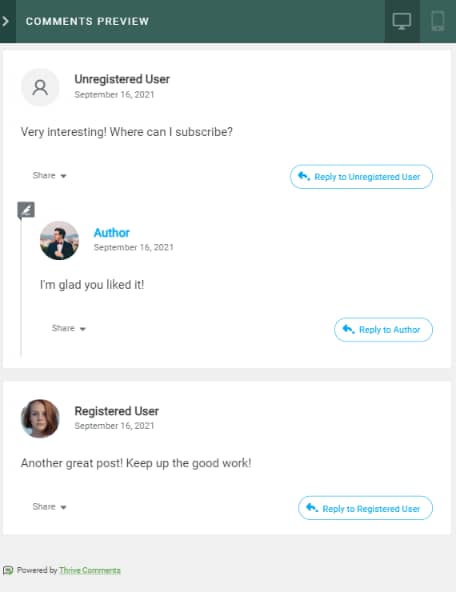
As the name suggests, this is where you will see how the comments look on the front-end. All of the styling changes you make in the dashboard will be reflected here:

This means that, while you are working on the plugin, and you bring some changes to the settings, you won’t have to go back and forth on your blog post to see how the comments look.
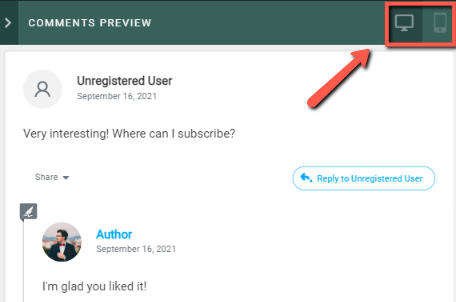
You can also see how your comments look like both on a desktop and on a mobile device:

This would be a short summary of all the features and options available in the Thrive Comments dashboard.