In Thrive Apprentice you can now apply drip schedules to your course content, and make certain lessons available for your students over time, and not all at once. This way, your students can consume material at their own pace.
If you want to make sure that your students are notified when new content is unlocked, then keep on reading this article to find out how to achieve this.
1. Prepare Your Course
First of all, you need to make sure your Thrive Apprentice course is created, published and added to a product:
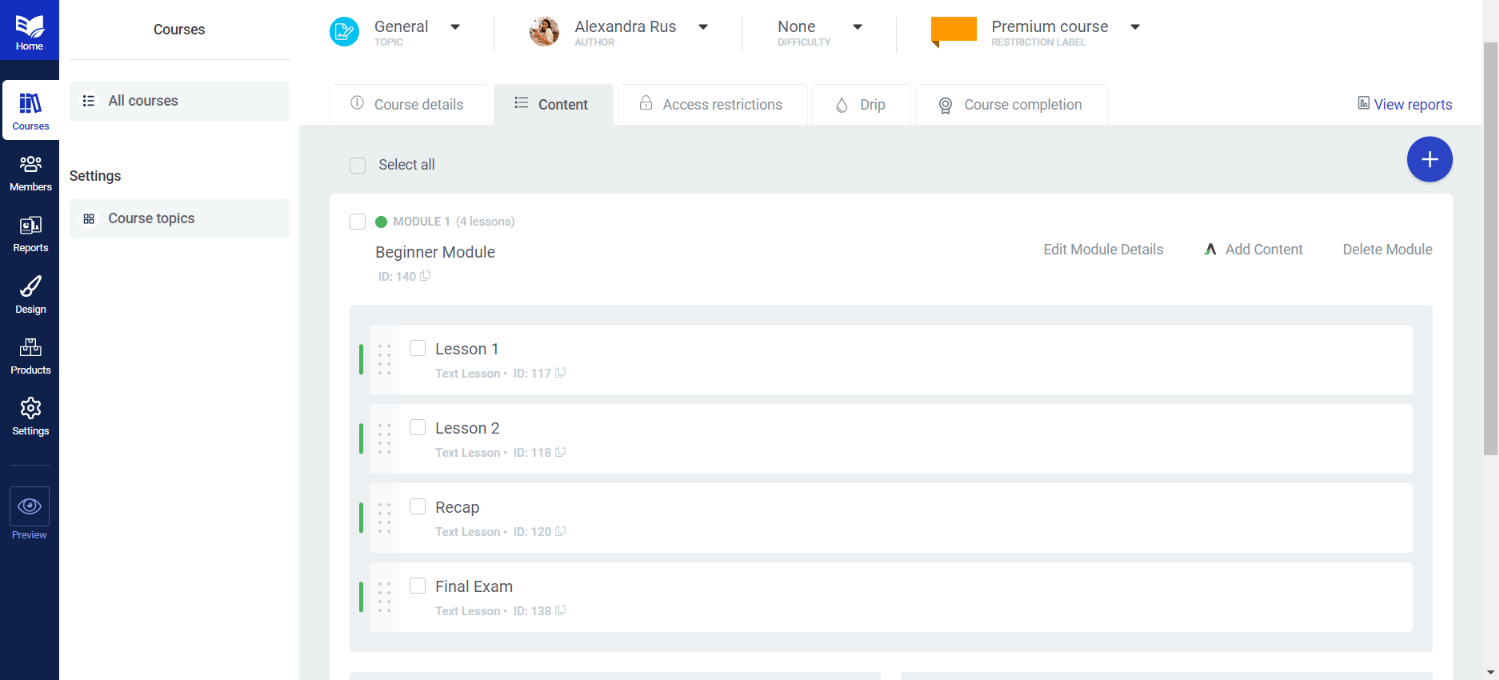
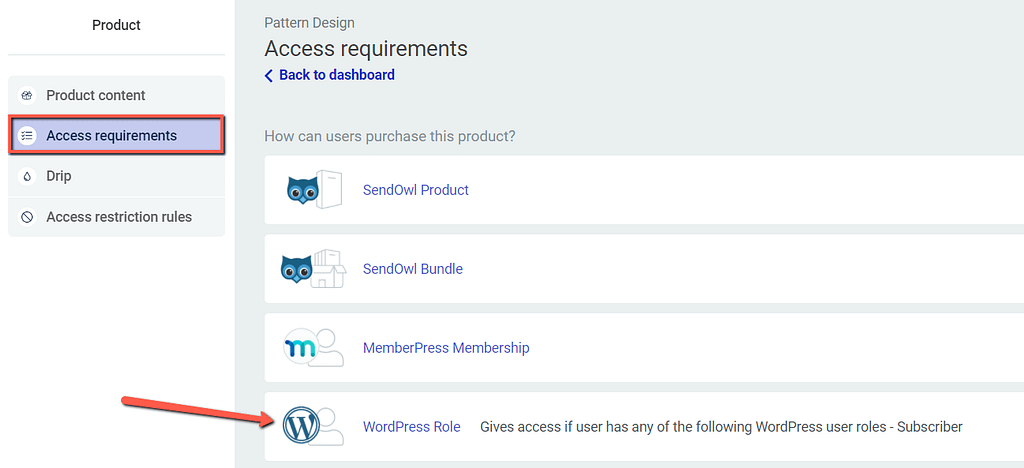
Then, you also need to make sure that you restrict access to it in the Access requirements tab. I’ve only made it available for the users who are registered as subscribers on my website:
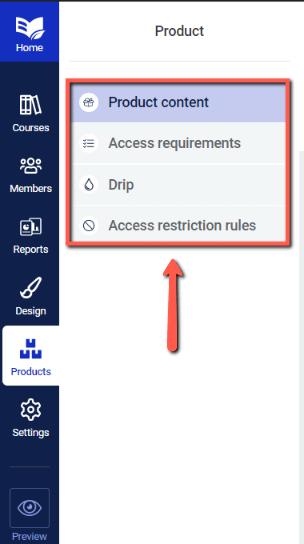
Lastly, apply a drip schedule to it. If you haven’t created one yet, you can jump right back to your course from this dashboard, and create your drip schedule:
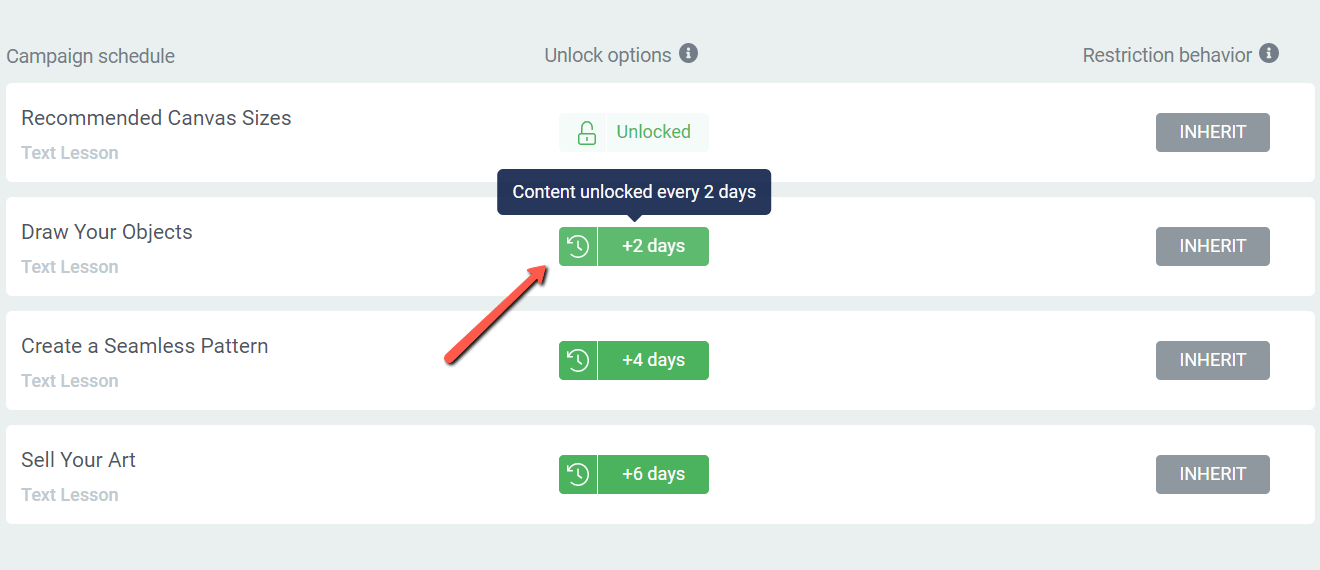
I have a four lessons course, with a drip schedule that will unlock a new lesson every two days:
If you are not sure how to use the Products and Drip tabs when setting up your course, then you should read the steps detailed in these articles:
- How to Use the Products Section of Thrive Apprentice
- Using the Drip Campaign Templates in Thrive Apprentice
With your course ready and published, you can proceed to the next two steps, which are creating the campaign in your autoresponder and lastly, your automation in Thrive Automator.
The main goal is to set up an automation in which a new e-mail gets sent to your students every two days, letting them know that a new lesson has become available to them.
But before you set this up in Thrive Automator, make sure you log into the account of the autoresponder you are planning to use for this automation.
2. Set Up a Campaign in Your Autoresponder
I will be using ActiveCampaign for this example, but you can use the autoresponder of your choice. Keep in mind that the steps might be different for each autoresponder.
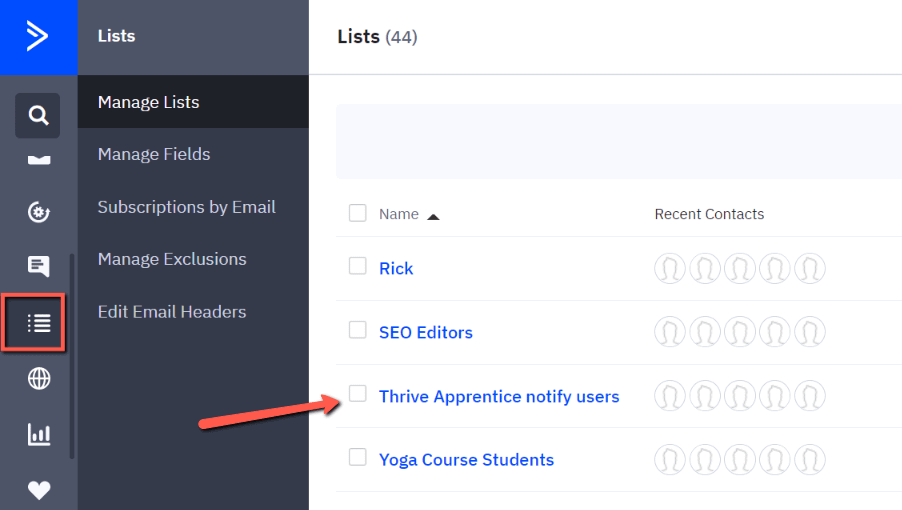
In my ActiveCampaign account, I’ve created a list to which all the students enrolled in this course are added:
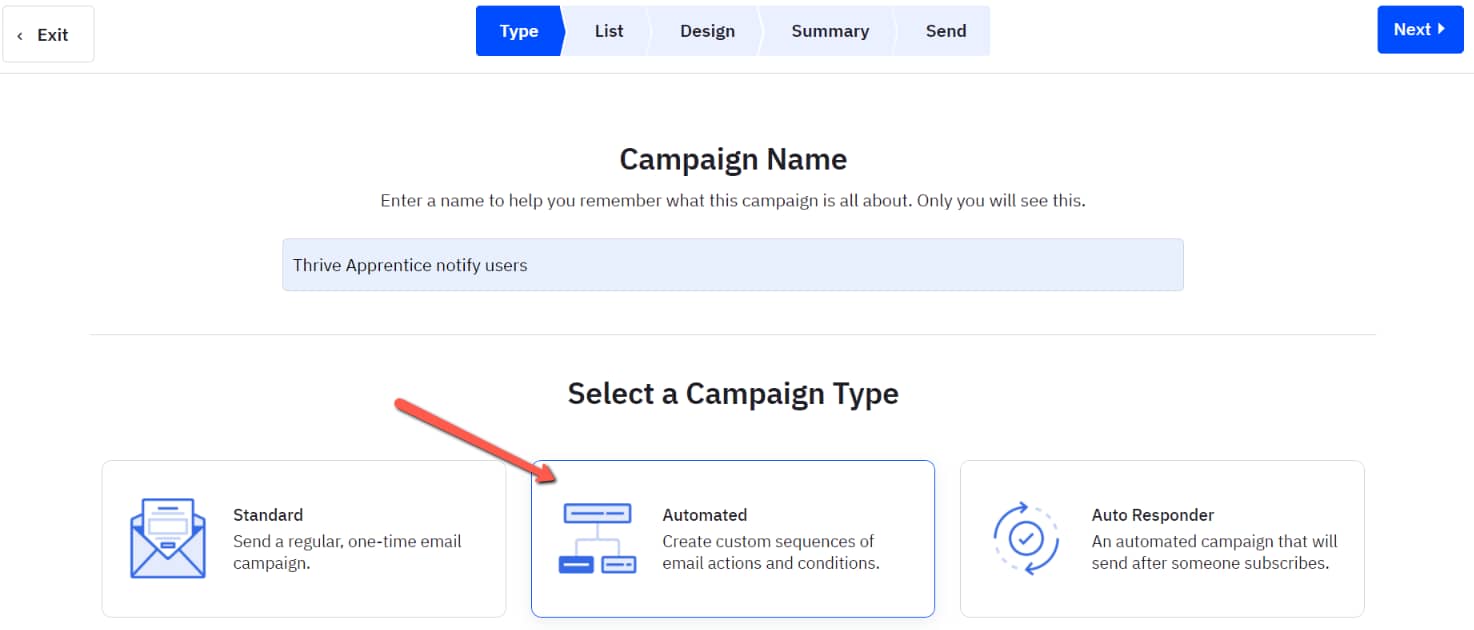
Next, I’m also creating an automated campaign that will run only for this list of contacts:
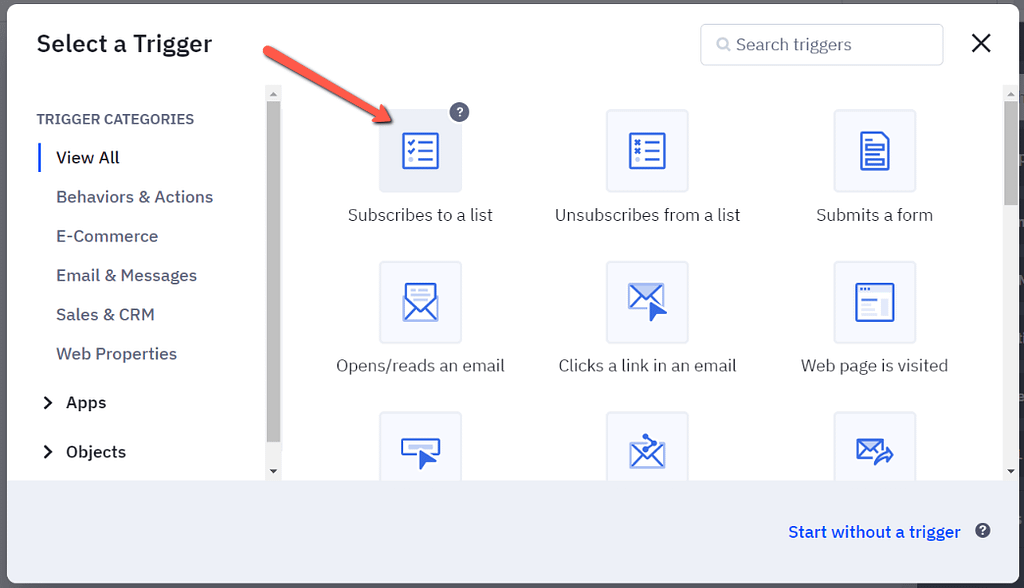
Then select my start trigger:
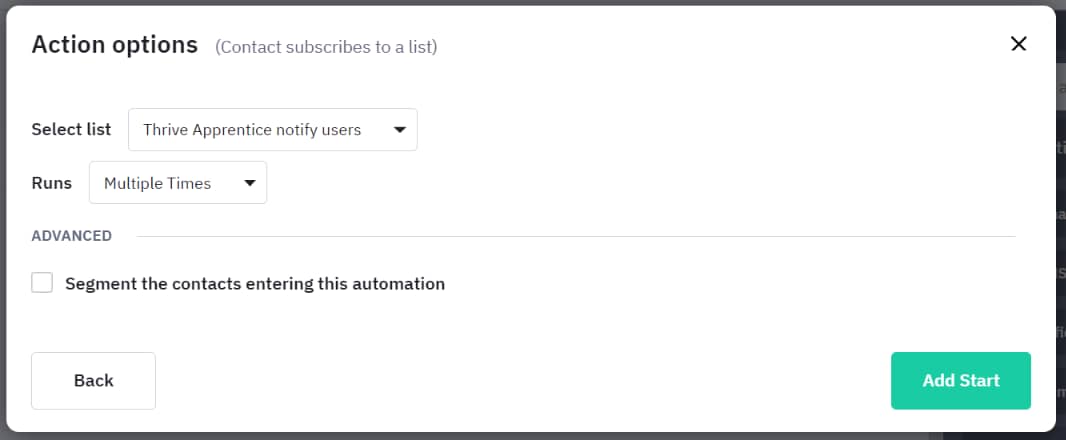
And configure the remaining details in the following lightbox:
I am using a regular e-mail template, set to be delivered to my Thrive Apprentice mailing list, as I’ve set it up in my Active Campaign account.
Next, I went on customizing each e-mail, for every week, so that the students would know what to expect from the next lesson.
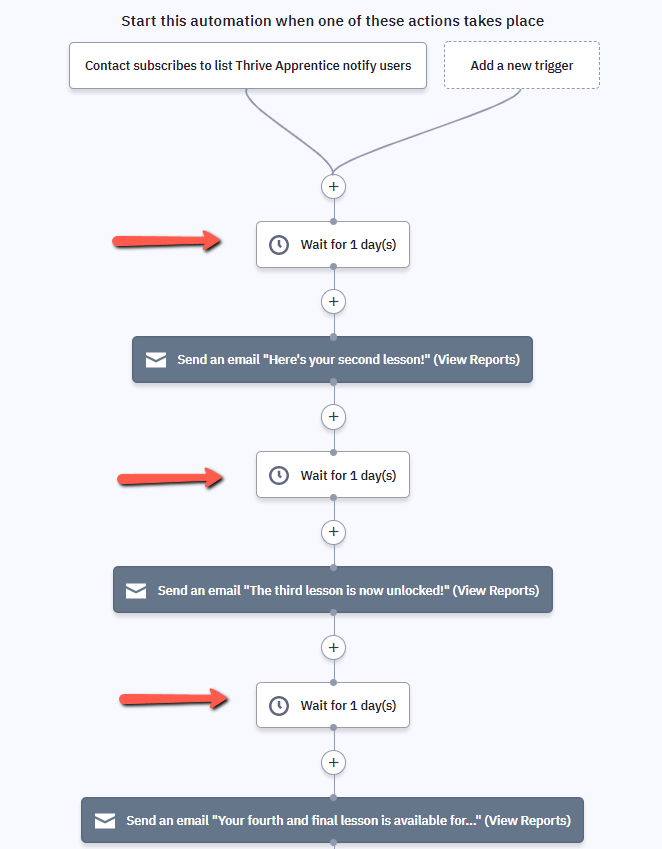
Lastly, I’ve added time delays between each of my e-mails, so that they would be sent every two days as well:
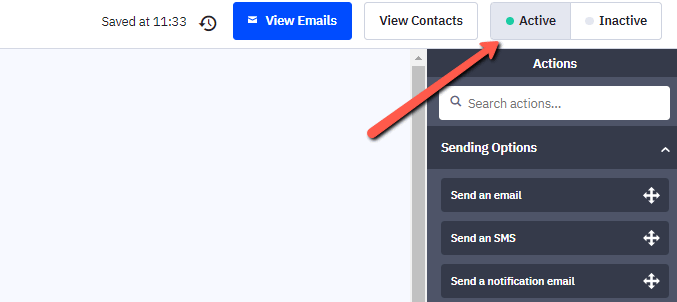
When your campaign is ready, make sure is active (or published, depending on the chosen autoresponders):
Lastly, in order to connect all these together, we will have to create an automation in Thrive Automator.
3. Configure the Automation
Access Thrive Automator and create a new automation:

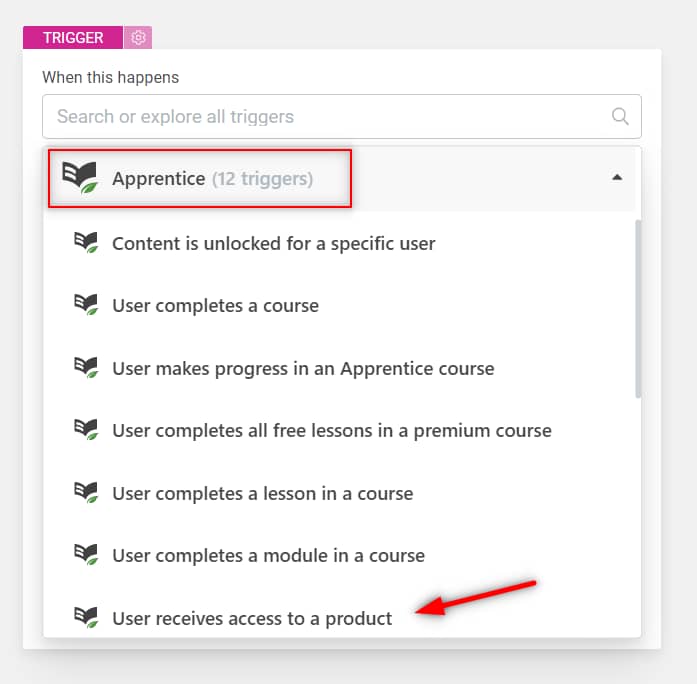
Here, you trigger should be set off when your students receive access to the product:
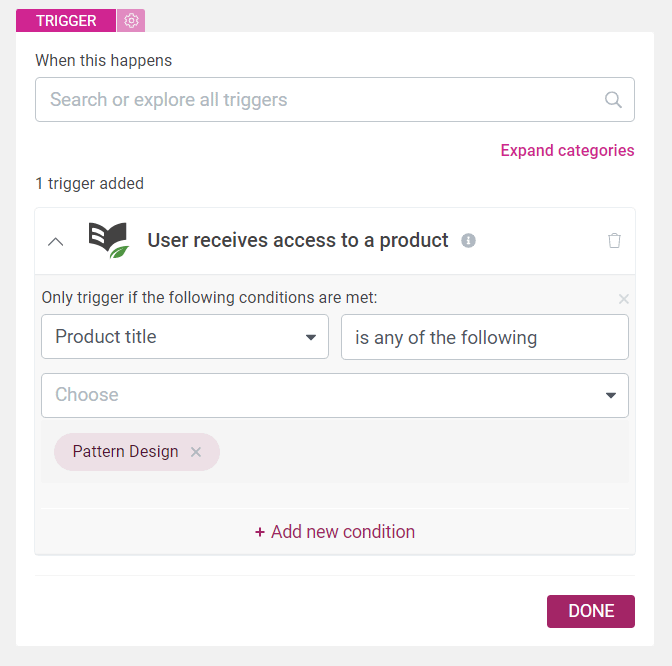
Next, attach a condition to your trigger, so that it will be set off only when the user accesses the right product:
With this set up, you can proceed with the final action, which is adding the user to an autoresponder:

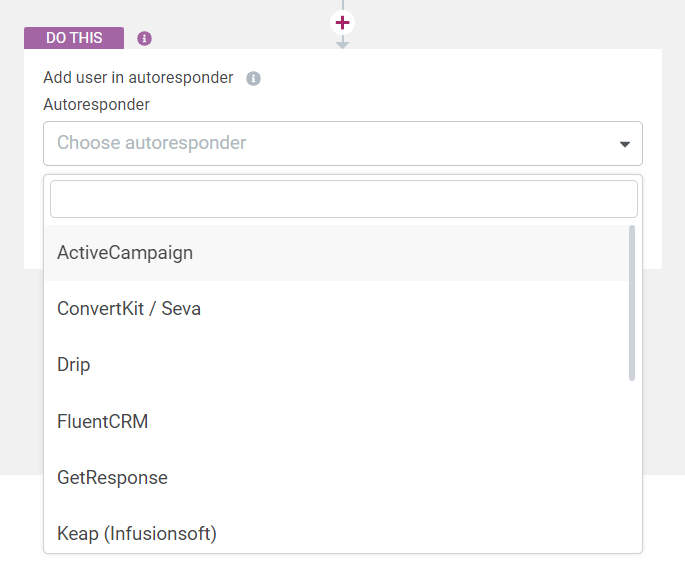
Proceed with selecting your autoresponder:
And finally, the contact list to which the users will be added to:

Lastly, don’t forget to save your automation and activate it whenever you see fit:

And that’s all!
Your students should now get an e-mail from your in their inbox, informing them whenever a new Thrive Apprentice lesson has been unlocked.
Hopefully, this article was useful to you. Don’t hesitate to take a look at this section of our knowledge base in case you want to see more examples of automations created in Thrive Automator.
Or, if you want to learn more about Thrive Apprentice, check out this section.