Do you want to store and manage leads captured using the Lead Generation element or a Thrive Leads form? You can connect them with Drip, so you can store, manage and nurture your leads with customized campaigns.
In this article, we’ll show you how to connect Thrive Themes with Drip, so you can pair it up with the Lead Generation element or Thrive Leads to capture, store, and manage leads.
- Finding the Drip Client ID and API Token
- Adding the Drip API Token to the Thrive Dashboard
- Connecting Drip to a Lead Generation Element
- Connecting Drip to Thrive Leads
Finding the Drip Client ID and API Token
The client ID API token is an authentication code used to identify and verify an account or a user when you want to connect it with another tool.
Therefore, the first thing you’ll need to connect your Drip account to the Thrive Dashboard is the client ID and an API token.
To begin, first log in to your Drip account.
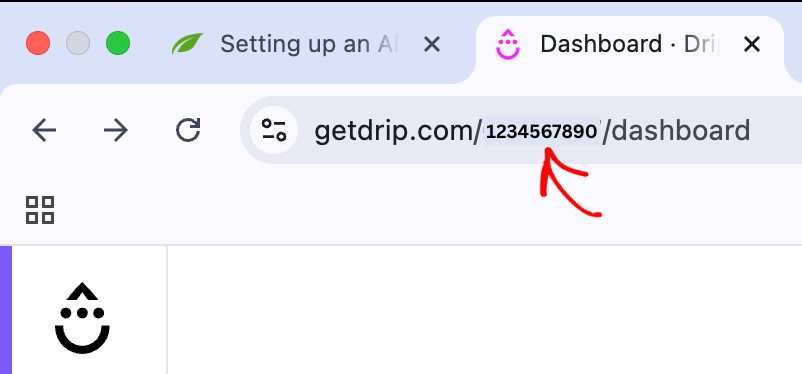
Once logged in, the Drip account client ID is a part of the URL. To get the client ID for your Drip account, see your Drip dashboard URL and copy the number that you see placed in between.
This number is your client ID.
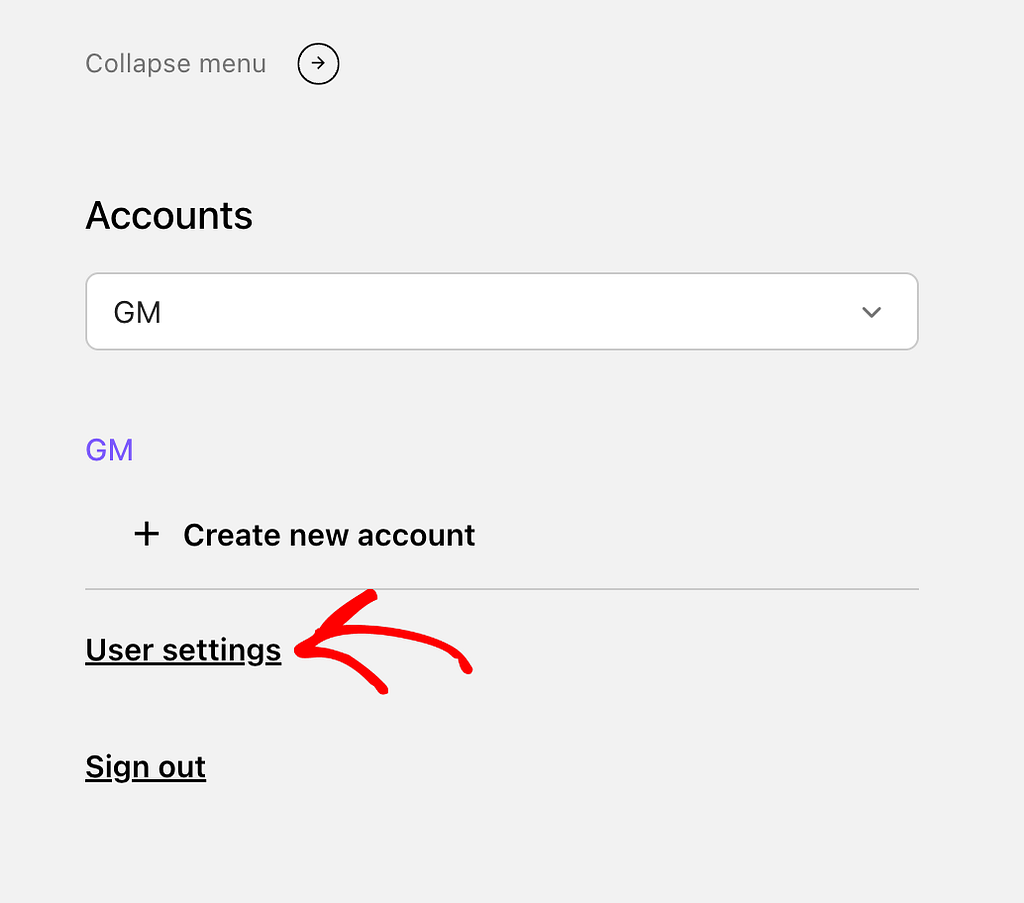
To obtain the Drip account API token, start by clicking the profile avatar in the top right corner of the Drip account dashboard.

Clicking the profile avatar will open a panel from the right. In the panel, click User Settings.
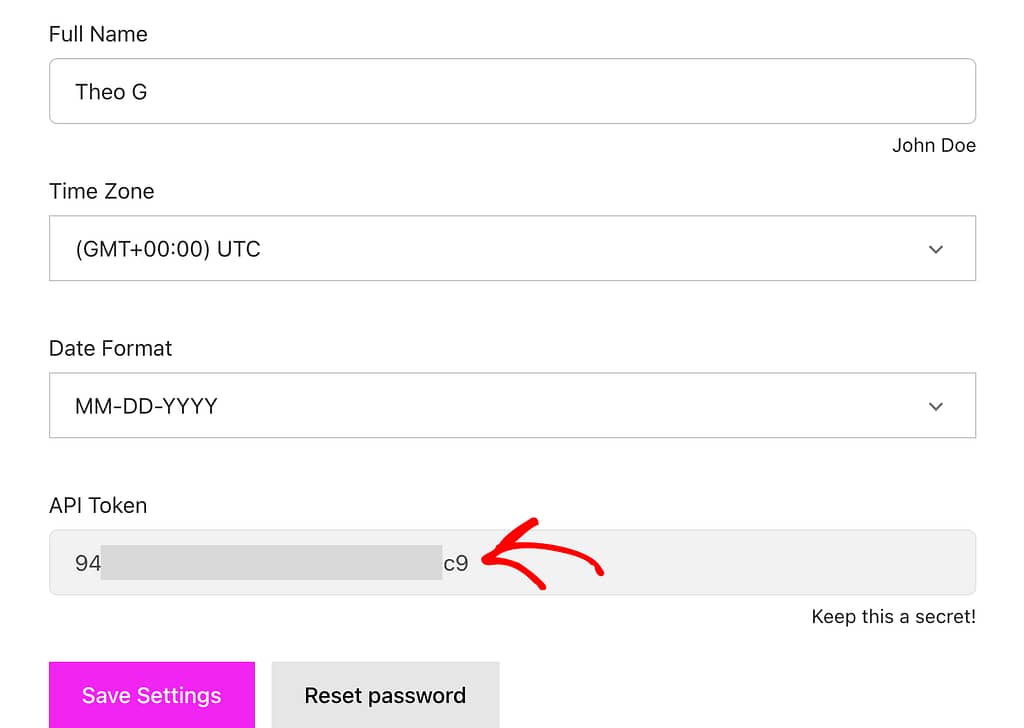
When you click User settings, this will open a page with User Info. This page lets you edit your information in the Drip account and view the API token associated with it.
To copy the API token, select the token and copy it for future use.
Adding the Drip API Token to the Thrive Dashboard
To proceed with the API connection between Drip and the Thrive Dashboard, it is important to enter the Drip client ID and the API token.
To begin, open your WordPress admin area, navigate to Thrive Dashboard >> Thrive Dashboard, scroll down to API Connections, and click on Manage Connections.

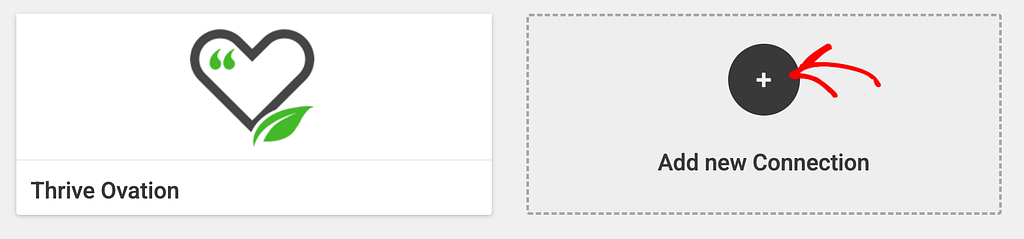
Clicking on Manage Connections will take you to the Active Connections page. On this page, scroll to the Add New Connection block and click on it.
When you click to add a new connection, you’ll see a dropdown where you can select the app, Drip, that you want to connect to.
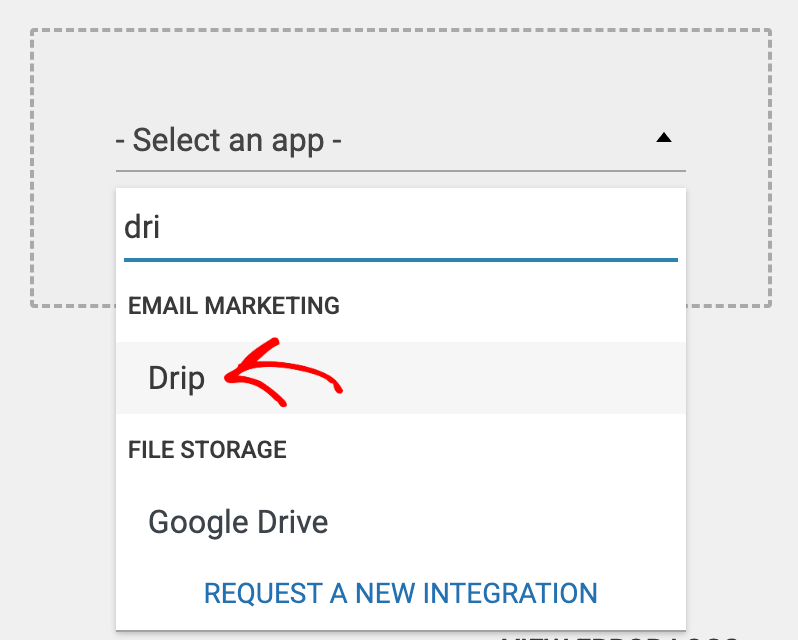
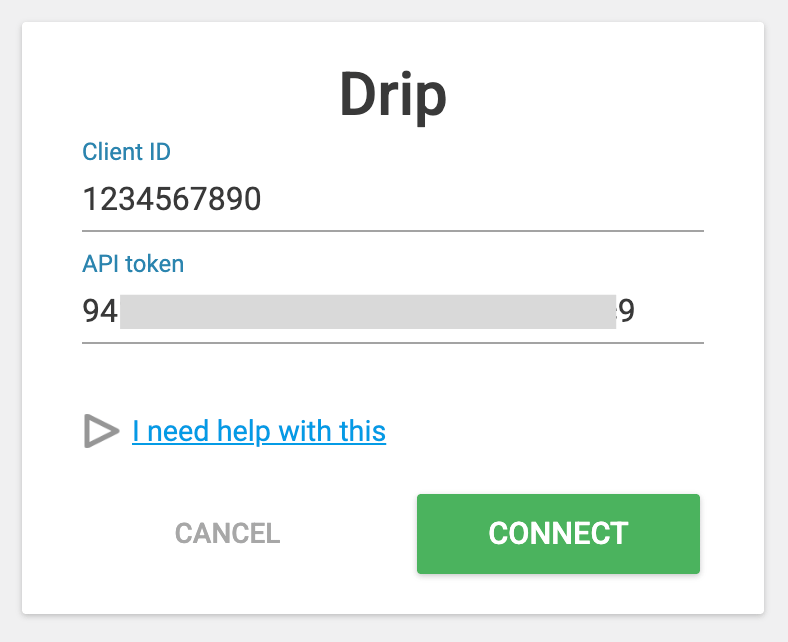
Selecting Drip will ask you to enter the Client ID and an API token. To proceed, enter the client ID and the API token, and click Connect.
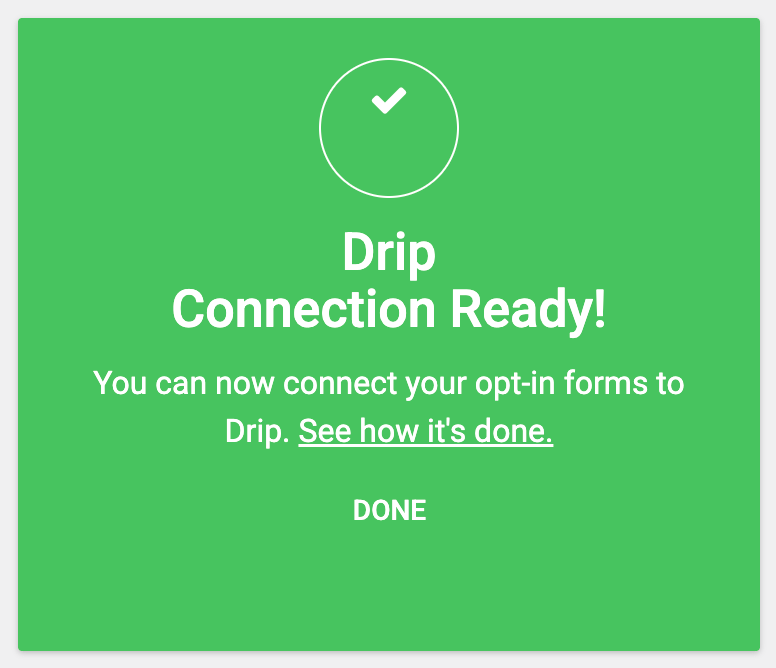
After clicking Connect, you’ll see a success message saying that Drip is now connected.
Connecting Drip to a Lead Generation Element
After you’ve established a connection between Drip and the Thrive Dashboard, you can proceed to add the connection to a Lead Generation element you’ve used or plan to use.
Before we build a connection, please make sure you’ve added the Lead Generation element on a page or post using Thrive Architect. You can read our document to know more about the Lead Generation element.
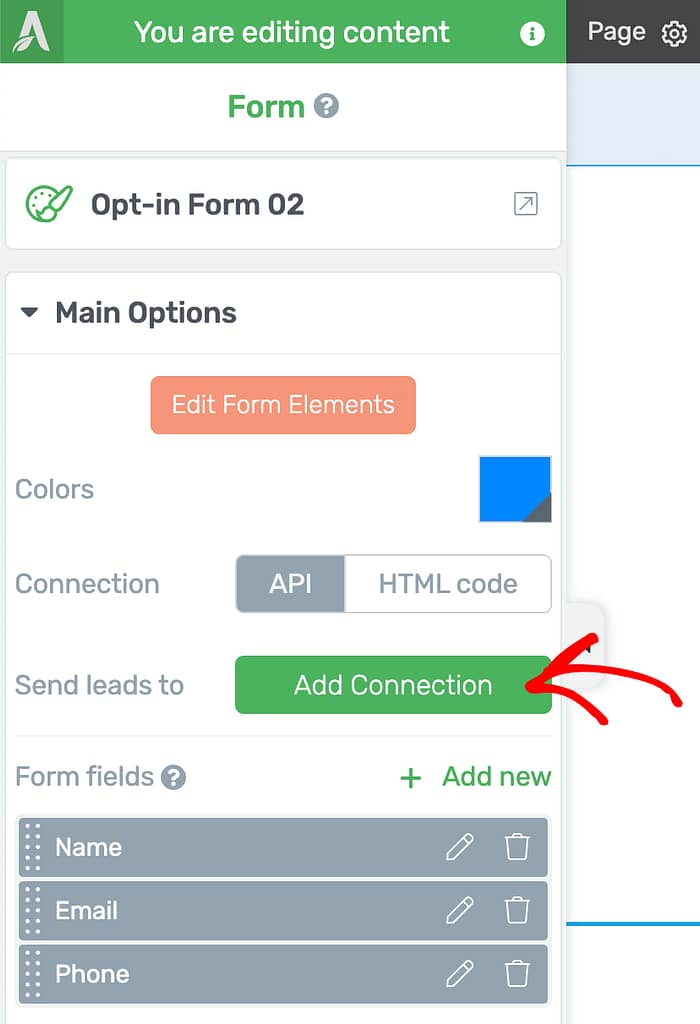
Once you are ready with a post or page with the Lead Generation element on it, click on the element to see its options open in the left sidebar.
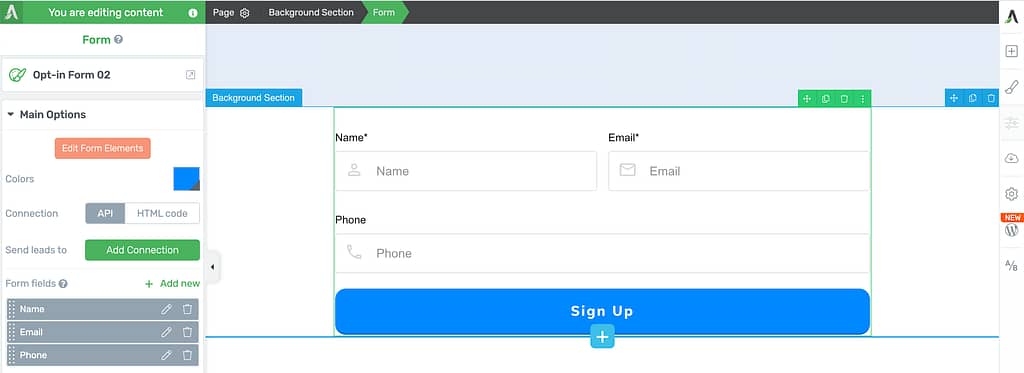
In the Lead Generation options seen in the left sidebar, open Main Options and click on the Add Connection button. This will help you determine the application to which you’d like to send the leads.
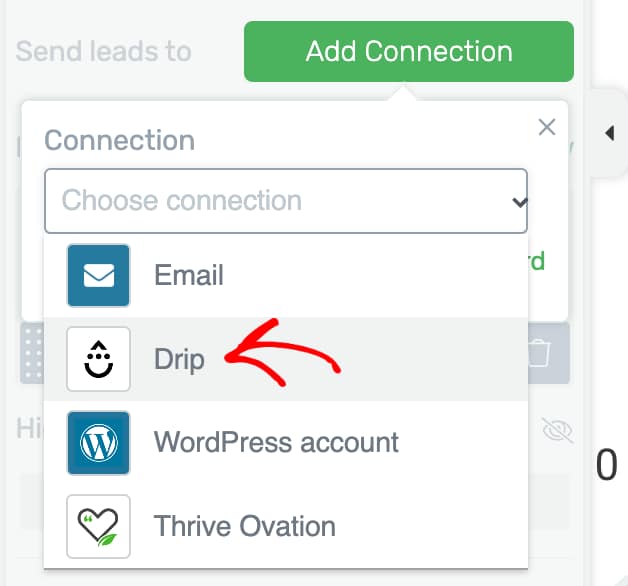
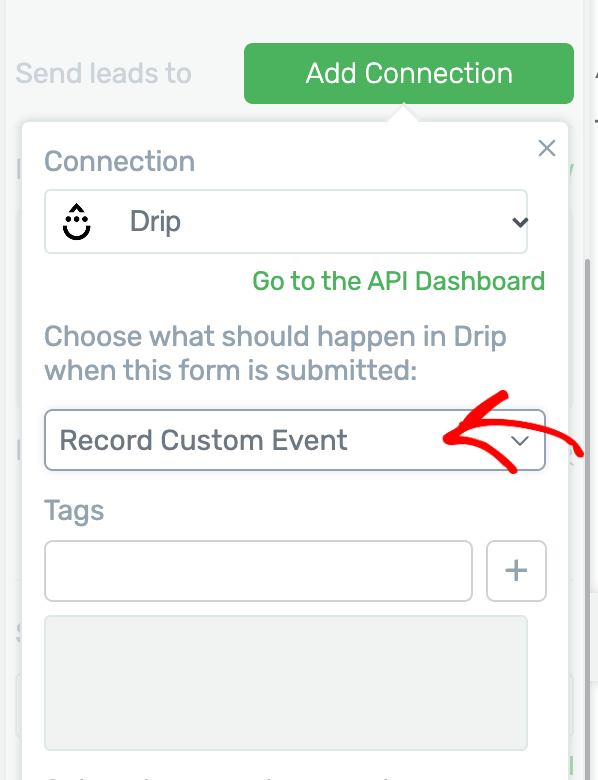
After clicking on Add Connection, you’ll see a dropdown where you select the connection you want to add. In this dropdown, select Drip.
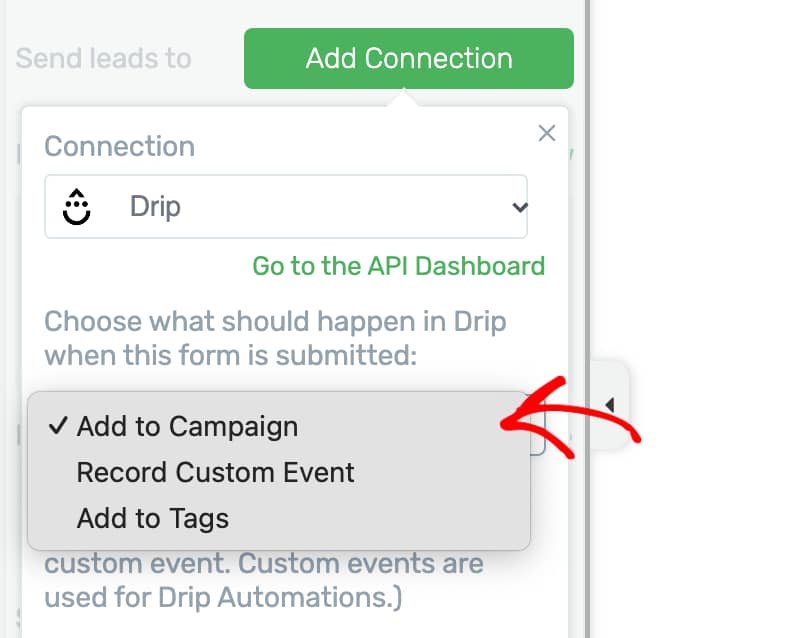
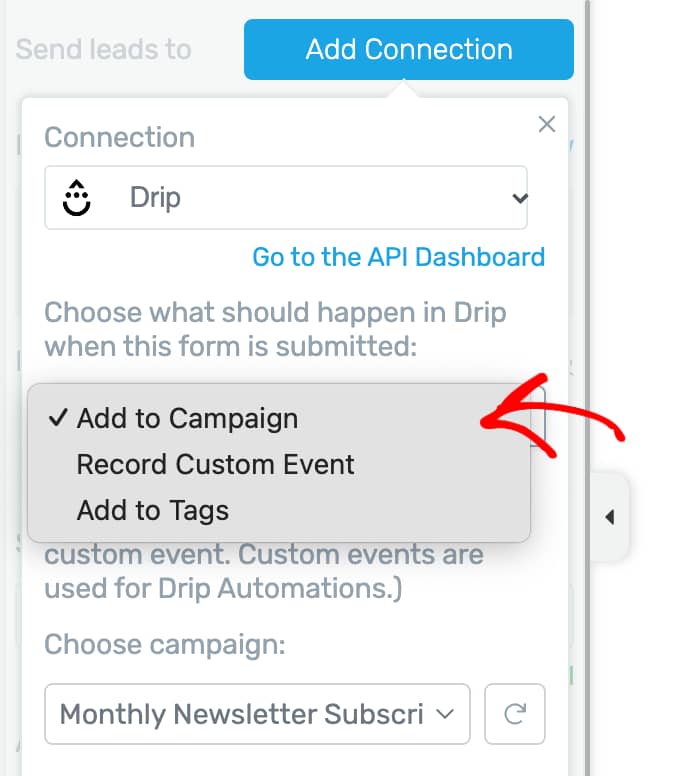
After selecting Drip, select what should happen after a successful form submission. You can select one of the options listed below.
- Add it to a campaign
- Record a custom event
- Add to Tags
Adding the collected data to a campaign
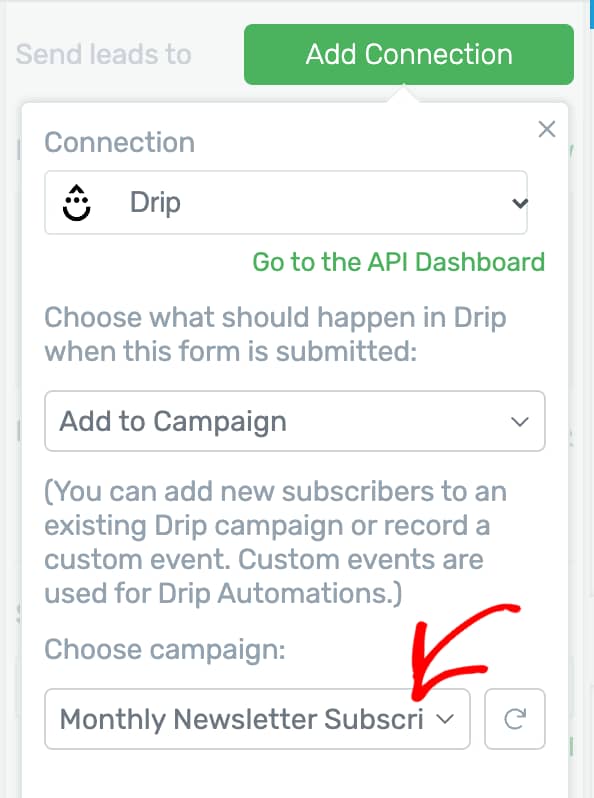
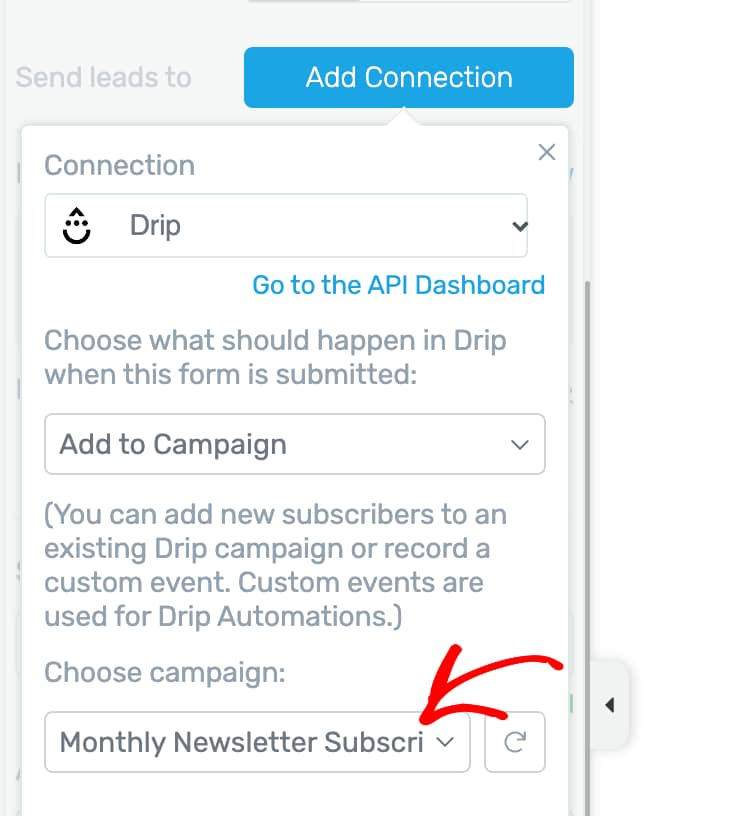
When you select Add to Campaign under the dropdown meant to decide what happens, the data you collect through a form will be added to a campaign in your Drip account.
Note: Please ensure you’ve created a campaign in your Drip account.
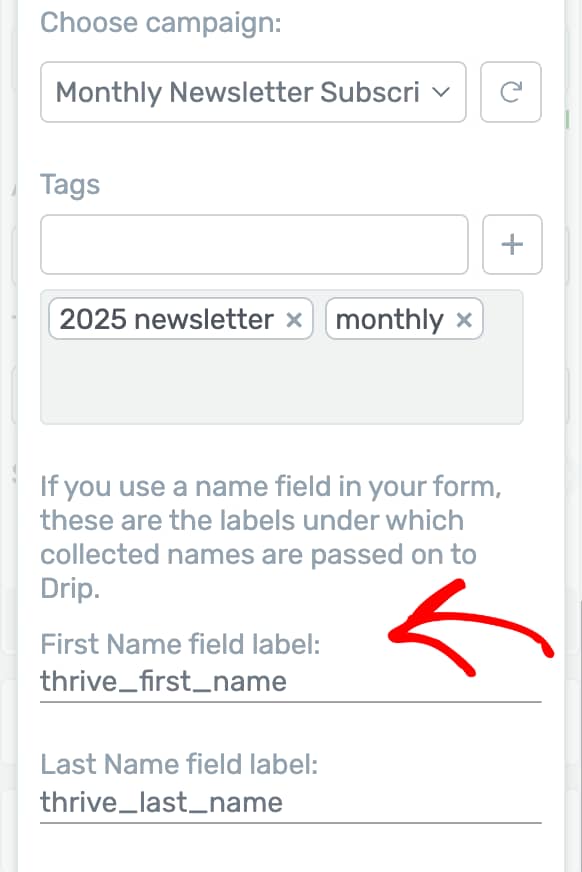
Once you decide to add the data to a campaign, in the next dropdown, select the campaign you want to use for this form.
After selecting the campaign, the next field lets you add tags to the lead data collected through this form. You can add multiple tags in the given field.

When you finish adding tags, you’ll see the labels under which the name field values will be sent.
Finally, you get to decide whether you want this to be a single opt-in or a double opt-in. To do so, click on the dropdown and select the type of opt-in you want to apply to this form.
To know the difference between single and double opt-in please refer to our document here.

Once you are done with all of this, click Apply.
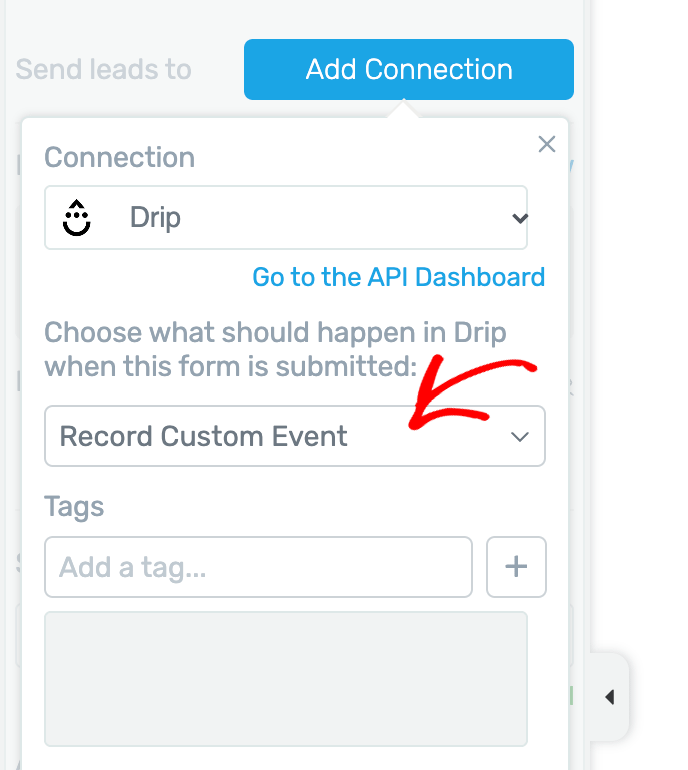
Recording a custom event
If you are adding custom fields to the form, you have to select to record a custom event.
You can read more about adding Custom Events in Drip in a document here.
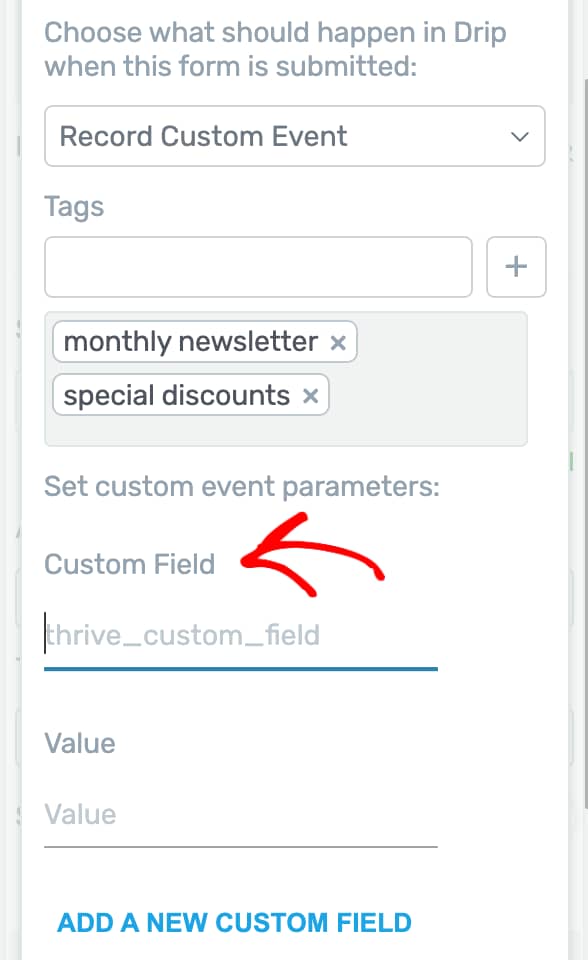
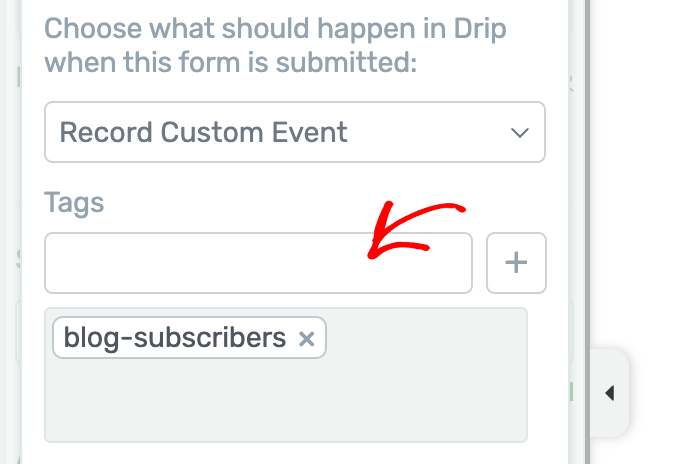
After you set it to record a custom event, the next step is to add the tags. So, if you want to tag the entries coming through this form, you can add as many tags as you want here.

After you decide on the tags, the next step is to set custom parameters like custom fields and their values. You also get an option to add as many custom fields as you want.
Once you are done with all of this, click Apply.
Adding to Tags
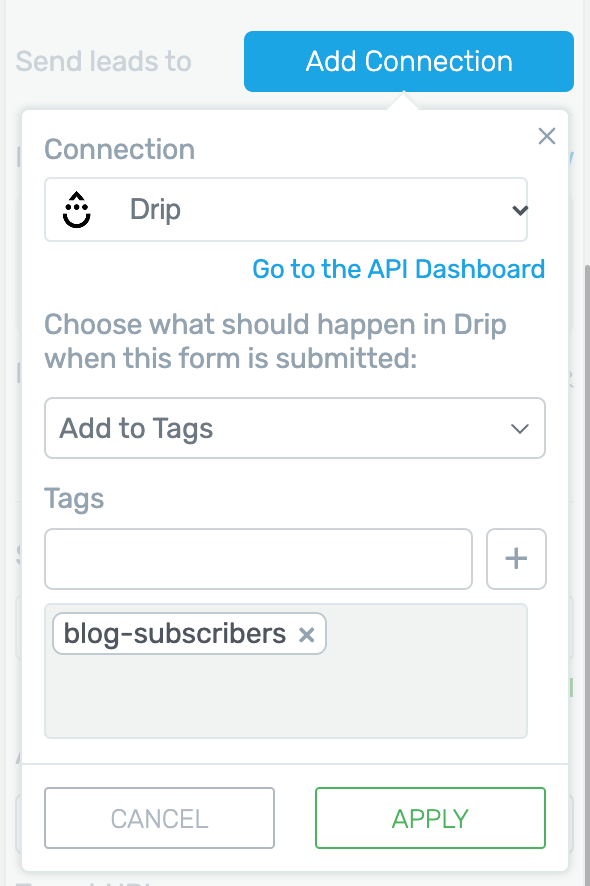
If you want to add the lead data from the form to tags in your Drip account, select Add to Tags in the dropdown to decide what happens on successful submission.
When you select Add to tags, add the tags you want to add the entries to in the field below.
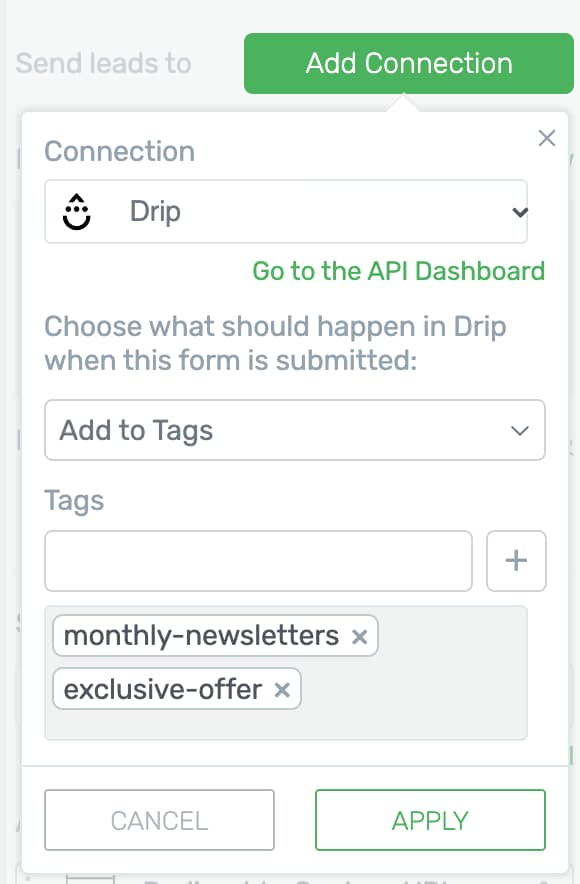
Once you are done with all of this, click Apply.
Connecting Drip to Thrive Leads
To be able to connect Drip with Thrive Leads, you need to make sure you have a form created using Thrive Leads.
You can refer to our detailed documentation on how to create a form using Thrive Leads.
To be able to connect Drip with a Thrive Leads form, begin by opening your WordPress admin area, navigating to Thrive Dashboard >> Thrive Leads, and click on a Lead Group that contains the form you want to edit.
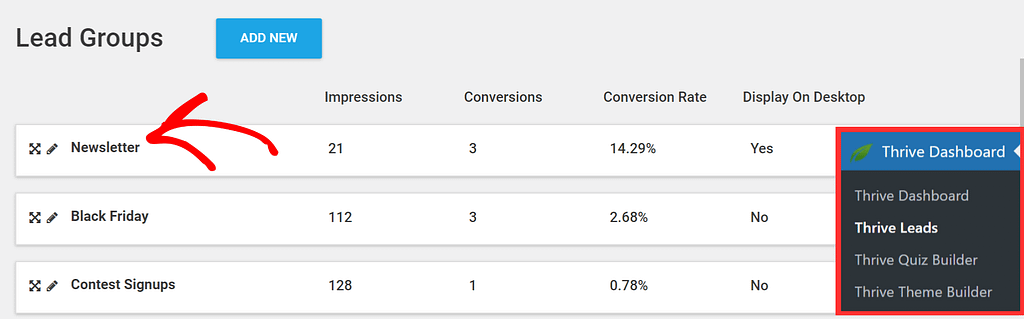
When you click on a Lead Group, it’ll display the form types created under it. To connect a specific form type, click on the “Pen” or Edit icon seen on the right side of the form name.
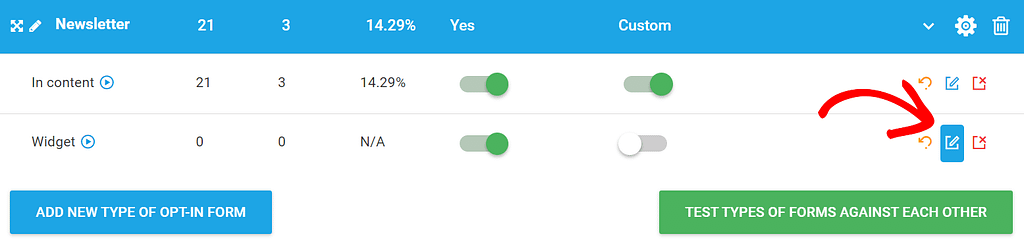
When you choose to edit the form type, it’ll take you to a page where you’ll see the form/forms created under this form type.
On this page, click on the pen or edit icon seen on the right side of the form name.

When you click to edit the form, it’ll take you to the editor where you can modify the form elements.
In the editor, click on the form and see its options in the left sidebar.
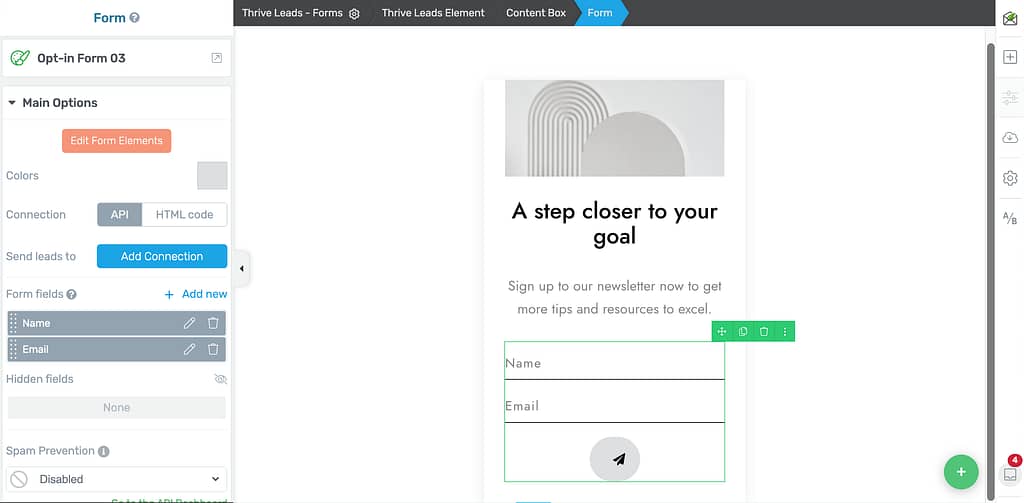
In the left sidebar, open Main Options, and click on the Add Connection button so you can send your leads to a list you select.
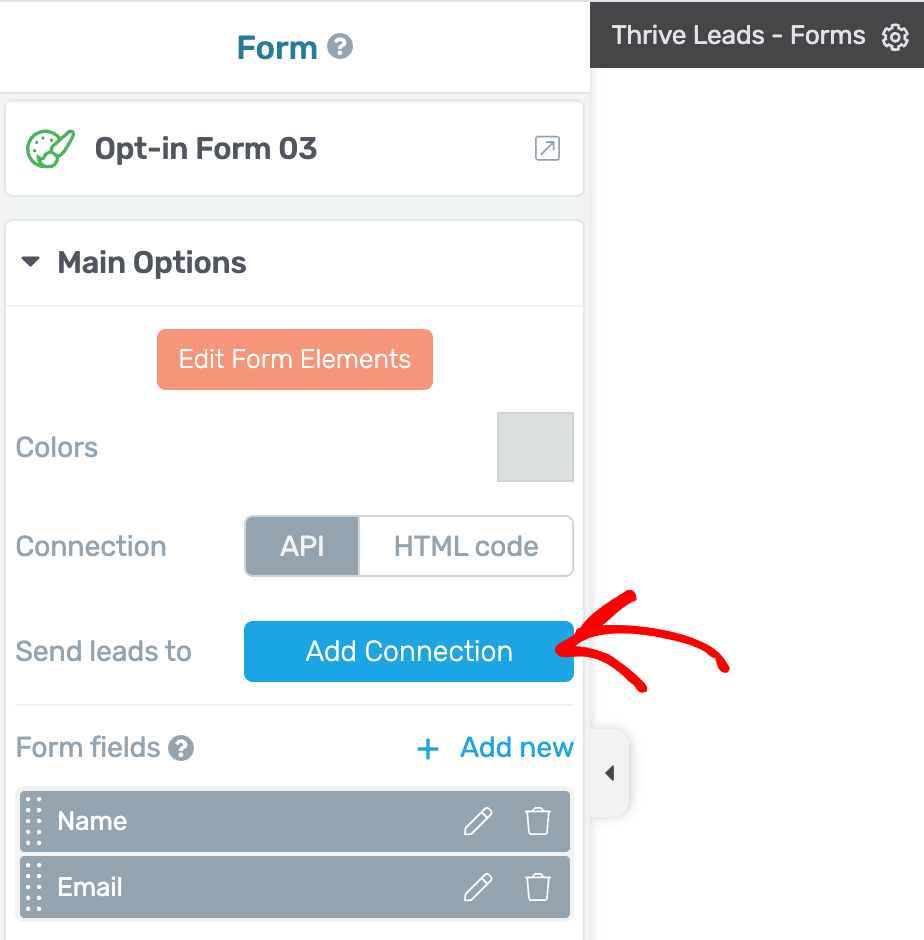
Clicking on Add Connection will show a dropdown. Click on this dropdown and select Drip to establish the connection.

After selecting Drip, select what should happen after a successful form submission. You can select one of the options listed below.
- Add it to a campaign
- Record a custom event
- Add to Tags
Adding the collected data to a campaign
When you select Add to Campaign under the dropdown meant to decide what happens, the data you collect through a form will be added to a campaign in your Drip account.
Note: Please ensure you’ve created a campaign in your Drip account.
Once you decide to add the data to a campaign, in the next dropdown, select the campaign you want to use for this form.
After selecting the campaign, the next field lets you add tags to the lead data collected through this form. You can add multiple tags in the given field.
When you finish adding tags, you’ll see the labels under which the name field values will be sent.
Finally, you get to decide whether you want this to be a single opt-in or a double opt-in. To do so, click on the dropdown and select the type of opt-in you want to apply to this form.
To know the difference between single and double opt-in please refer to our document here.
Once you are done with all of this, click Apply.
Recording a custom event
If you are adding custom fields to the form, you have to select to record a custom event.
You can read more about adding Custom Events in Drip in a document here.
After you set it to record a custom event, the next step is to add the tags. So, if you want to tag the entries coming through this form, you can add as many tags as you want here.
After you decide on the tags, the next step is to set custom parameters like custom fields and their values. You also get an option to add as many custom fields as you want.
Once you are done with all of this, click Apply.
Adding to Tags
If you want to add the lead data from the form to tags in your Drip account, select Add to Tags in the dropdown to decide what happens on successful submission.
When you select Add to tags, add the tags you want to add the entries to in the field below.
Once you are done with all of this, click Apply.
We’ve just seen how you can establish an API connection between Thrive Dashboard and Drip and use it in a lead generation element and a Thrive Leads form on your website.
You can also take a look at the video demonstrating the process.
Next, if you want to trigger Thrive Lead forms based on where a user comes from, read more about SmartLinks in Thrive Leads.