Zapier is an online tool to you want to connect various apps and services to automate your work and thus save time and effort? You can do this by connecting Thrive Themes with Zapier.
In this article, we’ll see how you can connect Thrive Themes with Zapier.
- Obtaining the API Key and Blog URL
- Creating a Zap and Connecting it to the Thrive Themes Account
- Setting up the Integration of Your Choice
- Finishing and Publishing the Zap
- How to Use the Zapier Connection
Obtaining the API Key and Blog URL
API, or Application Programming Interface Key, is an authentication code used to identify and verify an account or a user when connecting it with another tool. You will also need the Blog URL to integrate Thrive Themes with Zapier.
To obtain the API Key and Blog URL, open your WordPress admin area, navigate to Thrive Dashboard >> Thrive Dashboard, and click Manage Connections in the API Connections block.

Clicking on Manage Connections will take you to the Active Connections page. On this page, scroll to the Add New Connection block and click on it.
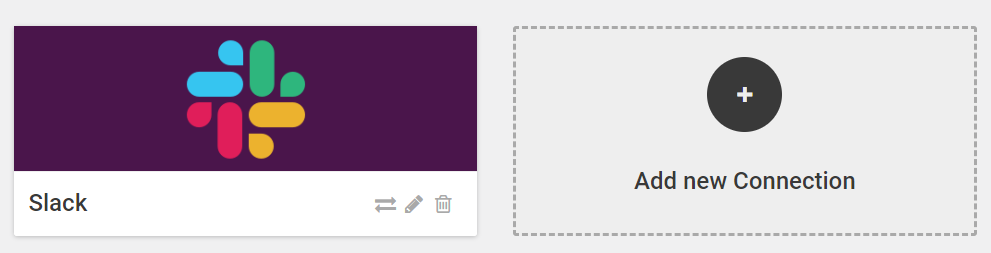
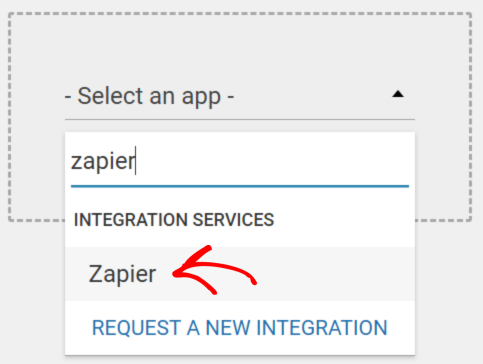
When you click to add a new connection, you’ll see a dropdown menu where you can select the app Zapier to which you want to connect.
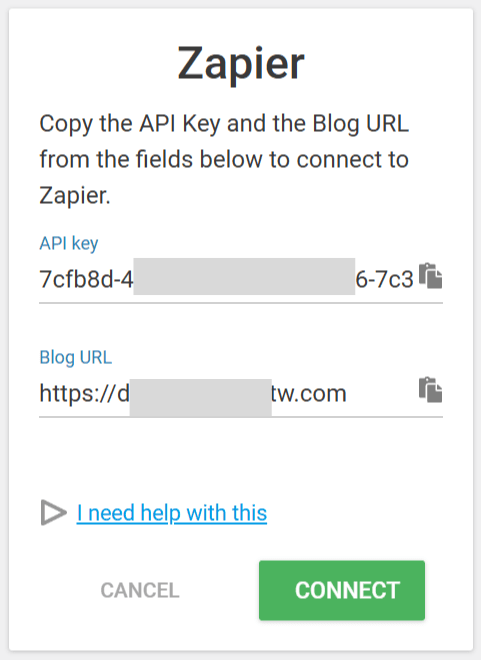
Immediately after selecting Zapier, you’ll see a box with the API Key and the Blog URL. To proceed, copy and save this API Key and the Blog URL and click Connect.
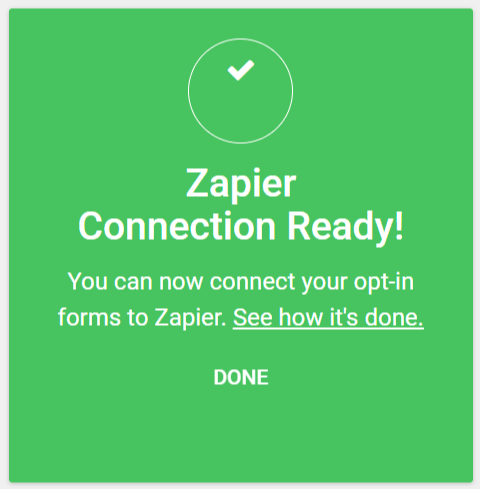
After clicking Connect, you’ll see a box with the success message.
Creating a Zap and Connecting it to the Thrive Themes Account
Zaps are automated workflows that you can create in Zapier.
We’ll start creating a Zap in your Zapier account to proceed with the integration.
To create a Zap, log into your Zapier account, in the dashboard, click Create in the left column, and then Zaps.

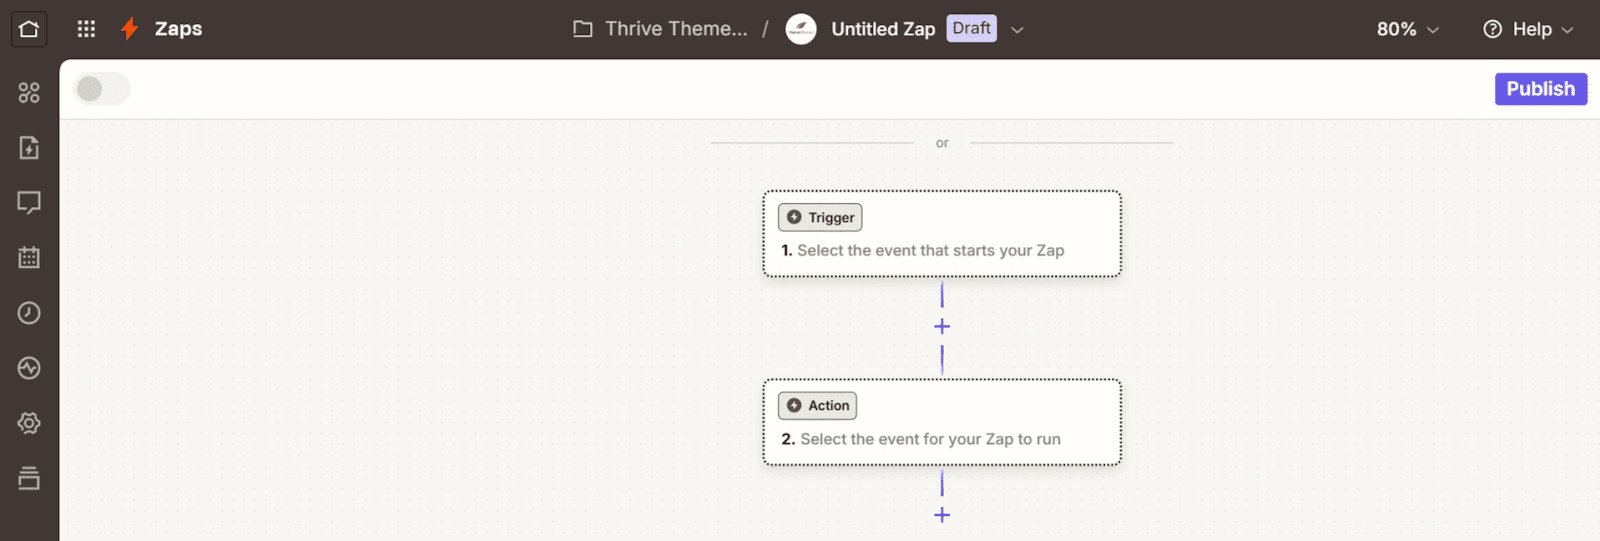
When you click to create a Zap, you’ll be taken to a page with a workflow for you to edit the trigger and action in the Zap.
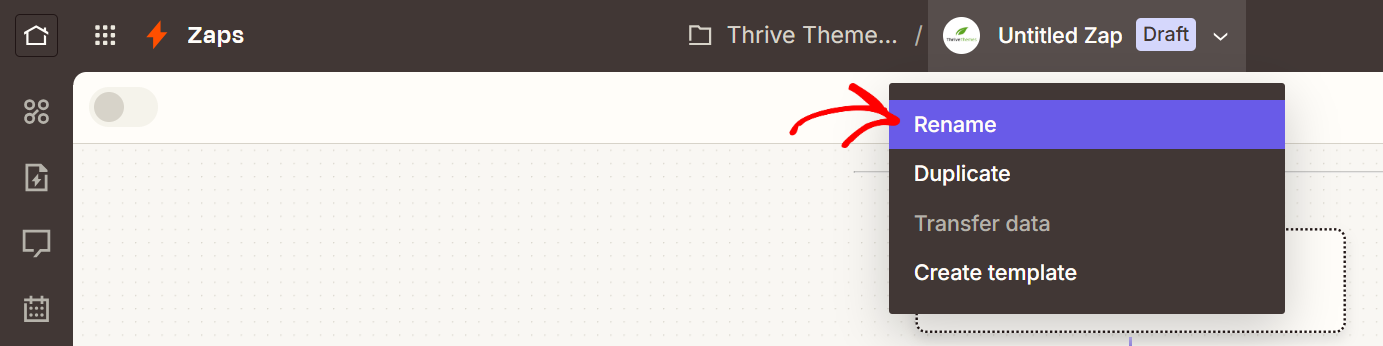
Tip: To ensure you can identify the Zap in the future, please rename the Zap by clicking Untitled Zap seen in the top bar and click Rename.
After you’ve renamed the Zap, click the Trigger box to edit.
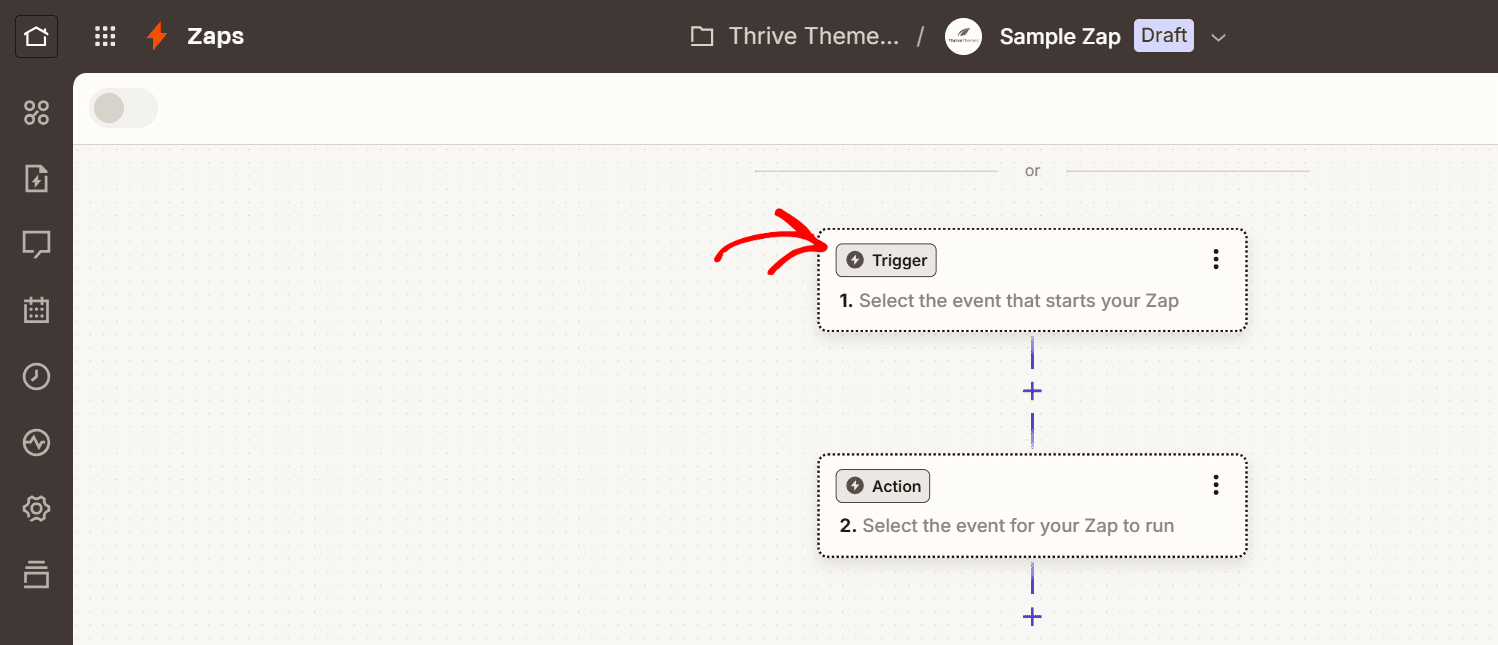
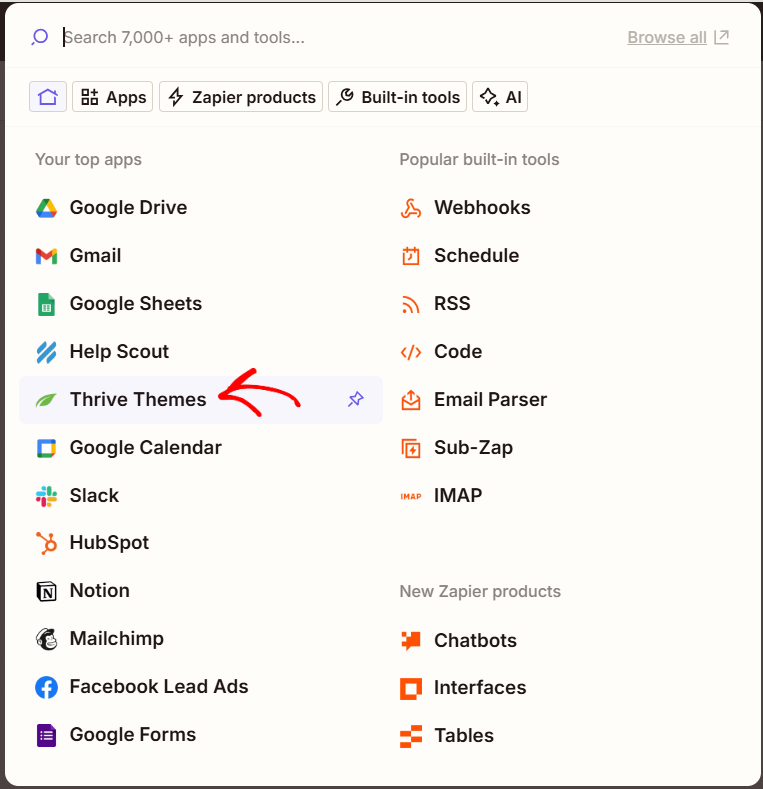
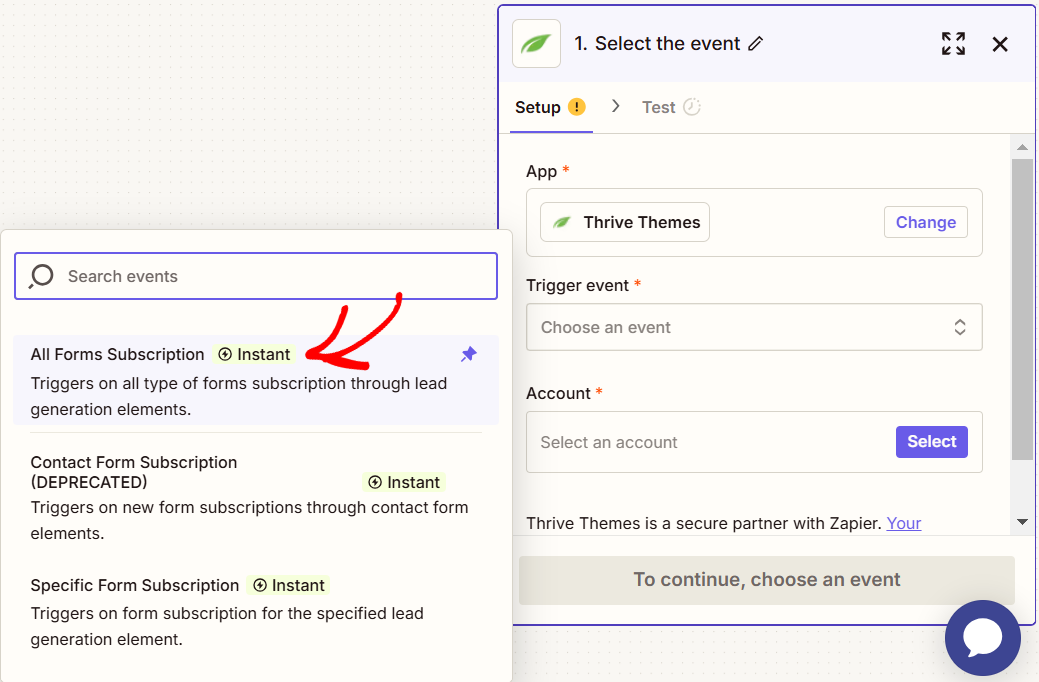
When you click the Trigger box, you’ll see a popup where you can select the App – Thrive Themes.
After you select the App, you can select the Trigger event you want to associate with this app. In this dropdown, select “All Form Subscription.”
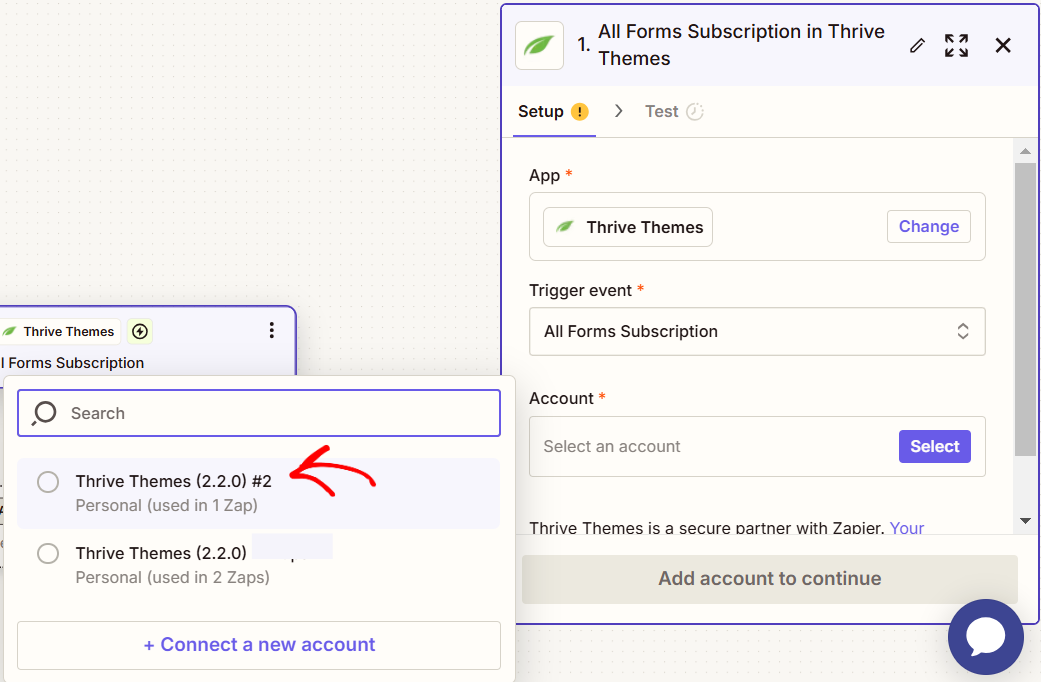
When you select the event, select the Zapier account with which you want to associate it. If you don’t have any accounts created or want a dedicated account for this connection, click the Connect a New Account button.
After you select the Trigger event and an account, click Continue.
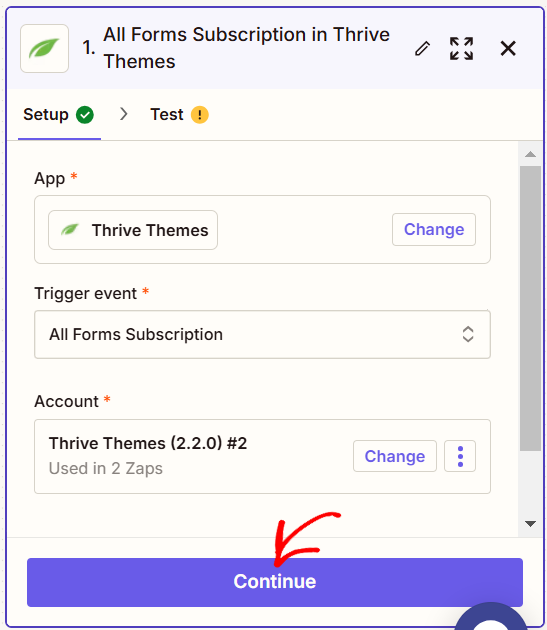
After you click Continue, you’ll have the connection by clicking Test Trigger.
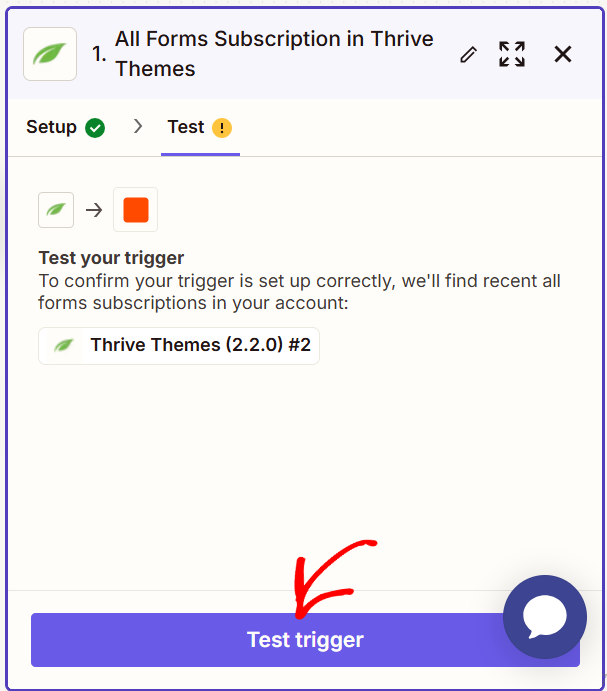
Zapier will fetch records in the account you mentioned when you test the trigger. On this popup, select the record you want to proceed with and click Continue with selected record.
Next, you must select the app you want to connect with.
Setting up the Integration of Your Choice
After you test the Zapier integration, select the App you want to integrate with.
In this example, I’ll show you how you can integrate with Slack, so we select Slack here.
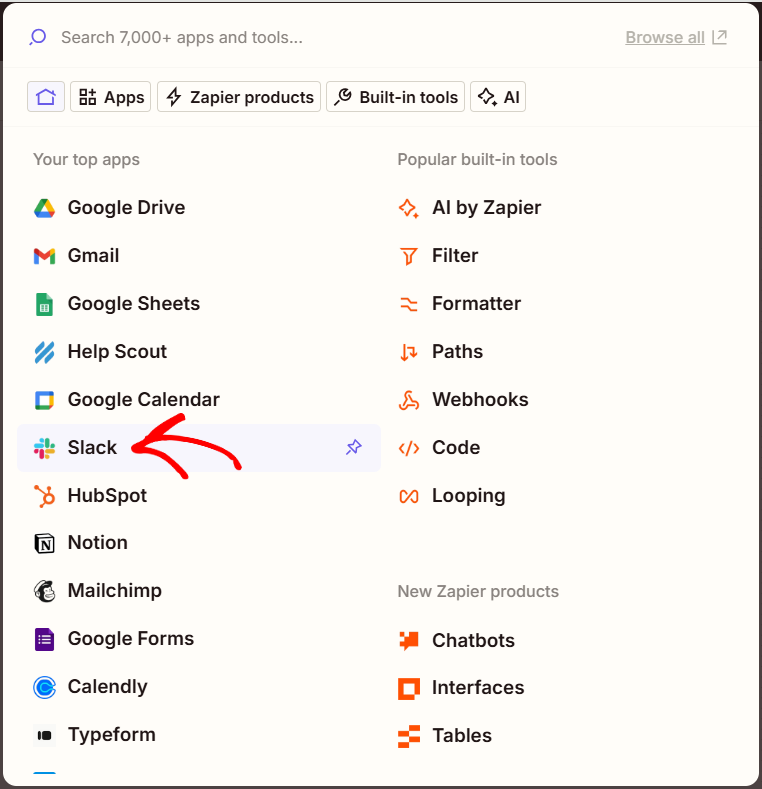
Note: This article will use “Slack” as an app example. Nevertheless, Zapier allows you to integrate your connection with many apps (such as Gmail, Trello, HubSpot, Dropbox, Intercom, Zendesk, and much more), depending on your preferences.
So, feel free to integrate the connection with whichever app you want by selecting the appropriate app and setting up the necessary aspects.
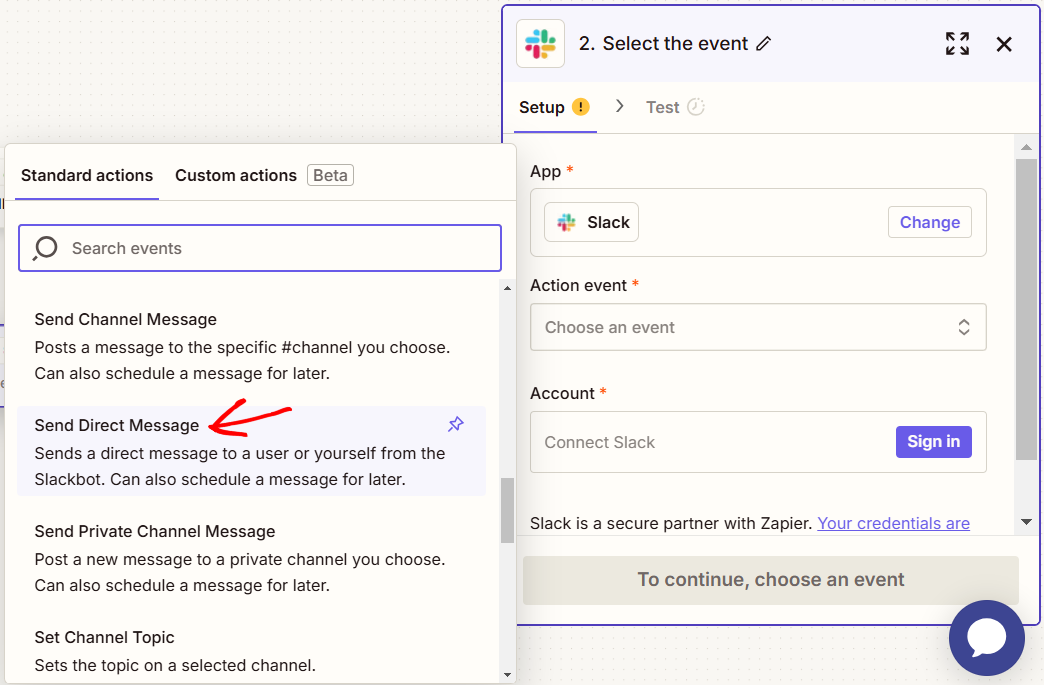
After you have chosen the app, you will also have to select an event under the Action event field.
Under the Action event dropdown, select Send Direct Message.
Note: These events represent what will happen after someone subscribes/contacts you through the “Lead Generation” element or the Contact Form you have set up on your website:
You can be messaged directly, set reminders, send messages in a channel, etc. Whatever you want to choose, just click on it, and that “Action event” will happen when it is triggered (aka when someone subscribes or contacts you)
After you select the Action event to Send a Direct Message, you can proceed to select the Slack account by clicking the field under Account.

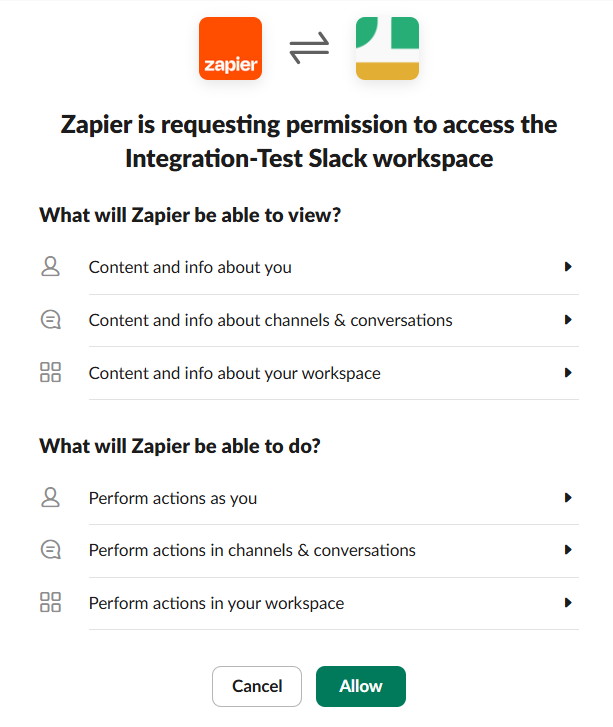
Clicking this will open a page asking you to allow Zapier to access the selected Slack workspace. To approve, click Allow.
Note: In the new window that opens, you will have to sign in to your Slack account and then allow Zapier to access the information needed from it.
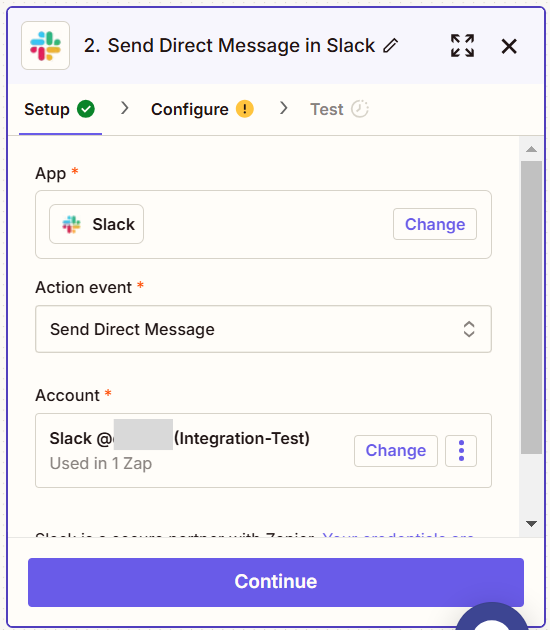
After you grant the required permissions by clicking Allow, you’ll see your Slack workspace under Account. To proceed, click Continue.
Next, you will have to customize the message sent on Slack. You have to complete various options/fields here. These are listed below.
- Send Multi-Message
- To Username
- Message Text
- Send as Bot?
- Bot name
- Bot Icon
- Include a link to this Zap?
- Attach Image by URL
- Auto-expand Links
- Link Usernames and Channel Names?
- Schedule at
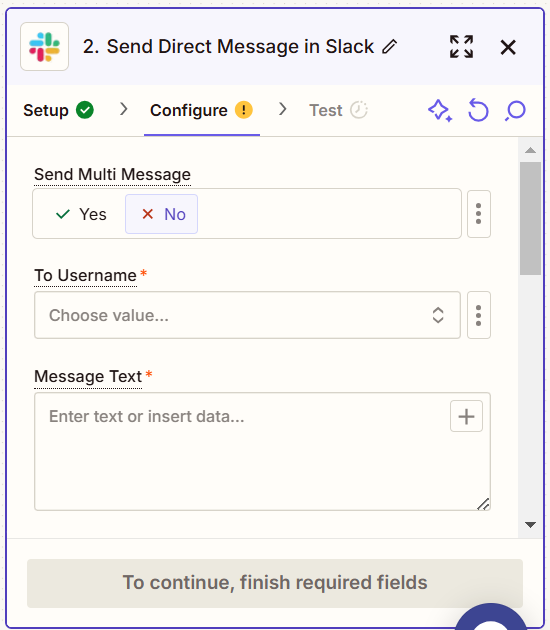
The two most important fields, that are mandatory as well, are the “To Username” and the “Message Text” fields.
To Username
To fill this field, click on the “To Username” field to open the drop-down that contains the Slack users from which you can choose. Then, simply click on the user you want Zapier to send the notification message to when someone subscribes/contacts you.
Message Text
The “Message Text” field is important because this is where you set the information the message will contain and the text that will appear in Slack.
Let’s say you want the name, email address, IP address, and the tags associated with the person subscribing to or contacting you. You must enter a text and insert a separate field for each of these in the “Message Text” field.
Entering the text is simple; you must type in the text you want displayed in the message before the respective information. For instance, you can write “Email address”.
Then, if you want to insert email data, you can click anywhere on the message text field, and another popup will appear. This will contain all the suggestions that you can click on to add in the message text. In this example, click Email.
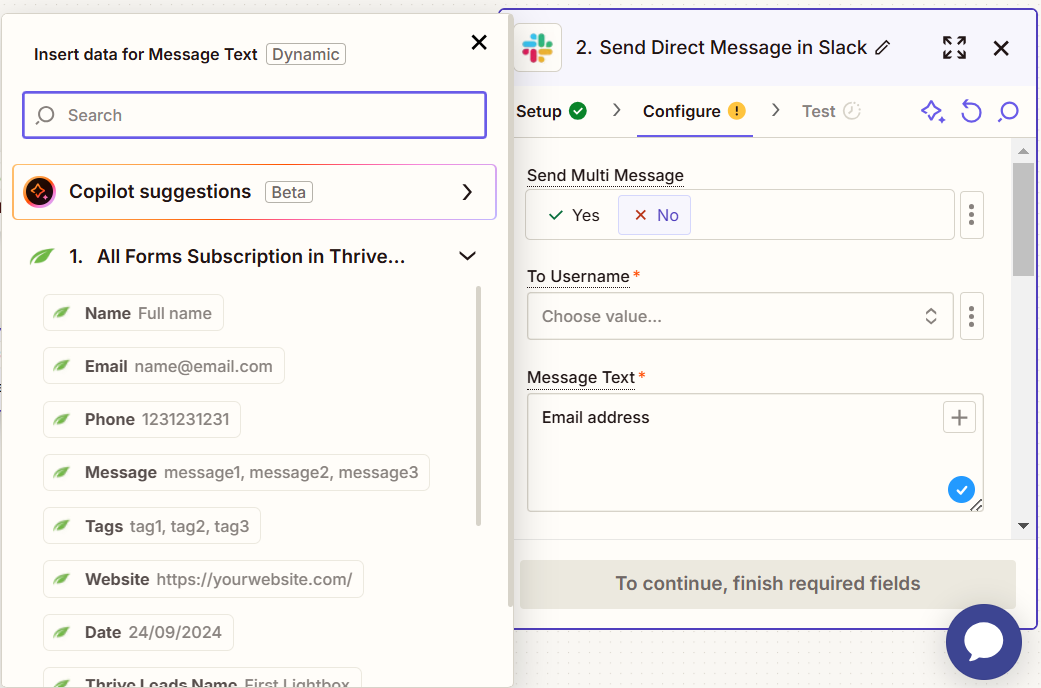
Once you select a field, it will automatically be inserted to the “Message Text” field after the previously written text.
Repeat this process until you include a text and a field for every information you wish to receive about the subscription/contact.
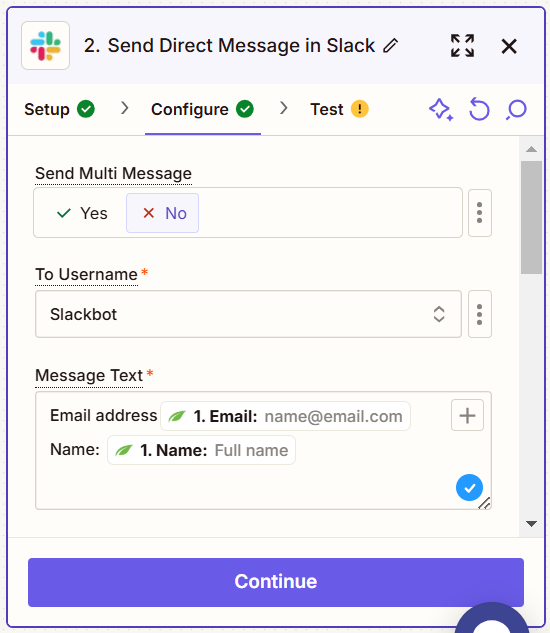
After you have finished customizing the “Message Text” field, continue with the other fields/options available for customizing your message.
Once you have completed these, click the Continue button.
Sending a Test Message to Slack
You can test this integration by clicking the Test step to ensure everything works well.
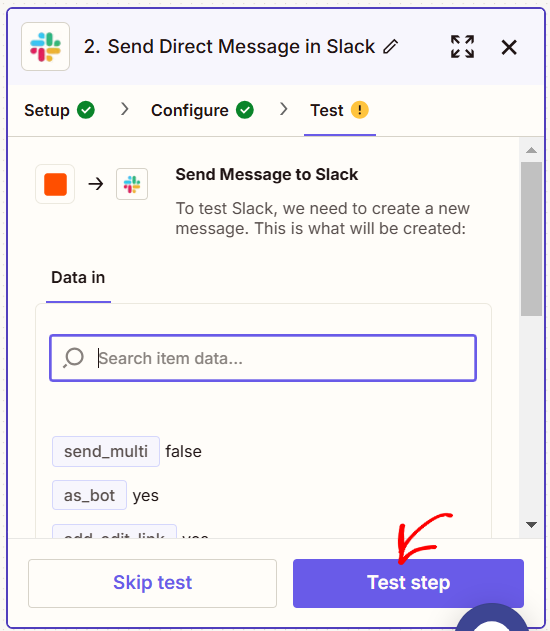
If you do not want to test the setup, skip this step by clicking the Skip Test button.
Finishing and Publishing the Zap
After you have completed the steps, all you have left to do is to publish the Zap.
To publish the Zap, click the Publish button.

How to Use the Zapier Connection
The next thing to do is to go back to your website and create a “Lead Generation” element or a Contact Form using your Thrive products (if you haven’t done this already), then connect them to Zapier.
After you have set up the connection described above, the Zapier connection will be available for the opt-in forms (Lead Generation elements, either used in Thrive Leads or Thrive Architect) and for the contact forms (set up with Thrive Architect) that you create on your website.
However, to use it, you must connect the opt-in forms/contact forms you create on your website to the Zap(s) you have made.
Here are the two tutorials explaining how to do this step-by-step:
How to connect a Contact Form to Zapier
How to connect a Lead Generation element to Zapier