If you’re using Studiocart, you can integrate it directly with Thrive Automator to create various automations that use specific Studiocart start triggers.
For example, you can create an automation that starts when a Studiocart purchase has been successfully completed, that will give the user access to a Thrive Apprentice course, and even add them to an autoresponder of your choice.
This article will show you how to achieve that.
|
Note: The process of creating a new WordPress user each time someone purchases the product is described at the end of the article, here. |
Install and activate the plugins
To begin, you will have to make sure that you have installed and activated both Studiocart and the Thrive Automator + Studiocart add-on on your site.
The add-on can be downloaded from this page.
Naturally, you will also have to make sure that Thrive Automator is installed and activated.
You can then move on to setting up the details in Studiocart.
Set up the products and payment process in Studiocart
With the plugins and add-on successfully installed, you can access Studiocart to create all the necessary settings.
You will have to set up a payment processor from the “Settings” tab:
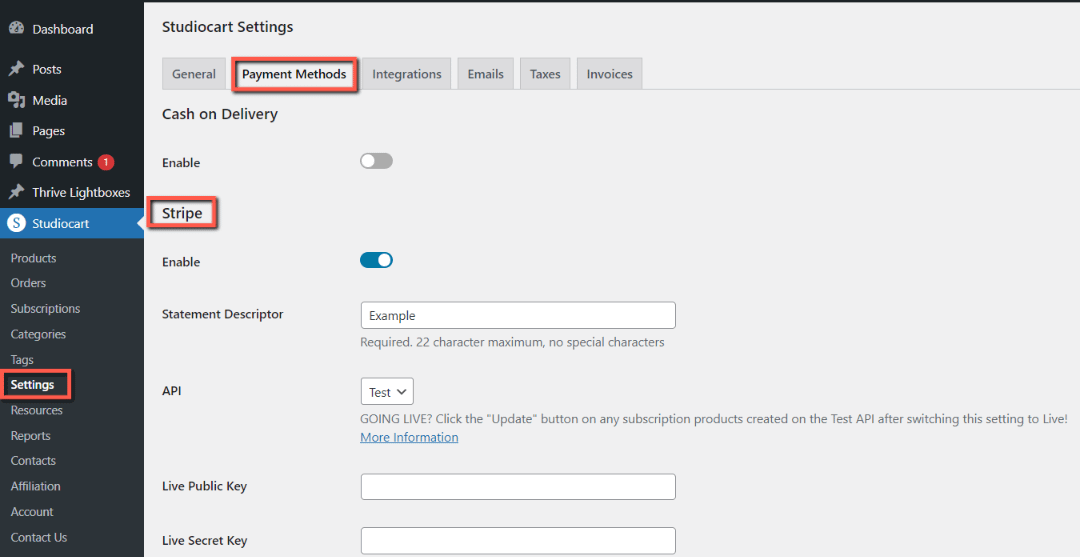
In my case, I have enabled and set up Stripe as the payment method.
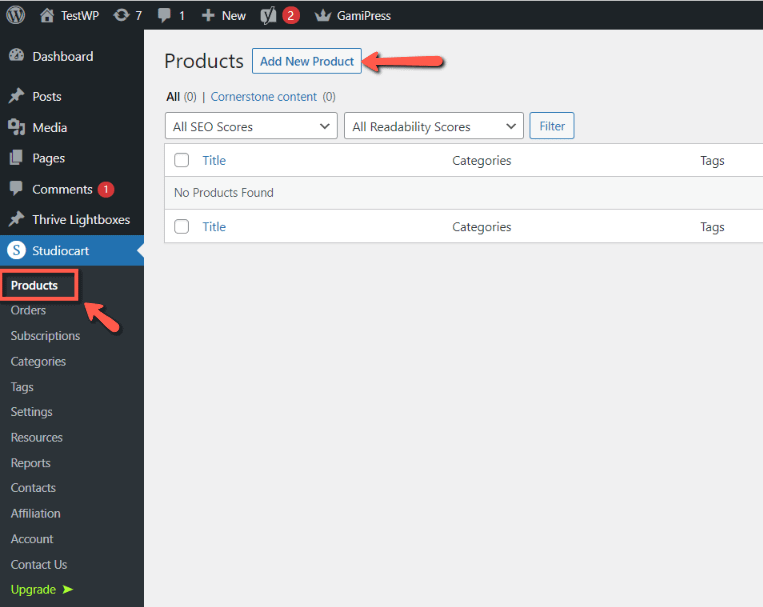
Then, you can start adding and customizing your products. That can be managed from the “Products” tab:
After adding each product, you will have to customize it from the “Product Settings” section:
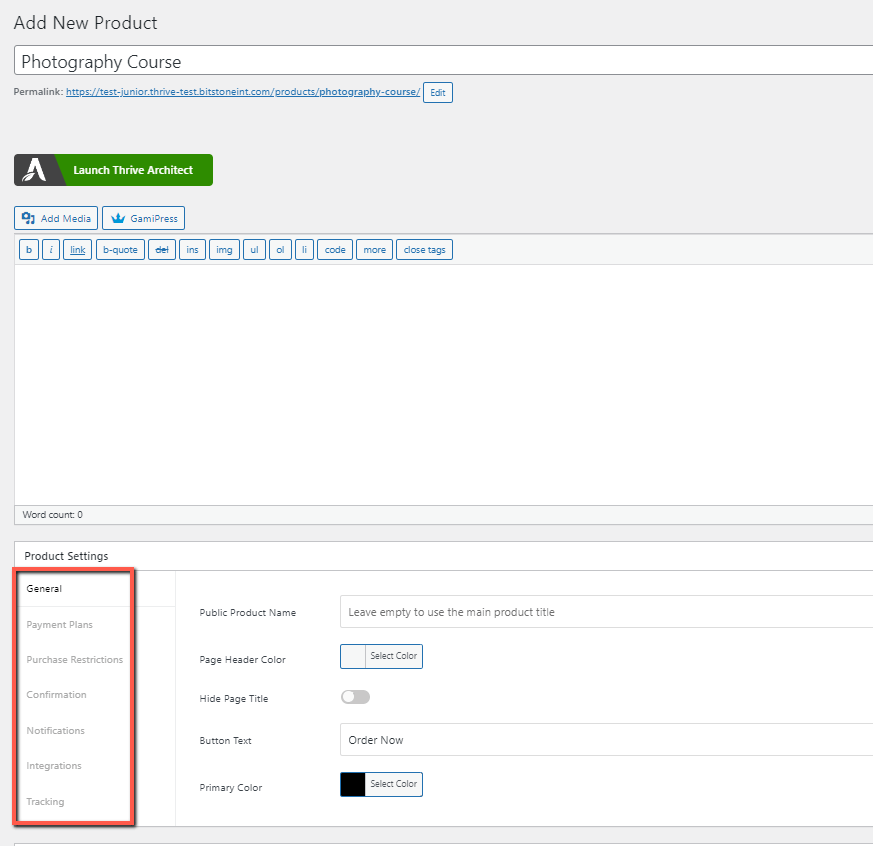
From here, you’ll be able to choose the price, the payment plans and all of the other details.
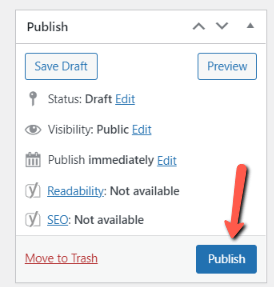
When you’re finished setting up a product, make sure you publish it:
If you need help setting up products and payments in Studiocart, you can check out their tutorials, such as this one:
As you finish setting up the necessary information in Studiocart, you can head over to Thrive Automator to create the automation.
Create the automation in Thrive Automator
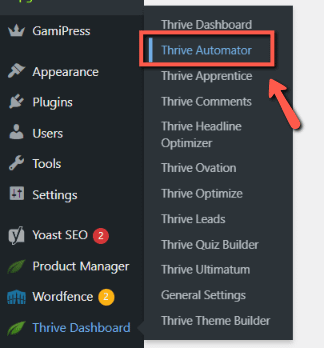
To access Thrive Automator, go to the left sidebar of the WordPress admin dashboard, hover over “Thrive Dashboard” and click on “Thrive Automator”:
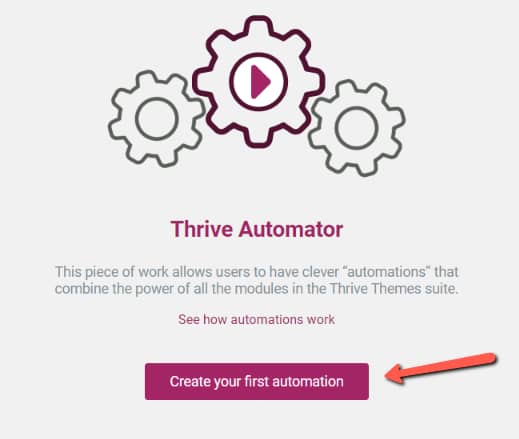
You can right away create a new automation:
Or click on “Add new”, if you have previously created other automations:

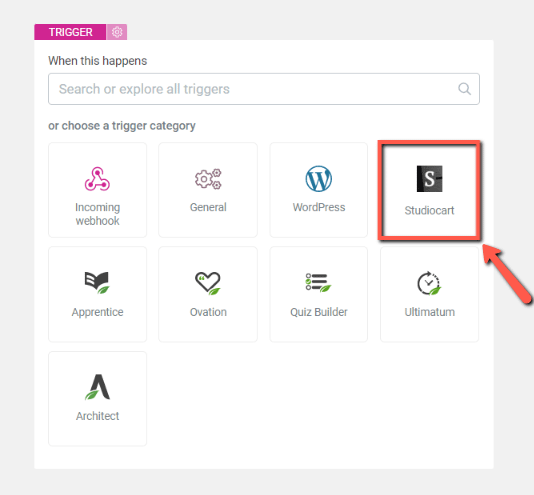
Once the automation canvas opens, with the Thrive Automator + Studiocart add-on installed, you will have some extra start triggers available here. Click on the “Studiocart” trigger category to see them all:
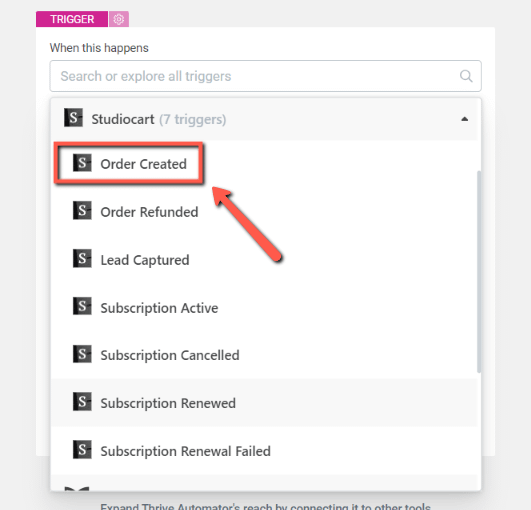
A list will open with all the available options. Choose the suitable one which, in my case, will be the “Order created” one:
Additionally, you can choose a condition for the start trigger, if you want the automation to start in specific situations:
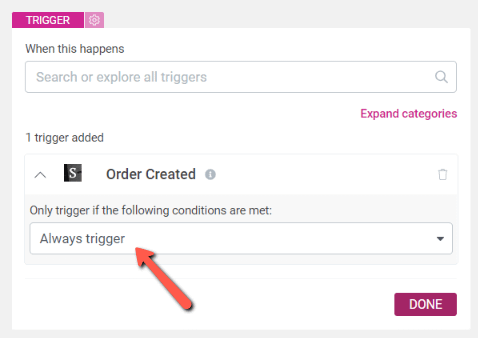
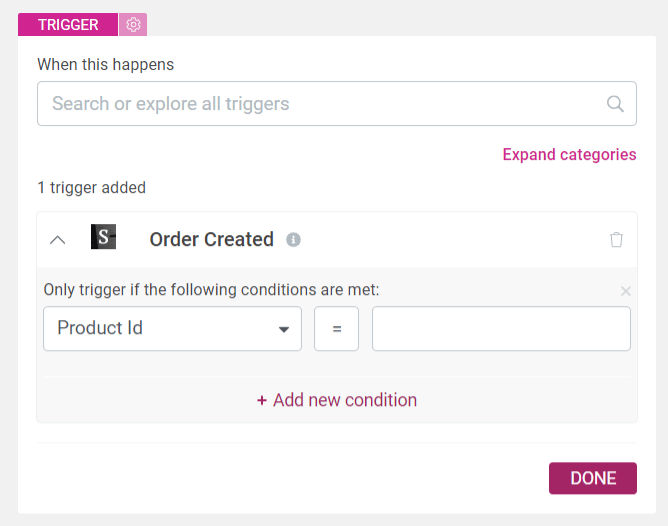
For example, you can use the product ID to create a filter, so that the automation only starts when someone purchases a certain product:
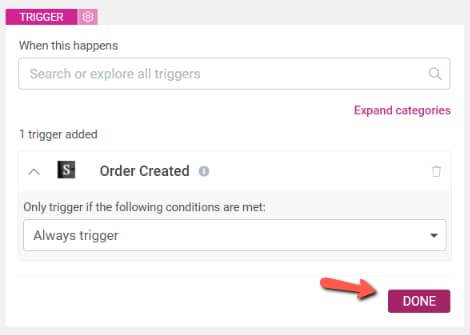
Click on “Done” to save the trigger:
Next, we’ll set up the first action to happen once the start event has occurred. To create the situation from the example given at the beginning of this article, I will choose the “Grant access to product” action, from the Thrive Apprentice action category:
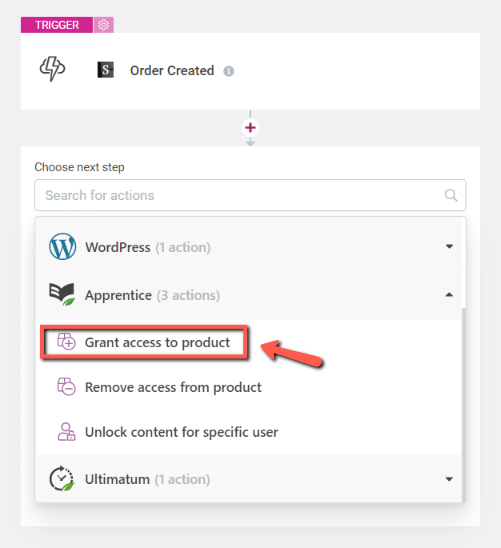
This will have you choose the Thrive Apprentice product to which the users will be granted access once the order has been made. Once you’ve chosen the desired product, you can add the next action:
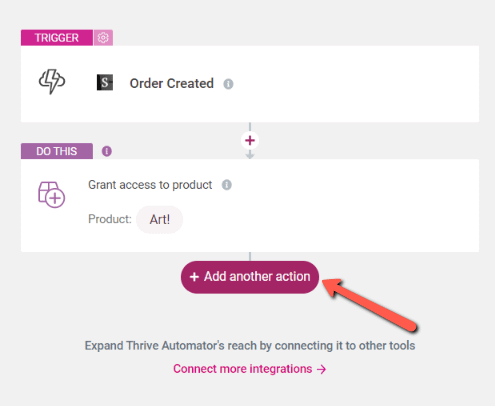
Since I want the users to be added to my mailing list as well, I will choose the “Add user to autoresponder” action as the next one:
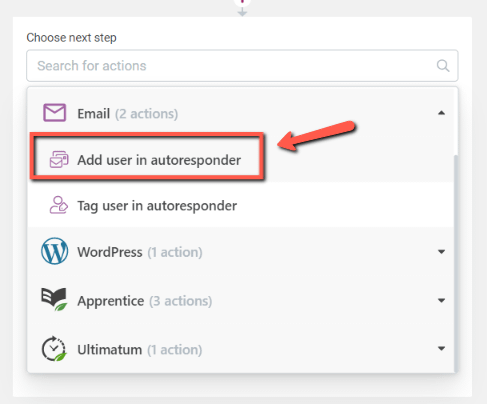
This will let you select from a list of available integrations, which will be the ones that you have set up in your Thrive Dashboard.
Here’s a list of available services that you can integrate on your website with Thrive Themes, as well as tutorials on how to set each one up.
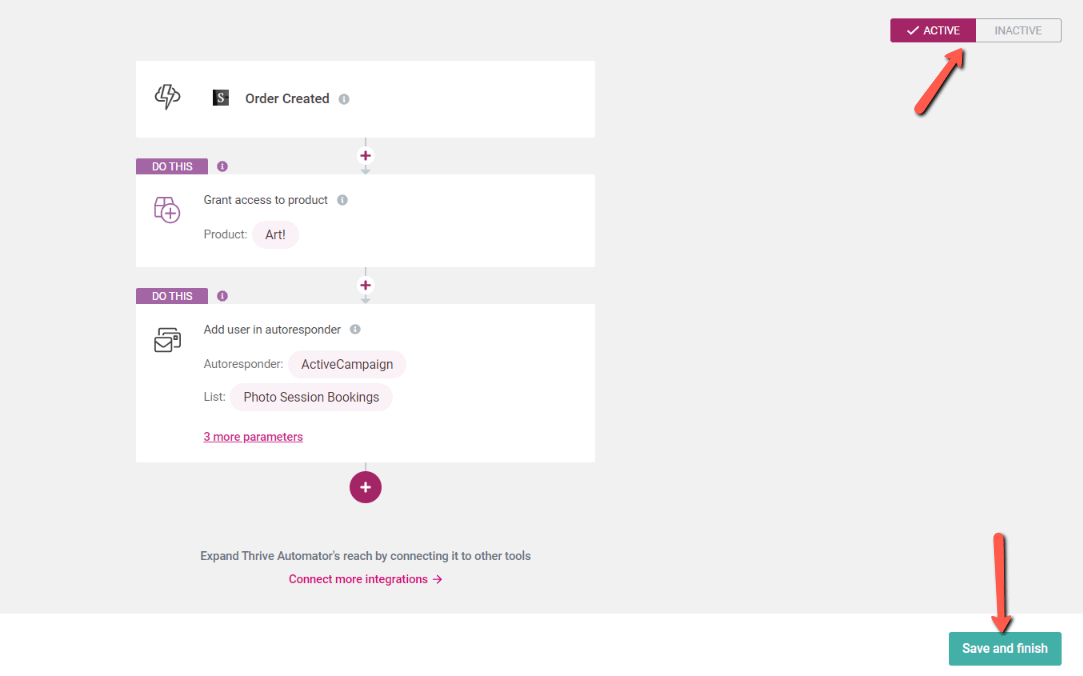
Once you’ve chosen the desired service, mailing list etc., set the automation to “Active” and save it:
Note:For more advanced setups, you can opt for creating a new WordPress user for the persons who have purchased the Studiocart products. To make sure that happens, access your Studiocart product: 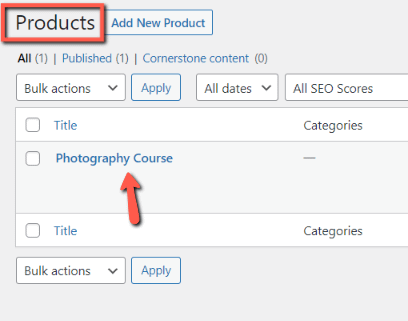 Scroll down to get to the “Product Settings” and access the “Integrations” tab:  Click on “Add New”:  And set up the integration so that it creates a new user each time a product is purchased. Choose the role to be granted to the customer: 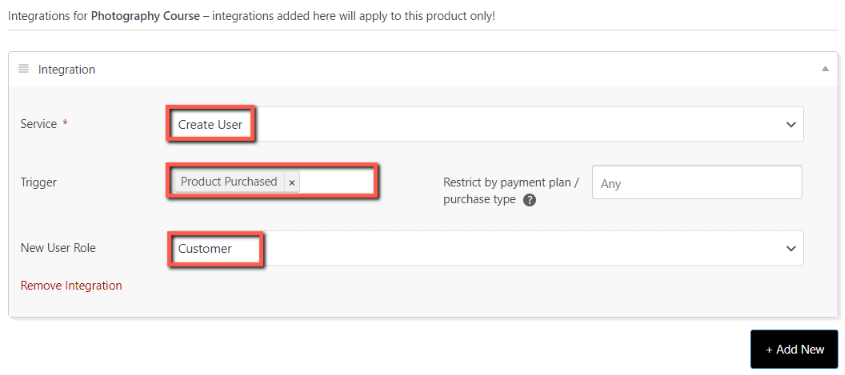 When finished, update the product: 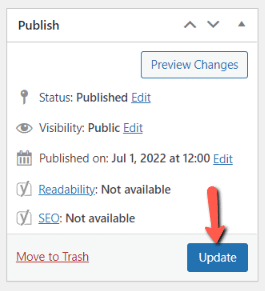 |
And we’re done! The setup is complete and, as an end result, when someone purchases the product via the Studiocart setup you’ve created, they are given access to the course and are also added to your mailing list.
I hope this article was helpful. If so, don’t forget to leave a smile below 😄