In this article, you’ll learn how to set up the SendOwl integration with Thrive Apprentice—from configuring the listener and API keys to creating products, completing checkout settings, and assigning course access.
What Is SendOwl?
SendOwl is a third-party digital product delivery platform that handles checkout, payment processing, and product delivery. When integrated with Thrive Apprentice, SendOwl processes payments and automatically grants students access to your courses after purchase.
Setting Up the SendOwl Listener
The SendOwl listener is the connection point between SendOwl and your WordPress site. It listens for purchase notifications (such as completed orders, refunds, and new payments) and triggers course access accordingly.
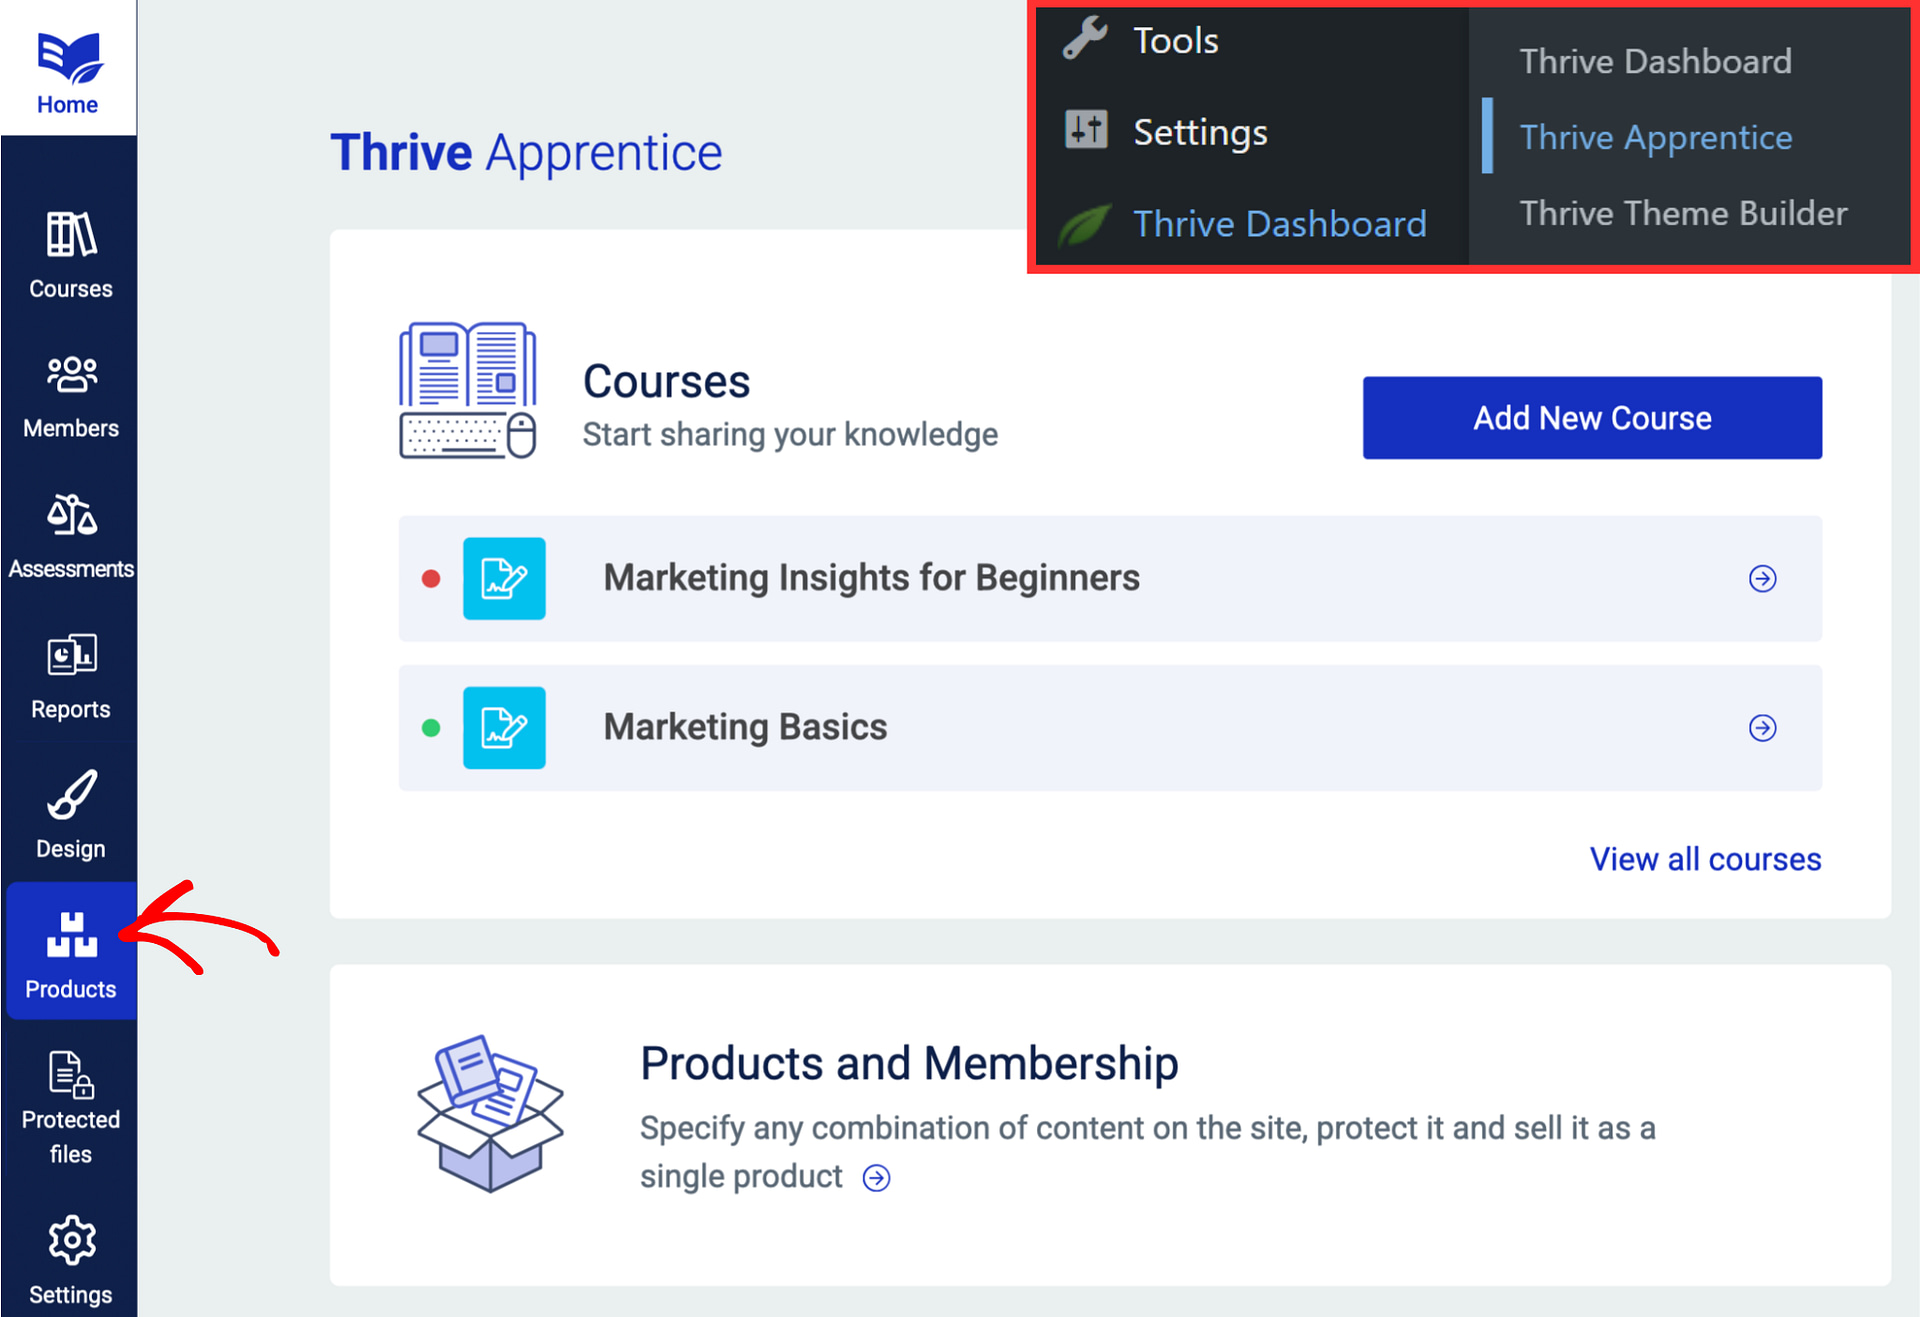
- Go to Thrive Dashboard > Thrive Apprentice.
- Click Settings in the left sidebar.
- Navigate to the SendOwl tab.

- You’ll see a Listener URL—copy this URL.
- Log in to your SendOwl account.
- Go to Settings in the left sidebar of your SendOwl dashboard.
- Look for the Webhooks section and paste the Listener URL you copied from Thrive Apprentice.
- Save your SendOwl settings.
Configuring API Key Permissions
Thrive Apprentice needs API access to communicate with your SendOwl account.
- In your SendOwl account, go to Settings > API.
- Click Add API key and make sure the correct permissions are enabled. Thrive Apprentice requires permissions for product management and order processing—read-only keys will not work.
- Copy your API Key and API Secret.
- Back in Thrive Apprentice > Settings > SendOwl, paste your API credentials and click Connect to verify the connection.

Creating Products in SendOwl
Each course (or bundle) you sell needs a corresponding product in SendOwl.
- In SendOwl, go to Products from the left sidebar.
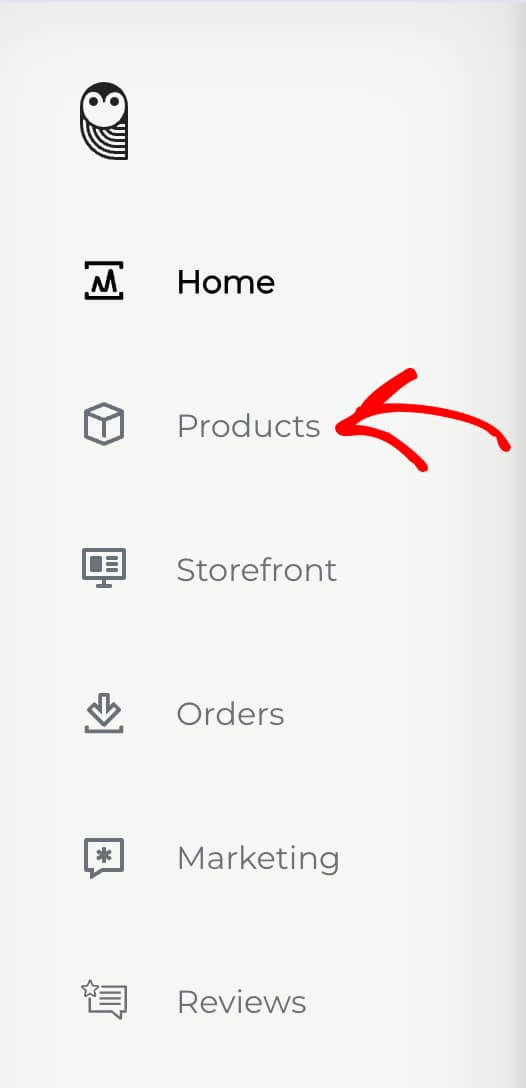
- Click Add product.
- Select the product type (e.g., Digital Product).
- Enter the product Name, Price, and configure payment options.
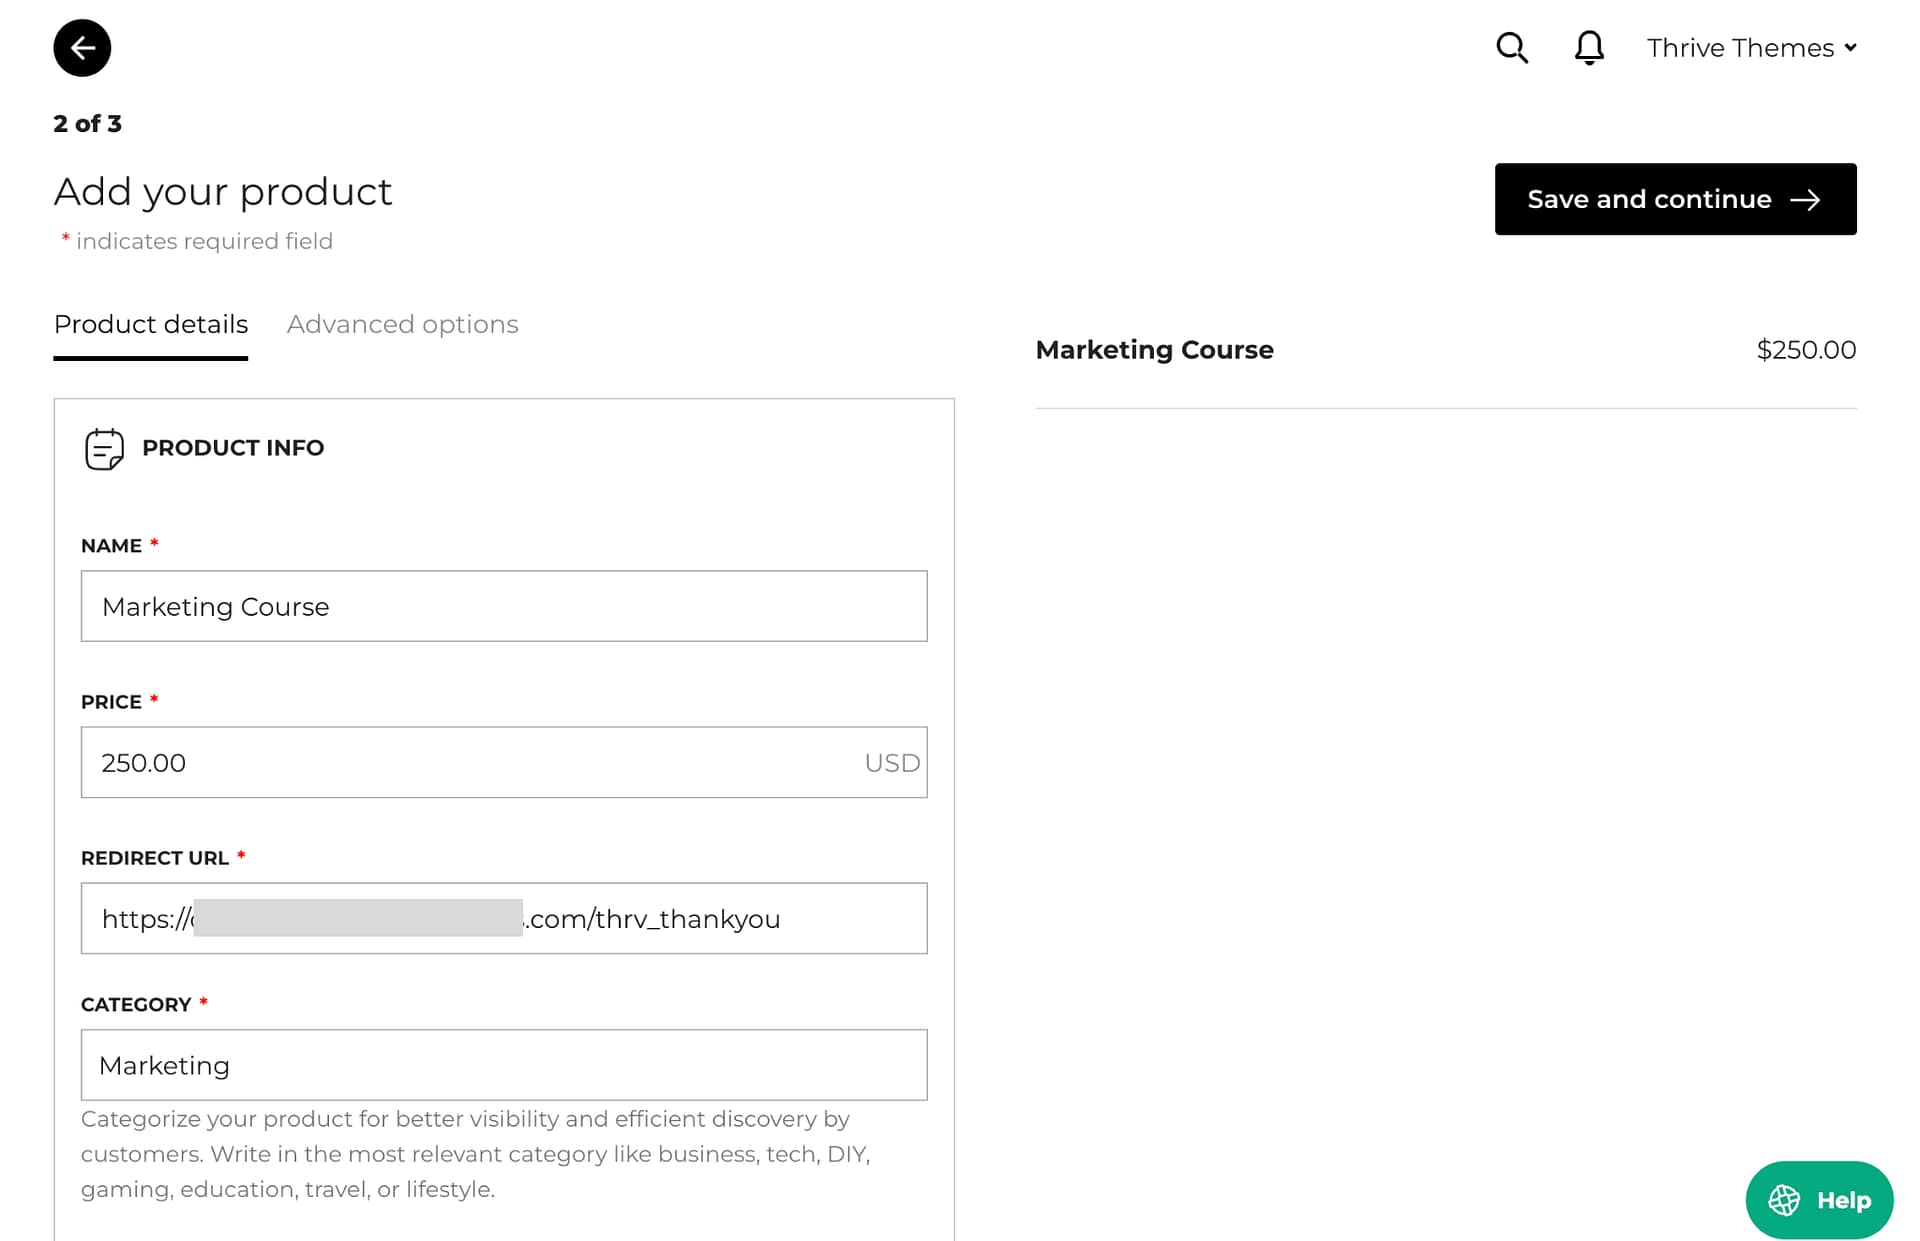
- In the Product URL field, paste the thank you page URL from your Thrive Apprentice checkout settings (this is where customers will be redirected after purchase).
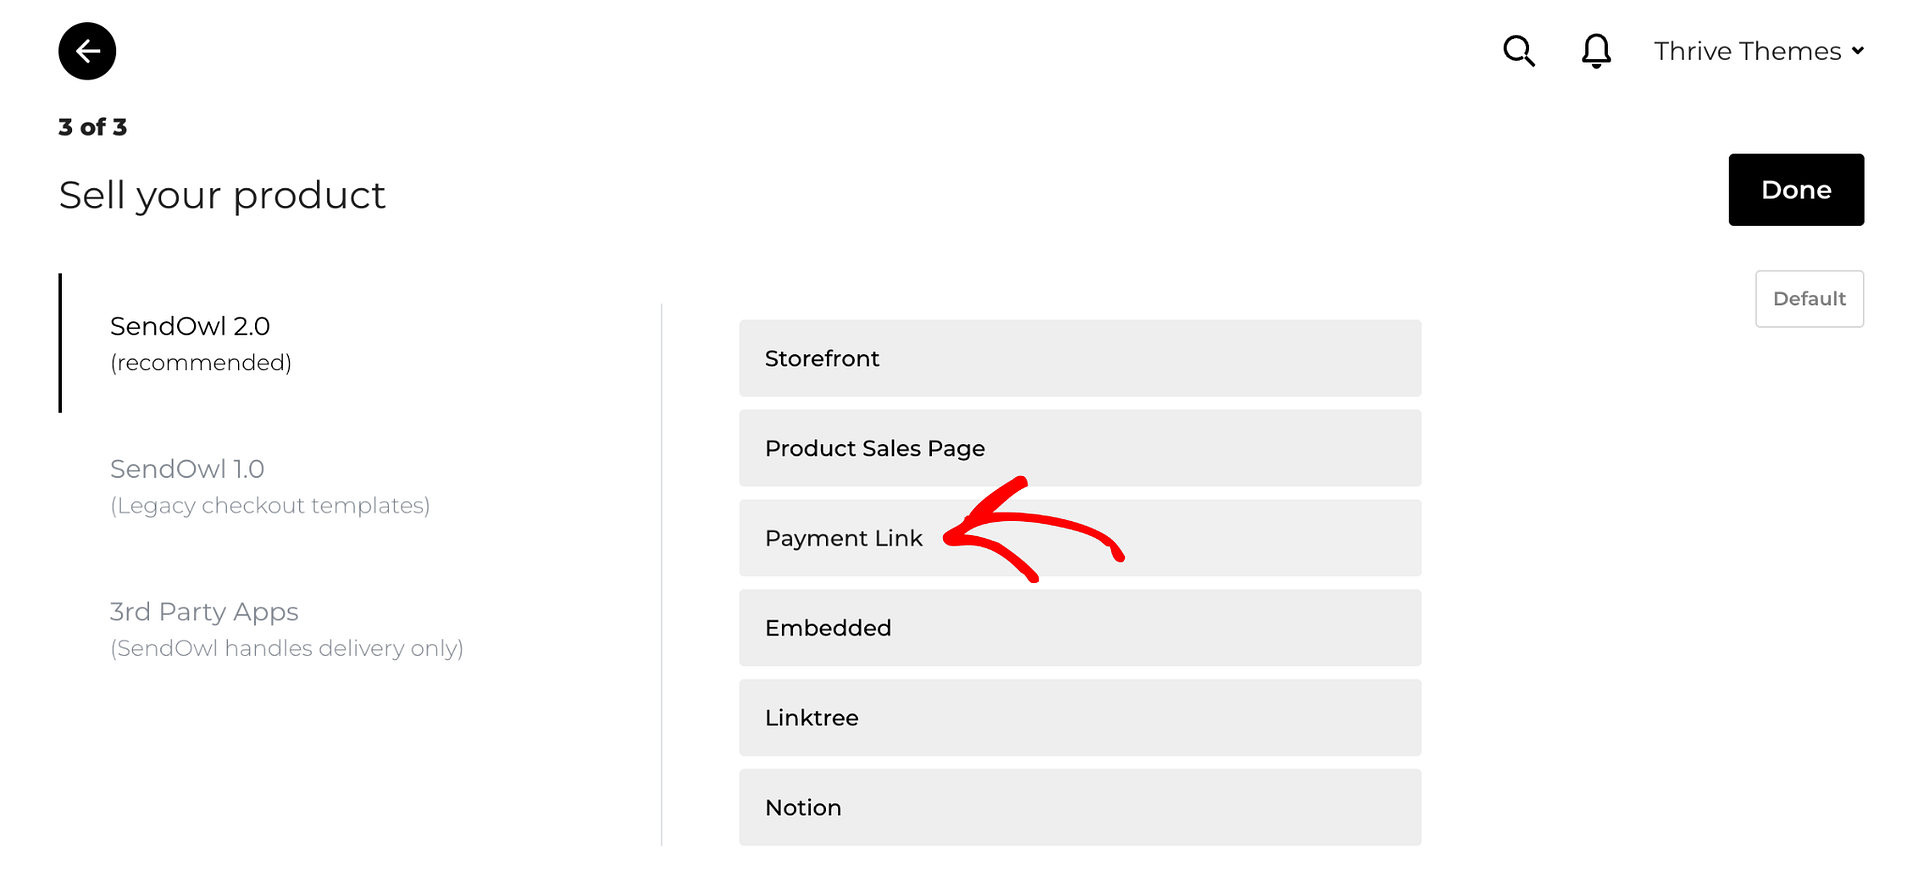
- Save the product. You’ll receive a payment link that you can use on your sales pages.
Completing the Checkout Settings
After creating your products, configure the checkout experience so students can register and be properly redirected after purchase.
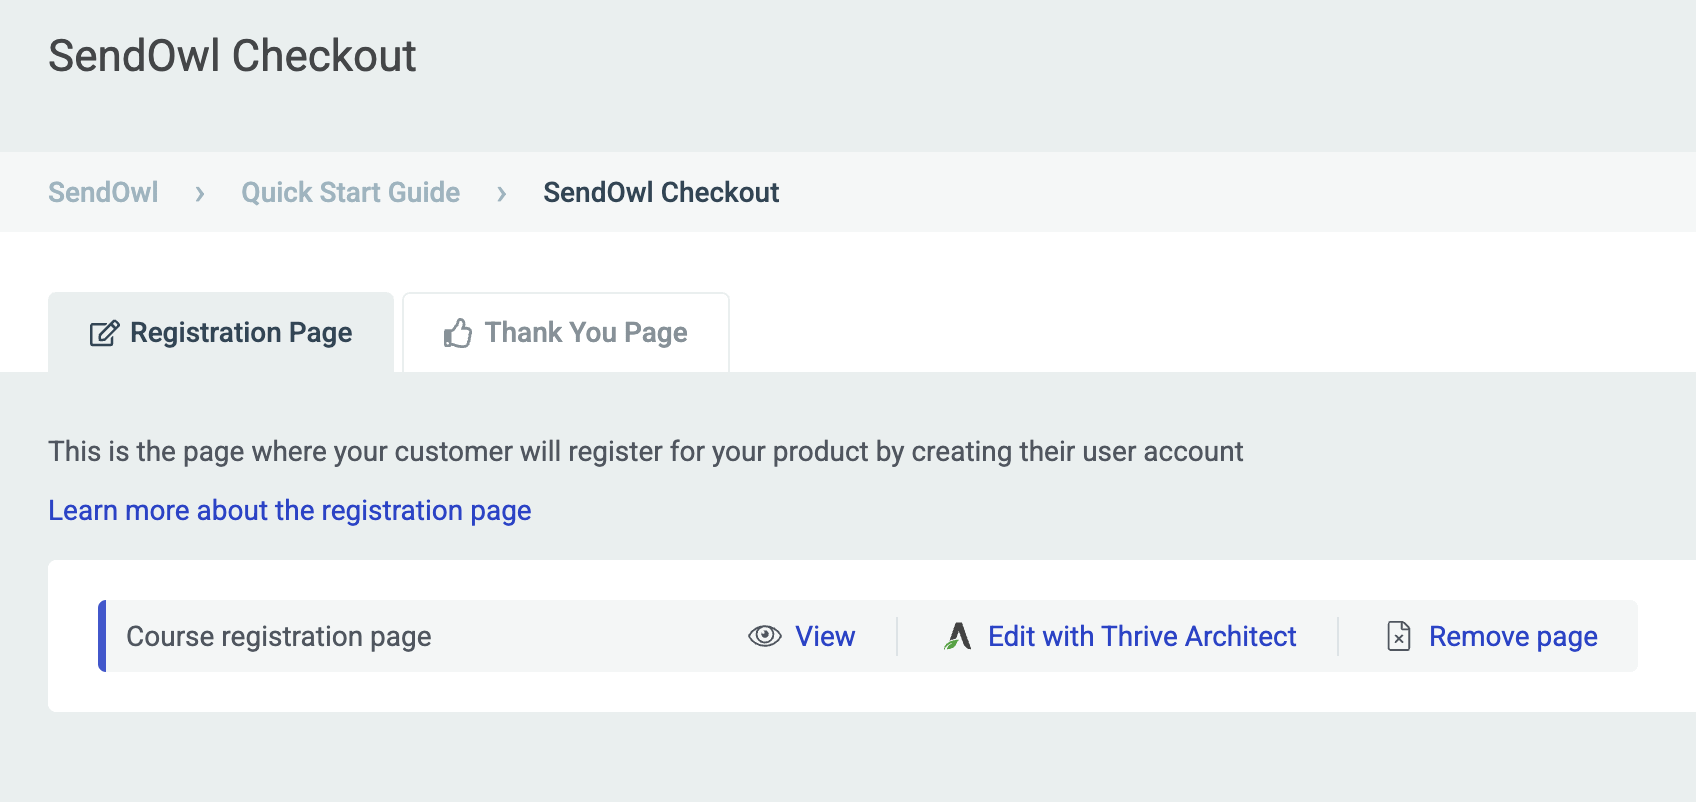
Adding a Registration Page
- In Thrive Apprentice, go to Settings > SendOwl.
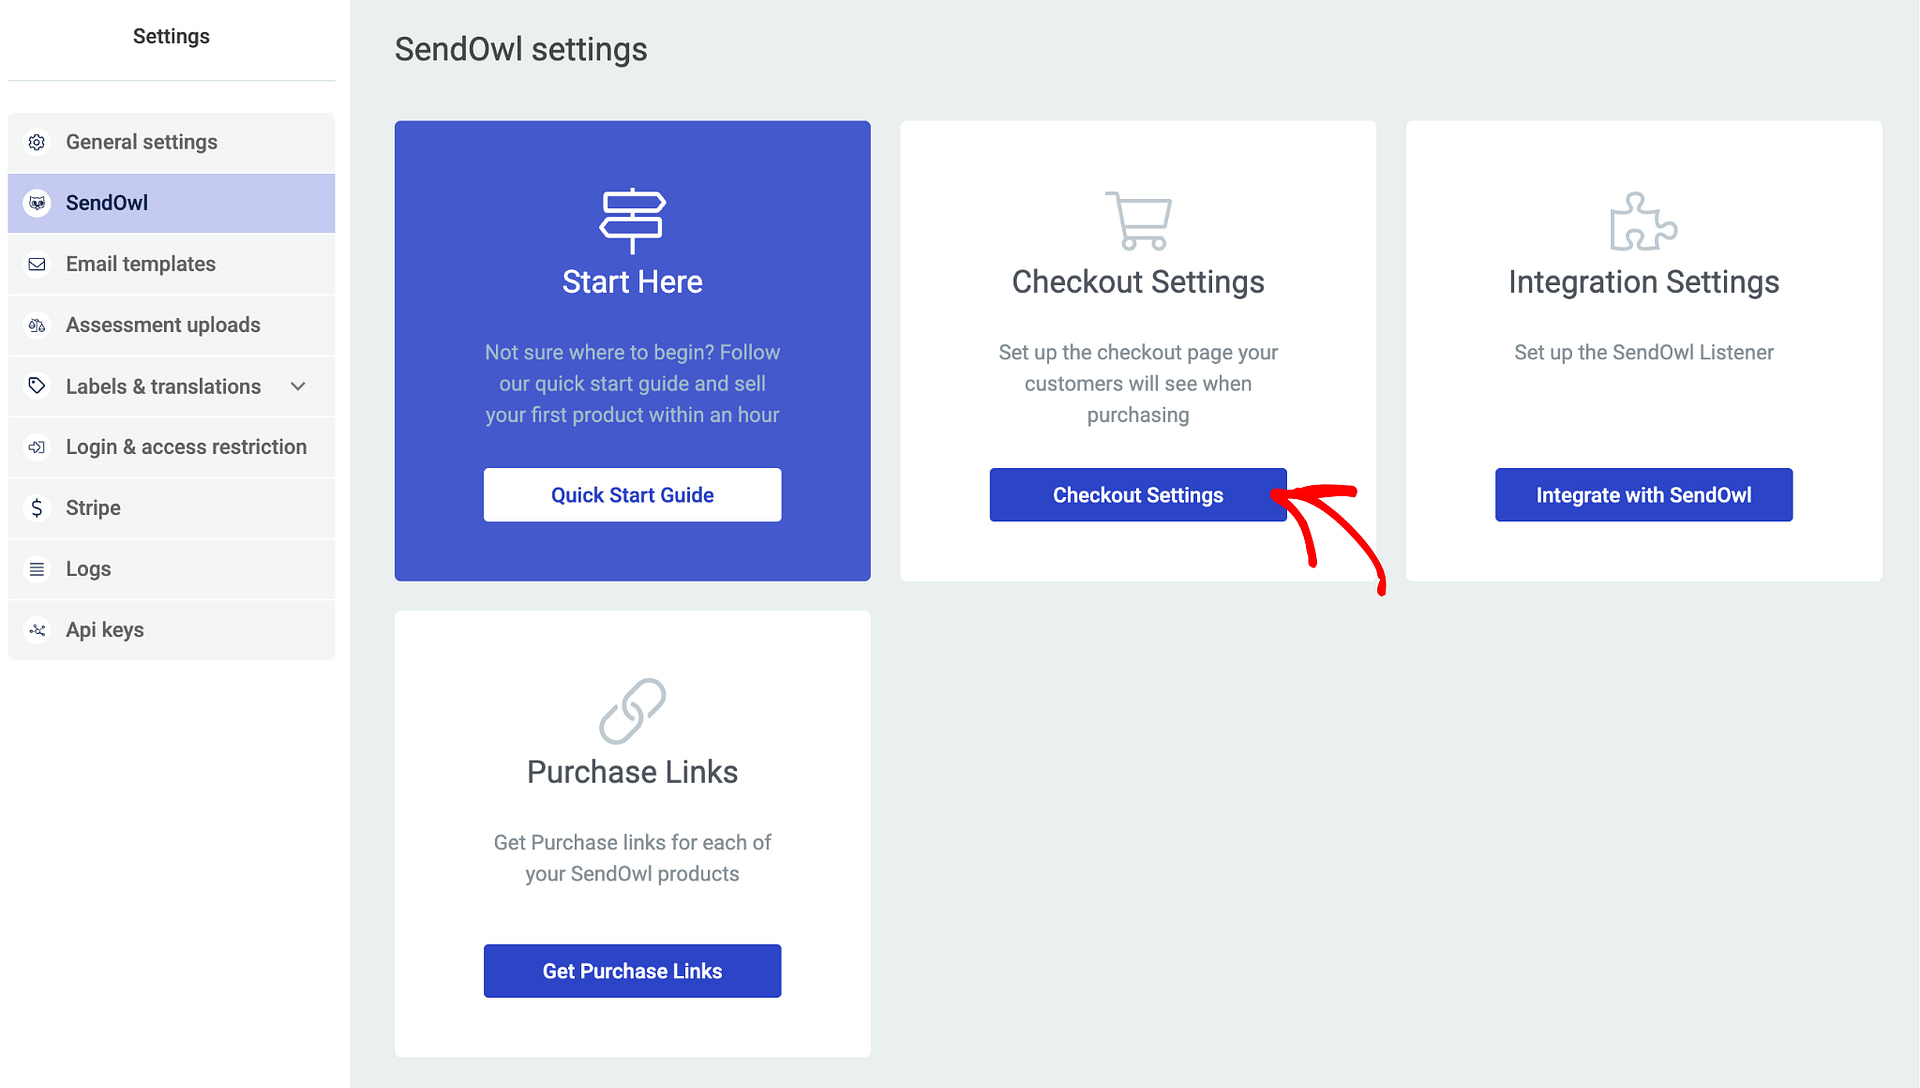
- Scroll down to the Checkout Settings section.
- Click the Registration Page option.
- Select or create a WordPress page to serve as the registration page where new students will create their account after purchasing.
- Save your settings.
Setting a Thank You Page
- In the same Checkout Settings section, click the Thank You Page option.
- Select or create a WordPress page where students will be redirected after completing their purchase.

- Copy the Thank You Page URL—you’ll need this when setting up your products in SendOwl.
- Save your settings.
Assigning Course Access and Protection
Once your products are created in SendOwl, link them to courses in Thrive Apprentice so purchases automatically grant access.
- In Thrive Apprentice, go to the Products section.
- Click on the product you want to link to a SendOwl product.
- Under Course Access, select which courses this product grants access to.
- Configure Access Rules to restrict content to purchasers only.

- Save your changes.
Creating a Sales Page with a Purchase Link
To sell your courses, you need to place purchase links on your site. Here’s how to set up a sales page:
- In Thrive Apprentice, go to Settings > SendOwl.
- In the Purchase Links section, select the product or bundle you want to sell.

- Copy the generated purchase link.
- Open your sales page in Thrive Architect and add the purchase link to a button, call-to-action, or any clickable element.
When a visitor clicks the purchase link, they will be taken to the SendOwl checkout form to complete their payment.
The End-to-End Purchasing Process
Here’s how the complete flow works once everything is configured:
- A visitor clicks a purchase link on your sales page.
- They’re redirected to the SendOwl checkout page where they complete payment.
- After payment, SendOwl sends a webhook notification to your Listener URL.
- The student is redirected to the registration page you configured, where they create a WordPress account.
- Once registered, Thrive Apprentice grants course access to the student based on the product they purchased.
- The student can now log in and access their purchased courses.
That’s it! You’ve successfully set up SendOwl with Thrive Apprentice to sell and deliver online courses.
Related Resources
- SendOwl Operations: Learn about managing customers, discounts, and troubleshooting in the SendOwl Operations and Troubleshooting guide.
- Modern Alternative — Stripe: Set up native payment processing with the Stripe Integration Guide.
- Modern Alternative — WooCommerce: Use WooCommerce for flexible checkout with the WooCommerce Integration Guide.
- Access Control: Understand access rules in the Access Restrictions and Rules guide.