Adding a template is an essential part of building your website using Thrive Theme Builder. This is because you can create templates for various types of content, and then apply these templates to your pages or posts.
In the Thrive Theme Builder dashboard, if you access the “Templates” section, you will see a variety of different templates. This article will explain what each of those means.
To access the “Templates” section, you can click on the section, from the left sidebar of the dashboard:

Then, the “Core Templates” will be displayed in the right sidebar of the page:

If you click on the “Core Templates” section, you will see all of the available sections in the drop-down that opens:

Core Templates
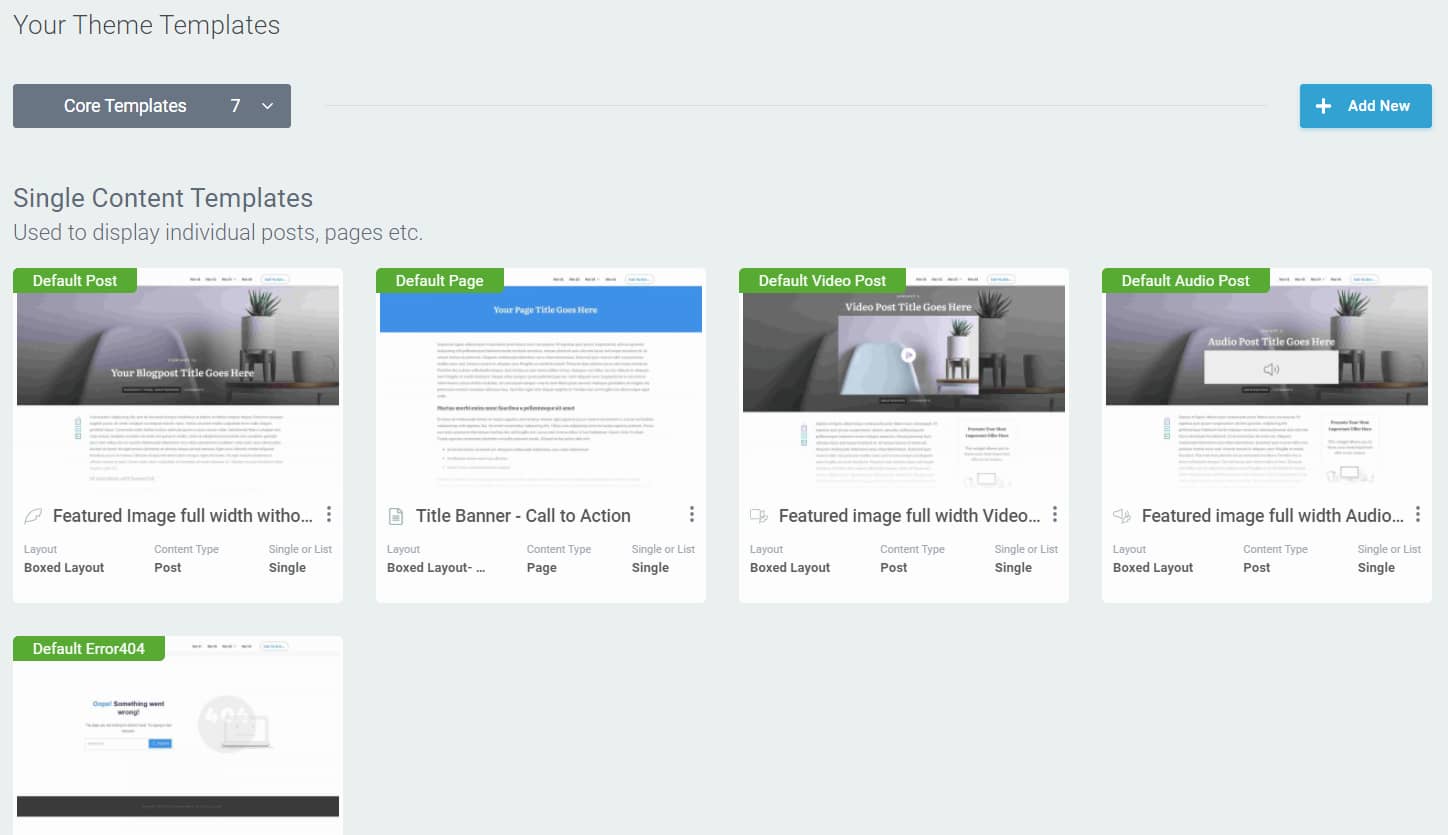
As you might have noticed already, when you first activate a theme, you will have some pre-built templates. The “Core Templates” are the basic templates that define the way in which your website looks.
These templates are set as default ones for each template type.
Homepage Templates
If you choose the next section of the drop-down, you will be able to modify the templates that are specifically built for the homepages of your site.
You can create a “Homepage Template” by following the steps described in this tutorial.
Naturally, you can create different homepage template variations, and use the one you prefer.
Archives
The “Archives” section consists of the “List Templates”. If you choose to display the “Archives”, then you can work on the templates that are meant to be applied on your list pages.
These are the templates you would apply to your blog feed or your search results page. If you want to create new “List Templates”, please make sure to check out this article.
Custom Post Templates
The “Custom Post Templates” group contains three sub-groups, which divide the templates into: “All Custom Posts”, “Posts”, and “Pages”:
All Custom Posts
This sub-group will contain the templates that you have created to be suitable for your “Custom Post Type” pages/posts.
If you want to work on those specific templates, click on this group, in the drop-down, and select it, and “All Custom Post” templates will be displayed.
Post
This sub-group will contain all of the default “Post Templates”, as well as the ones that you have created. You can click on this subgroup if you want to display them.
When you do this, a list with all of the Post Templates will appear, and you can start customizing the ones that you want:
Also, we’ve created this article, if you want to see how you can add a new “Post Template”.
Page
Similar to the “Posts” sub-group, if you click on the last one from the list, you will see all of the “Page Templates”, whether they are the default ones or the ones that you have created and customized.
The Page Templates will be displayed, and you can start customizing them.
Please check out this article, in case you want to find out how to add a new “Page Template” to your Thrive Theme Builder theme.
All Templates
The last way in which you can display the Theme Templates is by clicking on the “All Templates” option of the drop-down. Naturally, this will display all of the existing templates of your theme.
Please remember that the viewing option you choose here will remain selected. This means that the templates from whichever selection/group you choose from the drop-down will be displayed until you decide to display other templates, by opening the drop-down again and choosing another group from it.
These were all of the Thrive Theme Builder theme templates. Of course, you can furthermore divide the templates, by their specific purpose (for example, a Post Template can be specifically designed for Video/Image/Audio posts, etc).
You can find even more information about all these in the article we have written about the “Templates” section of the Thrive Theme Builder dashboard.
Also, make sure to check out the rest of the articles and tutorials from our knowledge base, for more information about various Thrive Theme Builder features.
I hope this article was useful for you. If so, please make sure to leave a smile below 🙂