With trigger settings, you can set the event that needs to happen in order to activate the appearance of your opt-in form.
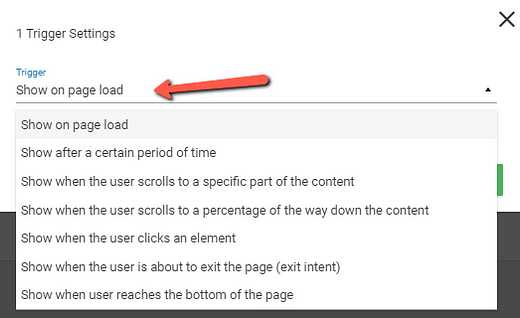
Trigger options can be the following:
-
Show on page load
-
Show after a certain period of time
-
Show when the user scrolls to a specific part of the content
-
Show when the user scrolls to a percentage of the way down the content
-
Show when the user is about to exit the page (exit intent) – this trigger option does not work on mobile devices.
-
Show when the form enters viewport
-
Show when the user clicks an element
-
Show when the user reaches the bottom of the page
However, not all these options are offered by the building all types of opt-in forms – it depends on the feature of the form.
How to Find Trigger Settings?
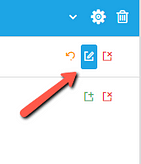
In the Thrive Leads Dashboard, look for the form you want to edit and click on the “Edit” icon beside it:
You will be led to a page that looks like this:

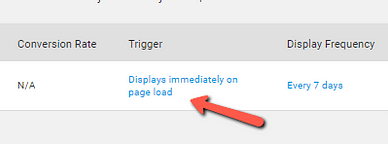
If you take a closer look, you find “Trigger” on this page. Click on the blue text below “Trigger” to open trigger settings (in this example, the text you need to click on is “Displays immediately on page load”):
In the window that pops up, you can choose a trigger. Depending on the form you are building, the offered triggers can be different, but setting the trigger options work the same way:
Sometimes if you choose a trigger, you will be offered an extra option. Here are these cases:
“Show on Page Load”
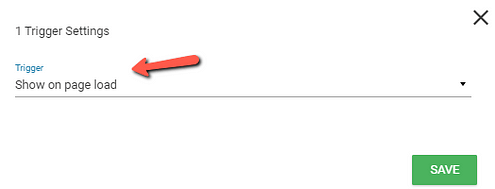
This is pretty straightforward – the trigger will be displayed once the page was loaded:
“Show after a Certain Period of Time”
Apart from choosing the trigger itself, you can also determine how long you want the period of time to be:
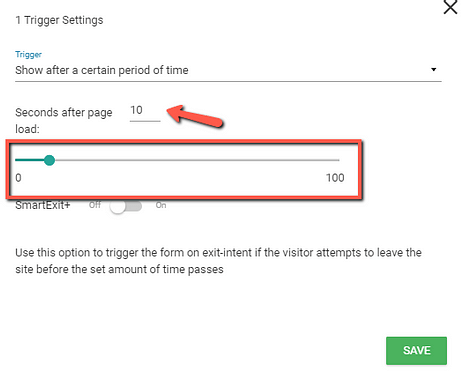
You can either use the slider or type a certain number into the box indicated by the arrow.
You can also enable the “SmartExit+” option, which means that the option will be displayed if the visitor will attempt to leave the site before the set amount of time:

“Show When the User Scrolls to a Specific Part of the Content”
In this trigger option, you can add a specific part of the content where you want the form to display:
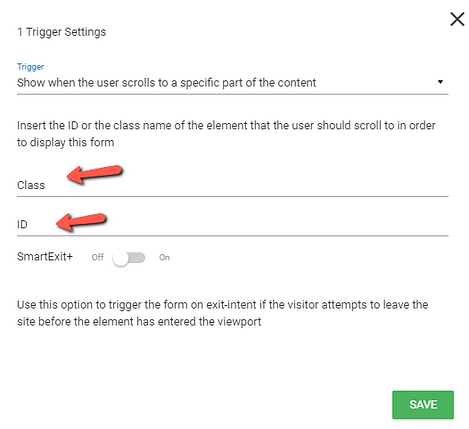
Insert the CSS class or ID name of the element to set where this specific part of the content should be. The form will show up as soon as the visitor on your site reaches the given element.
“Show When the User Scrolls to a Percentage of the Way down the Content”
This is the easier version of the previous option. Here you can set how many percent the user has to scroll down the page before the form shows up:
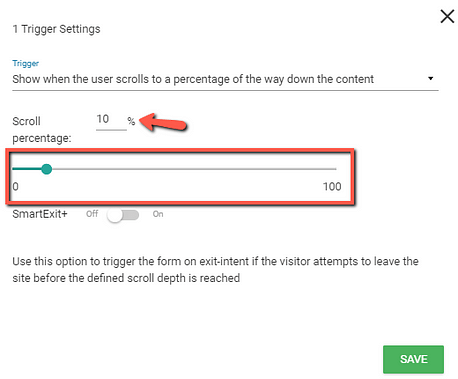
You can do this either with the slider or by typing a number in from 1 to 100.
“Show When the User Is about to Exit the Page (Exit Intent)”
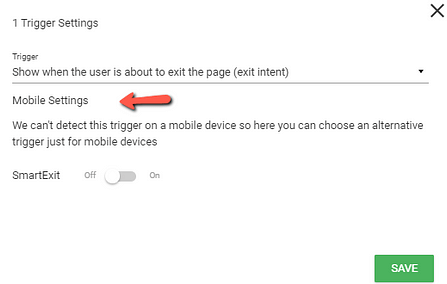
With this type of trigger, the opt-in form will only show up when the user is about to leave the page, i.e. moving the mouse cursor out of the browser, for example towards the close button.
As mobile devices don’t work with a mouse cursor, this option can’t be applied to them:
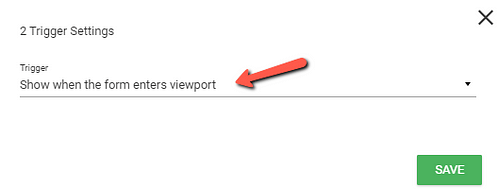
“Show When the Form Enters Viewport”
This type of trigger means that the opt-in form will only show up when the form will enter the viewport, just as its name says:
“Show When the User Clicks an Element”
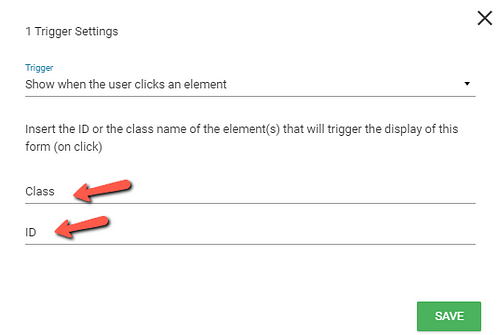
It is also possible that the form appears only when the user clicks an element. For this, type the CSS class or ID of the given element:
“Show when the User Reaches the Bottom of the Page”
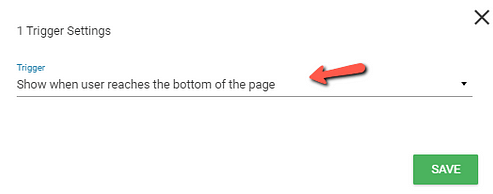
From here you can set the trigger to do what its name says, i.e. to “Show when the user reaches the bottom of the page”:
This is an overview of the available “Trigger Settings” and how you can enable them.
If this article was useful to you, don’t hesitate to leave a smile below 🙂