In this article, you’ll learn three ways to control when students can access specific lessons in Thrive Apprentice—using Drip schedules for sequential unlocking, cross-course unlock conditions, and role-based access through Products.
Prerequisites
Before you begin, make sure you have:
- Thrive Apprentice installed and activated on your WordPress site.
- At least one published course with multiple lessons.
- Familiarity with Drip schedules and Products in Thrive Apprentice.
Method 1: Sequential Lesson Unlocking via Drip
The most common way to lock lessons until the previous one is completed is through a Drip schedule with custom unlock conditions. This ensures students progress through your course in order.
Step 1: Create a Drip Schedule
- Open your course in Thrive Apprentice and click the Drip tab.
- Click Create a Drip Schedule.

- Select the Start from scratch template to create a custom schedule.

- Name your campaign and choose At custom intervals as the content unlock option—this lets you define custom unlock rules per lesson.
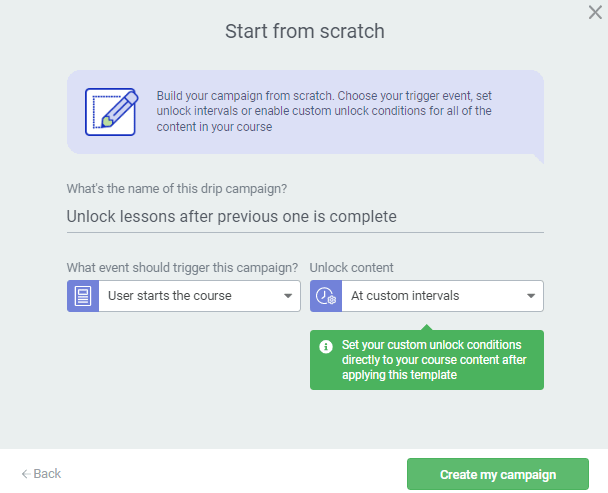
- Click Create my campaign.

Step 2: Set Unlock Conditions for Each Lesson
- In the Drip schedule view, click the unlock status next to the second lesson in your course to open its conditions.
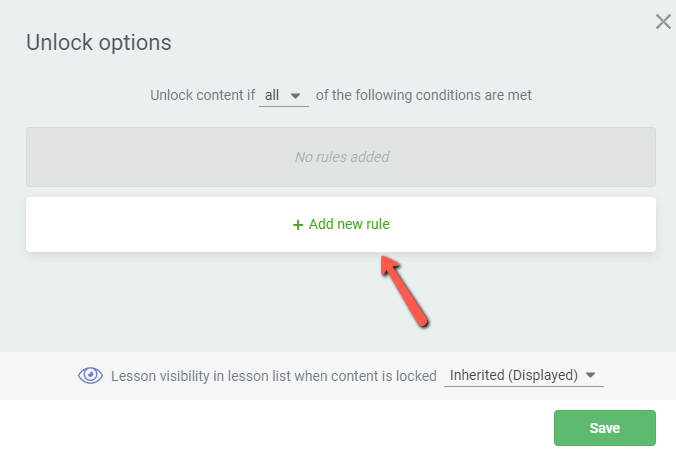
- In the pop-up, click Add new rule.

- From the conditions dropdown, select When course content is marked as complete.

- Select the previous lesson as the content that must be completed. Thrive Apprentice will suggest the preceding lesson by default.

- Click Add to save the rule, then click Save to close the pop-up.
- Repeat for each subsequent lesson, setting its unlock condition to the completion of the previous lesson.
Step 3: Add the Course to a Product and Assign the Drip Schedule
Drip schedules are applied at the Product level, not directly on the course. To complete the setup:
- Go to your course’s Access restrictions tab and click Create a Product based on this course (or add the course to an existing Product from the Products tab).

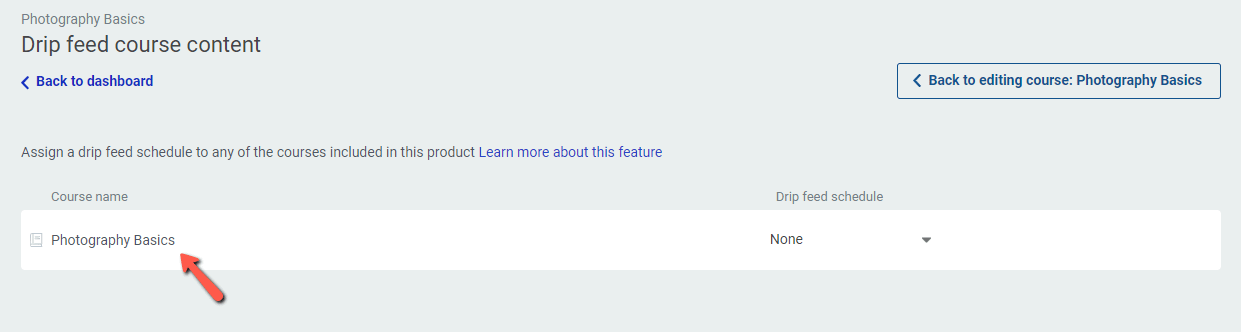
- In the Product settings, go to the Drip tab.

- Select the custom Drip schedule you just created from the dropdown.
- Set up the access rules for the Product to ensure students are logged in when accessing the course.
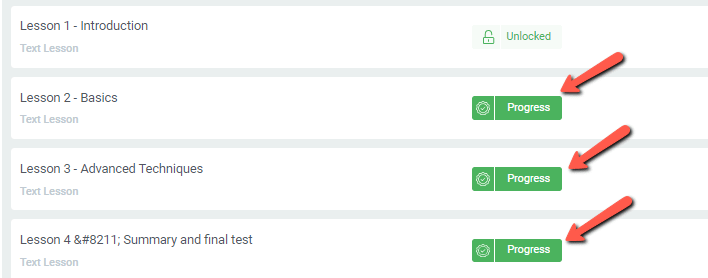
Once configured, students will see locked lessons in the course navigation but cannot access them until they complete the preceding lesson. A lock icon indicates the lesson is not yet available.
For more details on creating Drip campaigns, see How to Get Started with Drip in Thrive Apprentice and How to Set Up Unlock Conditions for Drip Schedules.
Method 2: Cross-Course Lesson Unlocking via Drip
You can also use Drip unlock conditions to unlock a lesson in one course only after the student completes content in a different course. This is useful for multi-course curricula where courses build on each other.
- Create a Drip schedule for the course that contains the lesson you want to lock (follow the same steps as Method 1).
- Click the unlock status next to the lesson you want to conditionally unlock.
- Click Add new rule and select When course content is marked as complete.
- Remove the default suggestion (which points to a lesson in the current course) and use the search field to find content from a different course.

- Expand the Content to be completed dropdown if needed and select the specific module or lesson from the other course that must be completed.

- Click Add, then Save.
Note: Only published modules and lessons will appear in the search results. Students must be enrolled in both courses for cross-course conditions to work.
For example, you might require students to complete “Module 1: SEO Fundamentals” in your SEO course before they can access the first lesson of your Digital Marketing course.
Method 3: Role-Based Course Access via Products
If you want to control which courses different groups of students can access, you can use custom WordPress user roles combined with Product-level access requirements. This restricts access to entire courses (not individual lessons) based on the user’s role.
Step 1: Create Custom User Roles
- Install a role management plugin such as Members by MemberPress.
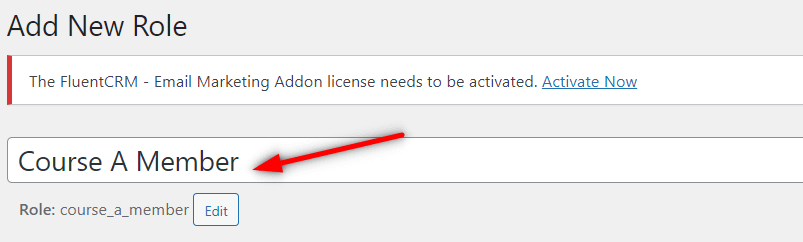
- In your WordPress dashboard, go to the plugin’s settings and click Add New Role.

- Give the role a descriptive name (e.g., “Digital Marketing Student” or “Fitness Course Member”).
- Set the capabilities—typically just the default reading capabilities.
- Click Add Role.

- Repeat for each course that needs its own user role.
Step 2: Assign the Role Requirement to a Product
- In Thrive Apprentice, add your course to a Product (or create a new Product based on the course).
- In the Product settings, go to the Access requirements tab.
- Find the WordPress Role section and expand it.

- Check the box next to the custom user role you created for this course.

- Click Save.
Step 3: Set Up Access Restriction Rules and Registration Pages
- In the Product settings, go to the Access restriction rules tab.
- For the User not logged in context, select Redirect to custom page.

- Create a new page for the course registration, or select an existing one.
- Edit the page with Thrive Architect and add a Login & Registration Form element.

- In the form settings, click Edit Form Elements, then select the Registration Form state.
- Edit the WordPress connection and set the Role dropdown to the custom role you created for this course.

- Save and exit the editor.
With this setup, each course has its own registration page that assigns the correct custom role. Students who register through that page automatically get access to the corresponding course—and only that course.
That’s it! You now know three methods for controlling when and how students access lesson content in Thrive Apprentice.
Related Resources
- Drip Schedules: Learn more about getting started with Drip and setting up unlock conditions.
- Products & Access: Review the access restrictions and rules guide for Product-level access control.
- Course Completion: Configure what happens when students complete a course.
- Manual Unlocking: Learn how to manually unlock lessons for individual students when exceptions are needed.