If you capture testimonials on your website using Thrive Ovation, a useful thing you can do is create an automation that will update the user info with the information that is filled in the form.
For example, if, when capturing a testimonial, you require the user to input their website, creating such an automation can help you ensure that the website of the user is updated for that WordPress user.
Let’s see how to create such an automation. First of all, I will open the post where I want the testimonials to be captured and add a “Capture Testimonial” element to that post:
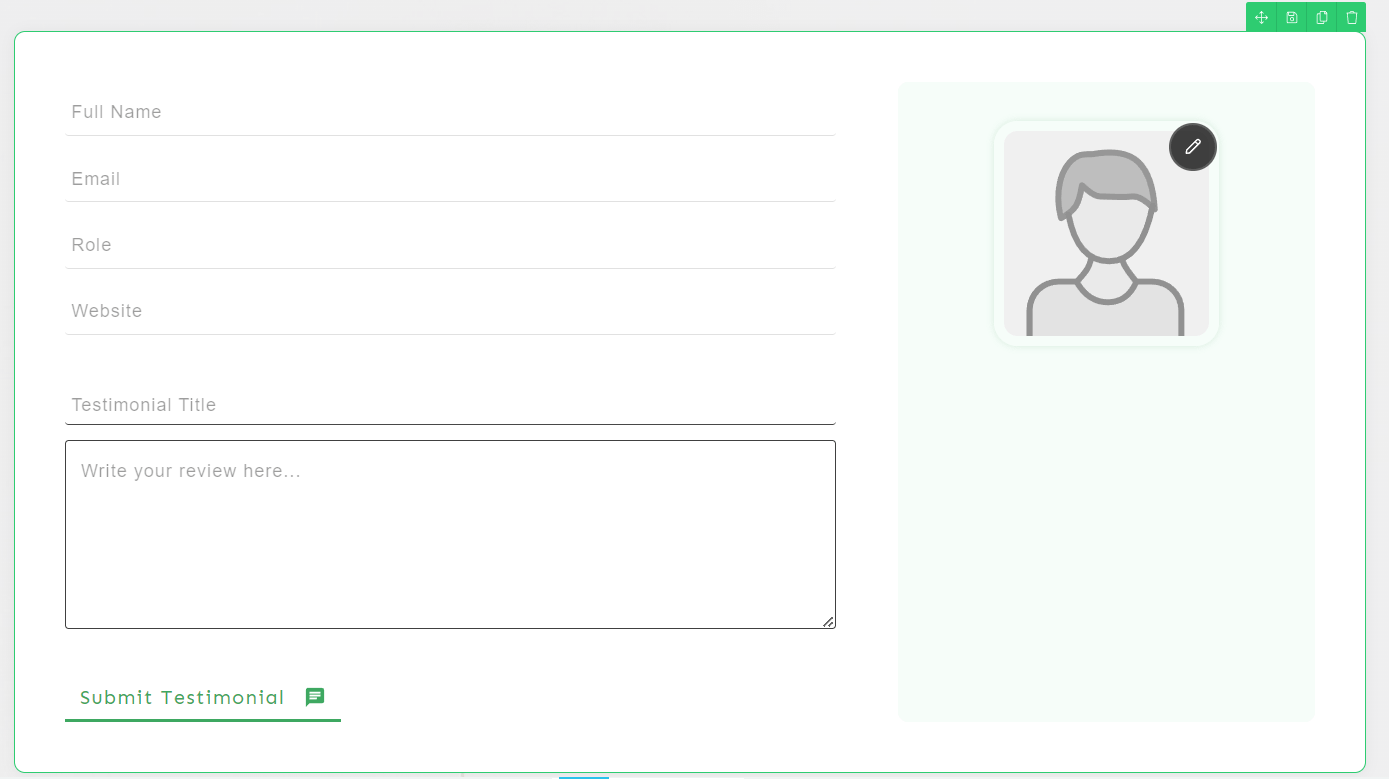
As seen in the image below, I have added a required “Website URL” field to the form:

I will save the post and head over to Thrive Automator to create the automation:
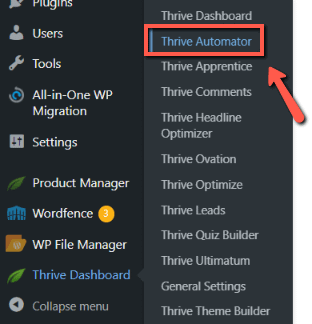
Click on “Add New”:

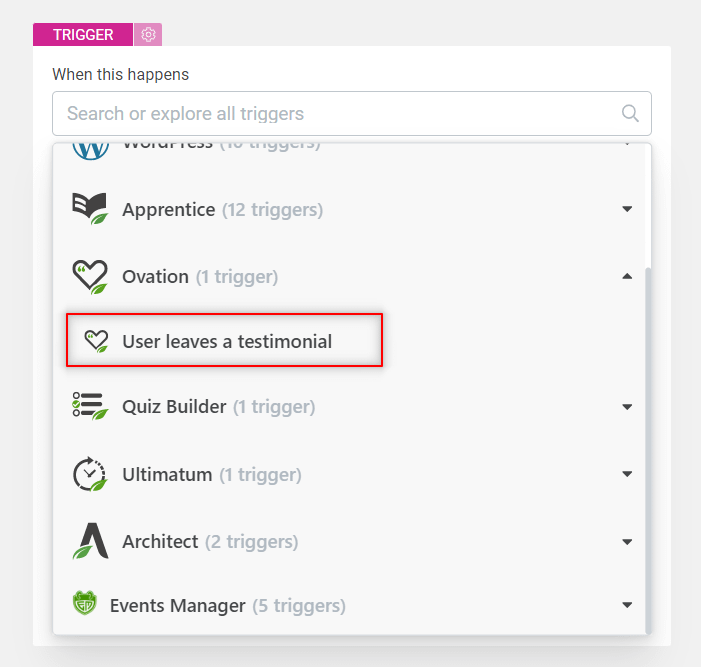
You can start by naming your automation. Then, as a start trigger, choose the “User leaves testimonial” one, from the “Ovation” category:
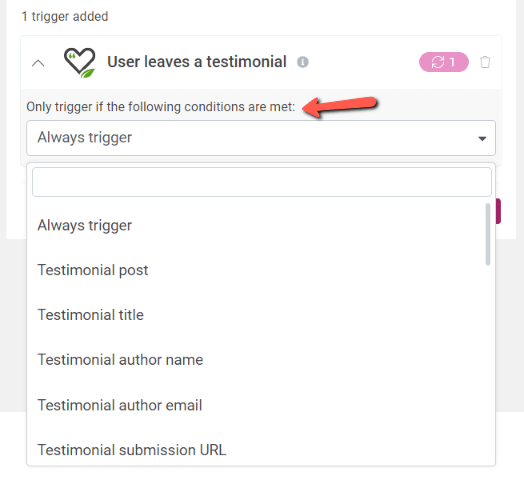
You can take it one step further and condition the automation to start in very specific conditions, using this dropdown:
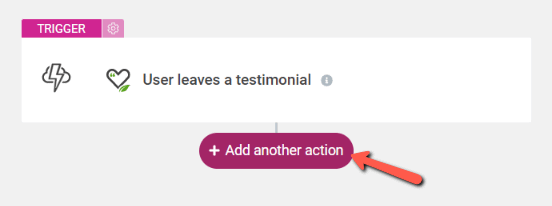
Once you’re done with the start trigger, click on the plus sign to add a new action:
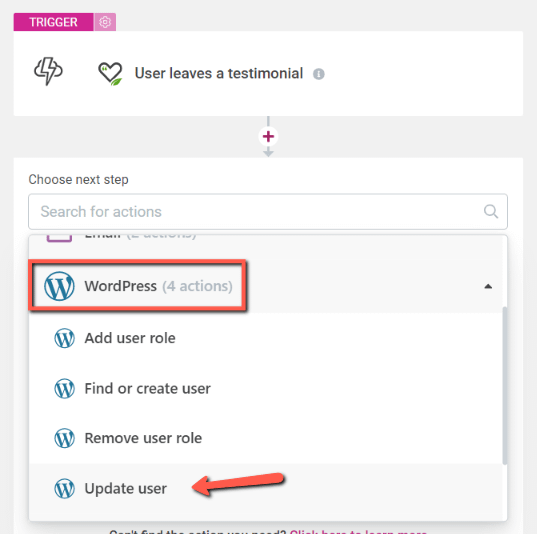
From the “WordPress” category, choose the “Update user” action:
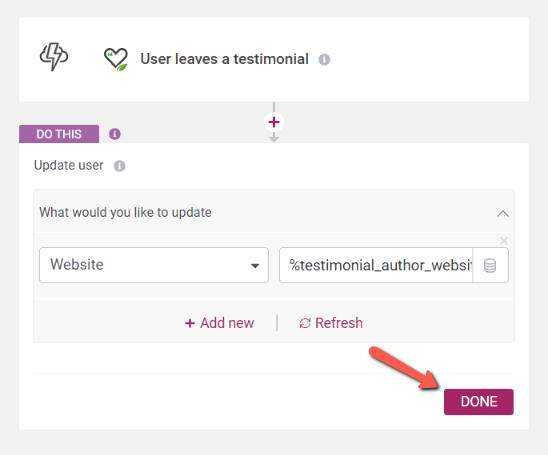
You will then be asked to choose what information should be updated:
You need to set up key-value pairs here. In this case, since we want to update the user’s website, this is how I will set up the action:
Click on “Done” to save the action:
The automation is finished and you can set it to “Active” and click on “Save and finish”:
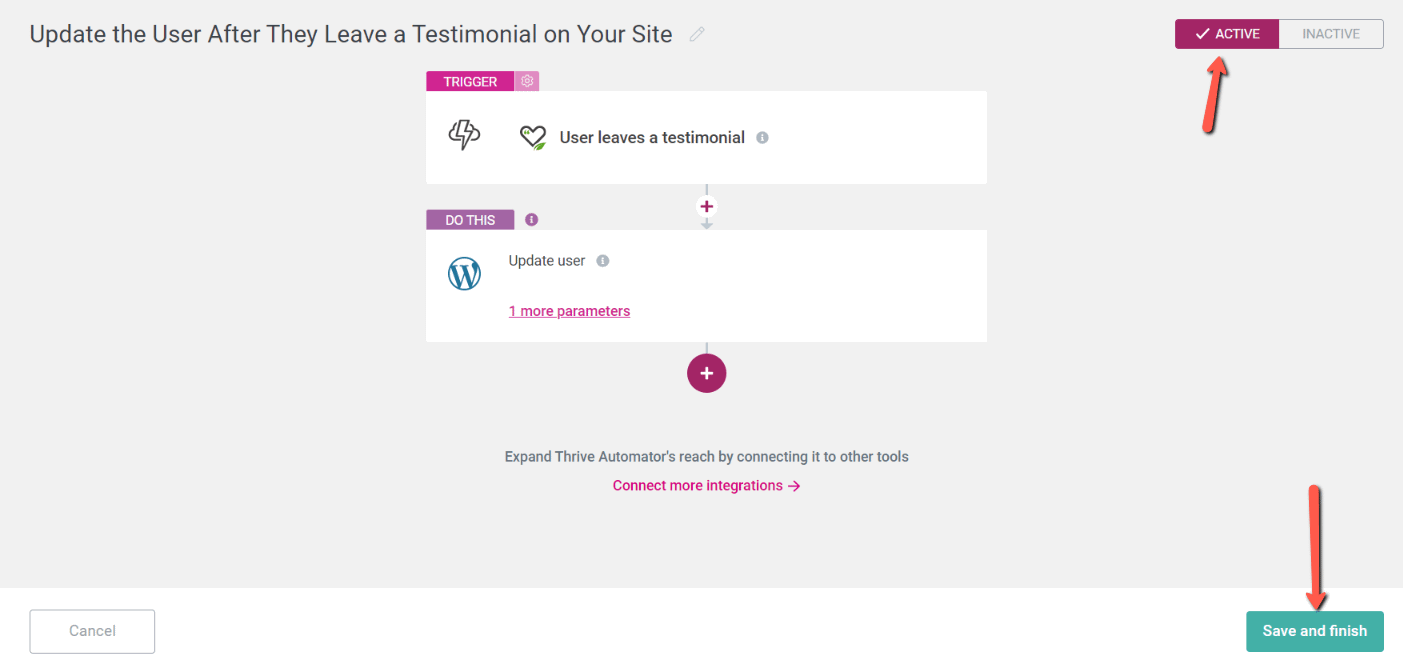
Now, each time someone leaves a testimonial and adds their website URL, their WordPress user account will be updated:
Please check out this section of our knowledge base for more examples of automations.