If you are using both Elementor and Thrive Automator on your website, and want to interconnect the two in a manner that, if someone fills in a form built using Elementor, an automation starts and adds them to the autoresponder of your choice, make sure you follow this tutorial.
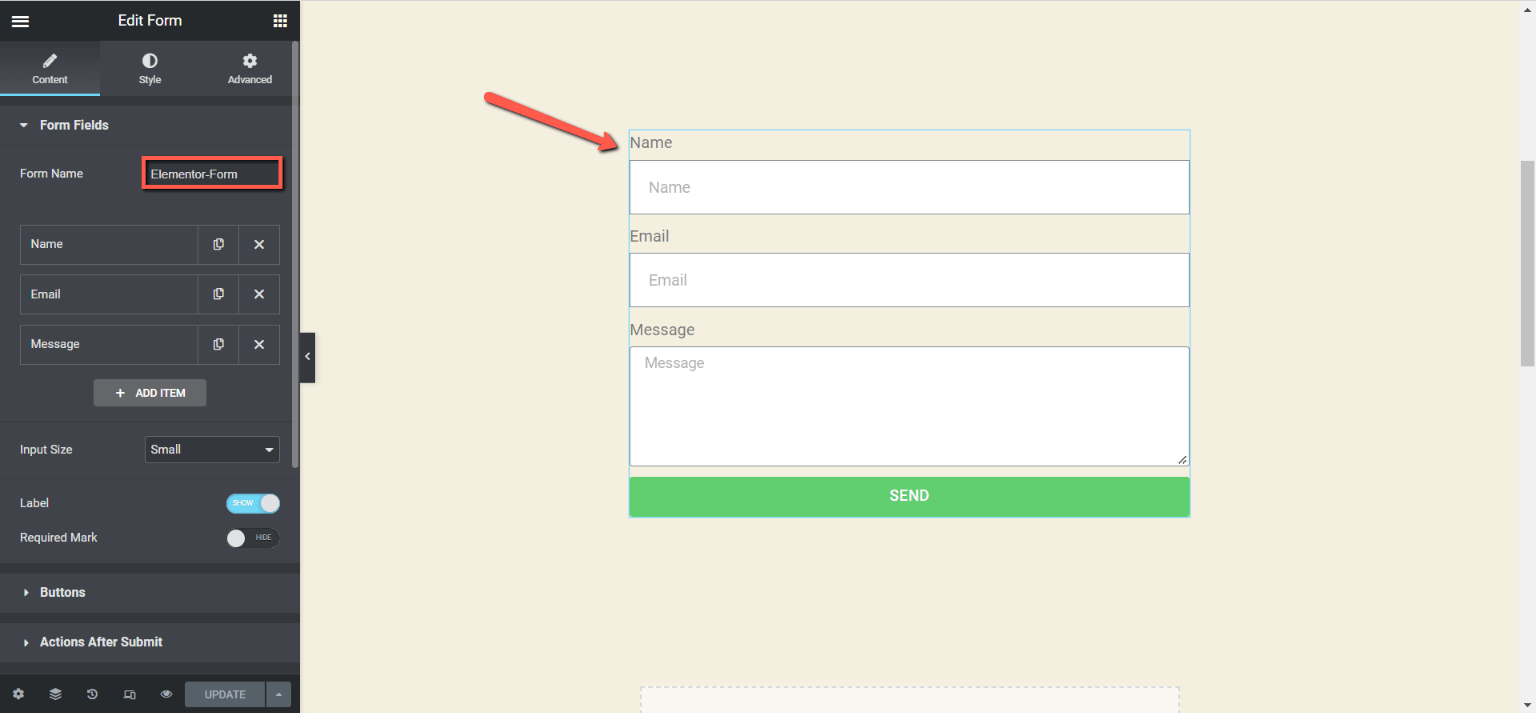
I have created a post using Elementor and added a form, called “Elementor-Form”:
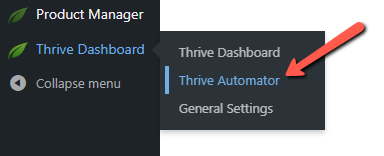
Now let’s head over to Thrive Automator and create a new automation:
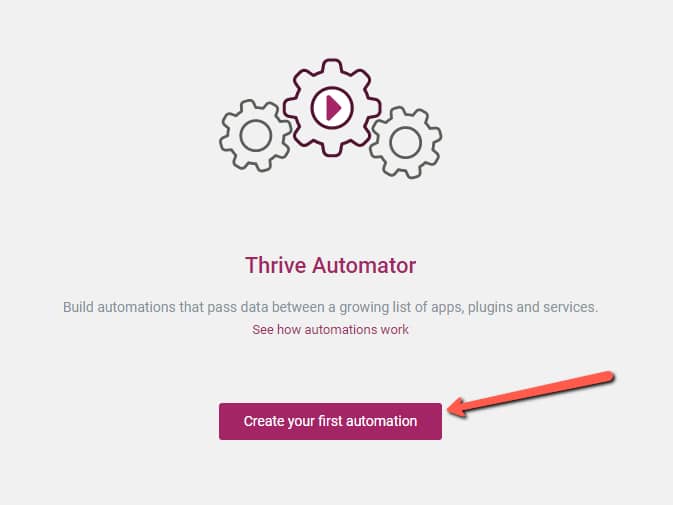
Go ahead and create a new automation:
Depending on the setup you have on your site, you will have a variety of triggers/actions available.
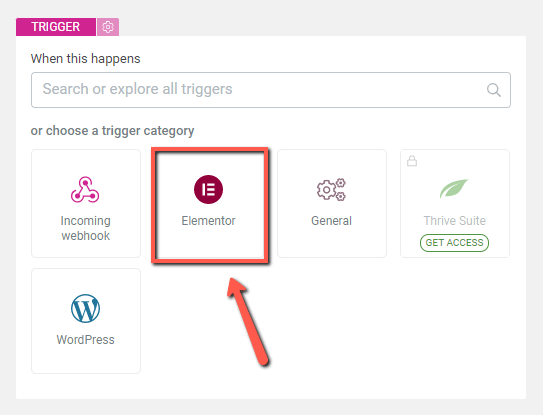
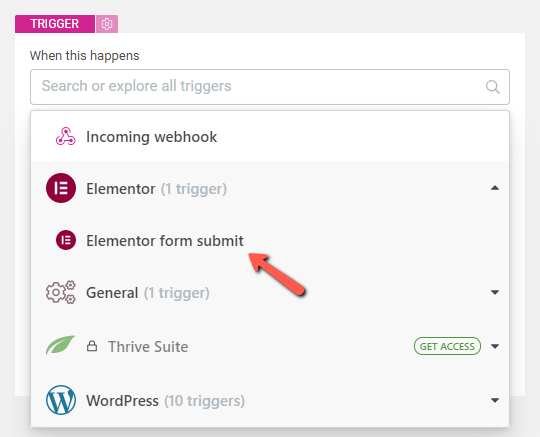
For this walkthrough, we will use the “Elementor” trigger category:
I will choose the “Elementor form submit” start trigger:
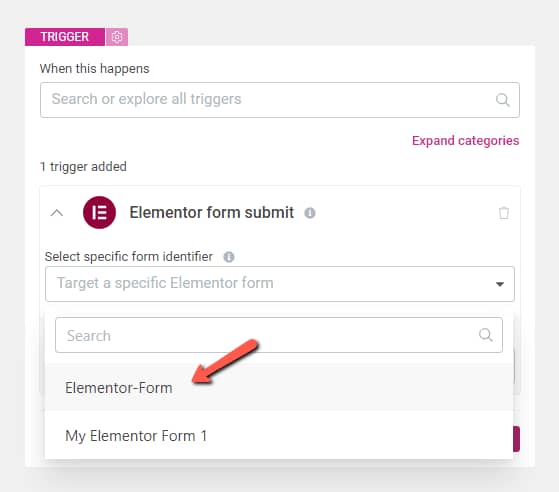
You can condition the automation to only start for a specific form, which is what I will do:
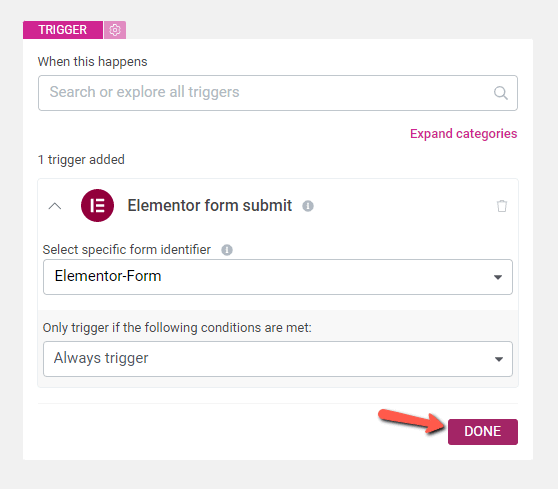
Click on “Done” when finished:
After that, it’s time to add the next action:
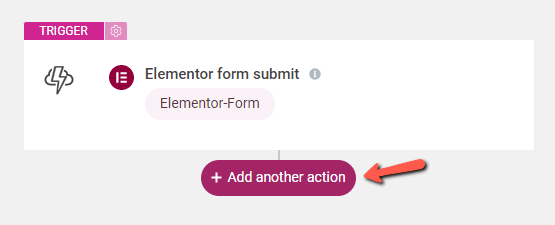
You can go two different ways:
Choose the “Add user in autoresponder” action, if you have previously connected your website to that autoresponder (from the Thrive Dashboard, for example);
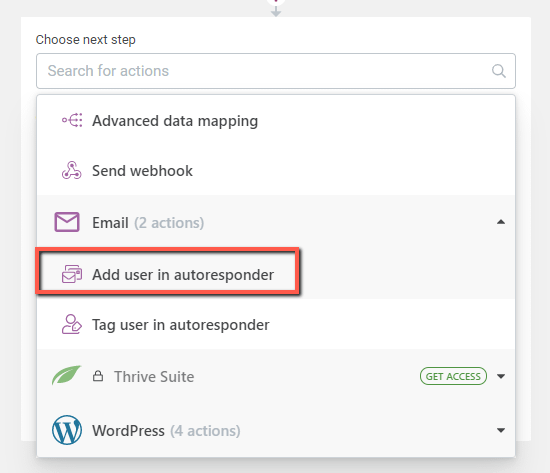
Choose the “Send Webhook” action, if you want to directly integrate to a service that supports incoming/outgoing webhooks:
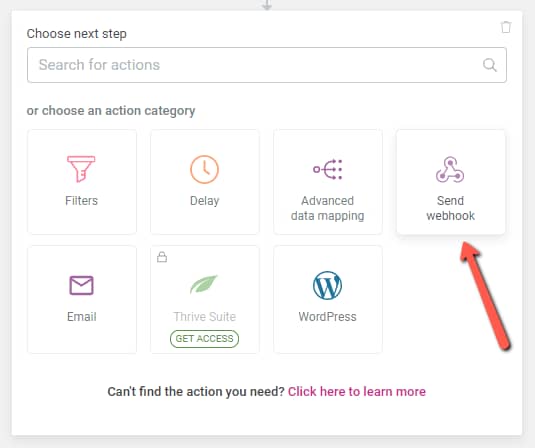
You can check out this article if you want to see how to set up the “Add user in autoresponder” action, and for this one, we will go with the second method, by sending out a webhook.
As an example, I will add the users that sign up using this form to my Encharge.io list.
If you need a more in-depth tutorial on how to create the connection to this platform using the “Send Webhook” action, check out this article.
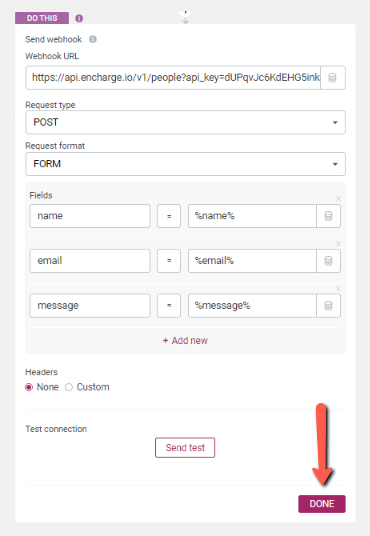
To set up the “Send Webhook” action, we will need to construct and add the webhook URL in this first field:
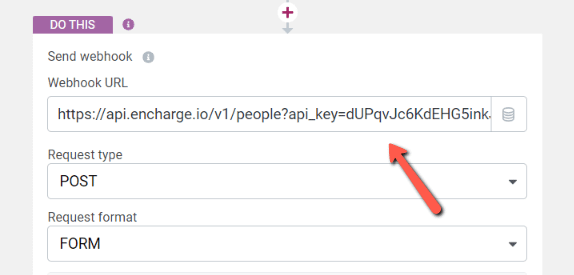
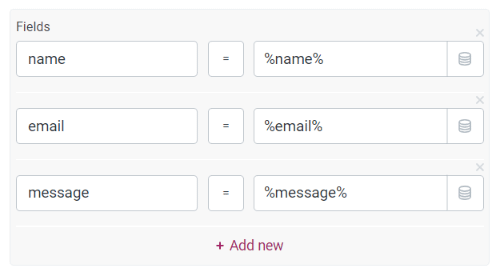
You can then choose the request type & format and map out the form fields as you wish.
I will map out the name and email using the name and email from the “Elementor form data” dynamic mapping section:
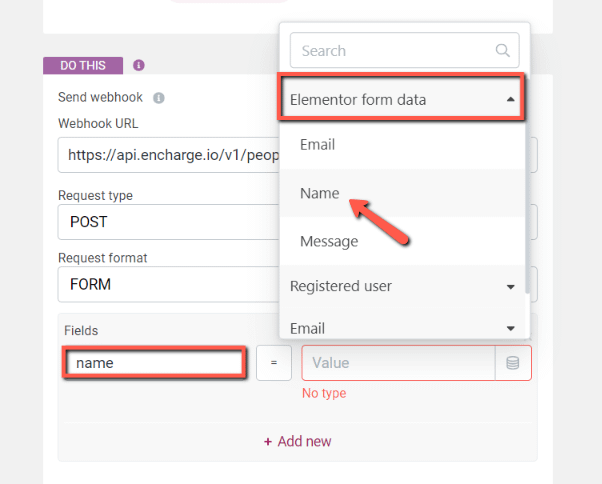
This is what the dynamic mapping section will look like:
When you’re done setting up this action, click on “Done”:
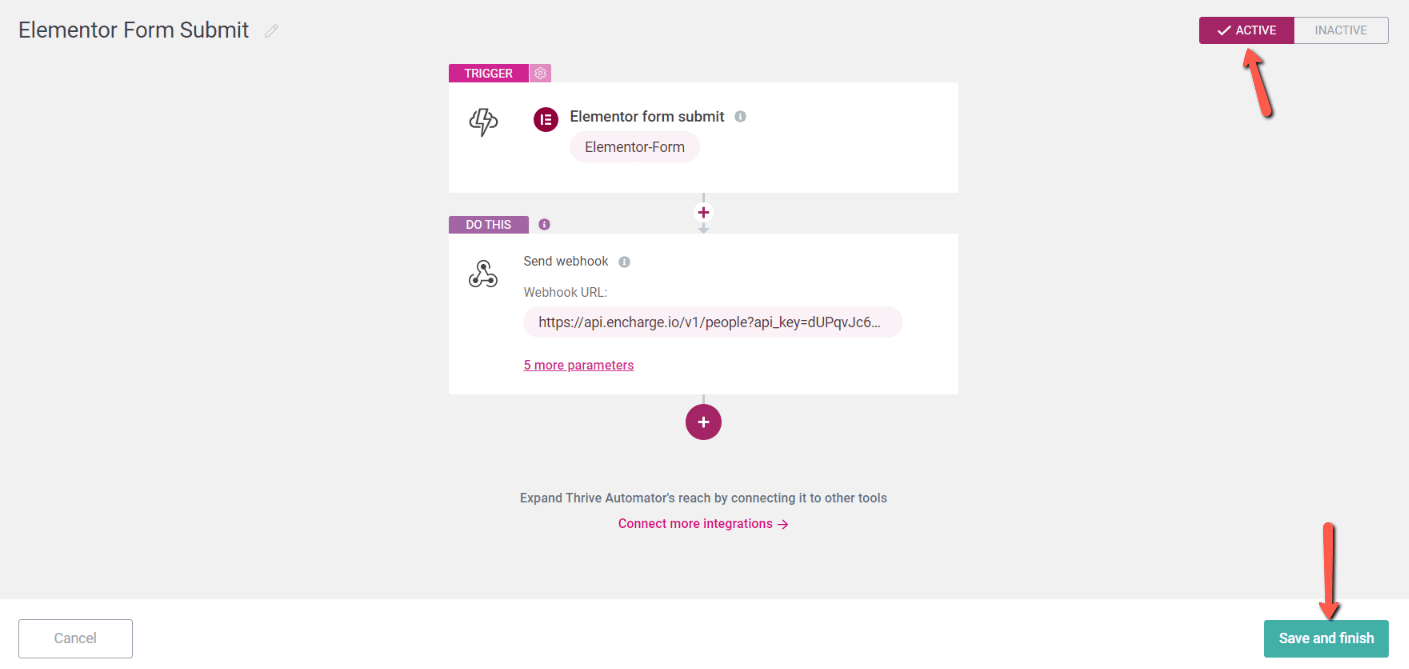
Lastly, make sure you activate and save the automation:
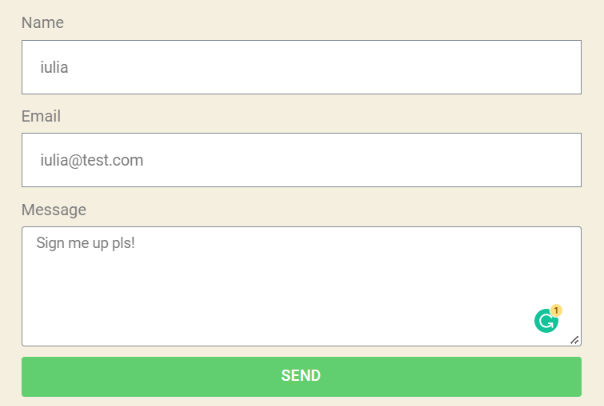
And now, each time someone fills in your form, they will get added to your mailing list:

This is how to create a simple automation when using both Thrive Automator and Elementor.
Of course, the complexity of an automation can grow as you add more actions/filters/delays.
Hopefully, this article was useful to you. Remember that you can find more examples of automations in this knowledge base section.