In this article we’ll have a look at how you can integrate Thrive Automator with the Facebook Marketing API.
This feature allows users to trigger Facebook events directly from Thrive Automator. You can run highly targeted ads based on specific events that took place on your website.
For example, you can segment your audience and create ads for those users who have submitted a form from your website, or for those users who left a comment. These are just several examples of automations you can set up.
Set up the API Connection with Facebook Marketing API
Important!
Please take into consideration that this connection works if you already have an API integration with Facebook.
Check out this article from our knowledge base for learning how to set that up:
Access your Thrive Dashboard and add a new connection:
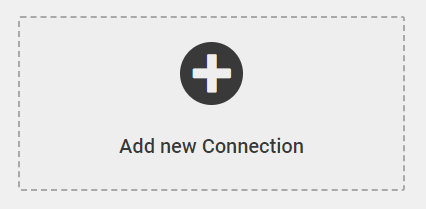
Select “Facebook (Meta) Marketing API” from the list of available connections:

Paste in your “Pixel ID” and “Access token” and connect:

You can find details on how to get these tokens from the Meta Developer Documentation website.
If your connection is successful the connection card will be available in the Thrive Dashboard:
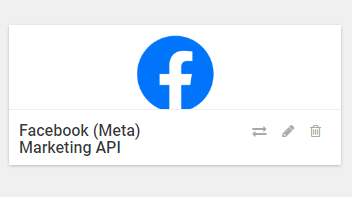
With all this set up, you can proceed to creating a workflow in Thrive Automator.
Create an Automation in Thrive Automator
Access Thrive Automator and create a new automation. For this example I’ll use the “Form submit” start trigger:
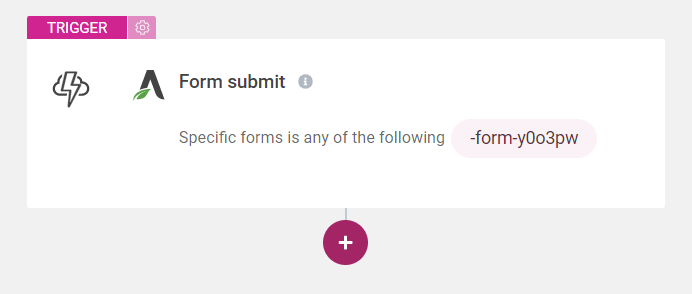
Note: Keep in mind that you will have to set up a “Lead Generation” form prior to creating this automation, and give it an unique identifier so that only the submission of that form will trigger this automation.
Proceed with adding a new action:
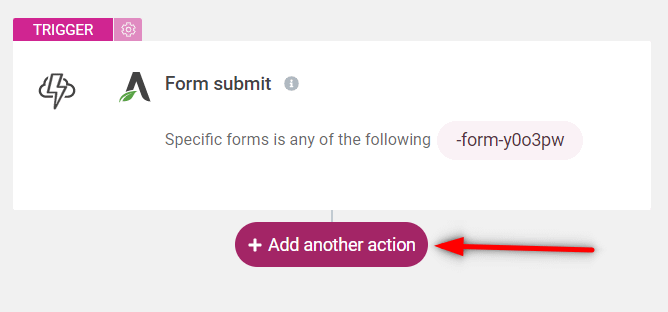
Select “Facebook” from the list:
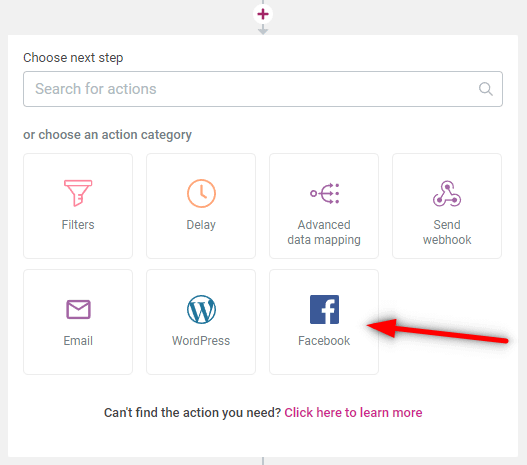
This will trigger a list of events you can choose from. Facebook allows you to use two types of events: standard and custom.
Standard event
We’ll use “Fire Facebook standard event”:

Here you’ll see a list of predefined event types. We will use the “Lead” one:

Then you can add some standard parameters (such as assigning a value to your leads). Alternatively, you can also set up custom values:
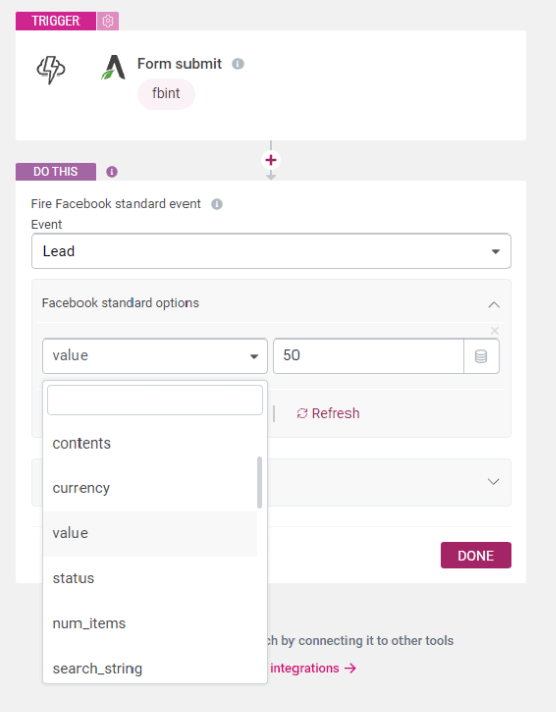
After you set this up click on “Done” and you are ready to save and publish your automation.
Custom event
An example of a custom event would be when someone leaves a comment on your website.
In this case, the start trigger is “User leaves comment”:
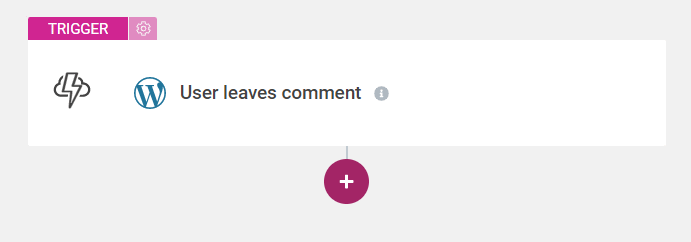
This trigger will be followed by the action of firing a Facebook custom event:

As a last step, you can set up custom paraments:

And that’s pretty much it.
You can check the “Logs” section of Thrive Automator to see if your automation works, and then access the Facebook Event Manager where you’ll get a list of events that Facebook received from your website. All the events set up in Thrive Automator will be listed there.
Hopefully this quick guide on integration Thrive Automator with the Facebook Marketing API was useful to you.
Don’t hesitate to check out our Thrive Automator knowledge base section for more tutorials of this type: