In this article, you’ll learn how to use the Site Speed section in Thrive Theme Builder to optimize your website’s performance. This section provides tools and plugin recommendations for asset optimization, image compression, caching, and Accelerated Mobile Pages (AMP).
Accessing the Site Speed Section
- Go to your WordPress admin dashboard.
- Click Thrive Dashboard > Thrive Theme Builder.
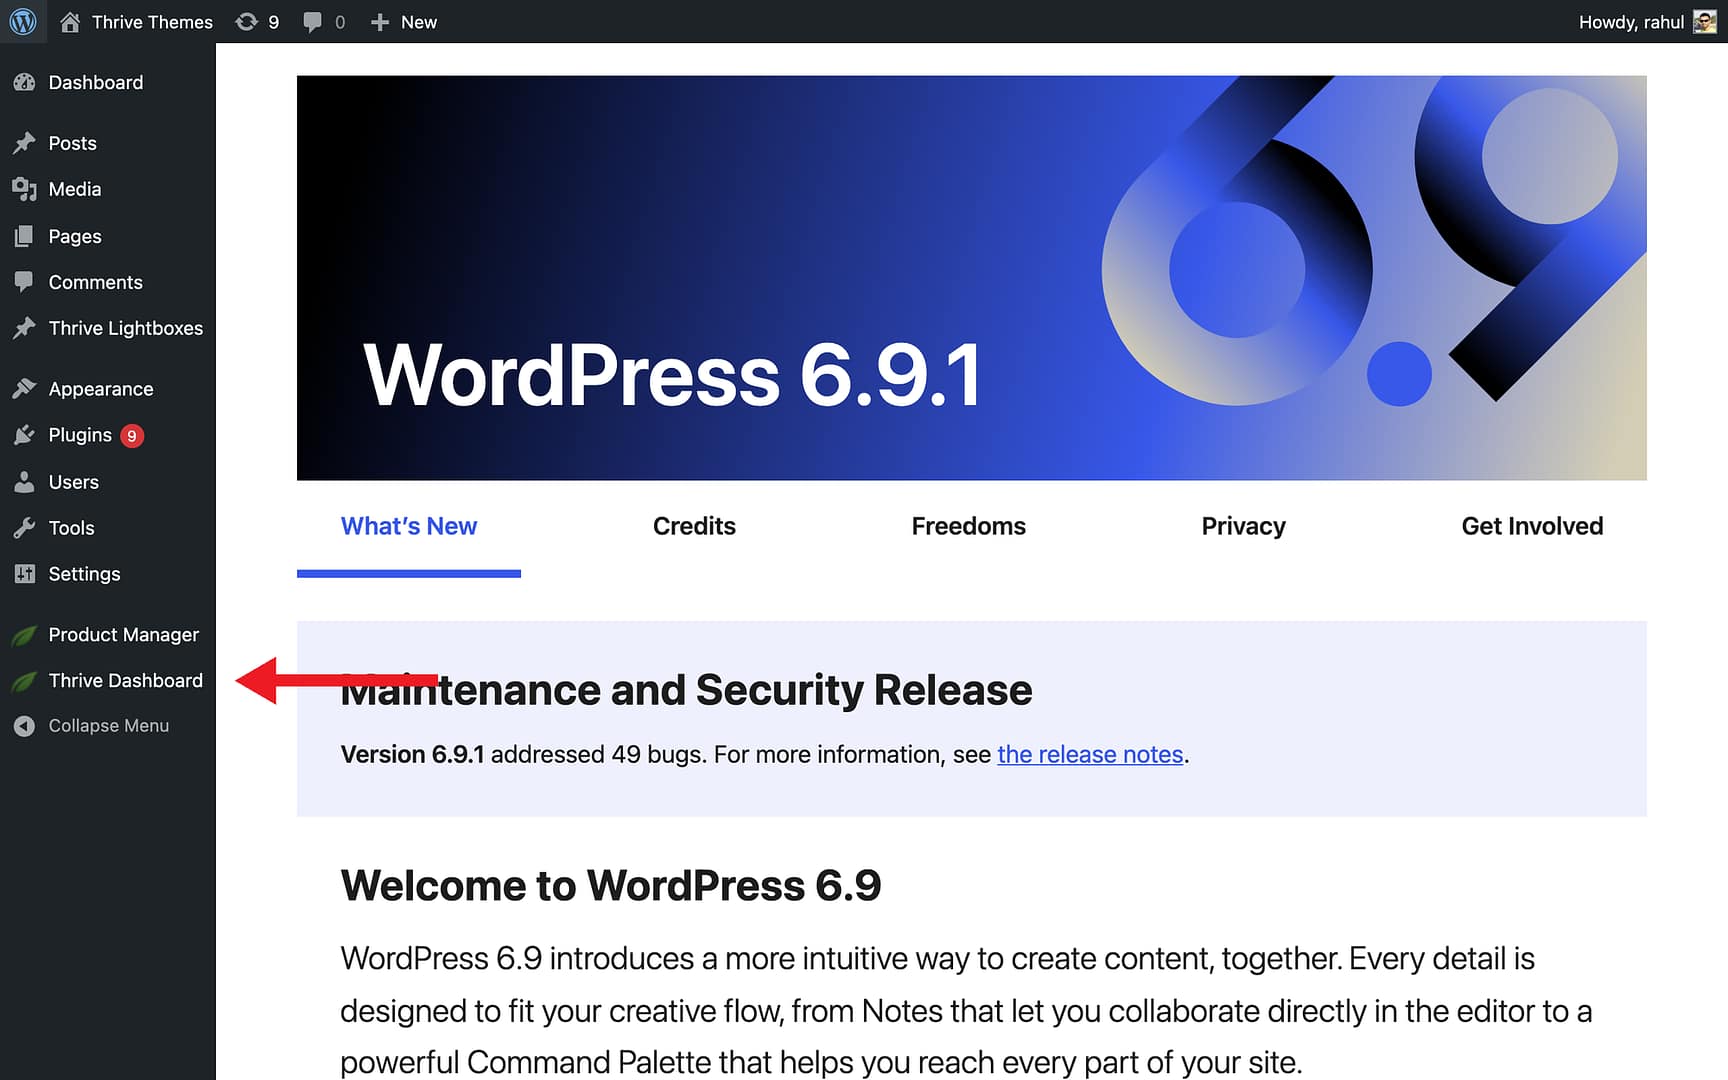
- In the left sidebar, click Site Speed.

The Site Speed page displays four optimization areas:
- Project Lightspeed
- Image Optimization and Delivery
- Minification and Caching
- Accelerated Mobile Pages
Project Lightspeed
Project Lightspeed is a built-in performance tool included with Thrive Suite. It scans your website’s JavaScript and CSS files and creates optimized versions for each page, reducing load times.

- Click the Project Lightspeed block on the Site Speed page.
- This takes you to the Asset Optimization page where you can run the analysis and apply optimizations.
Image Optimization and Delivery
Click the Image Optimization and Delivery block to see two approaches:

Fully Automated: Optimole
Optimole automatically compresses images, serves them at the right dimensions, and delivers them through a CDN. It’s free for up to 5,000 hits per month.
- Open the Fully Automated tab.
- Click Install Now next to Optimole.
- Register with your email address and click Create & connect your account.
- An API key is sent to your email for verification.
- Click Configure Optimole for Optimal use with Thrive.
- Confirm by clicking Yes, configure Optimole.
No Cost: Smush
Smush compresses images after upload. The free version handles unlimited images; the Pro version adds CDN and adaptive image features.
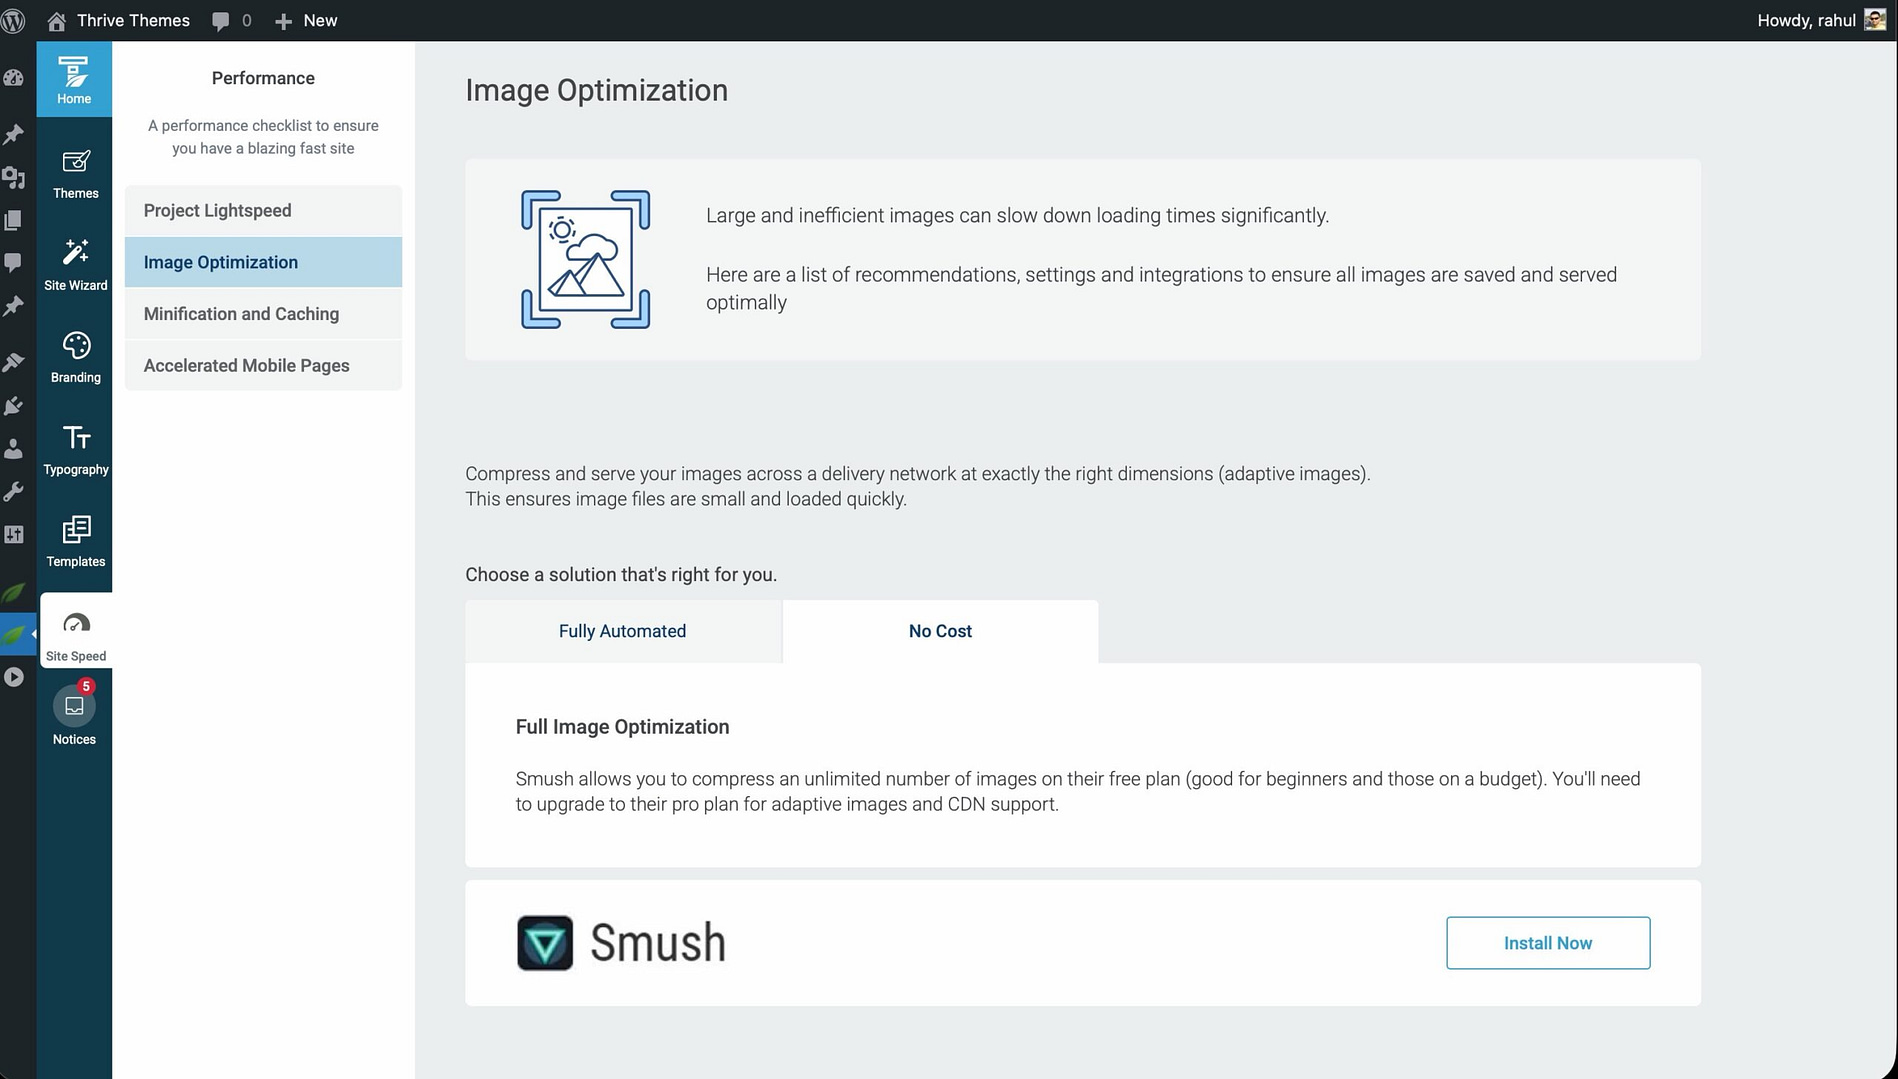
- Open the No Cost tab.
- Click Install Now next to Smush.
- The plugin is installed and activated automatically.
- Configure Smush settings manually from the WordPress admin—there is no automatic Thrive configuration for this plugin.
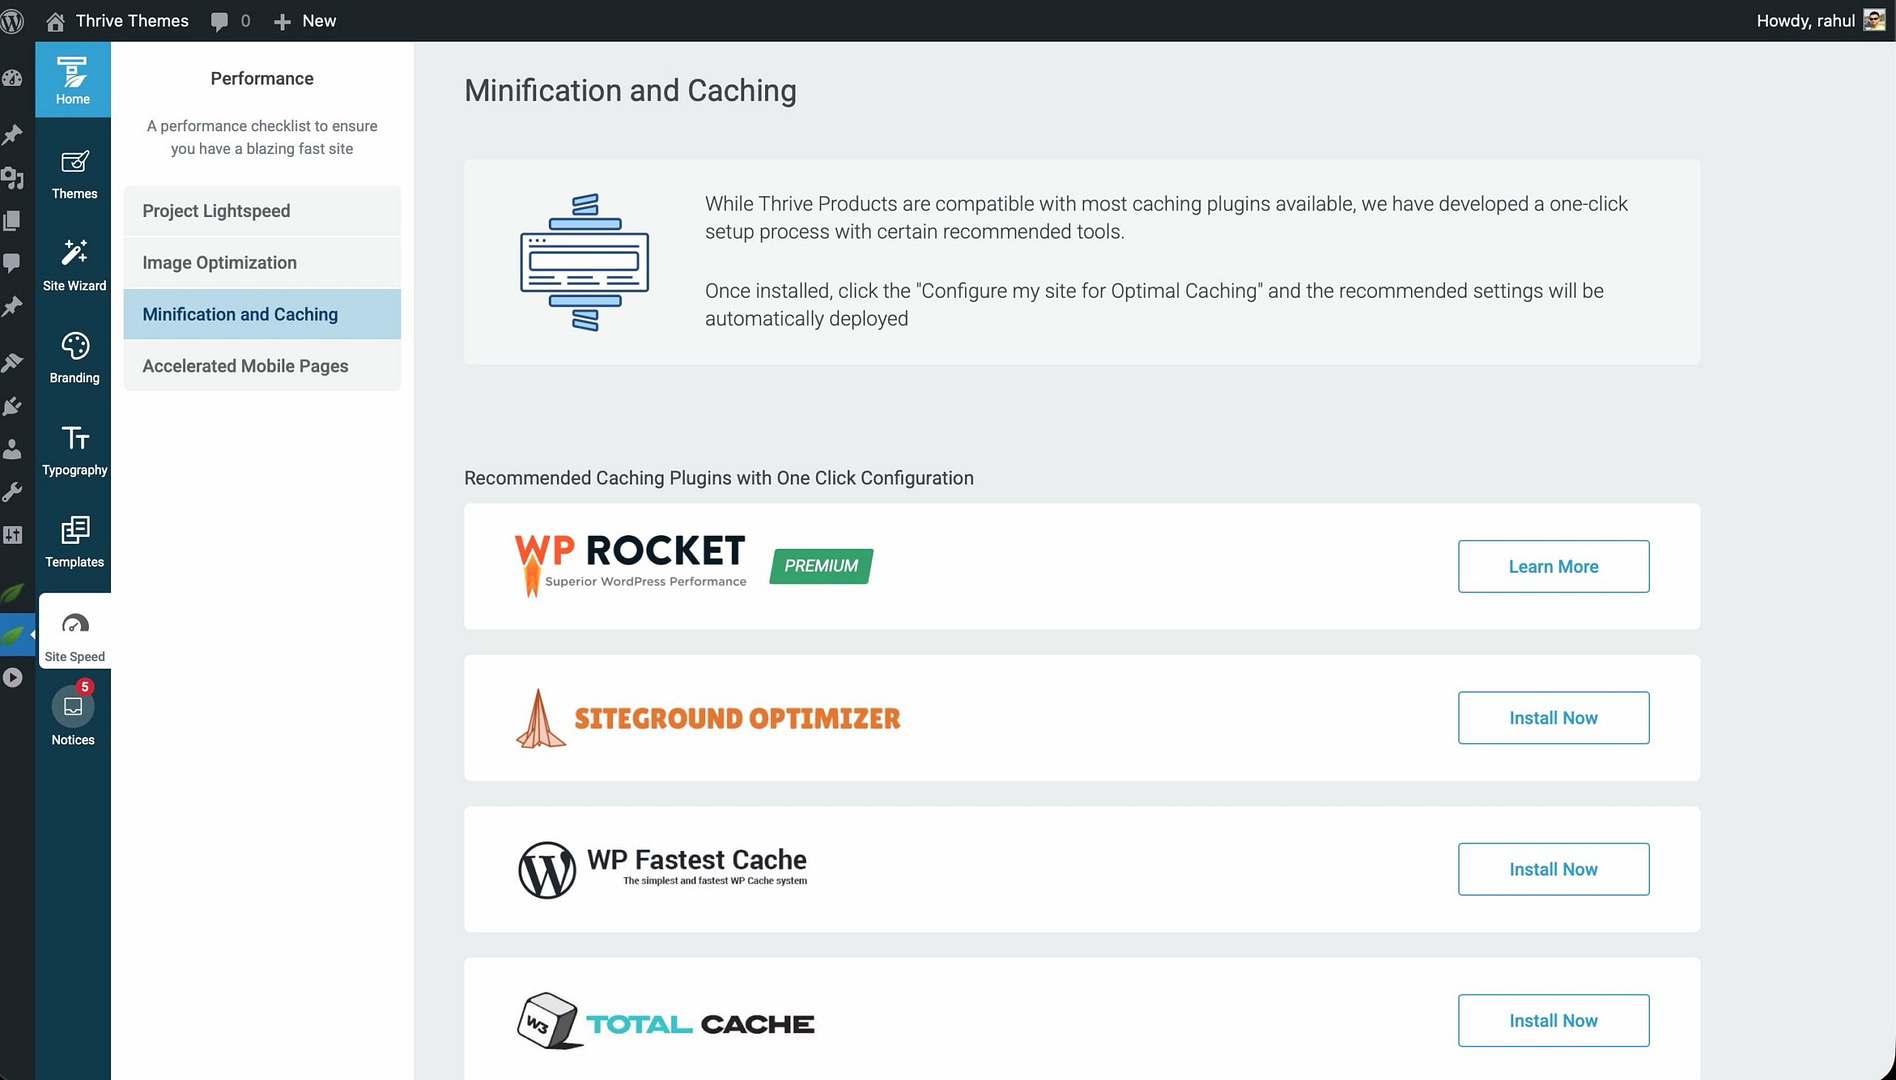
Minification and Caching
Click the Minification and Caching block to see four recommended caching plugins:
| Plugin | Type | Thrive Auto-Config |
|---|---|---|
| WP Rocket | Premium | No (separate setup required) |
| SG Optimizer | Free (SiteGround hosting) | Yes |
| WP Fastest Cache | Free | Yes |
| W3 Total Cache | Free | Yes |
For plugins with Thrive auto-configuration:
- Click Install Now next to the plugin.
- Click Activate.
- Click Configure for Optimal Caching with Thrive.
- Confirm by clicking Yes, configure the cache.
Accelerated Mobile Pages (AMP)
AMP creates lightweight versions of your pages optimized for mobile devices.

- Click the Accelerated Mobile Pages block on the Site Speed page.
- Toggle Enable AMP to turn it on.
- Configure the available options:
- Content types — Choose which post types should have AMP versions (posts, pages, landing pages).
- Convert internal links — Automatically convert internal links to their AMP equivalents.
- Google Analytics — Install Google Analytics tracking on AMP content.
Related Resources
- Getting Started: Learn how to get started with Thrive Theme Builder.
- Setting Up Branding: Configure your logo, favicon, and theme colors.
- Managing Templates: Explore the Templates section to optimize your site’s design.