This article will show you how the Site Wizard works and how easily you can use it to create your website using Thrive Theme Builder. The wizard helps you set up your site’s most important elements very quickly.
After using the wizard, you can go to the template editor and further customize your site. Furthermore, you can return to the wizard at any time and make the modifications you want.
When you access Thrive Theme Builder, the Site Wizard is the very first thing that you will be taken to:
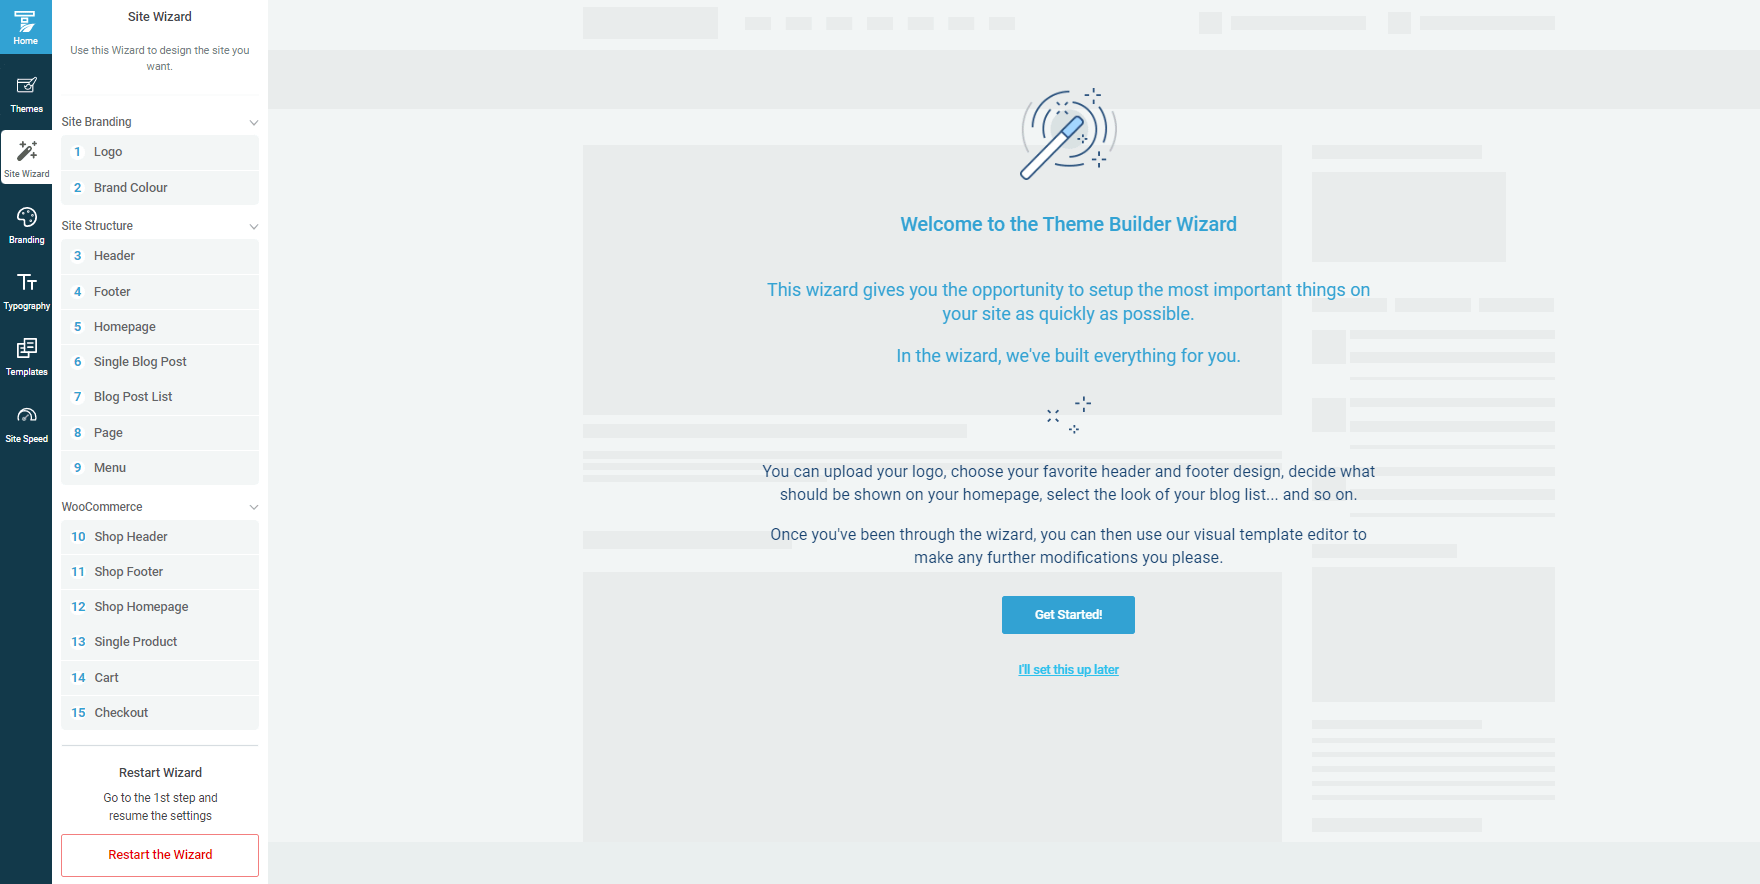
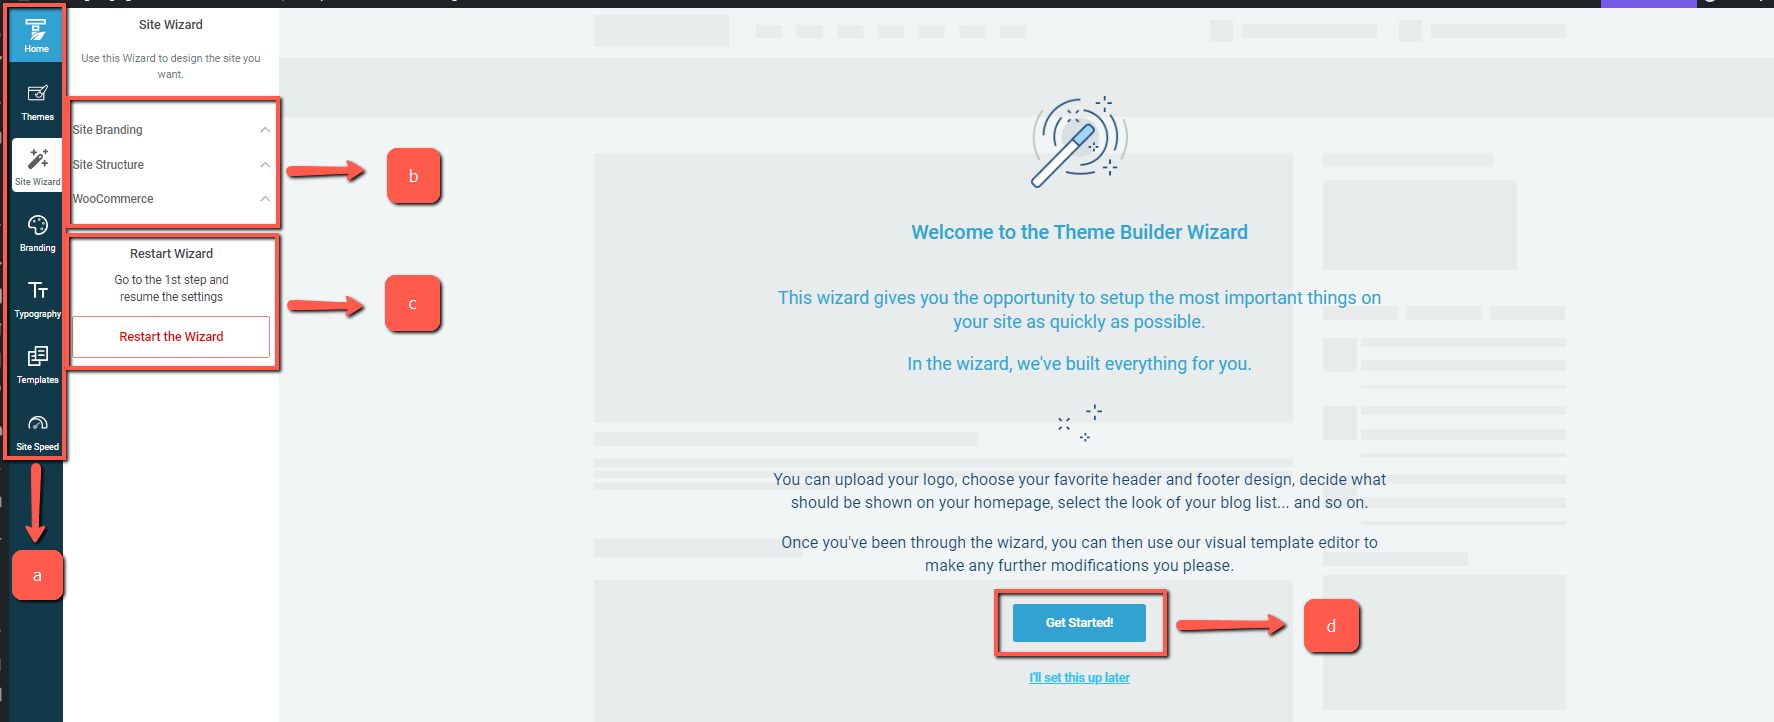
Here is how you can use the left sidebar options while going through the wizard:
-
a) The left sidebar
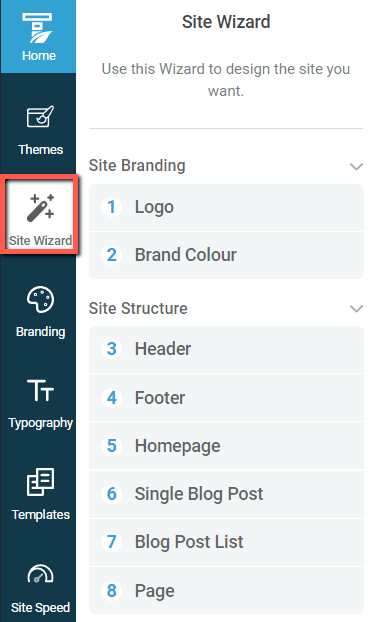
This is where you can access the wizard from. When using Thrive Theme Builder, on the left sidebar you will notice some tabs: Site Wizard, Branding, Typography and Templates, and Site Speed. This is where you can navigate between them.
Whenever you want to access the Site Wizard, click on it in the sidebar:
-
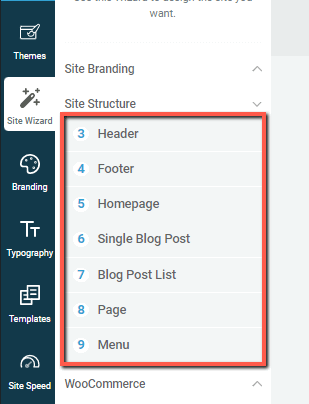
b) Site structure
This part represents the structure that the wizard follows while you go through it. If at some point, you want to return to a component that you have already customized, you can simply click on it here:
-
c) Restart the Wizard
If you feel like you need to start the wizard again, you can do that by clicking on the “Restart the Wizard” button:
If you do this, you will be taken back to the first step of the wizard, and all the modifications that you’ve made will be erased.
-
d) Get Started
When you first access Thrive Theme Builder and you haven’t started the wizard yet, you will find the blue “Get Started” button that you can access whenever you are ready to start using the wizard:
After you start using the wizard, this is where you will see a live preview of your site, so that it will be easier for you to customize it.
Use the Wizard
Once you click on “Get Started”, you will immediately be taken to the first part of the site structure, which is the “Logo” one.
1. Logo
The wizard will ask you to choose a logo for your site. You will be asked to choose between the logos that you have already uploaded in your media library:

2. Brand Colour
Next, there is the “Brand Colour” tab. The wizard will ask you to choose a Main Brand color for the theme. Click on the color box to choose a color, and then, once you decide on it, click on “Choose and Continue” to move on to the next step:
After choosing the Main Brand color, everything in the wizard will be branded with that color scheme.
3. Header
Then, you will move on to the “Header” of the site. There are two ways in which you can choose a header. The first way to do that is to click on the header name, found here:

This will open a small pop-up with all the header sections. In order to choose one, click on it:

The second way in which you can choose another header is to click on the left and right arrows in the live preview, and you will be able to browse and see how each header looks like:

Then, after you choose the suitable header, click on “Choose and Continue”, from the top right side of the wizard:

4. Footer
The wizard will then go to the third step, choosing a footer. The process is exactly the same as choosing a header. Choose a suitable footer by clicking on the footer name on the top right side of the page:

This will open a pop-up with all the available footers. Click on the one that you like in order to choose one:

Again, you also have the option of using the left and right arrows to browse through the footer sections using the live preview:

When you’re done, click on the blue “Choose and Continue” button, to go to the next step of the wizard:

5. Homepage
The next step is the “Homepage” one. When you get to it, you will be asked to choose what you want to display on your homepage. Click on the option that you want to use:

-
Choose from ready-made homepages
If you go for this option, the homepage will be imported from your WordPress homepages.
You can click on the page name in the top right part of the wizard, in order to choose another homepage:

You can go back and choose another source for your homepage, by clicking on “Previous Step”:
There are a few important things to be noted when using a “Ready-made” Landing Page with Thrive Theme Builder.
The “Choose from the ready-made homepages” option allows you to choose a homepage from some pre-created homepage designs, landing pages that were specifically created to be homepages.
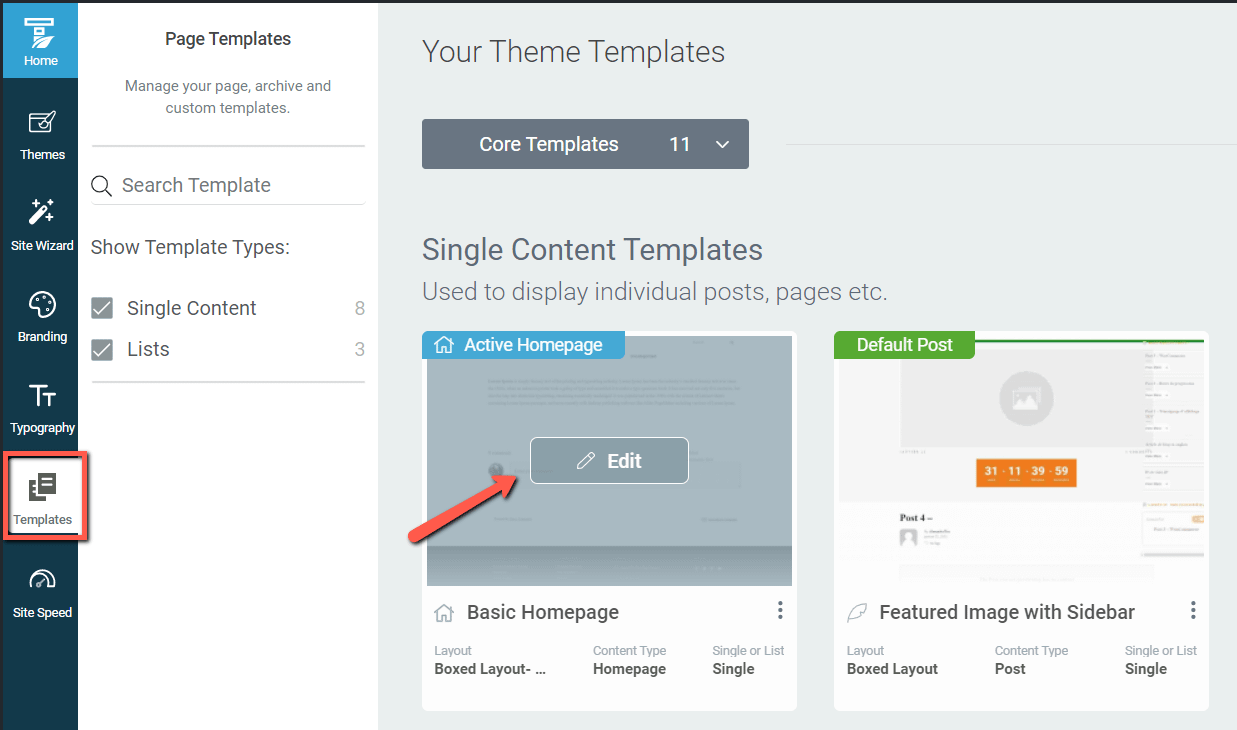
If, after you finish using the wizard, you want to edit the homepage, you can do that by going to “Templates”, and then click on “Edit” on the respective homepage:
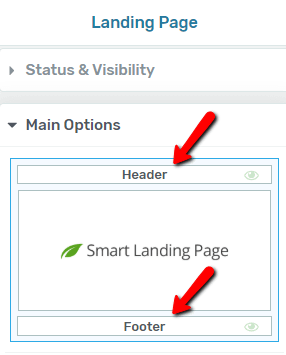
Note: When editing a ready-made homepage landing page, you can edit the “Header” and “Footer” section right from the Thrive Theme Builder Editor. When you open the editor, you will notice that you can set the two section from the left sidebar:
Another important thing to know about ready-made landing pages that you choose as a homepage is that you can edit the content of them directly from the Thrive Theme Builder Editor. When editing a regular page using Thrive Theme Builder, inside the editor you can only edit the way the template looks, but not the content.
If you are editing a ready-made landing page homepage, you are able to also edit its content using Thrive Theme Builder.
-
Display one of your existing pages
This is the second option that you can choose when it comes to importing a homepage, is to display one of your already existing pages as a homepage. If you click on this option, the wizard will ask you to choose a page:
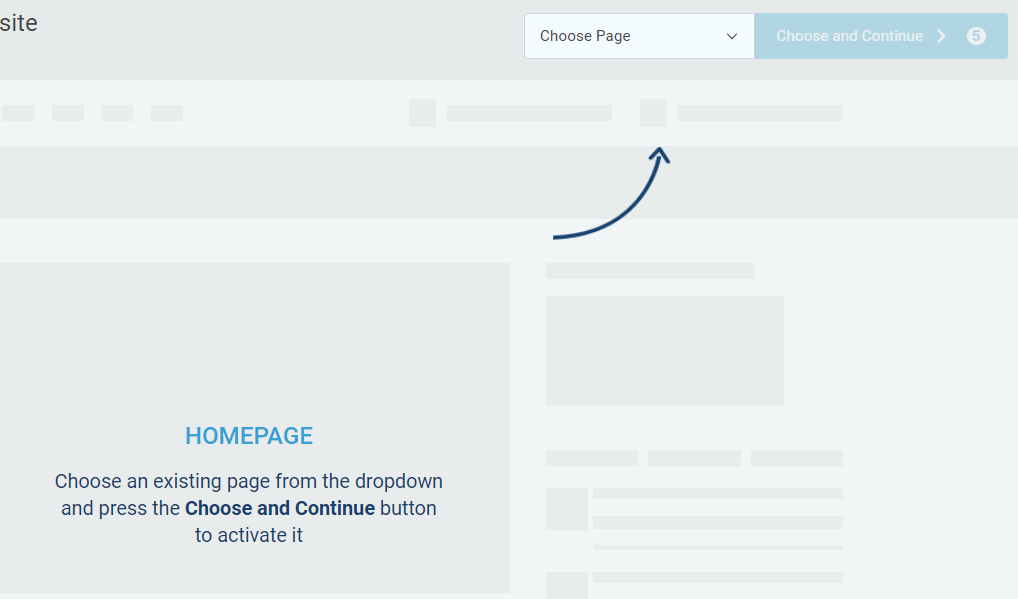
Simply click on the “Choose Page” field and a small drop-down with all your pages will open. Click on the one you want to make your homepage:
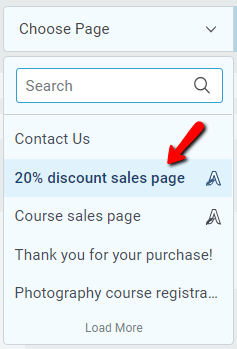
If you choose an existing page as your homepage, you can edit the page using the Thrive Theme Builder Editor, and you can edit the content using Thrive Architect.
-
Display your blog as homepage
This is the last option that you can choose from when accessing the “Homepage” step in the wizard. If you choose it, your blog page will automatically be imported and become your homepage.
After you choose any of the three homepage sources, click on “Choose and Continue” in order to go to the next step:
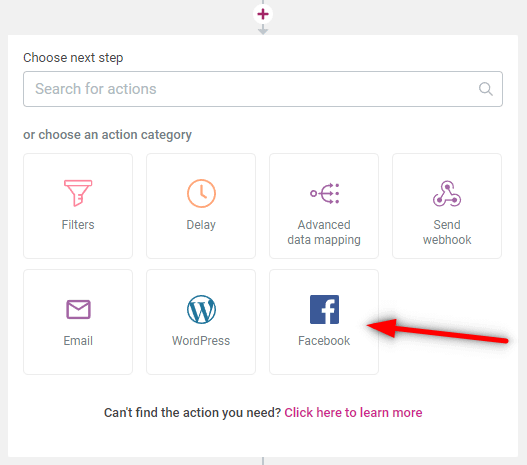
After choosing a homepage for your website, out of all the three above mentioned variants, the homepage that you have chosen will also appear in the WordPress admin settings, under the “Reading” settings. You can also modify the homepage from there.
6. Single Blog Post
Next, the wizard will ask you to choose a single blog post template. Again, the process is similar to the ones above. Click on the template name from the top right side in order to open the pop-up and choose a template from:

The pop-up will open and you can simply click on the template that you want to use:
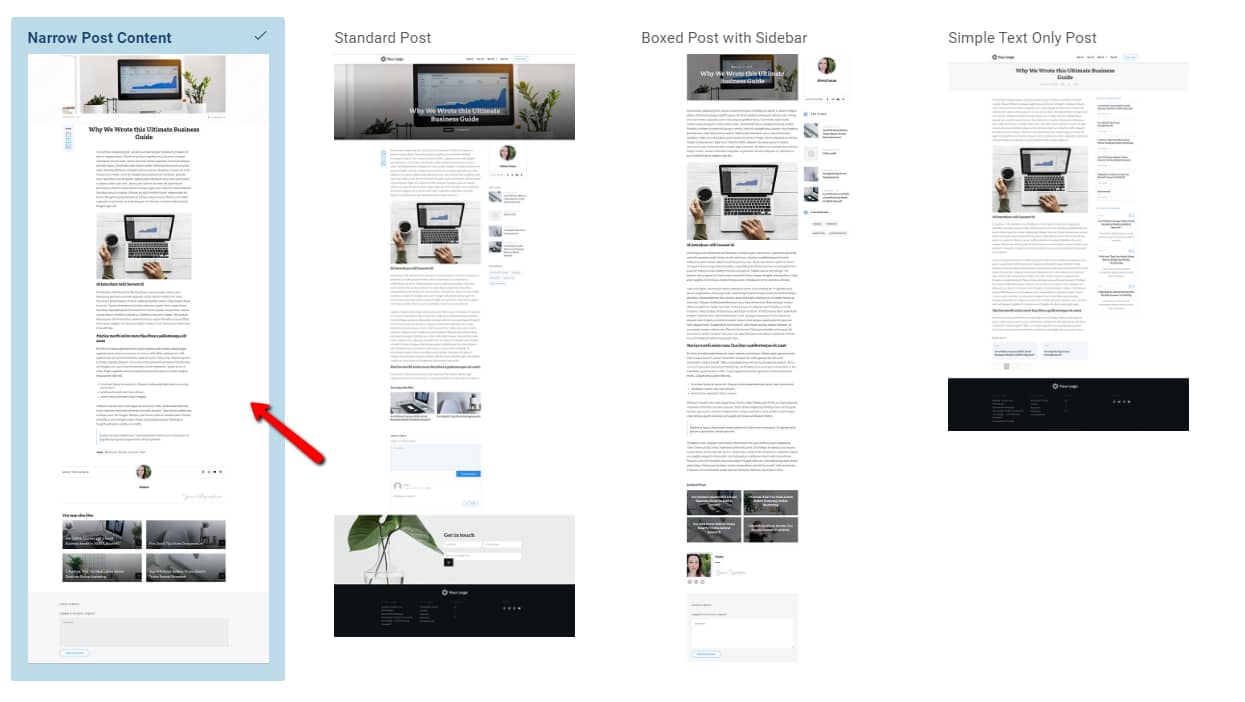
Just like in the other steps, make sure to click on “Choose and Continue” when you’re done, in order to move on to the next step:

7. Blog Post List
Similar to the previous step, you can choose the blog post list template. Click on the template name in order to open the pop-up and choose the desired template:

When the pop-up opens, click on the template that you prefer in order to choose it:
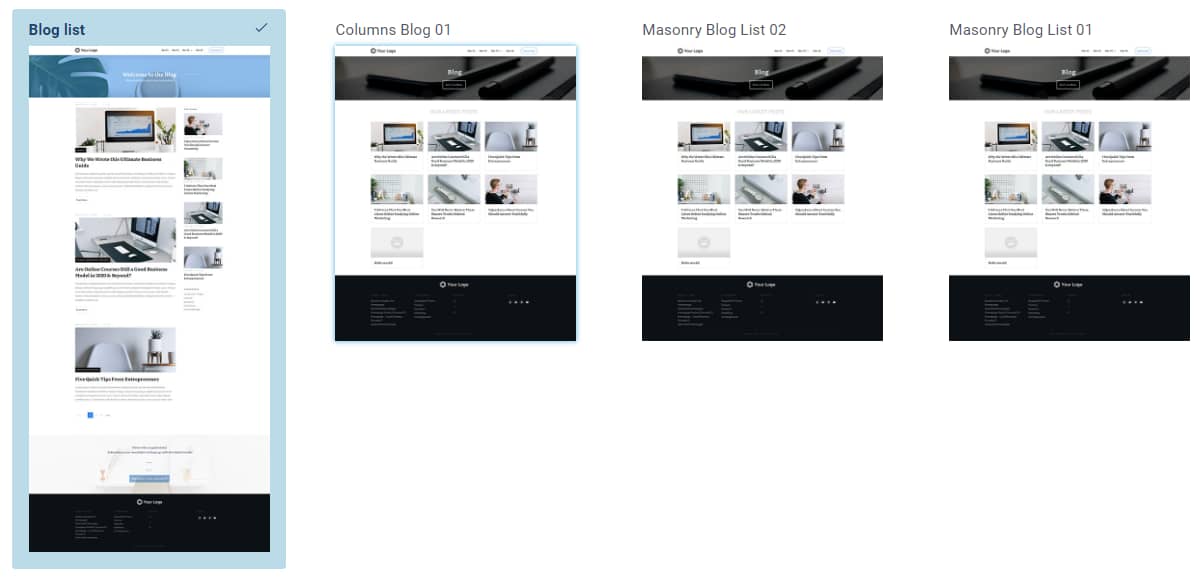
Naturally, after choosing the blog post list template, click on the “Choose and Continue” button:

8. Page
The next step of the wizard is the page template. Similar to the two previous steps, click on “Page” to open the pop-up with the page templates:

From the pop-up, choose the template that best fits:
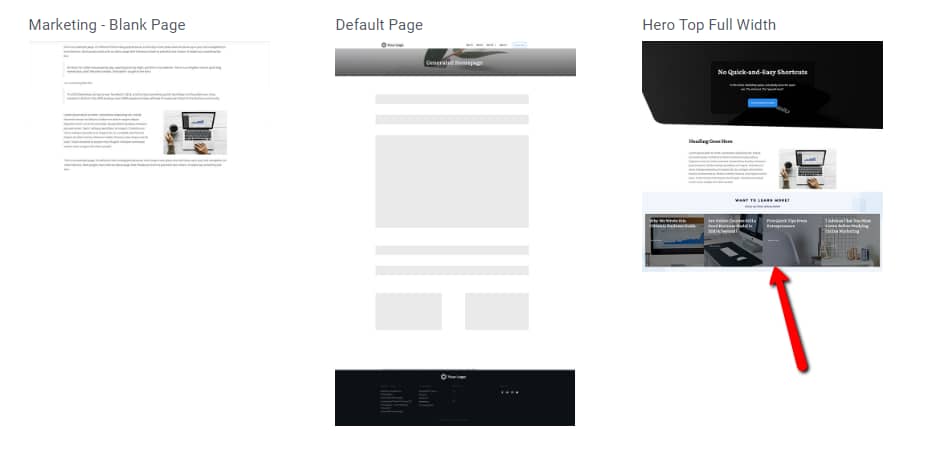
Click on “Choose and Continue” to go to the next step.
The next three steps are related to the actual content of your site.
9. Menu
The last step is “Menu”. You will first be asked which menus you want to use (for both the Header and the Footer Sections):
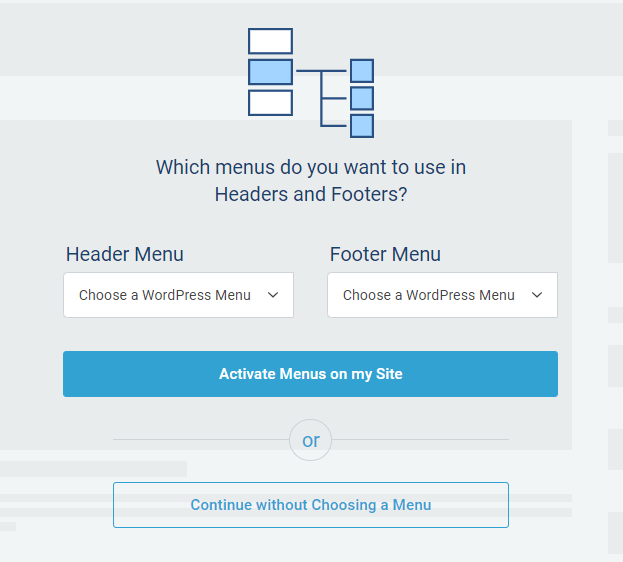
If you click on any of the “Choose a WordPress Menu” field, a small drop-down menu will open, asking you to choose one of the menus that you have created in your WordPress Admin Dashboard, under the “Menus” option, in the “Appearance” section.
Note: if you decide to not activate the menus at this stage, then the default menu that will be added to your website is the one that comes with your header template (if you chose a header in the third step).
Then, if you decide to change the menu at a later stage, make sure you return to this step of the wizard, select the menu you want and then click on “Activate Menus on my Site”:

Your new menu will be now available on your website.
If you want to use one of those, select it from the drop-down:
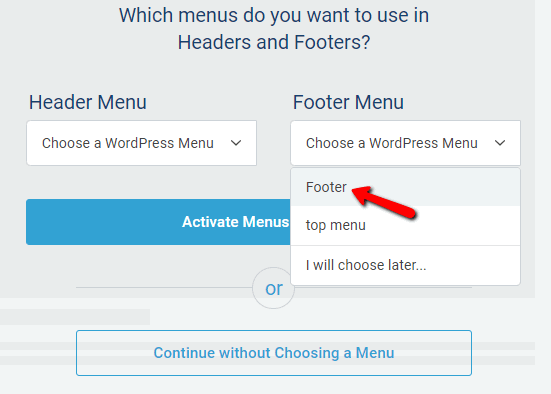
You can select the “I will choose later” option, as well, from the same drop-down.
After you choose the desired menus, click on the “Activate Menus on my Site” button:

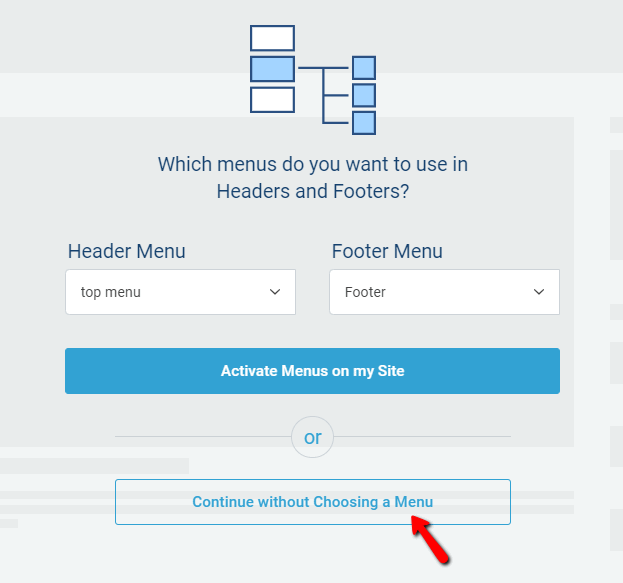
After that, the menus will be added to the sections. Of course, you also have the option to continue without choosing a menu. If you want that, click on this button:
10-15. WooCommerce Items
If you have installed and activated WooCommerce, and you want to build the theme for your shop in Thrive Theme Builder, then you will also be able to see these few extra steps here, under the “WooCommerce” section:
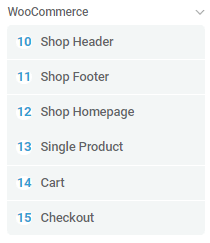
We have created a separate article that goes through all of these steps and how to set all of these elements, and you can check it out here.
After this, you are able to start using WooCommerce and edit your shop, product, or cart templates.
You can learn more about how Thrive Theme Builder and WooCommerce work together, here.
Once you finish with this last step, you have completed the wizard. A message will appear, letting you choose what you want to do next (preview the site, or learn what to do next):

This concludes the article about how to use the Site Wizard when using Thrive Theme Builder.
If you need more information about various Thrive Theme Builder elements, make sure to check out the dedicated section that we have for it in our knowledge base.
I hope this article was useful. If so, make sure to rate it with a smile below 🙂