Using the Thrive Theme Builder Site wizard is very useful, as it helps you set up your site’s most important elements very quickly. After using the wizard, you can go to the template editor and further customize your site.
This article goes through each step of the wizard and explains how to choose the respective elements.
If you have installed and activated WooCommerce, and you want to start building your shop in Thrive Theme Builder, then you will also be able to see a few extra steps in the Thrive Theme Builder Site Wizard, under the “WooCommerce” section:
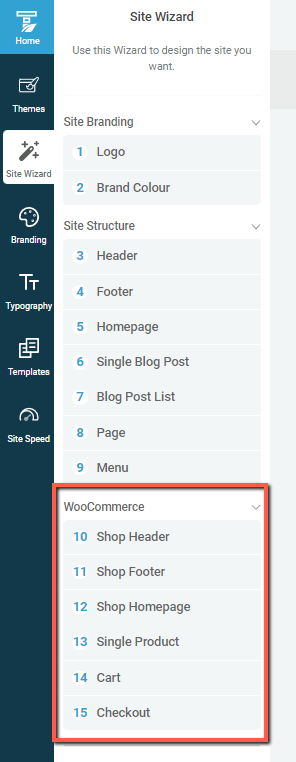
These will allow you to choose the Shop Header and Footer, as well as the default Shop Homepage, Product, Cart, and Checkout Templates.
10. Shop Header
The first WooCommerce step from the wizard is the “Shop Header” one:
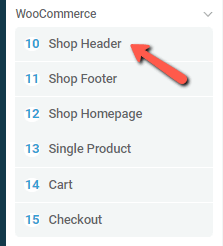
You can differentiate the shop section of your site, by setting a completely different header for it.
When you first click on this step, you will be able to navigate through all of the available headers and choose one for your shop, or you can click on the “Use my default header” option:

This option will inherit the Header that you have chosen for your theme, in the 3rd Site Wizard step:
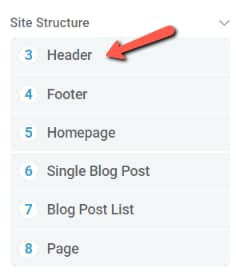
If, however, you do want to choose a different header for the shop part of your website, you can do that. On the top side of the page, you will be able to navigate through the header templates using the arrows on the left and right side of the header preview:

You can also click on the section with the name of the header, to open a pop-up with all the available “Shop Headers”:

From the pop-up, click on the preferred option, and the Header will change:

Make sure to click on “Choose and Continue”, to save the chosen Header:

Clicking on this will take you to the next step of the wizard:
11. Shop Footer
Similarly, you will be able to choose a “Shop Footer” for your shop:
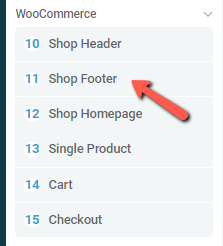
Just like in the case of the Shop Header, feel free to use the “Use my default footer” option, or choose a different footer from the top side of the screen:

Again, make sure to click on “Choose and Continue” to save the footer and go to the next step:

12. Shop Homepage
The next step is the homepage that you set for your shop:
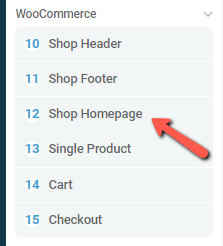
Click on the field from the top right side, to open a pop-up with all of the available templates:

Click on the one you prefer, to apply it:

The template chosen here will be the Default WooCommerce Shop Template, that you can access and customize from the “Templates” section:

Check out this article if you want to see how to edit and customize this template.
Remember that the template will not be applied, unless you click on the “Choose and Continue” button:

Doing this will take you to the next step:
13. Single Product
The “Single Product” wizard step will allow you to choose the WooCommerce Product template:
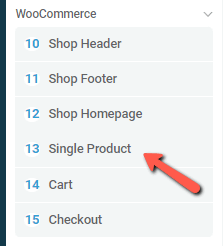
Click on the template name, on the top right side of the screen, to open the list of Product templates:

Click on one of the templates, to apply it:

The template that you choose here will represent the “Default WooCommerce Template”, found in the “Templates” section:

This article explains how to add and customize a WooCommerce Product Template, in case you need more information about that.
Then, click on “Choose and Continue”, to move on to the next step:

14. Cart
Next, we have the “Cart” step in the wizard:
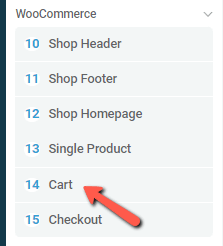
To choose a WooCommerce Cart Template, click on this section:

The pop-up will open. Click on the Cart Template that you want to be applied:

Again, remember that the template chosen here can be edited and customized from the “Templates” section:

You can find out how to do that and more information about the Cart Template in this article.
Click on “Choose and Continue” to go to the 17th step:

15. Checkout
The last step of the WooCommerce section of the wizard is the one that will allow you to choose a Checkout template for your shop:
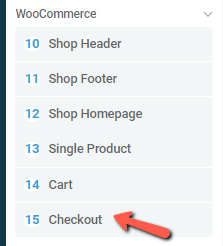
Just like in the case of all of the other steps, choose the suitable template by using the left/right arrows, or by clicking on the name of the template, from the top right corner of the page:

After choosing the template, this, too, can be customized from the “Templates” section:

This article goes into more details about customizing a Checkout Template.
These were all the WooCommerce steps from the Thrive Theme Builder Site Wizard.
Once the wizard has been complete, you can start customizing the templates to your liking. Here are some articles that can help you get started with that:
- How to Customize a WooCommerce Shop Template in Thrive Theme Builder
- How to Customize a WooCommerce Checkout Template in Thrive Theme Builder
- How to Customize a WooCommerce Account Template in Thrive Theme Builder
- How to Customize a WooCommerce Cart Template in Thrive Theme Builder
- How to Customize a WooCommerce Product Template in Thrive Theme Builder