Triggers determine the specific user behavior that causes your form to appear. Using the right trigger is crucial for conversion optimization.
Available Triggers
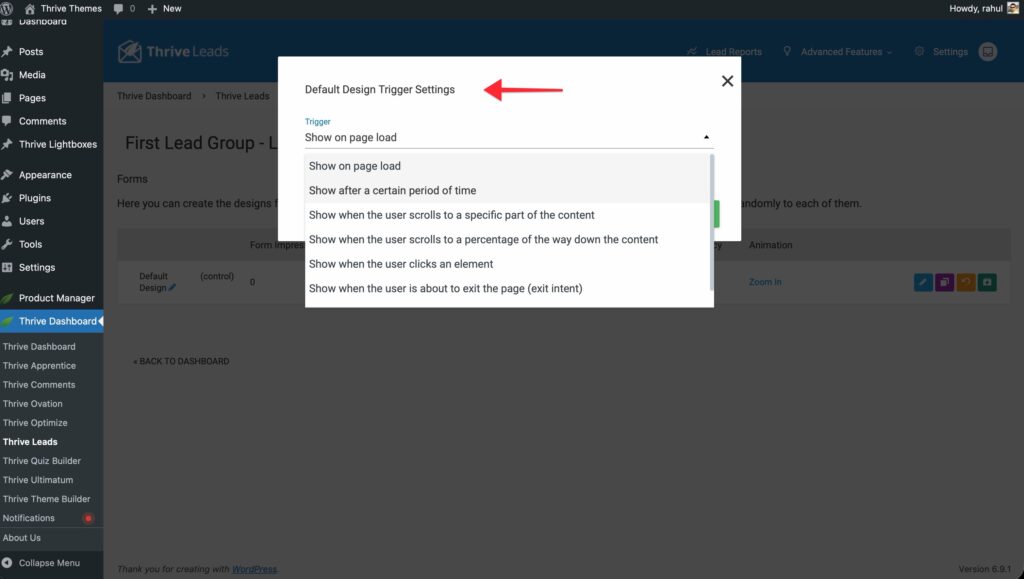
1. Show on Page Load
The form appears immediately when the page finishes loading. The moist aggressive but highest visibility option.
2. Show After a Certain Period of Time
The form appears after X seconds.
- SmartExit+: If enabled, this will trigger the form early if the user tries to leave the page before the timer runs out.
3. Scroll Triggers
- Scroll to a Percentage: Ideal for blog posts. Show the form when a user reads 50% or 80% of the content.
- Scroll to a Specific Element: Show the form when the user reaches a specific CSS ID or Class on the page (e.g., the comments section).
- Reach Bottom of Page: Triggers when the user hits the footer.
4. Exit Intent (SmartExit)
Detects when the mouse cursor moves quickly towards the top of the browser window (indicating an intent to close the tab or switch sites).
- Note: This only works on Desktop. On mobile, it falls back to a timer if configured.
5. Show When the User Clicks an Element
This trigger turns any link, button, or image into a 2-step opt-in.
- Set the Trigger to “Show when the user clicks an element”.
- Enter a Class name (e.g.,
trigger-popup). - In your content (Thrive Architect or WordPress Editor), add that class to any button or link.
- HTML Example:
<a href="#" class="trigger-popup">Subscribe Now</a>
- HTML Example:
6. Show When the Form Enters Viewport
Wait until the position of the form (like an In-Content form or Widget) actually becomes visible on the user’s screen before loading/animating it.