This article will explain how to use the “Widget Area” element from the Thrive Theme Builder editor, as well as show which are the ways in which you can customize the element. The element allows you to organize the widgets and display them in a more structured way inside your posts or pages.
Add the Element
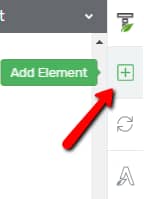
In the Thrive Theme Builder editor, click on the plus sign from the right sidebar:
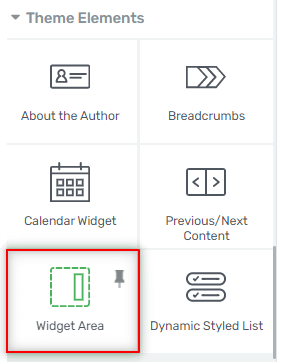
This will open a list with all the numerous elements that you can add to your posts or pages. Look for the “Widget Area” one, or search for it in the search bar:
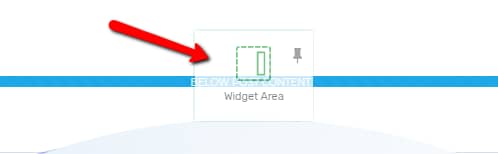
After you have located it, you can drag and drop it anywhere you want, on the post or page:
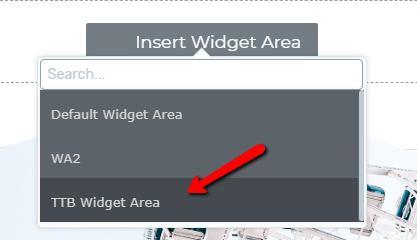
Once you insert the element, a small dropdown will appear:
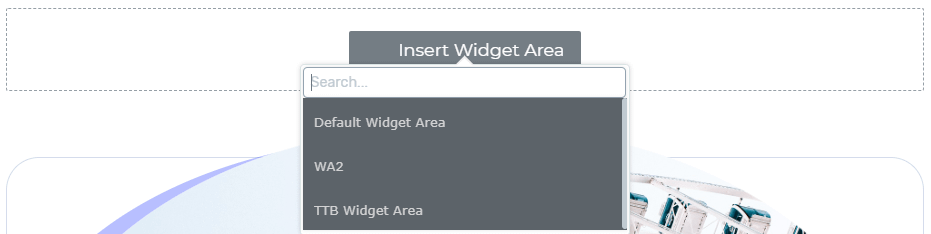
Here you have to choose the widget area that you want to show on the page, from the ones that you have previously created in the Widget section of your WordPress admin dashboard. Simply click on one from the list:
Use the “Widget Area” options
Once you have inserted the widget of choice, you will have some options on the left sidebar.
Orientation
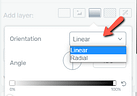
The first option, called “Orientation”, allows you to choose whether the content should be divided into columns, or if the elements should be displayed in a row. Choose the suitable orientation by clicking on the one you prefer:
Source
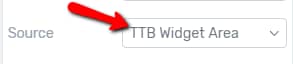
After you have established what orientation the elements of the widget area should have, there is another option: “Source”. This option allows you to change the widget area that you have previously chosen after you’ve placed the element on your page.
In order to change it, click on the field next to the option:
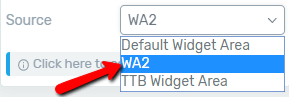
This will open a small drop-down menu, with the same widgets as the ones shown here.
You can choose another widget simply by clicking on the one you want:
“Click here to edit the widget areas” message
The last option available in the “Widget Area” section of the left sidebar comes in the shape of an info message. This actually allows you to modify your existing widgets, or add a new one.
If you want to do that, click on the message:
A new tab will open, taking you to the “Widgets” section of your WordPress Admin Dashboard:
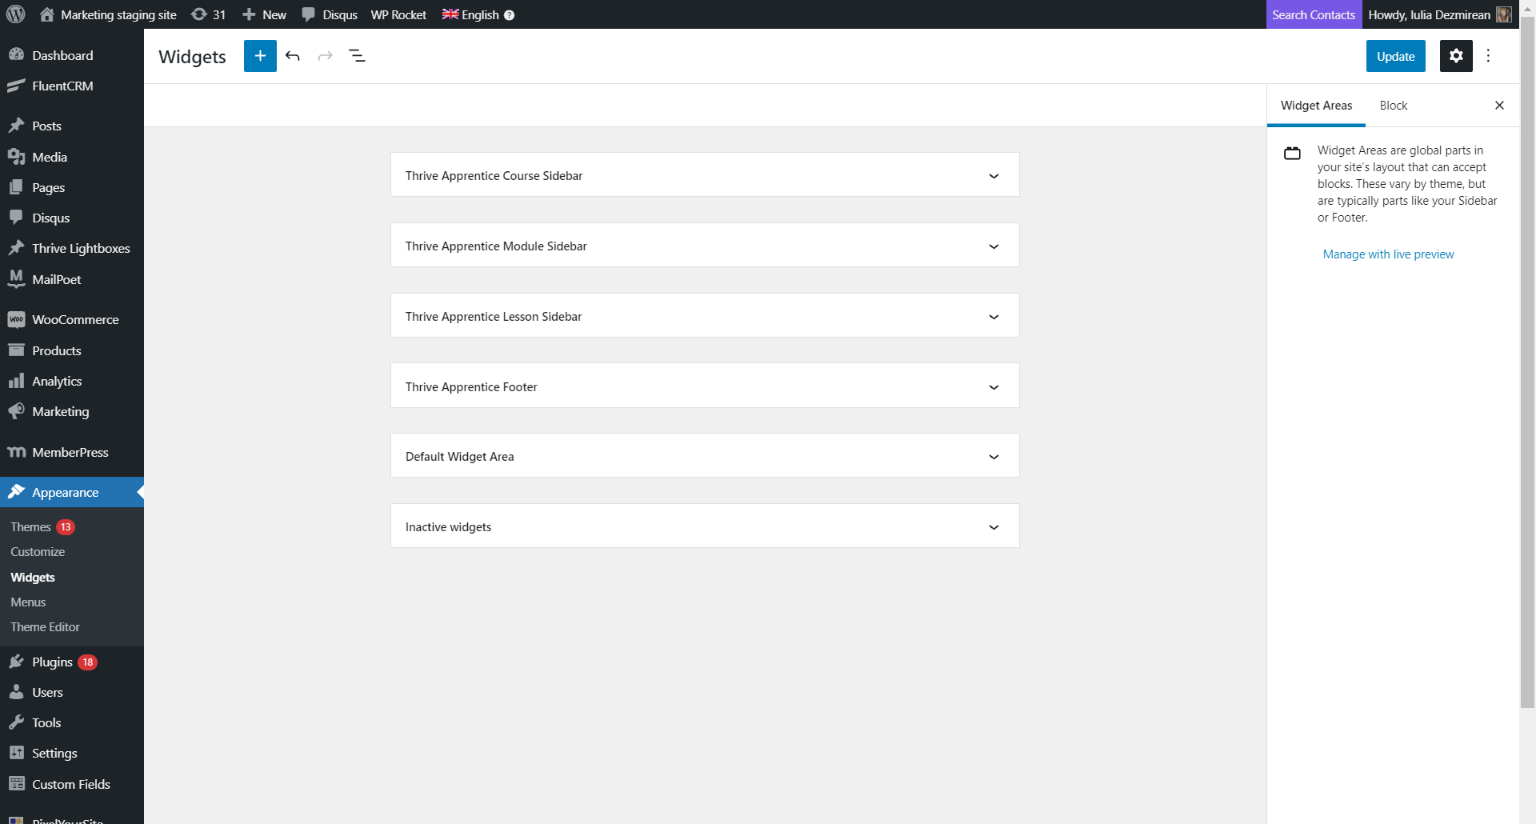
From here on, you can use the WordPress “Blocks” to customize the widget areas by adding or removing blocks.
This is how you can edit the “Widget Area” element with the use of the options found in the left sidebar, in Thrive Theme Builder. You can keep customizing it by using the rest of the general options, all of which you can find articles about in our knowledge base.
If you need more information about various Thrive Theme Builder elements and features, check out the Thrive Theme Builder knowledge base section.
I hope this article was useful, and, if so, please rate it with a smile below 🙂