Lead Groups are the most efficient way to manage opt-in forms on your website. Instead of manually placing forms on every page, you create a “Group” with specific targeting rules, and Thrive Leads automatically displays the forms where they belong.
Creating a Lead Group
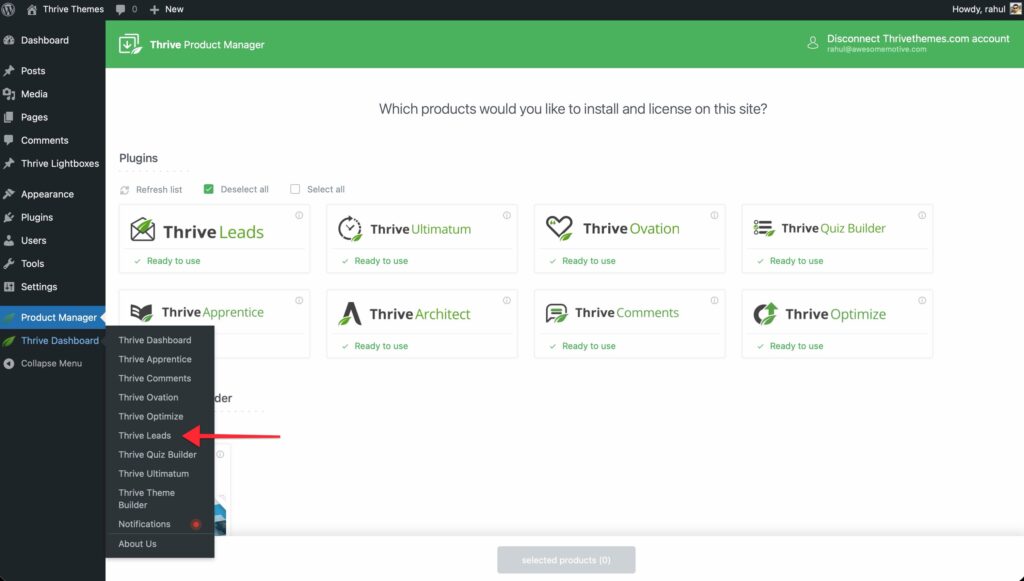
- Go to Thrive Dashboard >> Thrive Leads.
- Click Add New next to “Lead Groups”.
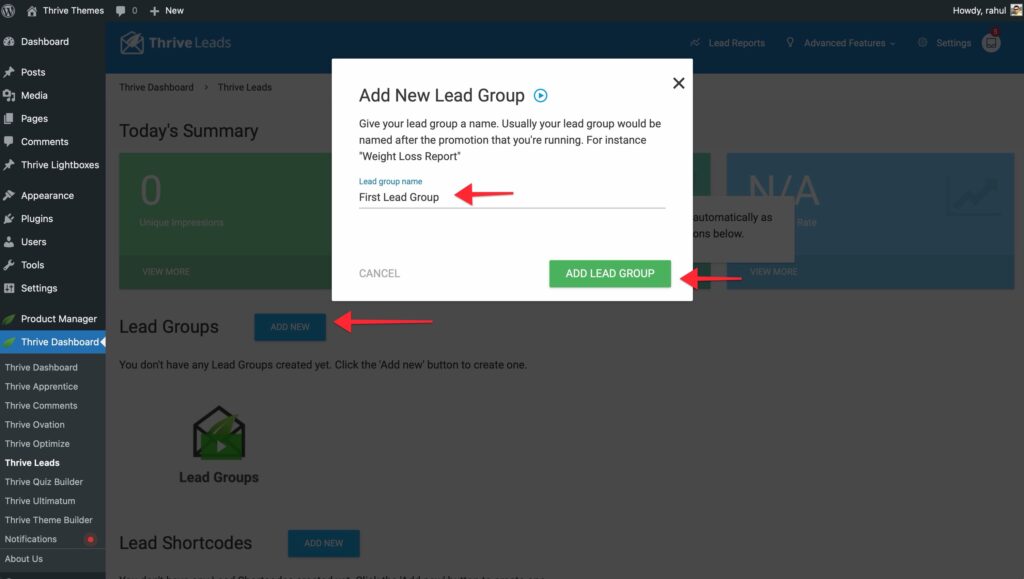
- Name your group (e.g., “Blog Sidebar”) and click Add Lead Group.
Adding Opt-in Forms
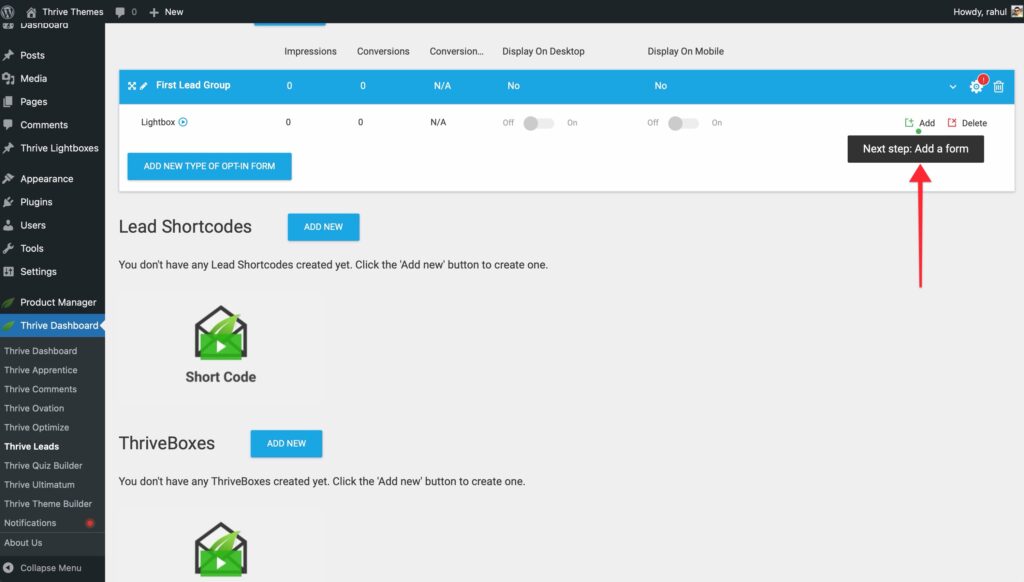
A Lead Group can contain multiple types of forms (e.g., a Lightbox AND a Widget).
- Click Add New Type of Opt-in Form.

- Choose a type:
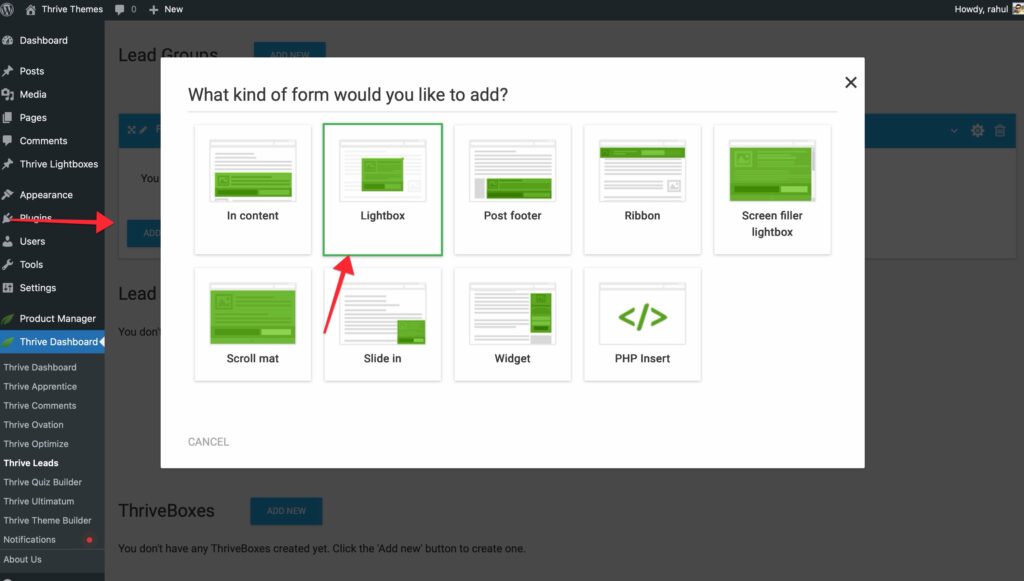
- In Content: Appears within the text of your posts.
- Lightbox: A popup overlay.
- Post Footer: Appears at the end of your content.
- Ribbon: A sticky bar at the top or bottom of the screen.
- Screen Filler: A full-screen overlay.
- Scroll Mat: Pushes content down to show a full-screen offer.
- Slide In: Slides in from the corner.
- Widget: Appears in your sidebar/widget area.
- Once the type is added, click Add Form to design it using Thrive Architect.
Display Settings (Targeting)
This is where the magic happens. You decide exactly where this group of forms should appear.
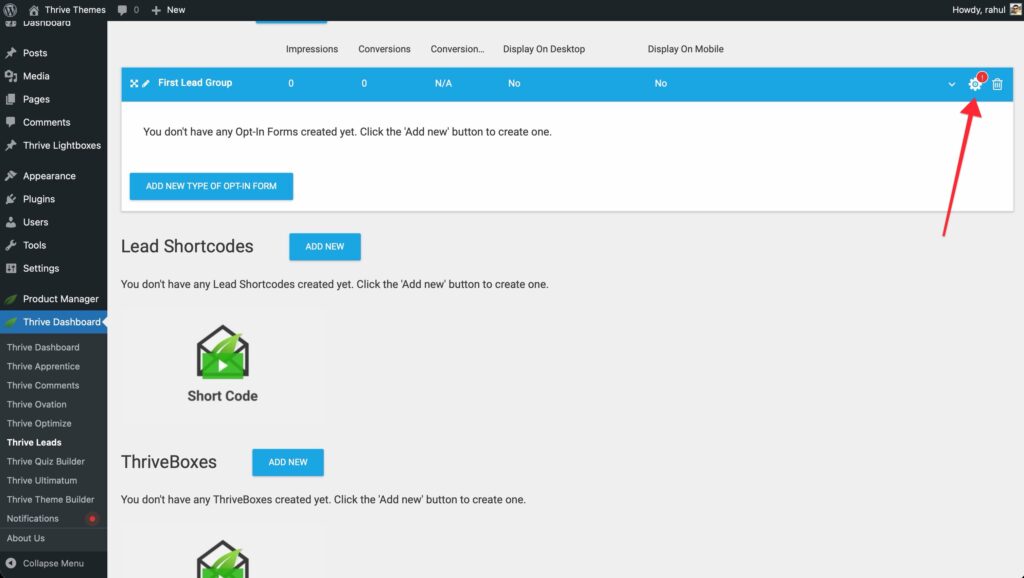
- Click the Cogwheel Icon on the Lead Group header.
- A targeting window will open with tabs for:
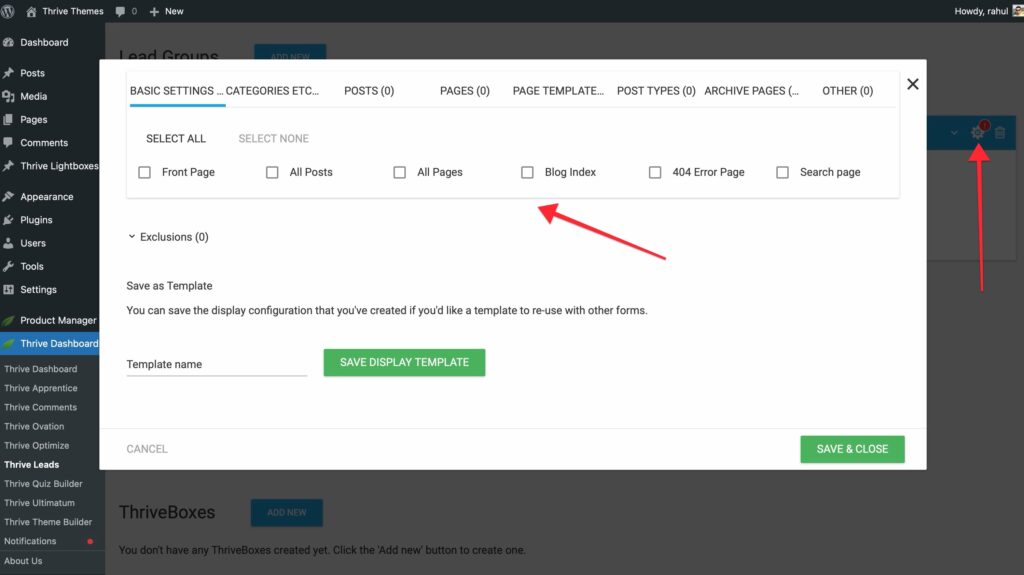
- Basic Settings: Front Page, Blog Index, 404 Error Page.
- Categories: Select specific post categories.
- Posts: Select specific posts.
- Pages: Select specific pages.
- Page Templates: Target based on WordPress templates.
- Post Types: Target Custom Post Types.
- Select your rules (e.g., “All Posts” in “Business” category).
- Click Save & Close.
Display Priority
Thrive Leads checks Lead Groups from top to bottom.
- The Rule: If a visitor views a page that matches the targeting rules of multiple Lead Groups, only the highest one on the list will be displayed.
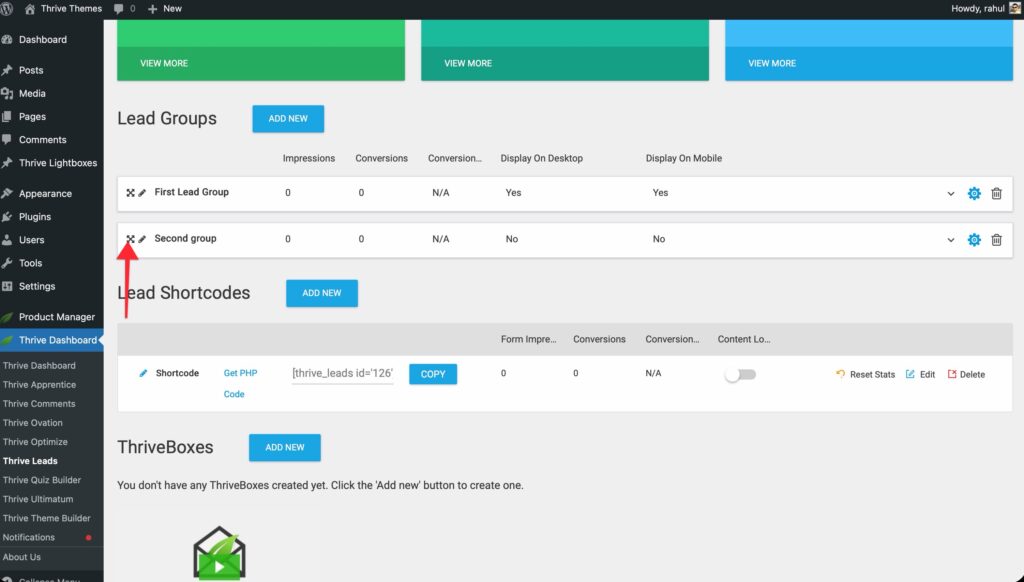
- How to Change: Use the Move Icon (drag handle) on the left of the Lead Group content box to drag groups up or down the list.
- Strategy: Place your most specific campaigns (e.g., “Black Friday Sale”) at the top, and your generic campaigns (e.g., “General Newsletter”) at the bottom.
Testing Forms
You can run A/B tests within a Lead Group in two ways:
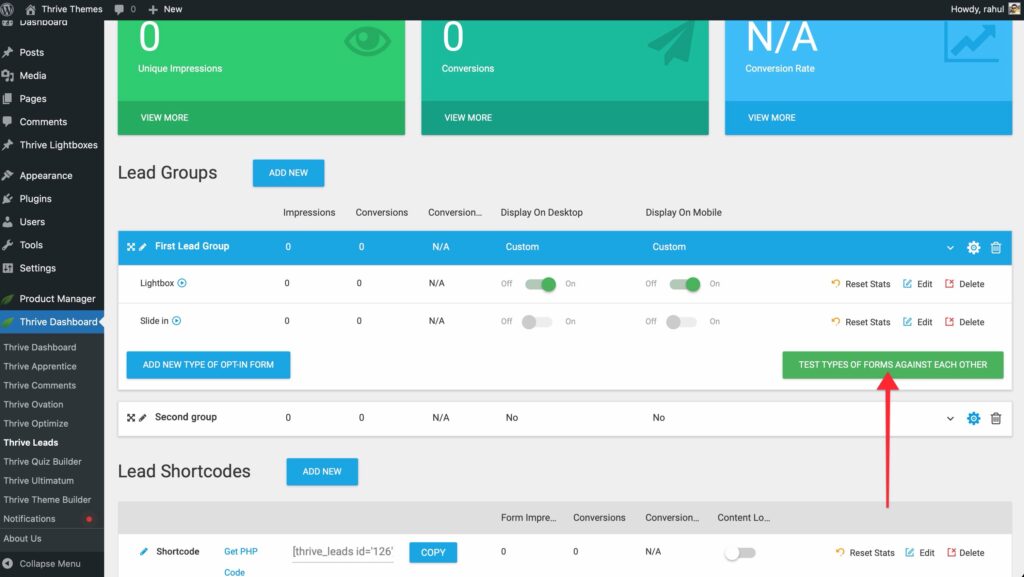
- Same Form Type: Test two different Lightbox designs against each other.
- Different Form Types: Test a Lightbox against a Slide-in to see which format converts better.
- To do this, add both form types to the group.
- Click Test Types of Form Against Each Other.
Managing Lead Groups
- Arrow Icon: Expand/Collapse the group details.
- Gear Icon: Edit Display Settings.
- Duplicate Icon: Create a copy of the entire Lead Group (see below).
- Trash Icon: Delete the group.
- Eye Icon: Disable the group without deleting it (toggle the switch).
Duplicating a Lead Group
You can duplicate an entire Lead Group — including all of its form types, designs, and targeting rules — in a single click.
- Click the Duplicate icon on the Lead Group header bar (next to the trash and eye icons).
- A new group appears immediately, named (COPY) Original Name.
What’s copied:
- All form types and their designs
- Display/targeting rules
- Connected integrations
- Custom CSS
What’s reset:
- Impressions, conversions, and conversion rate all start at zero.
- Any A/B test data is not carried over.
Initial state: The duplicated group and all its form types start disabled. Enable them manually when you’re ready to go live.
Duplicating a Form Type to Another Lead Group
You can also duplicate an individual form type (e.g., a Lightbox) — either within the same group or to a different Lead Group.
- Inside a Lead Group, click the Duplicate icon on the form type row.
- Two options appear:
– Duplicate here — Creates a copy in the same group. This is useful for A/B testing different designs of the same form type.
– Duplicate to another group — Opens a popup where you select a target Lead Group. - If you choose Duplicate to another group, a searchable list of all your Lead Groups appears.
- Select the target group and confirm.
Note: You cannot duplicate a form type to a group that already contains that same type. For example, you can’t add a second Lightbox to a group that already has one.
What happens in the target group:
| Target Group State | Result |
|---|---|
| Form type exists but has no forms | The form is copied as the first (active) form |
| Form type exists and already has an active form | The form is copied as inactive (receives no traffic) |
| Form type doesn’t exist in the target group | The form type is created automatically and the form is copied as the first (active) form |