Adding “Page Templates” while building your theme with Thrive Theme Builder is important because these templates can be specifically customized to fit various pages of your website.
At first, when you start using the Thrive Theme Builder, you will have a “Default Page” template, as well as a “Homepage” template available, that you can edit and customize. At the same time, you can add new “Page Templates”, whenever you would like to, following these steps:
Access the Thrive Theme Builder dashboard
First, you will have to access the Thrive Theme Builder dashboard and its “Templates” section.
To do that, go to your WordPress admin dashboard, hover over the “Thrive Dashboard” menu item from the left side, and click on “Thrive Theme Builder” from the sub-menu that appeared:
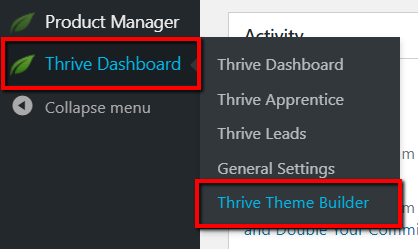
This will open the page with the Thrive Theme Builder dashboard. Look for the “Templates” section from the left side and click on it once you have found it:

Add & set up the Page Template
The “Templates” section that opened is where you can add the new “Page Template” from. Click on the “Add New” button in the “Your Theme Templates” section:

This will open the pop-up window with the options for adding and setting up the new template:
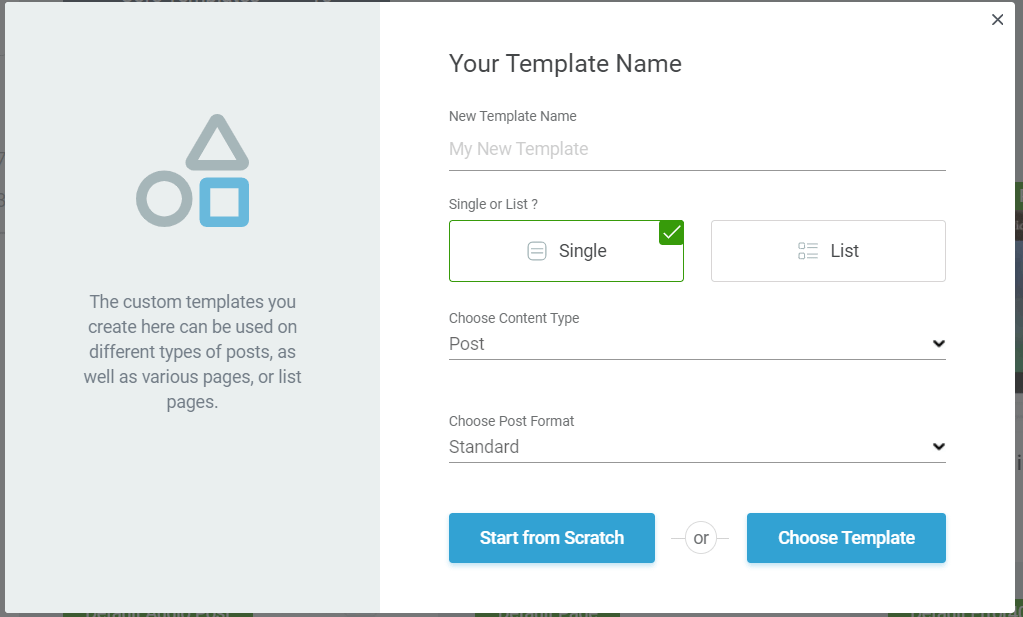
You will need to complete/choose a few aspects of the new template here, before being able to add it, as follows:
Name
The first thing you need to do is to name the new template. Enter the name you want to give to this template in the “New Template Name” section of the pop-up:

Type
Then, you will have to choose between creating a “Single” template and a “List” template. The “Single” type templates can be applied to individual posts/pages, whereas the “List” templates can be applied to list pages (like search results, blog feed, archives, etc.).
Since, in this case, you want to create a “Page Template”, you should click on the “Single” option here:

Content Type
Next, you have to define what type of template you want to create. Click on the little down arrow from the “Choose Content Type” section of the pop-up:

This will open a drop-down with the “Content Types” you can choose from. If you want to create a simple “Page Template”, then click on the “Page” type to select it:
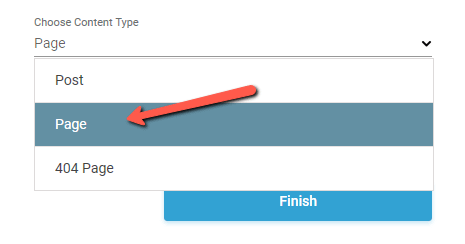
However, as you can see from the image above, you can also create templates for specific pages, such as the “404 Page”, so if you wish to create a template for one of these “Content Types”, then click on them to select them.
Start from Scratch
You can proceed next with deciding whether you want to build the design for this template from scratch and customize it entirely by yourself:

Choose Template
Or if you want to pick a template from the template library:

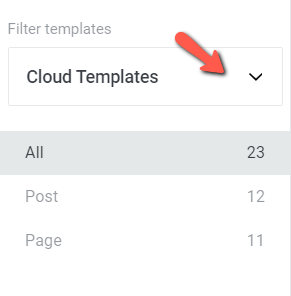
Selecting this option will open the library with all the available templates:
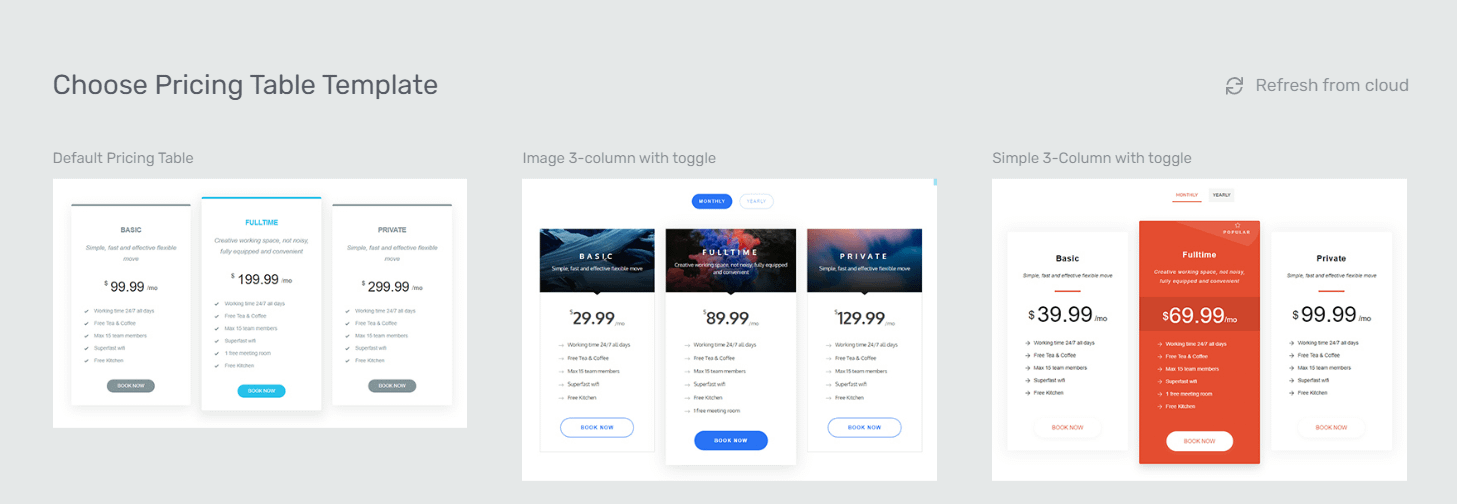
Use the filtering options from the left-hand side of the screen to browse through all the available designs:
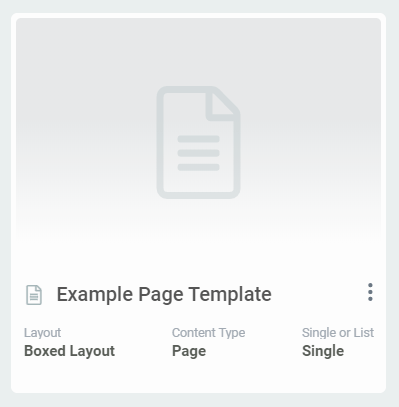
When you are done with customizing the design of the template, you will be able to
see the newly created template in your dashboard:
The next step is to start editing the template in order to customize it. This way you can make sure it is suitable for the page(s) you want to apply it to.
If you need information about how to edit the new “Page Template” that you have created, check out this article.
If you need more information about various Thrive Theme Builder options and features, take a look at our knowledge base section here.
Hopefully, this article was useful for you. If so, please give us a smile below 🙂