There are multiple ways in which a “Progress Bar” element might come in handy when used on your posts and pages.
In addition to this, you can also use it on your Thrive Apprentice lessons, thus being able to display and track the progress of your site’s users.
Here’s how you can do that:
Add the Element to your Course
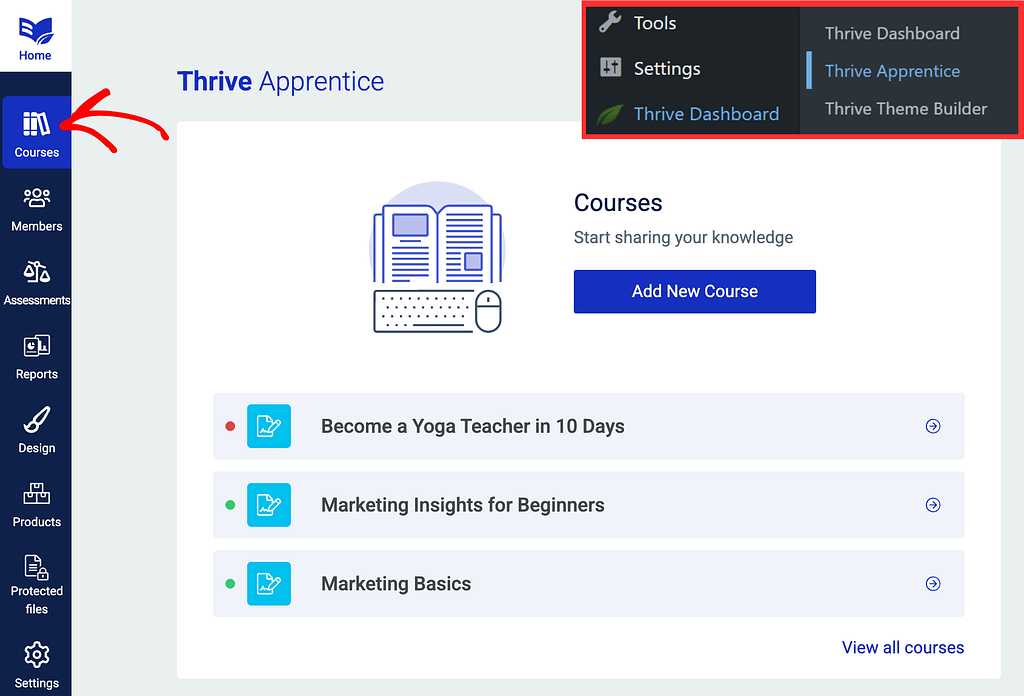
The first thing you need to do is access the Thrive Apprentice course on which you want to add the element. So go ahead and open the left sidebar of your WordPress admin dashboard, and click on Thrive Apprentice and Courses in the left panel.
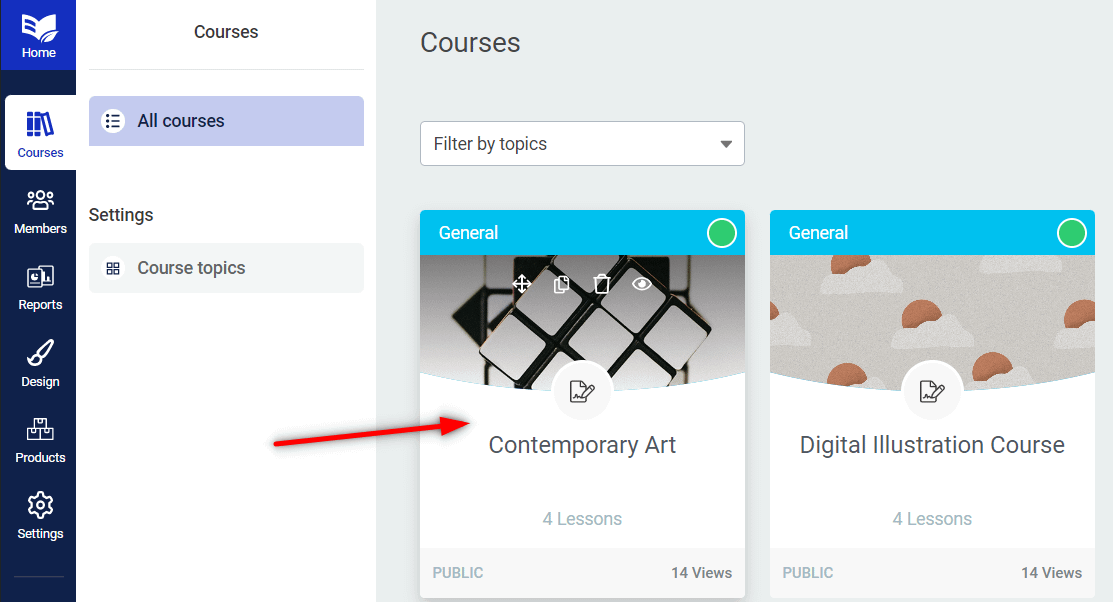
Find the course you want to edit, and select it:
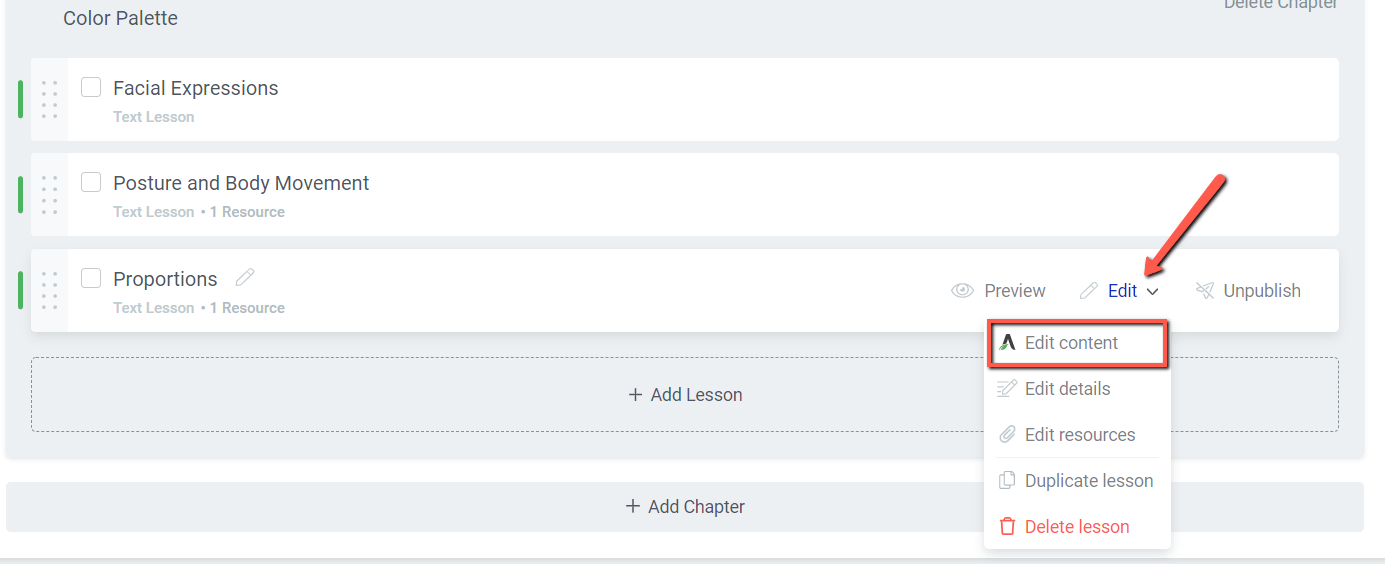
Choose the lesson that will have the progress bar, and edit it with Thrive Architect:
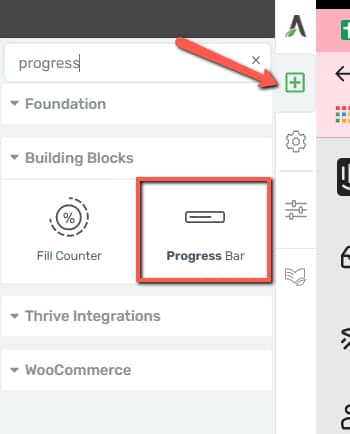
Now, just like you would o with any other Thrive Architect element, open the right sidebar and drag and drop the “Progress Bar” element to your content:
You can find here an in-depth tutorial for how to use the “Progress Bar” element, so don’t hesitate to check it out if you need additional information.
Set the Dynamic Values
With your element selected, look for the “Dynamic value” feature in the “Main Options” sidebar:
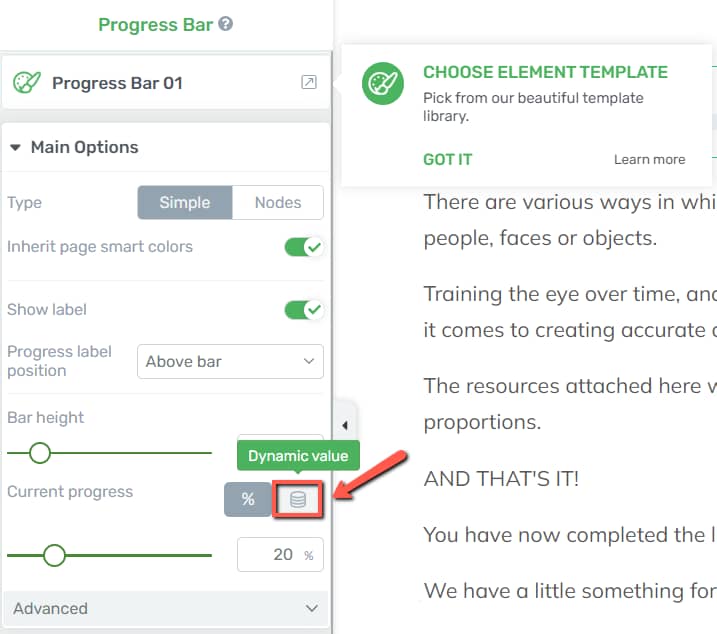
As soon as you select it, several additional options will appear right under it:
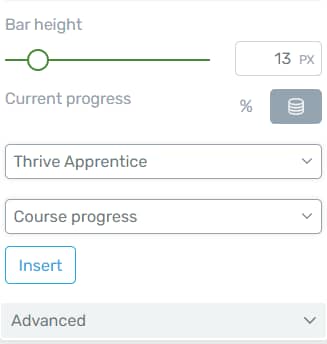
The progress bar will be filled in using the dynamic data that you configure here. You can read more about how to use the “Dynamic value” feature in this article:
Since, in this example, we are aiming to pull data from the actual progress made on a Thrive Apprentice course, then the first option to select and set up here is the “Thrive Apprentice” one:
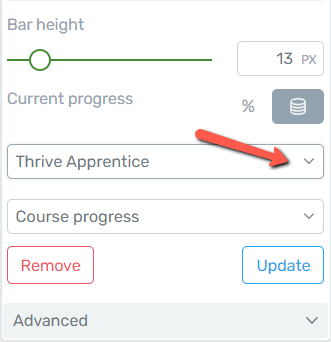
From the next drop-down, you will be able to select between three different options, depending on what data you would like to use to measure the progress :
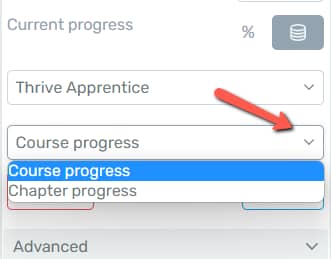
You can choose to display the progress made at course or chapter level.
Select the option that you want, and then click on “Insert” to make sure the data is inserted and displayed on your progress bar:
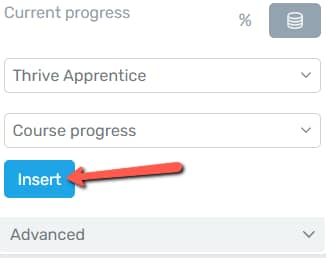
As soon as you do that, the progress bar will reflect the actual progress made on the course so far:
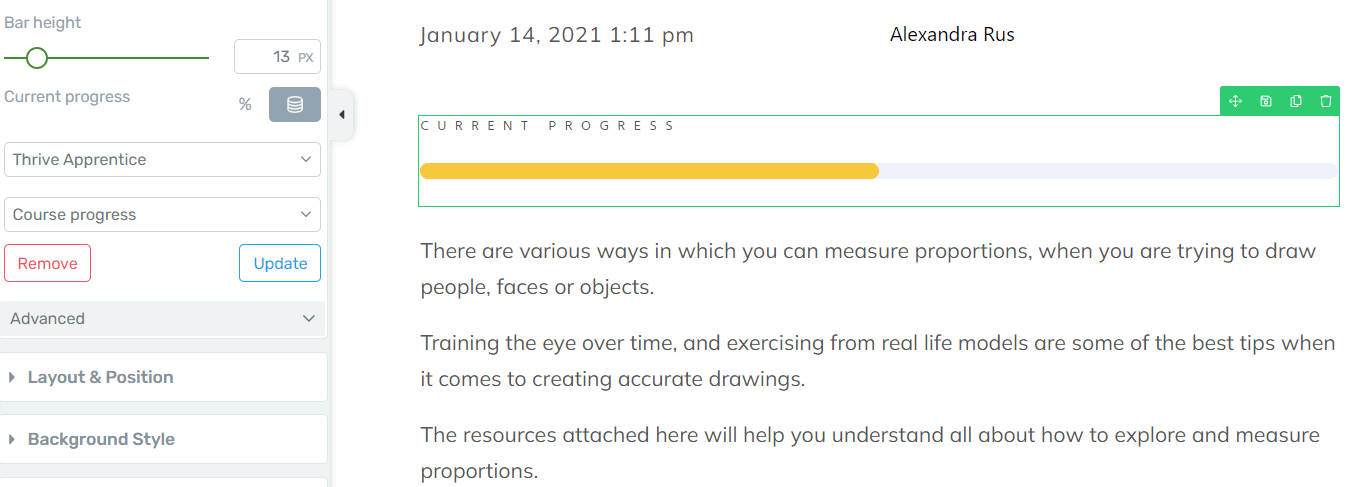
Use the Additional Features
Besides the above feature, there are still several additional ones that you can use here.
After you insert the values, just as shown above, you can access the “Advanced” section of the same sidebar and further customize the element:
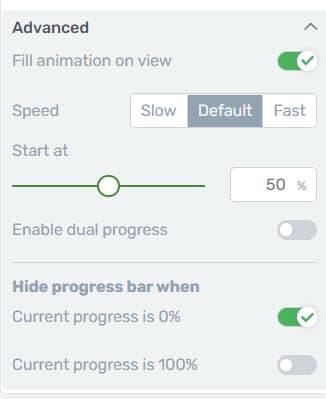
Keep in mind though that the options available in the “Advanced” section are different depending on whether you have chosen a “Simple” type of progress bar:
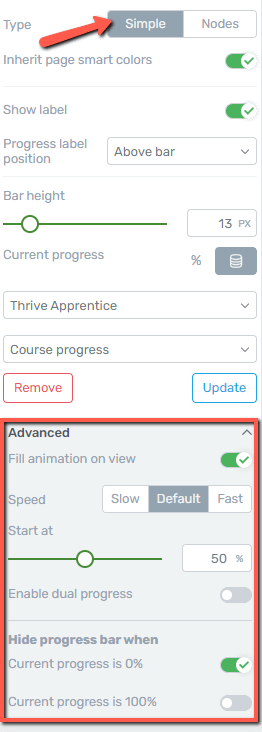
Or a “Nodes” type:

Both types of progress bars, as well as their corresponding options, are thoroughly detailed in the “How to Use the Progress Bar Element” article.
These are the ways in which you can use the “Progress Bar” element in a Thrive Apprentice lesson, to display the actual progress of your courses or chapters.
Should you want to read more about Thrive Apprentice and its features, you can check out the dedicated section from our knowledge base.