In this article, you’ll learn how to navigate the Thrive Ovation dashboard and understand the core features available to help you collect and display social proof on your website. This guide will walk you through the plugin’s interface and explain the difference between legacy testimonials and the advanced Thrive Ovation system.
Before you begin, make sure you have installed and activated Thrive Ovation on your WordPress site.
Navigating the Thrive Ovation Dashboard
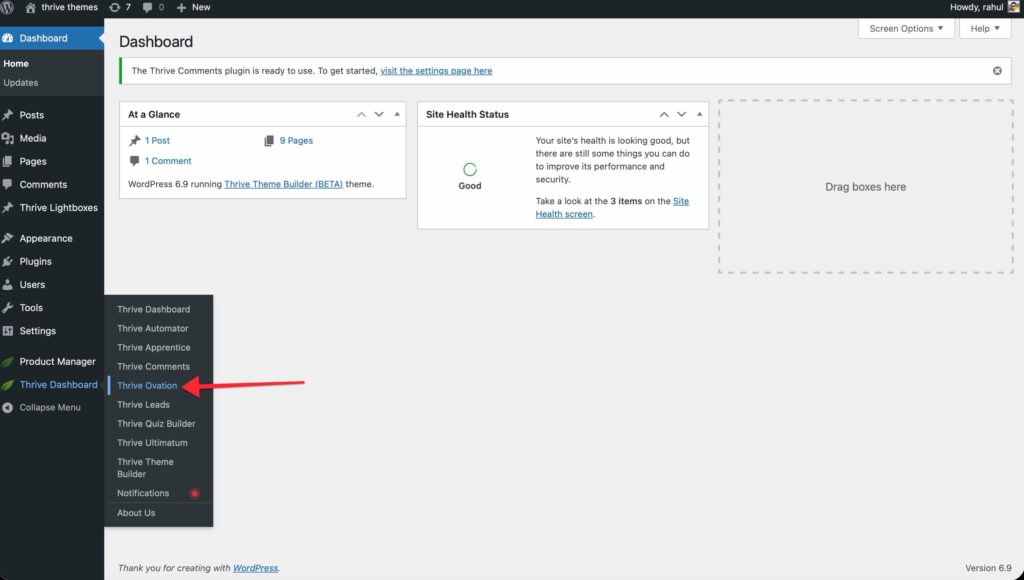
You can find the Thrive Ovation dashboard by navigating to the Thrive Dashboard menu in your WordPress admin sidebar and selecting Thrive Ovation.
The Plugin Navigation Menu
Once you are in the Thrive Ovation dashboard, you will see a navigation menu in the top-right corner. This menu provides quick access to the three main pillars of the plugin:
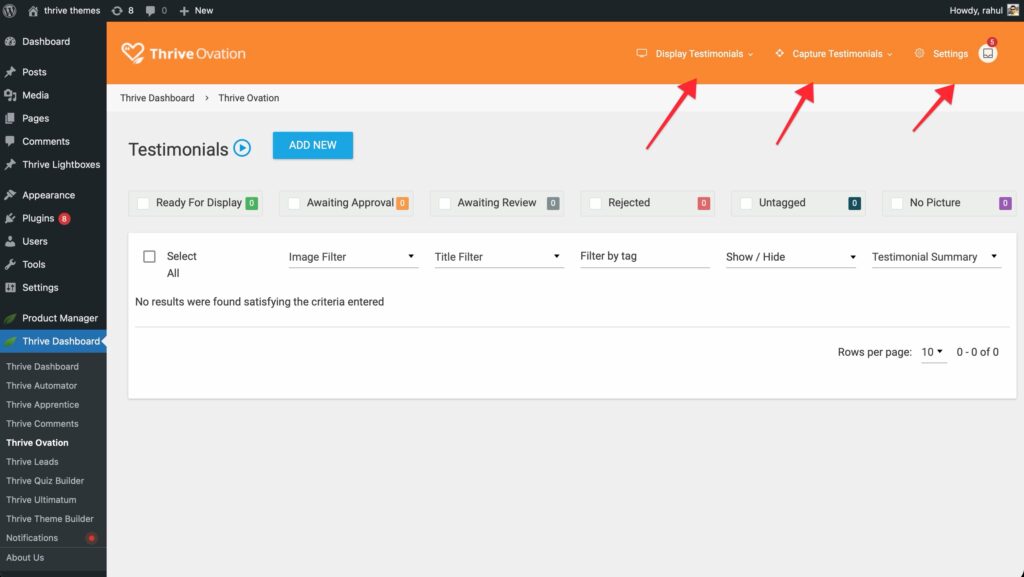
- Display Testimonials: Click this to manage how testimonials are shown on your site.
- Capture Testimonials: Use this to set up forms that gather new testimonials from your visitors.
- Settings: Access this menu to configure your Customer Approval Settings and Email Delivery Integration.
You will also notice a Heart Icon which allows you to share your social proof directly to social media platforms.
Testimonial Management Area
Next to the Testimonials title, you have two primary options:
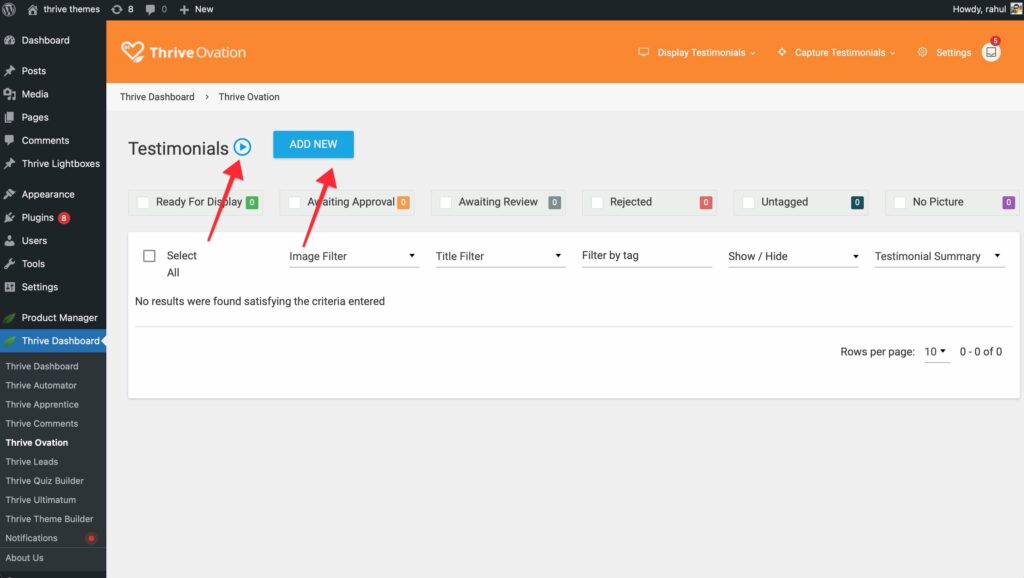
- Video Tutorial: Click the Blue Play Icon to watch a walkthrough video that explains how the plugin works.
- Add New: Click the Add New button to manually add a testimonial to your library.
Understanding Testimonial Statuses
In the center area of the dashboard, you can view and manage all the testimonials you have collected. Each testimonial will display one of the following statuses:
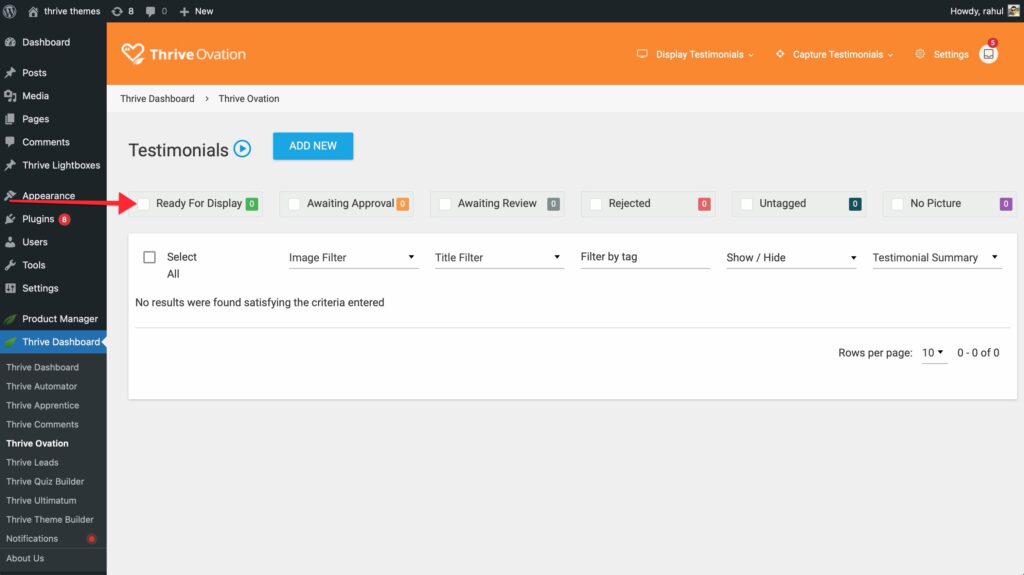
- Ready for Display: The testimonial is approved and can be shown on your website.
- Awaiting Review: Testimonials captured via your website forms that require your manual approval.
- Awaiting Approval: Testimonials created from WordPress comments where you are still waiting for the customer’s permission to use them.
- Rejected: Testimonials you have decided not to use on your site.
Individual Testimonial Options
On the right side of each testimonial, you will find options to:
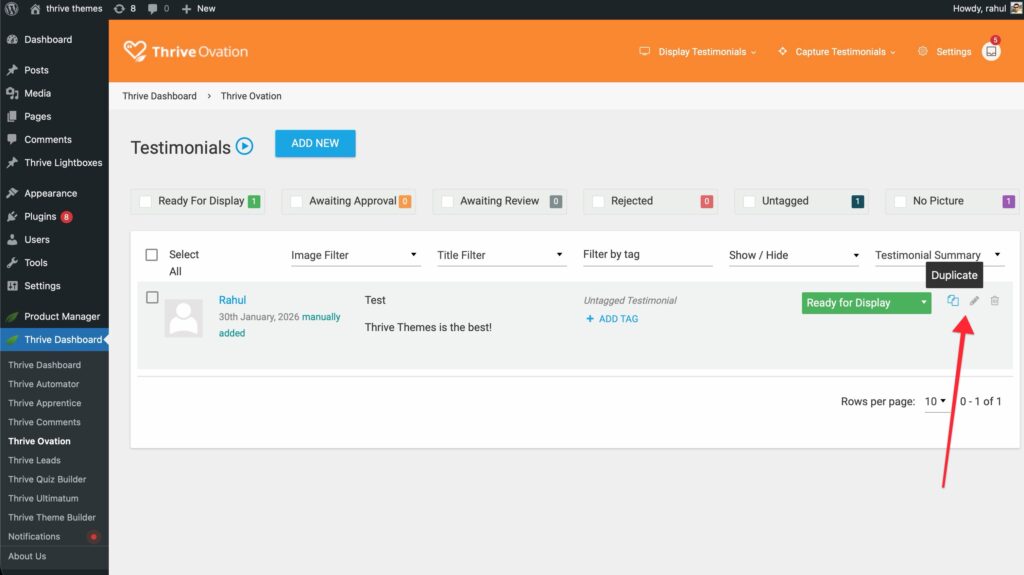
- Duplicate (icon)
- Edit (icon)
- Delete (icon)
Filtering and Organization Options
Above your testimonial list, you can use several filtering options to organize your social proof:

- Image Filter: Choose to show testimonials with or without images.
- Title Filter: Search for testimonials by their specific titles.
- Tag Filter: Type in a tag to show only testimonials associated with that specific category.
- Show/Hide Fields: Use the Show/Hide dropdown to customize which information (Tags, Type, or Status) is displayed in your dashboard list.
- Testimonial Summary: Toggle between showing a Summary or the Full Testimonial text in the dashboard view.
Thrive Ovation vs. Legacy Testimonials
It is important to understand the difference between the standard Testimonial element in Thrive Architect and the Thrive Ovation system:
- Legacy Testimonial Element: A static element where you manually type in testimonial content. These are “beautified” templates but do not connect to a central library.
- Thrive Ovation Elements: Dynamic elements (Capture and Display) that connect to your Thrive Ovation “rolodex.” These allow for automated collection, dynamic rotation, and centralized management.
Related Resources
- Thrive Ovation Documentation: Explore the full Thrive Ovation knowledge base
- Collection Guide: Learn How to Collect Testimonials manually and via social media.
- Display Guide: Discover How to Display Testimonials using Thrive Architect elements.