Facebook Pixel is like Google Analytics, but for Facebook ads. Using it, you will be able to target your ads better, and also see just how effective these ads are when it comes to turning clicks into sales.
If you have a Thrive Theme Builder Theme installed on your WordPress based website, you can very easily add Facebook Pixel codes/scripts to your Thrive Theme Builder themes.
This article will go through the steps in which you can achieve that.
1. Get the Facebook Pixel code/script
First of all, you will need to go to your Facebook Ads Manager and go to the “Facebook Pixel” tab. You can click here to access that.
Then, in the “Data Resources” section, you will need to click on the “Get Started” option, next to the “Facebook Pixel” section:

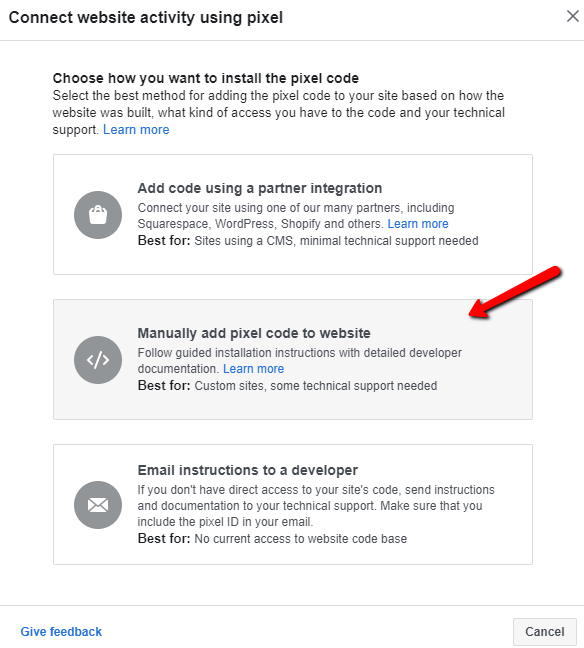
Then, to get the script, click on the “Manually add pixel code to website” option:
The script will then appear, and you can copy it to your clipboard:
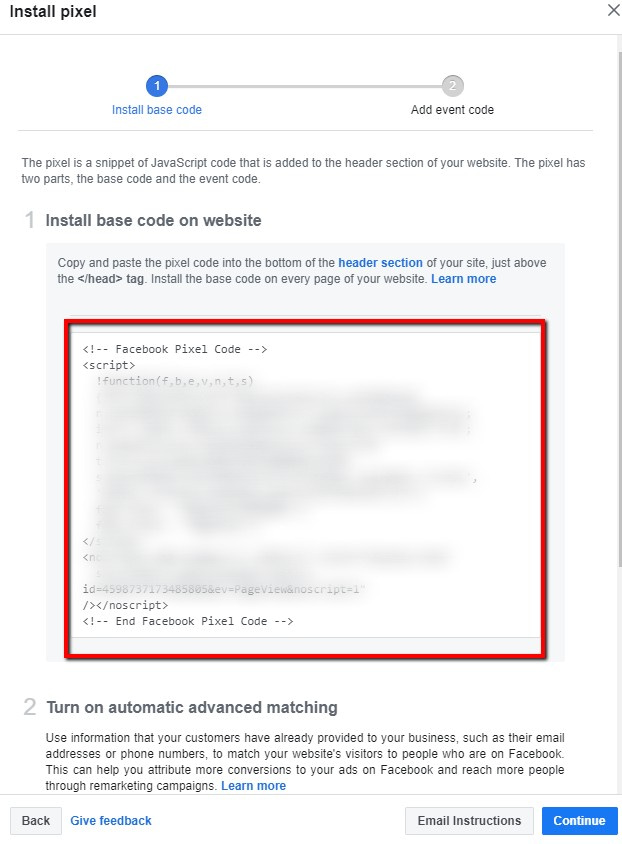
After copying the code, you can move on to inserting it into the theme.
2. Insert the code to the Thrive Theme Builder Theme
For that, in your WordPress Admin Dashboard, in the left sidebar, click on “Thrive Dashboard”:
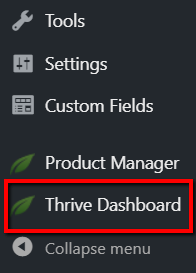
This will open your Thrive Dashboard with the currently installed Thrive Products you have on your website, as well as the Thrive Features you can use.
Scroll down on this page until you see the “Analytics & Scripts” card. Once you have found it, click on the “Manage Scripts” button from it:
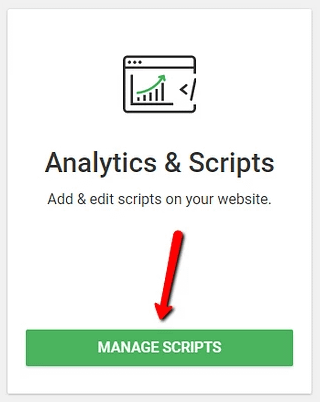
Naturally, this is where you can add analytics and scripts from. You can check out this article, for more general information about adding scripts to a Thrive Theme Builder theme.
You can add various types of scripts to your website, using the options from the “Analytics & Scripts” page that opens. Click on the “Add New” button from the page, to add the Facebook Pixel one:

When you click on that, this pop-up will open:
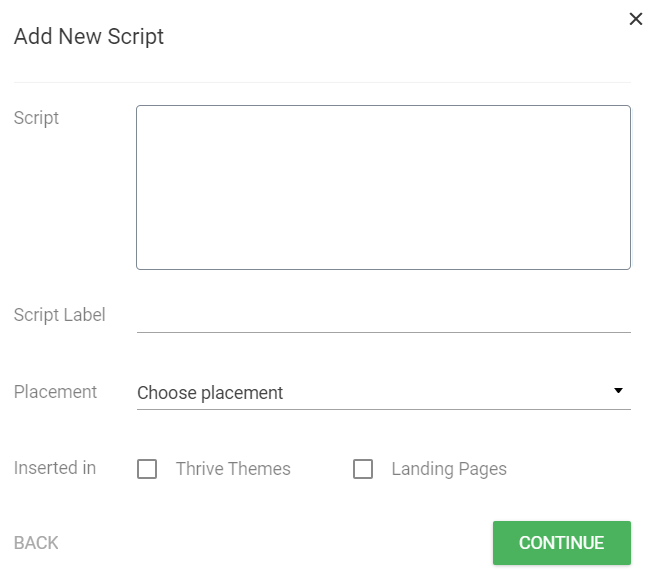
You will then have to fill in these fields with the necessary details. Here is how to do that:
Script
In this field, paste the Facebook Pixel code that you have previously copied from the Facebook website:

Script Label
Next, add a label, a name for your code/script in the field from the “Script Label” section.
In this case, the “Facebook Tracking Pixel” label has been added automatically, but feel free to change it, if you need to:

Placement
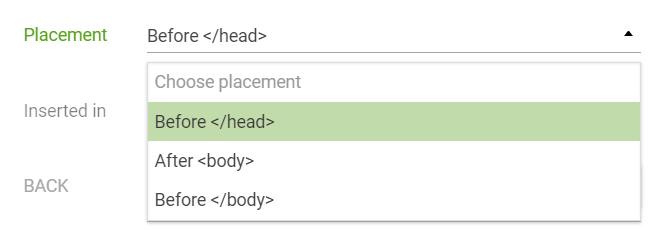
After inserting the label, you will have to select the location where the script/code should be added. Click on the “Choose placement” field from the “Placement” section:

When you click on it, this drop down will open, with your options: “Before </head>”, “After <body>” and “Before </body>”. In this case, for the Facebook Pixel script, choose the “Before</head>” option from the drop-down:
For more information about this, you can also check out the instructions that they provide, here.
Inserted in
The last field from the pop-up is the “Inserted In” field. You can choose between Thrive Themes and Landing Pages. Since you want to add the code to the whole Thrive Theme Builder Theme, click on the checkbox before “Thrive Themes”:

Then, when you’re finished, click on the green “Continue” button:
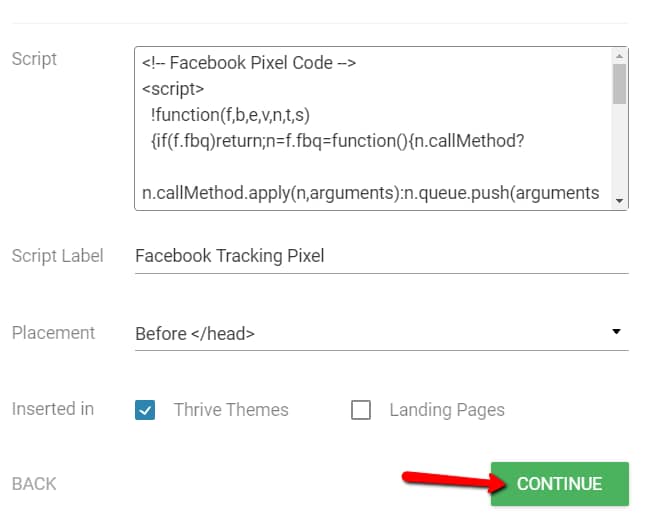
And you’re done! The Facebook Pixel code has been added to your theme:

The Facebook Pixel code will then be globally applied to the whole theme of your website, measuring the actions that you set up.
3. Edit or remove code/script
If you need, you can always come back to the “Analytics & Scripts” section of the Thrive Dashboard, and edit this code. To do that, simply click on the “Edit” option (pencil icon) that appears next to the label you have given to the code:

This will open the same pop-up window that you have used to add the code/script in the first place. Make the modifications that you want, and then click on the “Continue” button when you’re done, to save them:
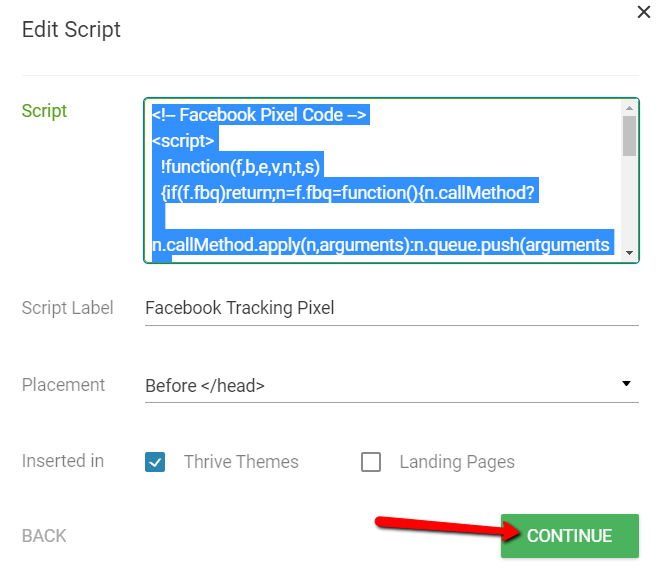
You can also delete this script, at any given moment. For that, click on the trash can icon, which is the “Delete” option, next to the “Edit” one:

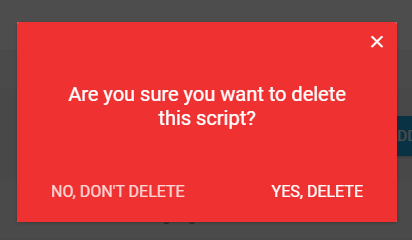
Then, confirm that this is indeed what you want to do, by clicking on the “Yes, delete” option from the pop-up that opens:
After you confirm, the script will be deleted and it will not be used on the theme anymore.
These are the ways in which you can add, edit or remove a Facebook Pixel code to your Thrive Theme Builder theme. If you want to get more information about Thrive Theme Builder options and features, check out our knowledge base here.
I hope this article was useful for you. If so, don’t forget to rate it with a smile below 🙂