If you have set up custom taxonomies with taxonomy terms on your WordPress website (with the Custom Post Types UI plugin for example), using a Thrive Theme Builder Theme, will give you the possibility to create specific templates for those custom taxonomies, as well as for the terms inside them.
The way this works is: you create a custom taxonomy and add taxonomy terms to it. Then, in the back-end, these will be picked up and automatically generated archive pages will be assigned for them.
After that, with Thrive Theme Builder you can create and customize separate “List Templates”, specifically suited for each of your custom taxonomies, and for the taxonomy terms from them as well.
For example, using the Custom Post Types UI plugin, on my website, I have created the custom taxonomy called “Desserts”, along with the following terms for it: “Cakes”, “Cookies”, “Pies”’; so now, I can create a separate Theme Template for each of these using Thrive Theme Builder.
Follow the steps below to create specific templates for custom taxonomies and taxonomy terms.
Access the Templates section
First, you need to access the Thrive Theme Builder dashboard and its “Templates” section.
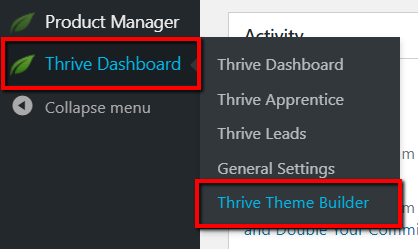
To do that, in your WordPress admin dashboard, hover over the Thrive Dashboard and click on “Thrive Theme Builder” from the sub-menu that opens:
If you have previously completed the Site Wizard, then you will be taken to the “Templates” section directly.
If not, then look for the “Templates” section, from the left side, and click on it to open it:

Add the specific template
Once you have accessed the “Templates” section, click on the “Add New” button from the upper-right part:

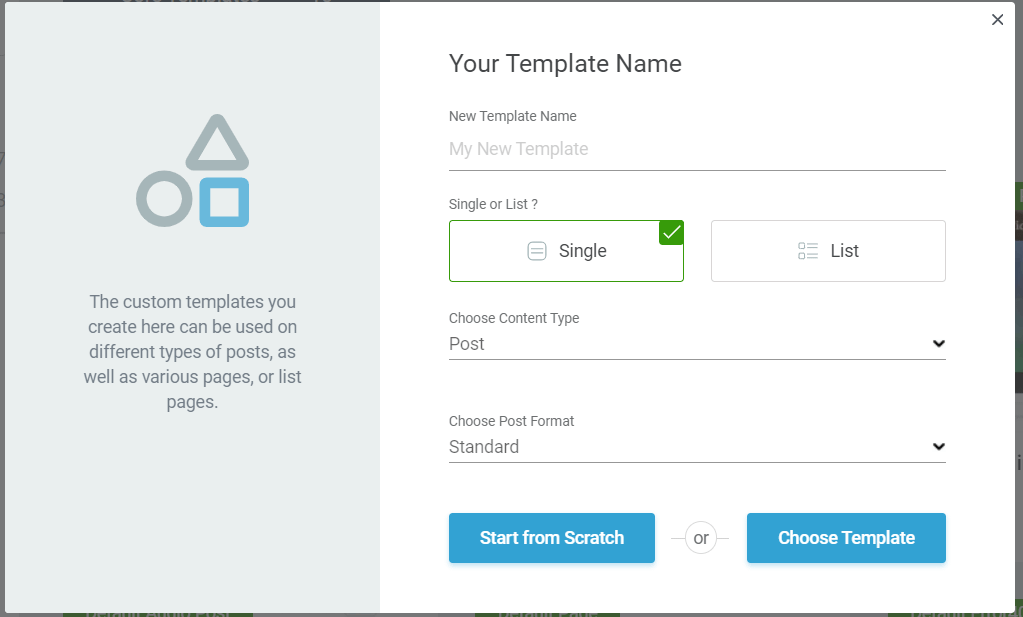
This will open a pop-up window where you can set up and add the specific template:
Add name
First, you will have to add the name you want for your new template in the field below “New Template Name”:

Choose Type
Next, you can choose between the “Single” and the “List” type for your new template. Since you want to create a template for one of your automatically generated list pages (archives), you have to click on the “List” type here to select it:

Once the “List” template type is selected, you will see specific setup options for it appear below the “Single or List?” section in the pop-up window.
Choose List Type
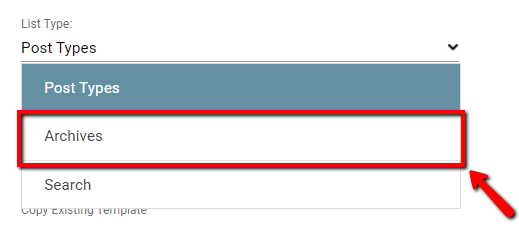
The next step is to select the “List Type” for the “List Template” you want to create. Click on the down arrow (or the field with the current List Type) from the “List Type” section:

Then, from the drop-down that opens, select “Archives”, since the custom taxonomy, as well as the terms in it, have archive pages generated for them:
Choose Archive Type
Next, you have to select the “Archive Type” for your template. Click on the down arrow from the “Archive Type” section:

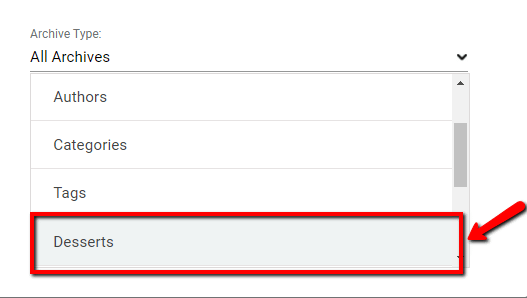
This will open a drop-down with the list of “Archive Types” you can choose from. This list has to include your custom taxonomies as well.
Scroll down until you see the custom taxonomy you want to create this template for, and when you have found it, click on it to select it.
In my example this is the taxonomy called “Desserts”:
Defined for
Then, a new section, the “Defined for” section will appear. Here is where you can select what this specific template will be defined for.
You can either create the template to be for the custom taxonomy in general, or for one of the terms from the custom taxonomy.
1. The custom taxonomy in general
By default, in the “Defined for” section, the entire custom taxonomy will be selected. In my example, this means “All Desserts”:

If you want this template that you are creating now, to be for your custom taxonomy in general, then leave this “All + taxonomy name” selected here.
2. One of the terms from the custom taxonomy
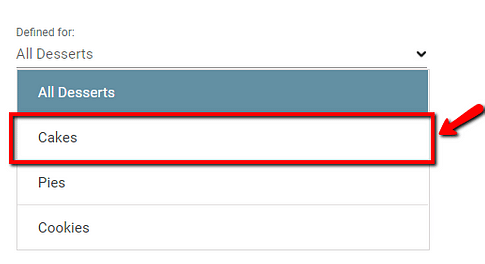
If you want the template you are creating now to be for one of the taxonomy terms from your custom taxonomy, then, click on the little down-arrow from the “Defined for” section here:

Then, a drop-down will open with the terms you have set up for your custom taxonomy. Look for the taxonomy term you want to create this template for, and when you have found it click on it.
In my example, I will select the “Cakes” term here, from the terms I have set up for my “Desserts” taxonomy:
Start from Scratch
Next, you can choose whether you want to build the design for this template from scratch and customize it entirely by yourself:

Choose Template
Or you can also use a predefined template, from the template library:

This will open the library with all the available templates:
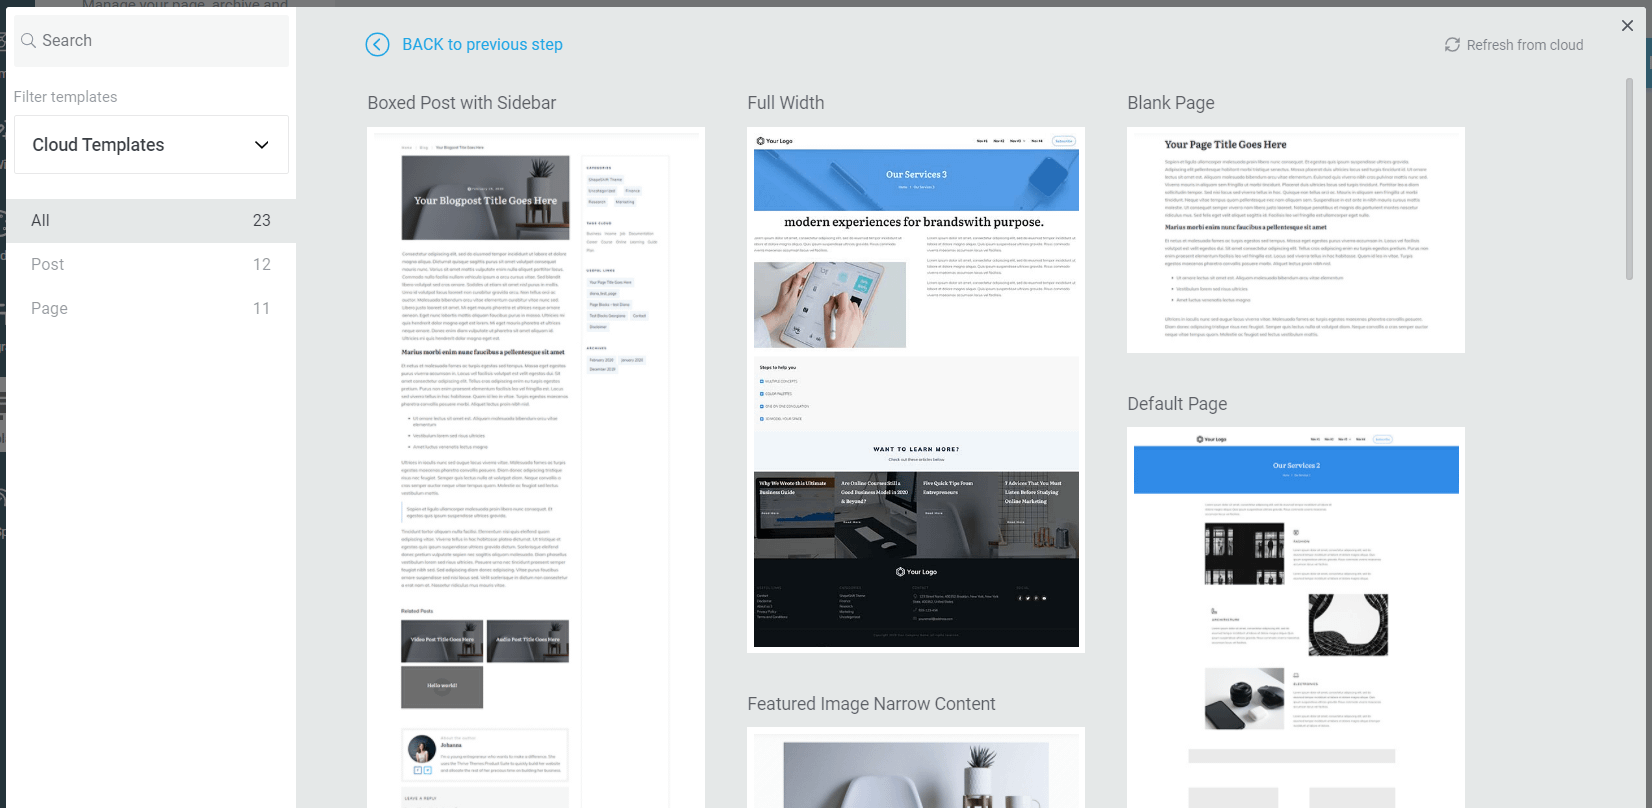
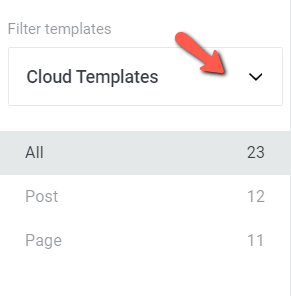
You can use the filtering options from the left-hand side of the screen to browse through all the available designs:
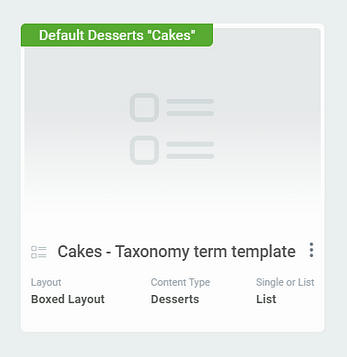
When you are done with defining the design, the new template will be added in the “Templates” section, as the default template either for the custom taxonomy or for the taxonomy term (depending on what you have chosen to define it for):
Now you can start editing/customizing it, in order to make it suitable for the custom taxonomy/taxonomy term. If you need details on how to edit the template, check out this article.
Note: Unlike the regular templates, after you finish customizing the specific template for the custom taxonomy/taxonomy term, you do not need to apply this template to a page.
Since custom taxonomies and the terms in them have automatically generated pages assigned to them, you do not need to create a separate page in your WordPress admin dashboard for these.
Furthermore, you will not have to apply the specific template you have created for them here, because the default template for each custom taxonomy/taxonomy term will be applied by default to the automatically generated pages.
Also keep in mind, that you can create as many templates as you wish for your custom taxonomies/taxonomy terms, but the ones that are default are the ones that will be applied.
You can use the “Managing Options” of templates, in order to make them default. If you need information on how to use these, check out this article.
To get even more familiar with Thrive Theme Builder, check out our knowledge base here.
Hopefully, this article was useful for you. If so, please give it a smile below 🙂