This article will explain how to customize the “Account” Templates, as well as how to add a new “Account” Template to your Thrive Theme Builder theme.
Before getting started with the customization of the templates, you should first make sure that you have properly installed and activated the WooCommerce plugin, from the Thrive Theme Builder Site Wizard.
You can find out detailed information about this, in this article.
Set up Your Account Page
Before going to the “Templates” section, you should first make sure that you have created and set up your “Account” page.
In order to set it, in your WordPress admin dashboard, hover over “WooCommerce”, in the left sidebar.
A small sub-menu will open, with some options. Click on “Settings”:
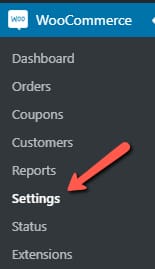
Once you open the “Settings” page, go to the “Advanced” tab:

In this tab, scroll down, and you will see the “My Account Page” section. Click on the field next to it, and this will open a dropdown with all of your pages:

From here, choose the suitable page, the one that you want to be the “Account” page:

After this, make sure you save everything by clicking on the “Save Changes” button from the lower side of the page:

You’re all set now, and you can go to the “Templates” section and start customizing your “Account” templates.
Access the Templates Section
In order to edit or add a new template, you first have to access the Thrive Theme Builder dashboard.
Access the Thrive Theme Builder Dashboard
In your WordPress admin dashboard, hover over “Thrive Dashboard”, and click on “Thrive Theme Builder”, from the list of Thrive Products that opens:
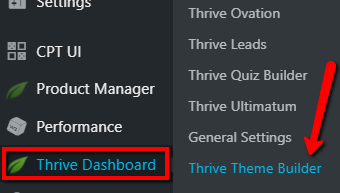
This will open the Thrive Theme Builder dashboard. Here you can access the “Templates” section, from the left sidebar:

Preview the WooCommerce Templates
Once this section has opened, you will be able to preview all of your Thrive Theme Builder templates. You can, however, choose which ones to see.
If you want to only see the WooCommerce ones, click on the “Core Templates” section:
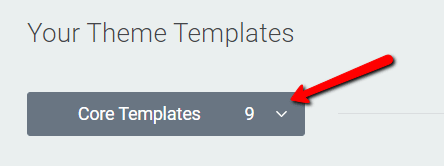
A list with all of the template groups will open, and you can click on the “WooCommerce” section, under the “Custom Post Templates” group, to only preview those templates:

Keep in mind that, even if you have not yet created any WooCommerce templates, you will still have a few of the custom WooCommerce templates here.
This is because some WooCommerce templates have been downloaded when you previously completed this step of the Site Wizard.
Add a New Account Template
Now, to add a new template, you can click on the “Add New” button, which you can find on the top right side of the “Templates” section:
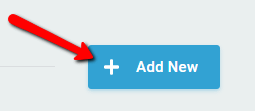
A pop-up will open, where you will have to set up the new template from:
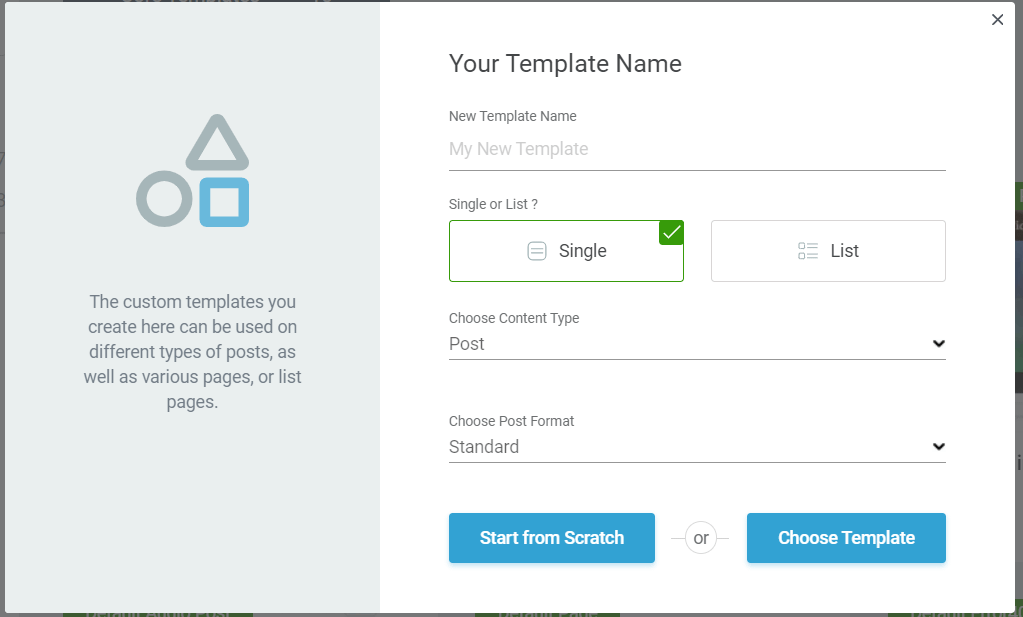
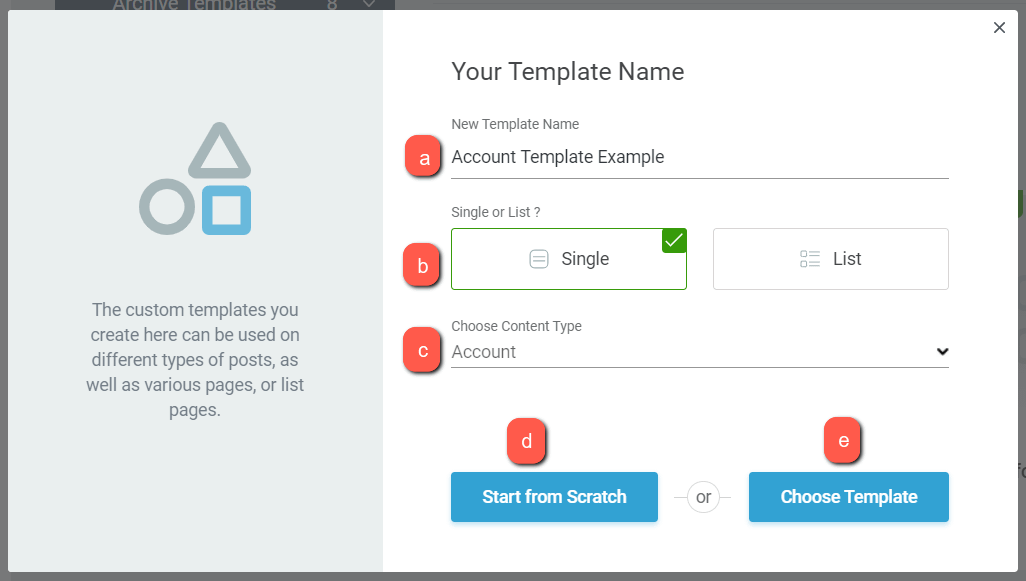
To set up an “Account” template, complete the fields as advised here:
-
a – New Template Name
This is where you can provide the name for your template. Enter the name in the field.
-
b – Single or List?
An “Account” template is a “Single” template, so choose this option here.
-
c – Choose Content Type
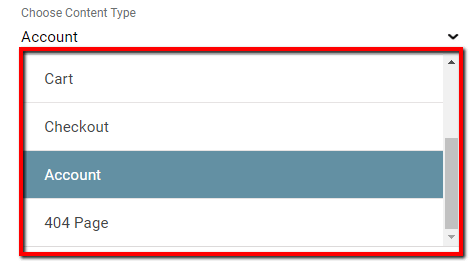
Here is where you have to set the template to be an “Account” type.
Click on the field, to open your list of options, and, from all of the content types, click on “Account”:
-
d – Start from Scratch
Use the “Start from Scratch” option if you want to create your design from scratch:
-
e – Choose Template
Use this option if you want to pick a predefined template:
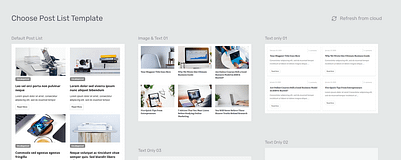
You will be prompted with the template library which you can browse until you find the desired template:
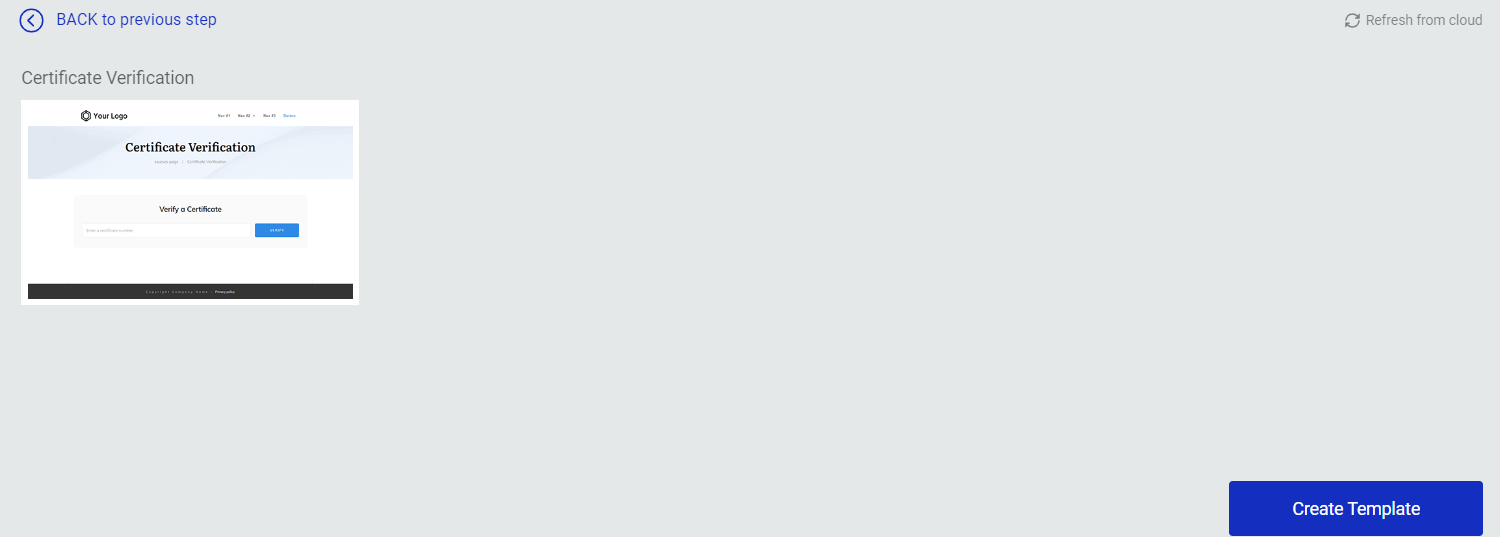
After picking the design (or customizing it from scratch), your newly created template will be available under the “Single Templates” section of your dashboard:
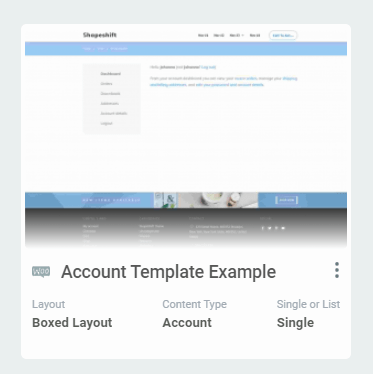
Edit the Account Template
Whenever you want to edit one of your “Account” templates, simply hover over it, and click on the “Edit” option that appears:
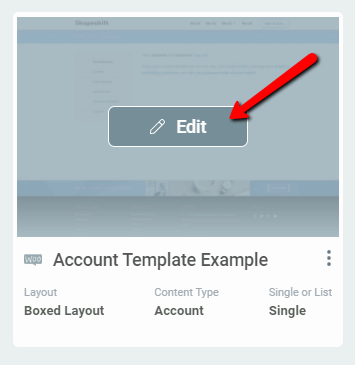
Clicking on this will take you to the Thrive Theme Builder editor. You can then customize this template like you would customize any other Thrive Theme Builder template.
You can find more information about the way you can modify templates here.
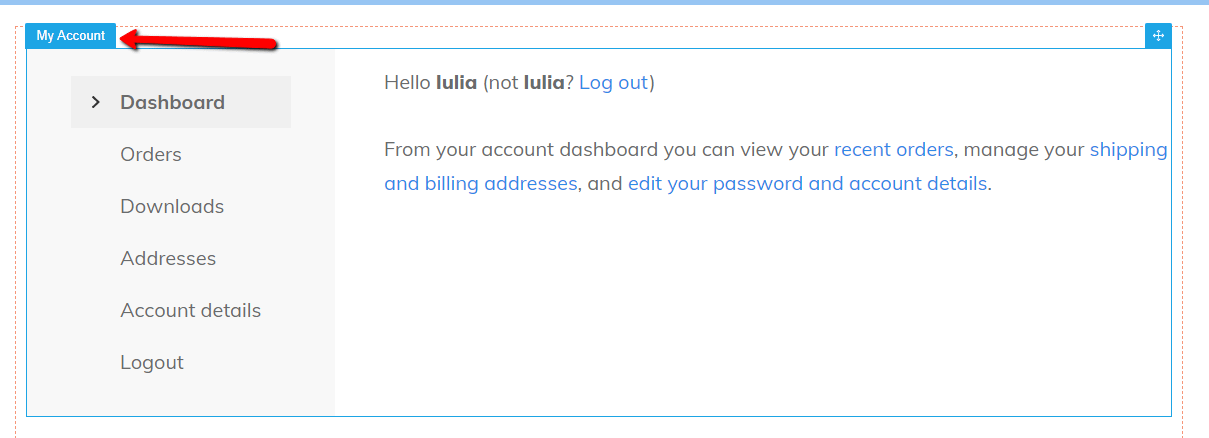
The “Account” details of this template will be gathered inside a single element, specific to the “Account” templates, called “My Account”:
Customize the “My Account” Element
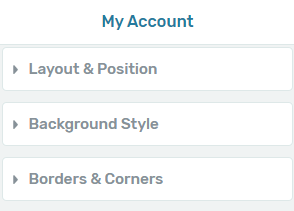
If you want to customize this element, you can simply select it, from the editor, and edit it using the options from the left sidebar:
As usual, you can find detailed instructions on how to use these options, in our knowledge base.
Moreover, feel free to customize the template by adding more elements or widgets to it.
In the list of elements that you can add to the template, there is a “WooCommerce” section. You will find some widgets here, specific to WooCommerce templates.
Read this article to find out how to use all of these.
These were the ways in which you can set up an “Account” page, as well as how to add and customize an “Account” Template in Thrive Theme Builder.
You might also be interested in the following articles, similar to this one:
-
How to Customize a WooCommerce Shop Template in Thrive Theme Builder
-
How to Customize a WooCommerce Checkout Template in Thrive Theme Builder
-
How to Customize a WooCommerce Product Template in Thrive Theme Builder
-
How to Customize a WooCommerce Cart Template in Thrive Theme Builder
-
How to Customize a WooCommerce Product Categories Template in Thrive Theme Builder
If you need more information about Thrive Theme Builder and WooCommerce, feel free to check out this section of our knowledge base.
Hopefully, this article was useful for you. If that’s the case, make sure to leave a smile below 🙂