Once you set up your WooCommerce products, you can then apply Thrive Theme Builder Product Templates to them. Customizing these templates, as well as all of the other WooCommerce templates, will allow you to build your own, fully customized store.
Before diving into the customization of the templates, you should first make sure that you have properly installed and activated the WooCommerce plugin, from the Thrive Theme Builder Site Wizard.
If you need more information about how to do that, make sure to read this article first.
Set up Your Products
The WooCommerce templates can either be applied to products, or to pages. In the case of the Product Templates, these should be applied to your products. Naturally, you will have to create and set up your products first.
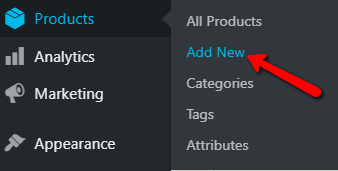
In order to create a product, in your WordPress admin dashboard, in the left sidebar, you will see a “Products” section. Hover over it, and click on “Add New”:
The WordPress editor will open. Provide all of the necessary details for the product here. You can find out more details about how to set up WooCommerce products here.
Once you have set up all the products, assigned their prices, and all the necessary details, you can access the Thrive Theme Builder dashboard and start customizing or creating new templates.
Choose a Product Template from the Site Wizard
While navigating the Site Wizard, you can set the Product Template from there, directly, that you can later customize:
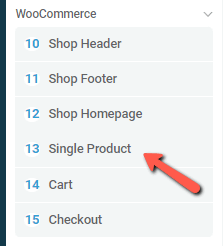
We have described the way to do that in more detail in this article.
Access the Templates Section
Once you have accessed the Thrive Theme Builder dashboard, from your WordPress admin dashboard, click on the “Templates” section:

Preview the WooCommerce Templates
Once you get to the “Templates” section, the “Core Templates” will be shown. If you want to preview the WooCommerce ones, click on the “Core Templates” section:
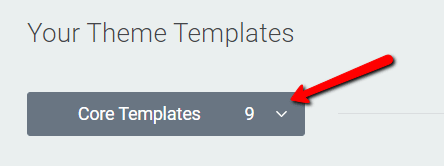
This will open a list with all of the template groups. You can click on the “WooCommerce” section, under the “Custom Post Templates” group, to only preview those templates:

You should keep in mind that, even if you have not yet created any WooCommerce templates, you will still have a few of the custom WooCommerce templates here.
This is because some WooCommerce templates have been downloaded when you previously completed this step of the Site Wizard.
Add a New Product Template
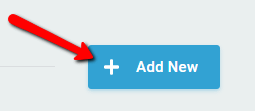
Now, if you want to add a new Product Template, you can easily do that. In the “Templates” section, click on the blue “Add New” button:
A pop-up will then open, where you will have to set up the new template from:
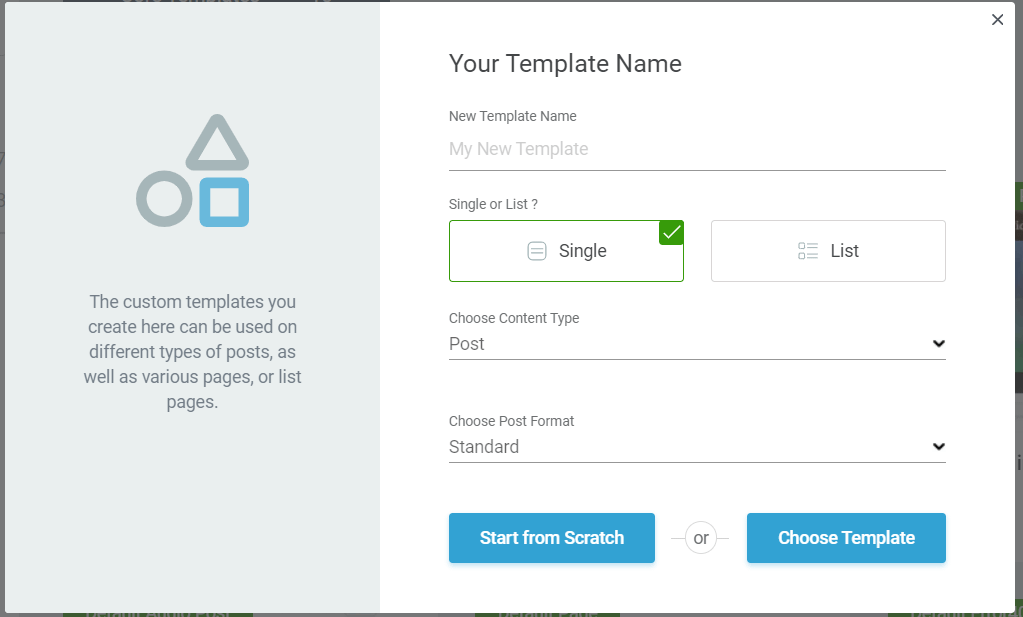
You will have to complete each of these fields, and here is how to do that, in order to add a new Product Template:
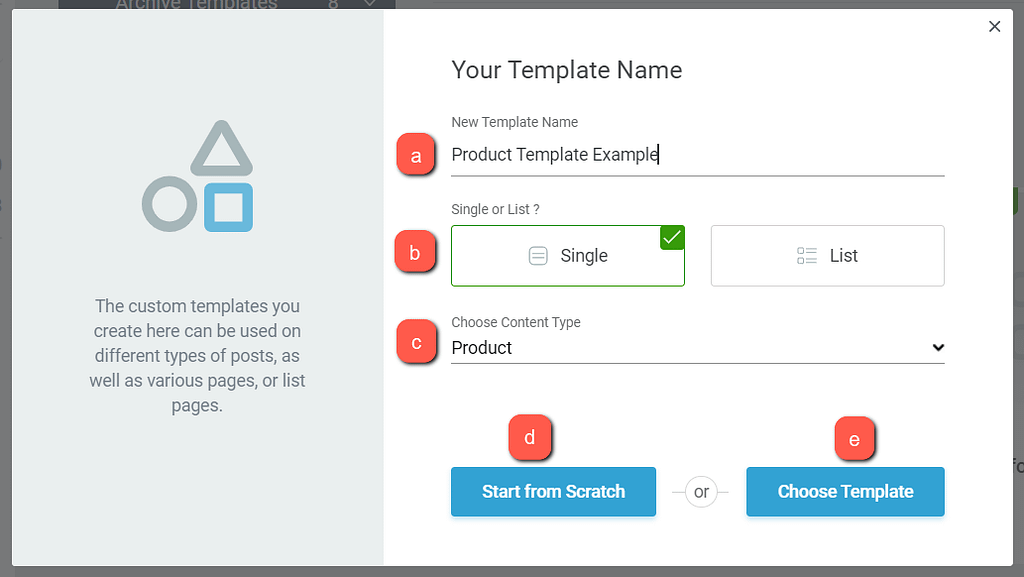
- a – New Template Name
In the first field, you will have to enter a name for the new template.
- b – Single or List?
A Product Template is a “Single” template, so choose this option here.
- c – Choose Content Type
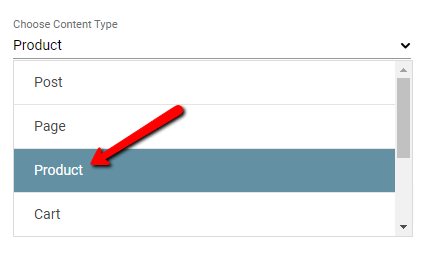
Here is where you have to set the template to be a “Product” type. Click on the field, to open your list of options, and, from all of the content types, click on “Product”:
- d – Start from Scratch
Use this option if you want to fully customize the template, without accessing any kind of pre-defined designs for it:

- e – Choose Template
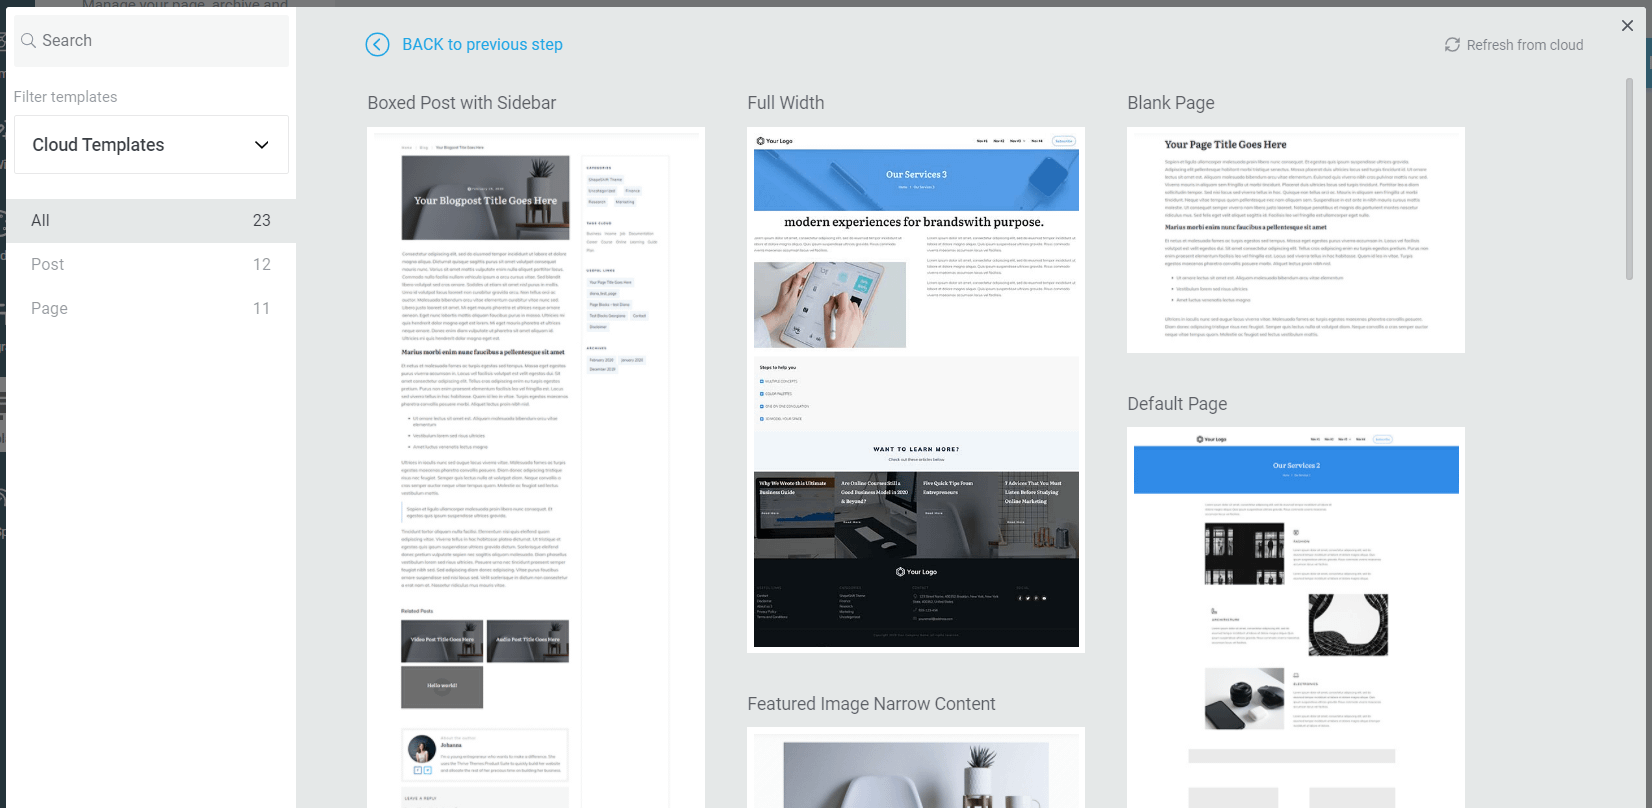
Click on the “Choose Template” option if you want to choose a predefined template:

This will take you to the template library, where you can browse through all the available designs:
After you’re done with all of the fields, the new template will then be created, and ready to be customized. You can find it under the “Single Content Templates” section:
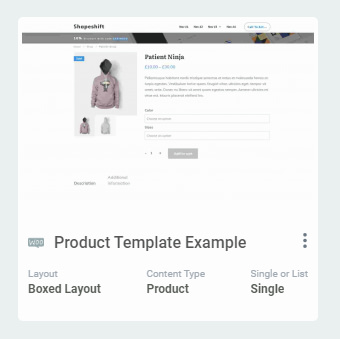
Edit the Product Template
Next, whenever you want to edit one of the Product Templates, hover over it, and click on “Edit”:
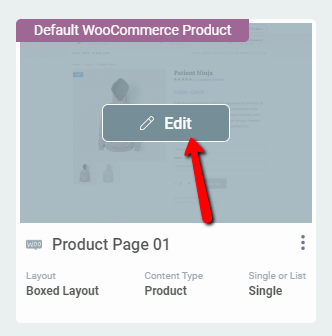
This opens the Product Template in the Thrive Theme Builder editor, and you can go ahead and customize this template like you would customize any other Thrive Theme Builder template.
You can find more information about how you can modify templates here.
An important thing to know is that the Product Templates will contain a “Product” element inside them, in which you will be able to find options that you can use to modify the design of the products, in the respective template.
Thus, customizing a Product Template could mean that you customize the template as you normally would, by adding elements and widgets to it, but you can also customize the “Product” element, using its options.
Here is how to do that:
Customize the “Product” Element
To customize this element, click on it in the editor, to select it:
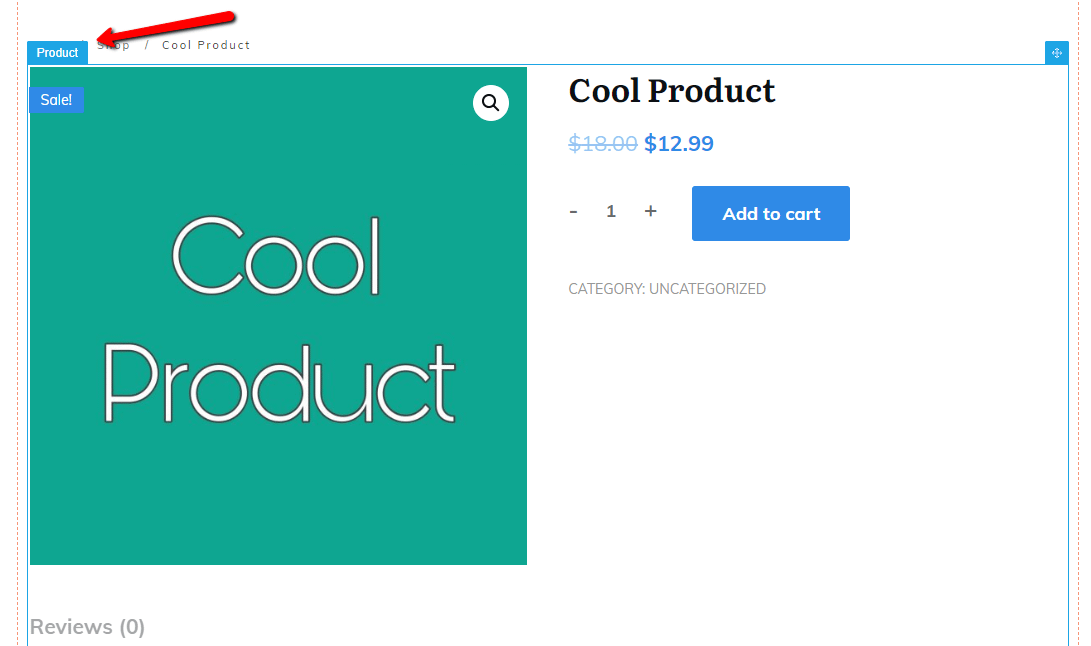
When you do that, some options will appear in the left sidebar:
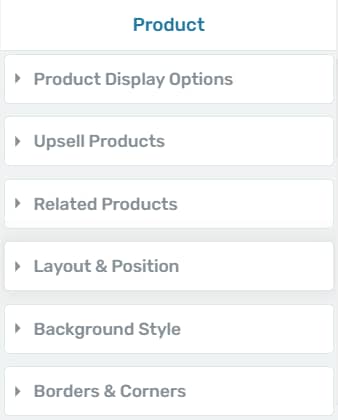
Here are the ways to use these options:
Product Display Options
The first section of the left sidebar is the “Product Display Options” one. If you click on it, these options will appear:
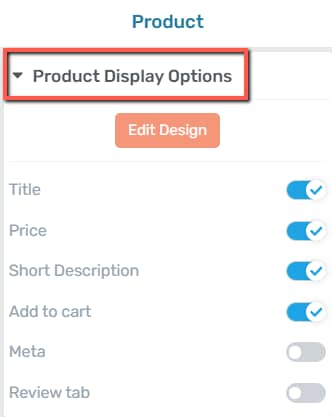
The first available option from the “Product Display Options” section is the “Edit Design” one:
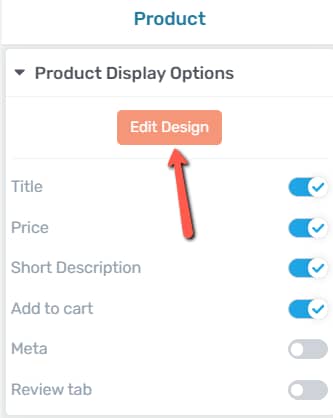
If you click on it, you will be taken into the “Edit Mode” of the element. This means that, if you click on this option, you will be able to edit all of the items inside the “Product” element.
If you want to do that. simply click on each item, to select it, and use the left sidebar options to modify what you want.
Then, when you’re done using the “Edit Mode”, click on the orange “Done” button, to go back to the options of the “Product” element:

|
Note: While using the “Edit Design” mode, the right sidebar options will be unavailable, meaning that you will not be able to add new elements inside the “Product” element. |
The rest of the options from the “Product Display Options” section can be used so that you customize the element to fit your website.
For each of these, you can use the switches next to them, to show or hide the respective item. You can enable/disable these switches to decide whether you want to show or hide:
- The product title
- The product price
- The short description of the product
- The “Add to Cart” button
- The meta elements (categories, tags)
- The review tab
Product Gallery
If you have added more photos to the Product Gallery when editing the product, then you can use this section of the left sidebar, to edit the gallery:
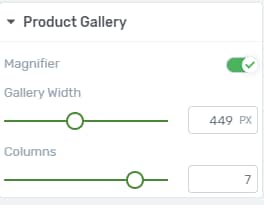
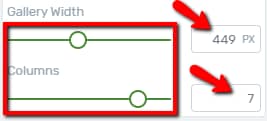
You can choose to hide or display the “Magnifier” option. Moreover, you can choose the “Gallery Width”, and the number of columns in which the images should be displayed.
If you want to remove the “Magnifier” option, that allows the users to zoom in the images, then disable the switch next to that option:

For the next two options, you can either use the sliders, to adjust the width/number of columns, or you can enter numerical values in the fields next to each option:
Upsell Products
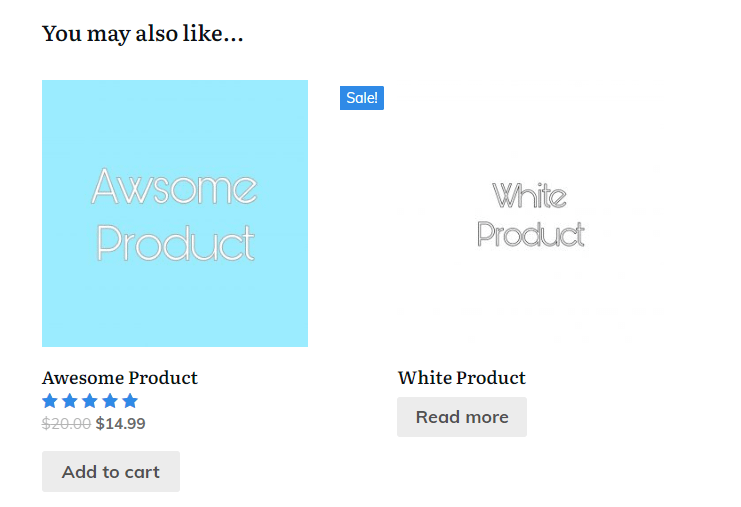
If you have set any Upsell Products from your “Products” page, you have some settings in this tab, which you can use to customize the “You may also like…” section:
Display Upsell
Firstly, if you do not want this section to be displayed on the Product Template, you can remove it, by using this switch, to disable this option:

Columns and Products to Display
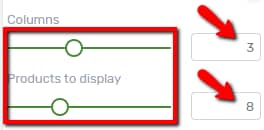
In the next two options, you can choose the number of columns in which the “Upsell Products” should be divided, as well as how many products to be shown.
Use the sliders to modify the values, or enter the desired values in the fields next to the sliders:
Order
Next, there are two options, in which you can set how these products should be ordered. Click on each of these fields, and choose the suitable ordering options:

Alignment
You can choose to align these products to the left, center, or right side. Choose the suitable option from here:

Image Size
Lastly, you can modify the size of the images of these products, and for that, you can either drag this slider from side to side or use the field next to the slider:

Related Products
The last section of the left sidebar is the “Related Products” one:
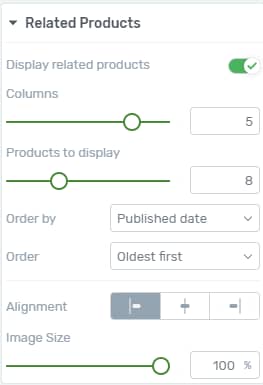
As you can see, the options from this section are the same ones as the options from the “Upsell Products” section, so you can feel free to use them as described above.
The options will apply to the products under the “Related Products” section of the template:
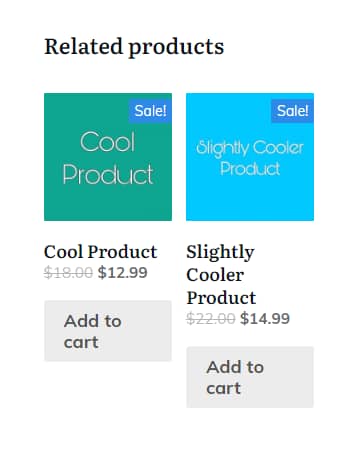
Note: The modifications you bring to the “Upsell Products” and the “Related Products” will not be visible in the editor, only when you preview the template.
These were the ways to set up your WooCommerce products, as well as how you can add and customize a Product Template in Thrive Theme Builder.
Going further, you can apply these templates to your products, and we’ve described the ways in which you can do that, here.
If you need more information about Thrive Theme Builder and WooCommerce, feel free to check out this section of our knowledge base.
You might also be interested in the following articles, similar to this one:
- How to Customize a WooCommerce Shop Template in Thrive Theme Builder
- How to Customize a WooCommerce Checkout Template in Thrive Theme Builder
- How to Customize a WooCommerce Account Template in Thrive Theme Builder
- How to Customize a WooCommerce Cart Template in Thrive Theme Builder
- How to Customize a WooCommerce Product Categories Template in Thrive Theme Builder