The purpose of this article is to explain the ways in which you can set up and customize a WooCommerce Shop Template in Thrive Theme Builder. Customizing a Shop Template will make it easier for you to build your WooCommerce store.
Before getting started with the customization of the templates, you should first make sure that you have properly installed and activated the WooCommerce plugin, from the Thrive Theme Builder Site Wizard.
If you need more information about how to do that, make sure to read this article first.
Set up Your Shop Page
After you install and set up the WooCommerce plugin, you should make sure that you also set up a shop page for your store, so that you can apply the Shop Template to it.
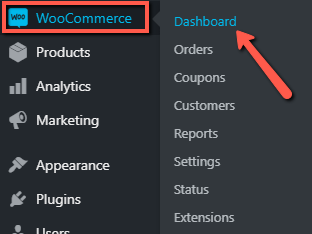
In order to do that, from your WordPress admin dashboard, in the left sidebar, hover over WooCommerce and click on “Dashboard”:
Then, if you need to, and you haven’t already, make sure to follow all these steps, to set up your store:
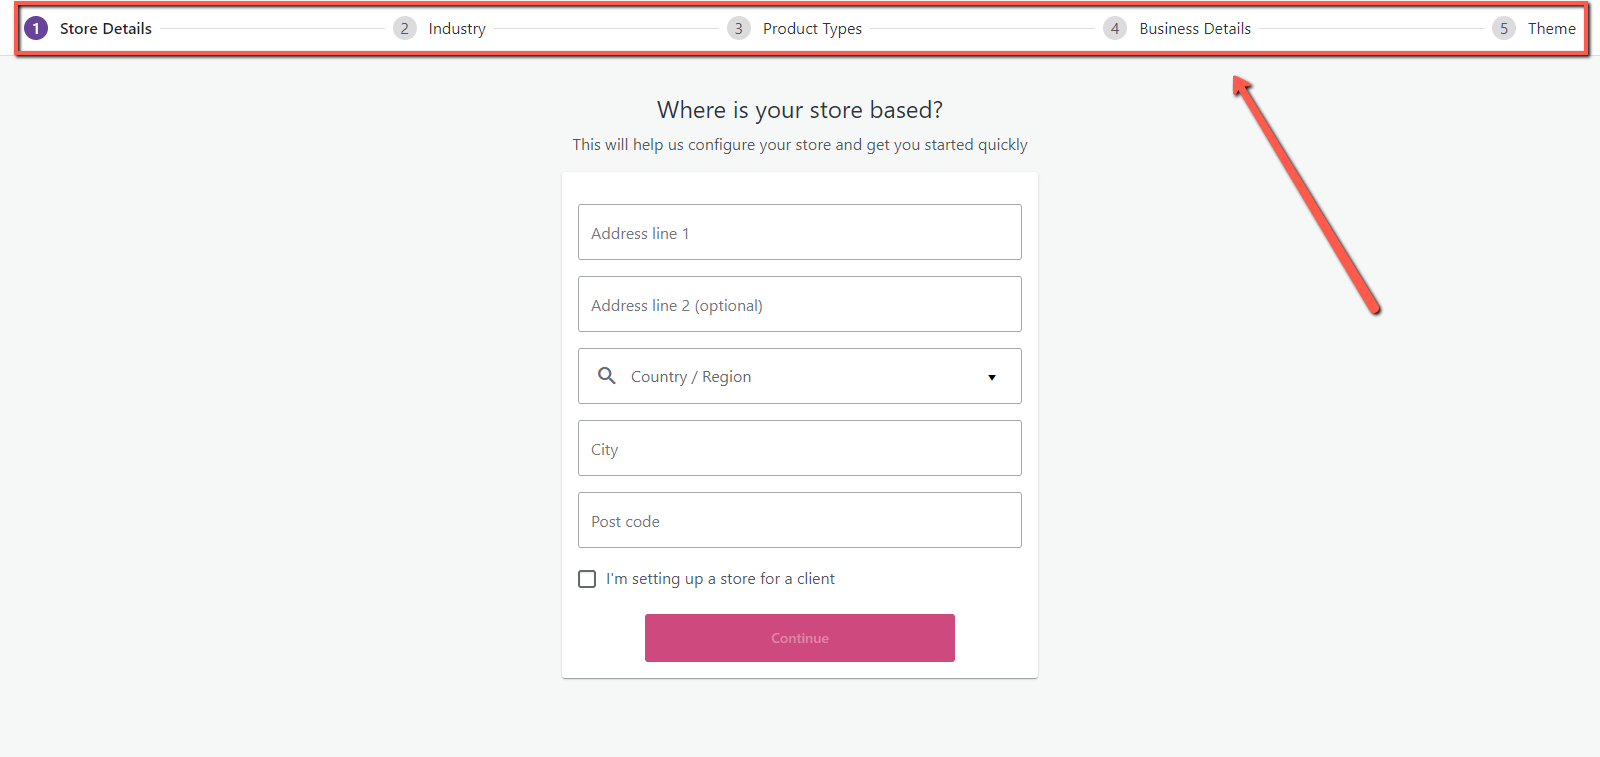
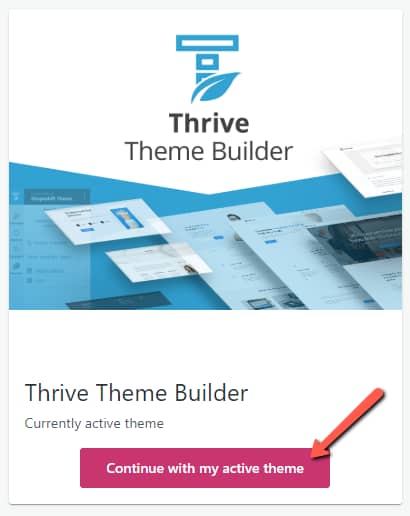
In the last step here, called “Theme”, make sure the Thrive Theme Builder theme is the active one, and select “Continue with my active theme”:
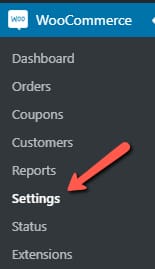
After this, hover over “WooCommerce” again, in the left sidebar, and go to “Settings”:
Then, on the settings page, access the “Products” tab:

Here, scroll down until you see the “Shop” page section. This is where you will establish which one of your existing pages will be the “Shop” page.
Click on the field next to it, to open the list with all of your pages:

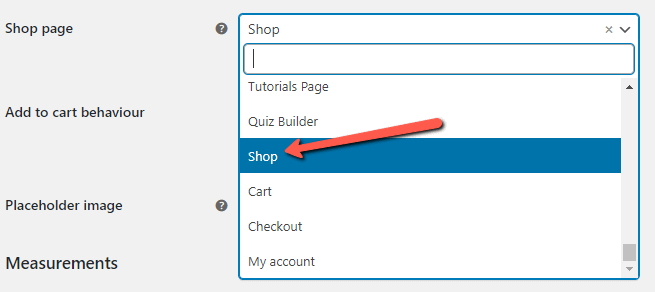
This will open the list, and you can click on the page that you want to use as your shop page. I have previously created one and named it “Shop”, so I will select that one:
After this, scroll down to the bottom of the “Settings” page, and click on “Save Changes”:

The shop page should now be set, and you can move on and customize the Shop Template.
Choose a Shop Template from the Site Wizard
While navigating the Site Wizard, you can set the Shop Template from there, directly:
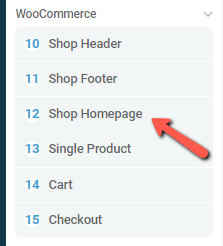
We have described the way to do that, in this article.
Access the Templates Section
To edit the template, you first have to access the Thrive Theme Builder dashboard.
Access the Thrive Theme Builder Dashboard
In your WordPress admin dashboard, hover over “Thrive Dashboard”, and click on “Thrive Theme Builder”, from the list of Thrive Products that opens:
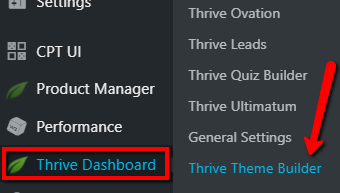
The dashboard will open. Next, access the “Templates” section, from the left sidebar:

Preview the WooCommerce Templates
When you access this section, you will be able to preview all of your Thrive Theme Builder “Core” templates. If you want to only see the WooCommerce ones, click on the “Core Templates” section:
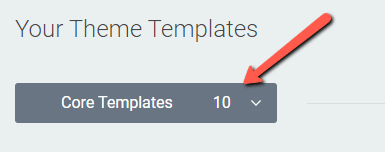
This will open a list with all of the template groups. Under the “Custom Post Templates” group, you can click on the “WooCommerce” option, to only preview those templates:

Even if you have not yet created any WooCommerce templates, you will still have some templates here.
These were designed to fit among the rest of the theme templates, and they had been downloaded when you previously completed this step of the Site Wizard.
Edit the Shop Template
Scroll down to the “List Templates” section, to see your shop templates. When you find the one that you want to customize, hover over it and click on “Edit”:
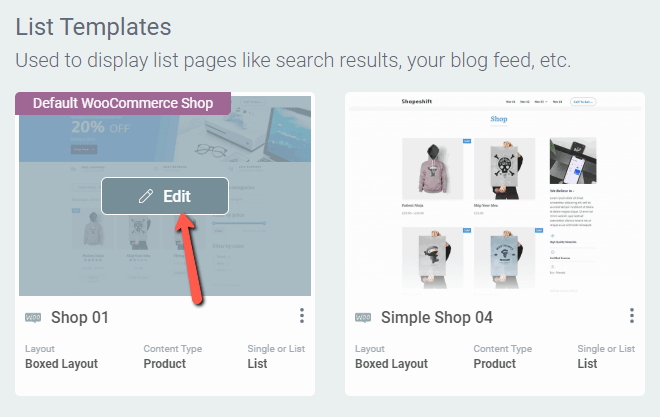
This will open the WooCommerce Shop Template in the Thrive Theme Builder editor, and you can start customizing it using all of its specific options.
Note: Naturally, for the shop page to make any sense, you will need to set up your products first, and this can easily be done from the “Products” section of your left sidebar (WP Admin Dashboard -> Products -> Add New).
This template can be customized just as any other Thrive Theme Builder template. You can find more information about the way you can modify templates here.
However, there is one particularity that the Shop Templates have. Any Shop Template will come with a “Shop” element, that you cannot remove, nor you can add it in other types of templates:
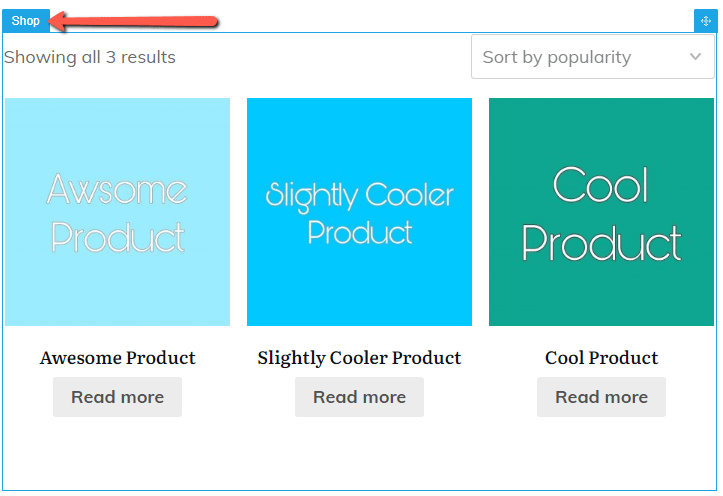
Customize the “Shop” Element
While this element is selected, you will see all of the element’s specific options in the “Product List Options” section of the left sidebar:

Here is how you can use each of them:
Template Options
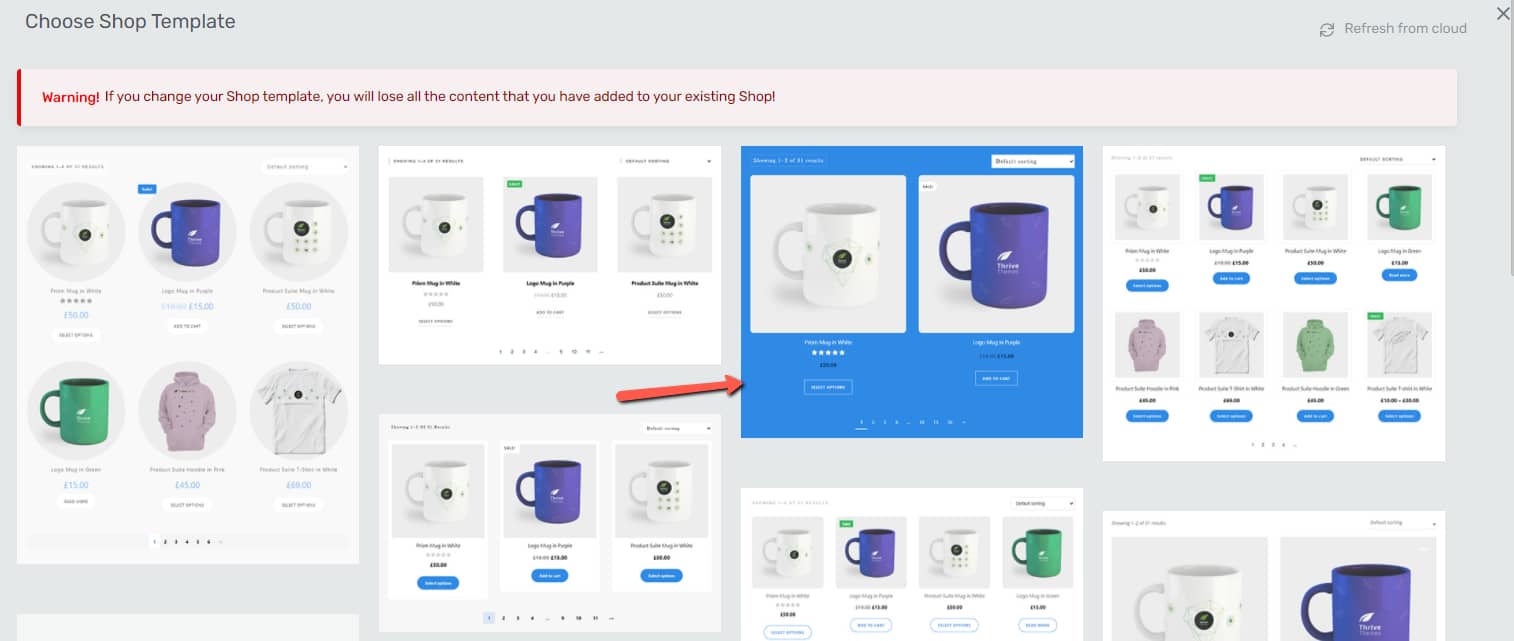
Firstly, you can change the template of the element, and choose from a ready-made one. If you want to do that, click on the field next to the “Template” option:

This will open a pop-up with the available templates. Click on the one you want to replace the initial one with:
Important!
We recommend that you change the template before using the other options, simply because when you change the template, all the modifications you bring to the element will be lost when switching to another template.
When you find the template that you like the most, click on “Replace Template”:

After that, you can move on and use the rest of the options:
Edit Design
The first available option from the “Product List Options” section is the “Edit Design” one. If you click on it, you will be taken into the “Edit Mode” of the element:

This means that, if you click on this option, you will be able to edit all of the items inside the “Shop” element. Simply click on each item, to select it, and use the left sidebar options to modify what you want.
Then, when you’re done using the “Edit Mode”, click on the orange “Done” button, to go back to the options of the “Shop” element:
|
Note: While using the “Edit Design” mode, the right sidebar options will be unavailable, meaning that you will not be able to add new elements inside the “Shop” element. |
Products per page
This next option allows you to set up the number of products to be shown on the shop page. If you want to modify this, you can either drag the slider below the option from side to side, or you can enter a numerical value in this field:

Columns
Then, you can also choose in how many columns should the products be displayed. Again, to modify this, either use the slider or enter the number of columns in the field next to the slider:

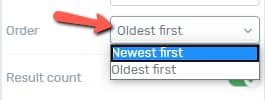
Order
Next, you have two options that allow you to choose the way the products will be ordered on the page. Click on the field next to each option, and choose the suitable way to order the products:
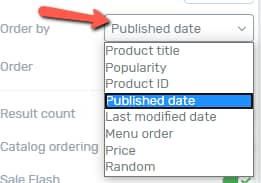
The next set of options are all activated by default, and, if you want to disable them, you can simply click on the switch next to each one:
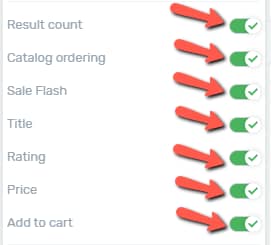
Here is what each of these can be used for:
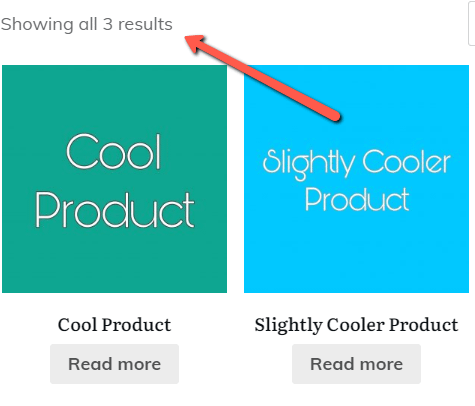
Result Count
If this one is activated, then the “Showing all .. results” text will appear inside the element. Here is an example:
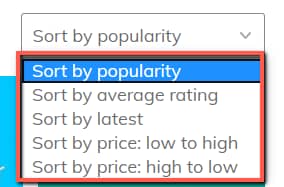
Catalog Ordering
If you enable this option, customers will be able to use this dropdown and sort the products by the following criteria:
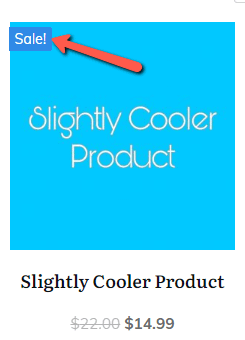
Sale Flash
When having some products on sale, if you enable this option, this label will appear on the products that are affected by the sale:
Title
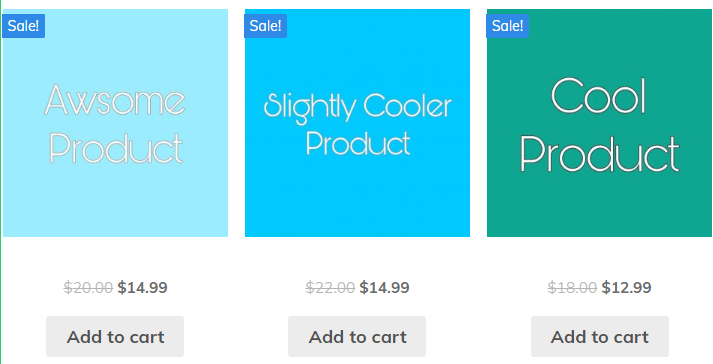
Naturally, the next option can be used to show or hide the title of the products. Here is an example of the way the products look like, without showing their title:
Rating
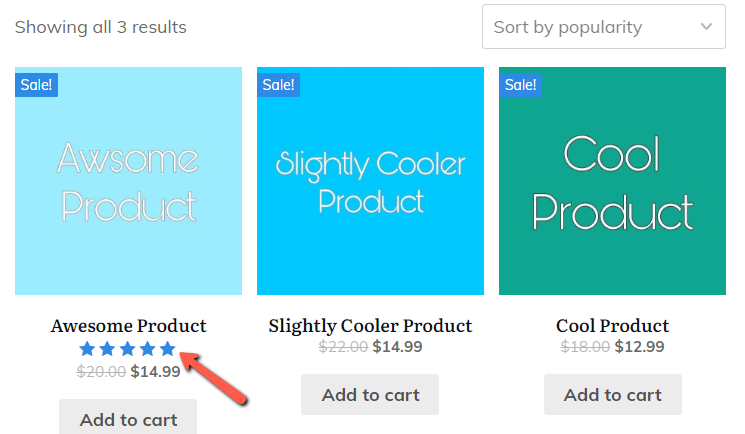
If you leave this option enabled, the products that have been rated will have their rating below them. For example, only the first product from this list has ratings. Thus, this is how the product list will look like:
Price
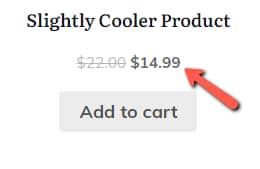
In case you want the price to be hidden from the shop page, you can easily do that by disabling this option:
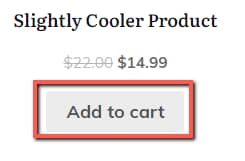
Add to Cart
This option lets you hide or show the “Add to Cart” option, below the products:
Alignment
The option that comes next is the “Alignment” one, and here is where you can choose whether the “Shop” element to be left/center or right-aligned. Click on the option that best fits:

Image Size
The last available option for this element is the “Image Size” option. You can easily modify the size of the product images, by using this slider, or by entering a numerical value in this field:

Filter Products
Important!
The “Shop” element is available in both Thrive Architect and Thrive Theme Builder. However, the “Filter Products” option will only be available for you in the Thrive Architect editor.
This option allows you to filter the products to be shown in this element. Click on the down arrow next to the option, to expand it:
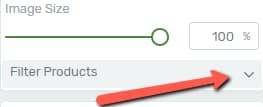
You can manually choose which products to be shown, or even choose to filter the products by categories, tags, or taxonomies:
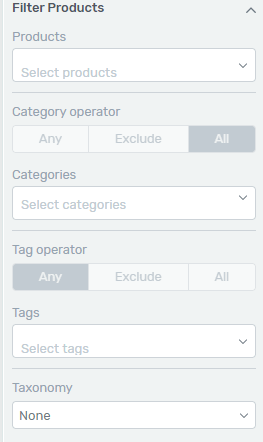
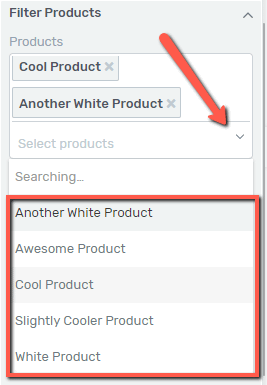
If you want to manually insert the products to be shown, write the name of the products in this field:
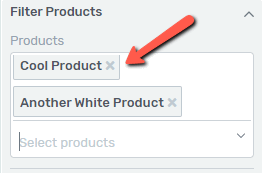
You can click on the down arrow, to open a list with all the available products:
If you want to filter the products by categories, tax, or taxonomies, click on the fields below each of these, and choose one or multiple items:
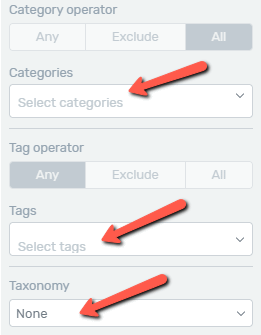
Once you choose one of these, you will be able to choose the operator. I will use the “Category Operator” as an example but keep in mind that the way this works is exactly the same for the tags and taxonomy terms, as well.
If you choose two categories in the “Filtering Options”, this means that you will be able to choose the products to be shown in the element, based on these two categories.
You can choose one of these three operators:
-
Any: If you choose “Any”, this means that the element will show products that belong to at least one of the selected categories.
-
Exclude: If you choose this operator, then the element will exclude all of the products that belong to the selected categories, thus they will not be shown.
-
All: When you choose “All”, the element will only display the products that belong to all of the selected categories.
|
Important! Please note that some of the options are not available in the “Mobile” or “Tablet” view, only in the “Desktop” view:  |
This is how you can customize the “Shop” element, and how to use all of its options.
Going further, if you want to customize the Shop Template even more, you can feel free to add various elements or widgets to it.
We have created a separate article, in which we’ve explained how to use the WooCommerce widgets, when editing your templates, and it can be found here.
Don’t forget to save the template when you’re done, by using the green “Save Work” option, from the left side of the editor:

These were the ways in which you can customize the WooCommerce Shop Templates.
In addition to these options, you can also use the sitewide options from the “Appearance” section of your WordPress admin dashboard. We have a separate article about how to use those, which you can find linked here.
If you need more information about Thrive Theme Builder and WooCommerce, you can find more resources in this section of our knowledge base.
You might also be interested in the following articles, similar to this one:
-
How to Customize a WooCommerce Product Template in Thrive Theme Builder
-
How to Customize a WooCommerce Checkout Template in Thrive Theme Builder
-
How to Customize a WooCommerce Account Template in Thrive Theme Builder
-
How to Customize a WooCommerce Cart Template in Thrive Theme Builder
-
How to Customize a WooCommerce Product Categories Template in Thrive Theme Builder
I hope this article was useful for you. If that’s the case, please rate it with a smile below.