When editing a Thrive Theme Builder theme and its templates, you might have stumbled upon some of these terms, and it might not be that clear what each of them means.
Keep reading this article if you want to see what the “Template Settings”, “Content Area”, “Content Wrapper” and “Layout Container” are, and how you can customize each of them.
When editing a template in the Thrive Theme Builder editor, you can select each of the elements or the sections, to customize them using the options from the left sidebar. When you select any element, you will notice some items appear in the breadcrumbs path.
For example, if I click on the “Featured Image” element, in the editor, this is how the breadcrumbs path will look like:

When you click on each of these breadcrumbs items, some different settings will appear in the left sidebar.
To showcase these items better, I will use a different background color for each of them.
Please take a look at this article if you want to see how to change the background color of any element or section, using the “Background Style” option.
1. Template Settings
The name of the very first item of the breadcrumbs will be the name of the template, followed by “Settings”. In my case, the name of the template is “My Template”, so the first item of the breadcrumbs will be the “My Template Settings” item:

If you click on that, you will be taken to some general “Layout and Visibility” settings of the template:
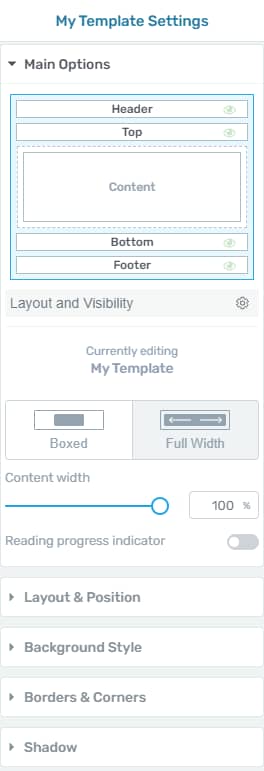
This article goes into more detail about how you can customize the layout of a template, so make sure to check it out, should you need more in-depth information.
If I change the color of the background while editing the “My Template Settings” item of the breadcrumbs, this is how the template will look like:
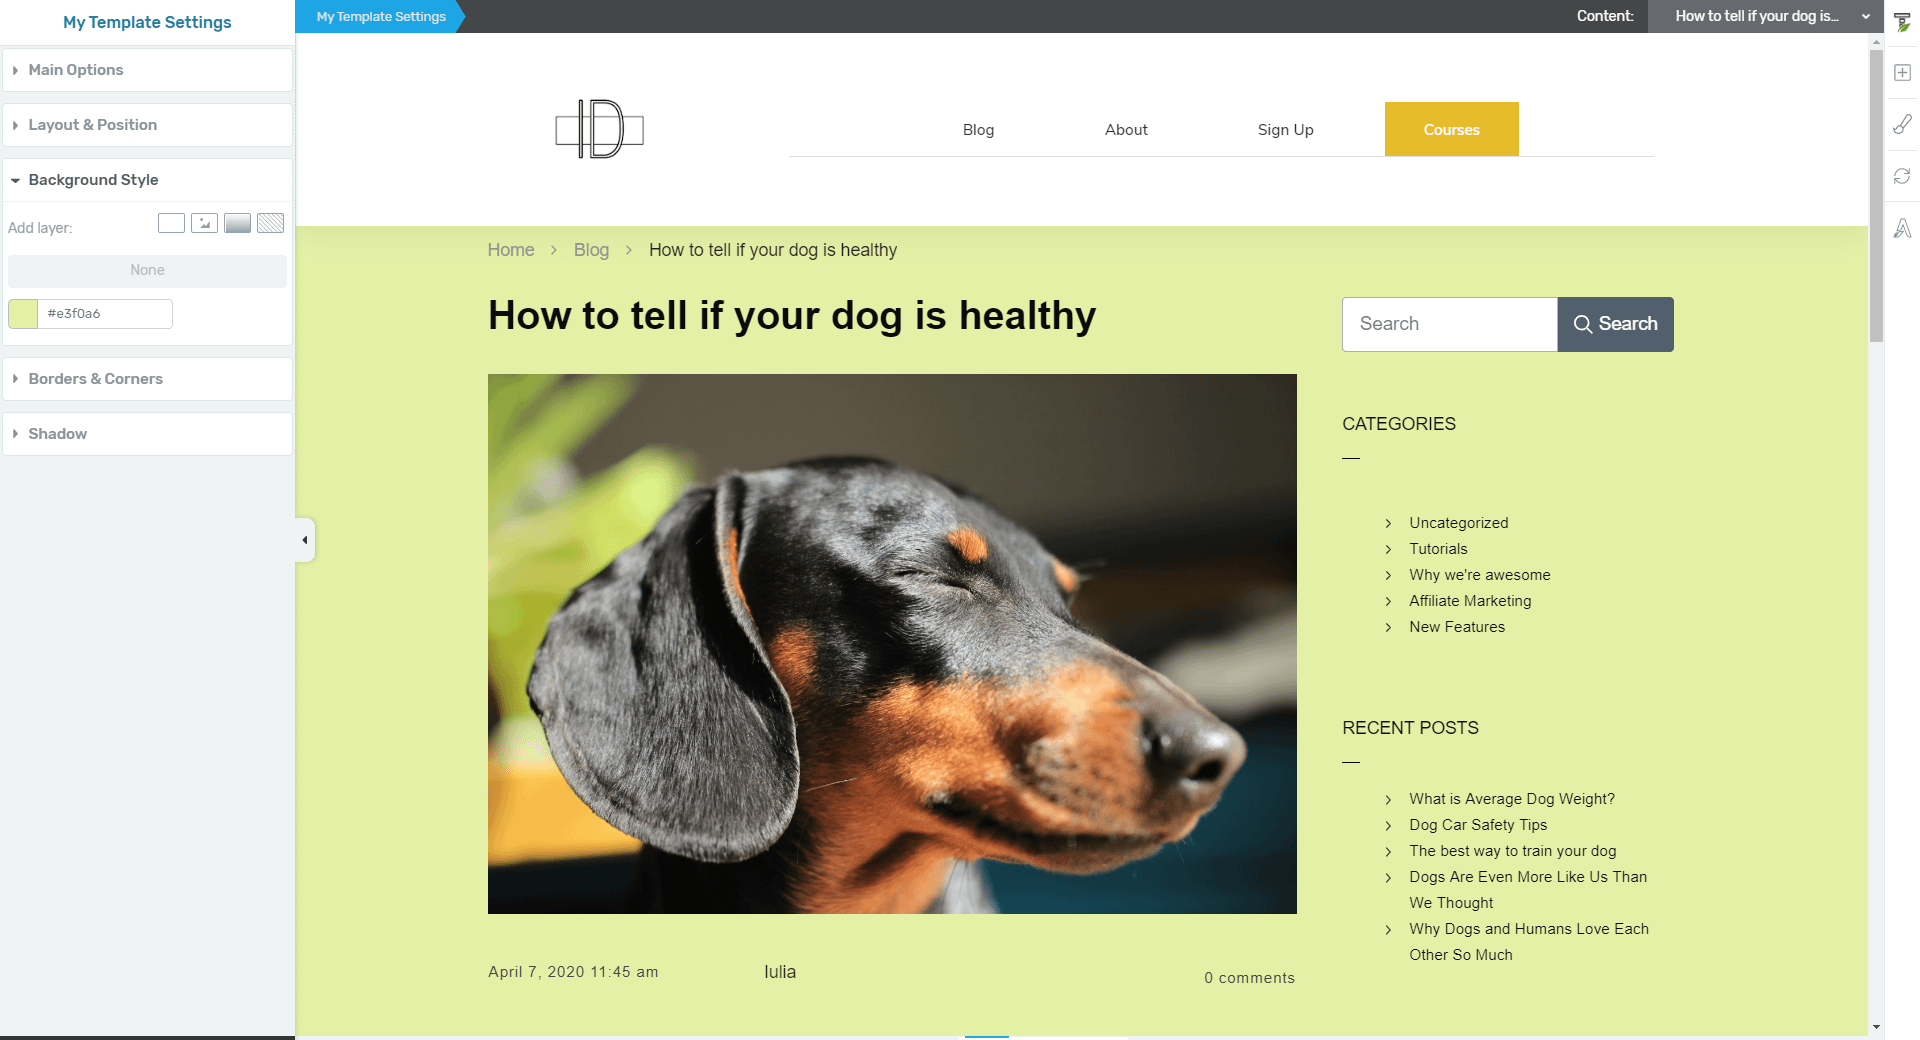
The color has changed for the entire template, except for the “Header” and “Footer” sections. This is because, if you want to change the background color of these two sections, you will have to access the “Edit Mode” for each of them.
You can find more details about how to customize the two sections in the separate articles that we have created about them, linked above.
2. Layout Container
The next item of the breadcrumbs path is the “Layout Container” one:

Once you click on this one, you will notice that, in the left sidebar, you also have the same “Layout and Visibility” options, as you had in the case above:
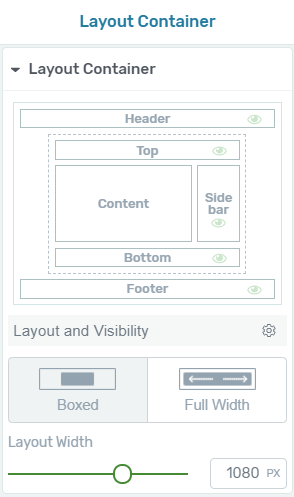
Modifying the “Layout Width”, for example, will have the same effect if you do it from here, just like if you were to modify it from the “My Template Settings”.
However, should you modify the background color, for example (or any other option from the general options of the left sidebar), the results will be different. I’ve changed the background color of the “Layout Container” to a light orange color:
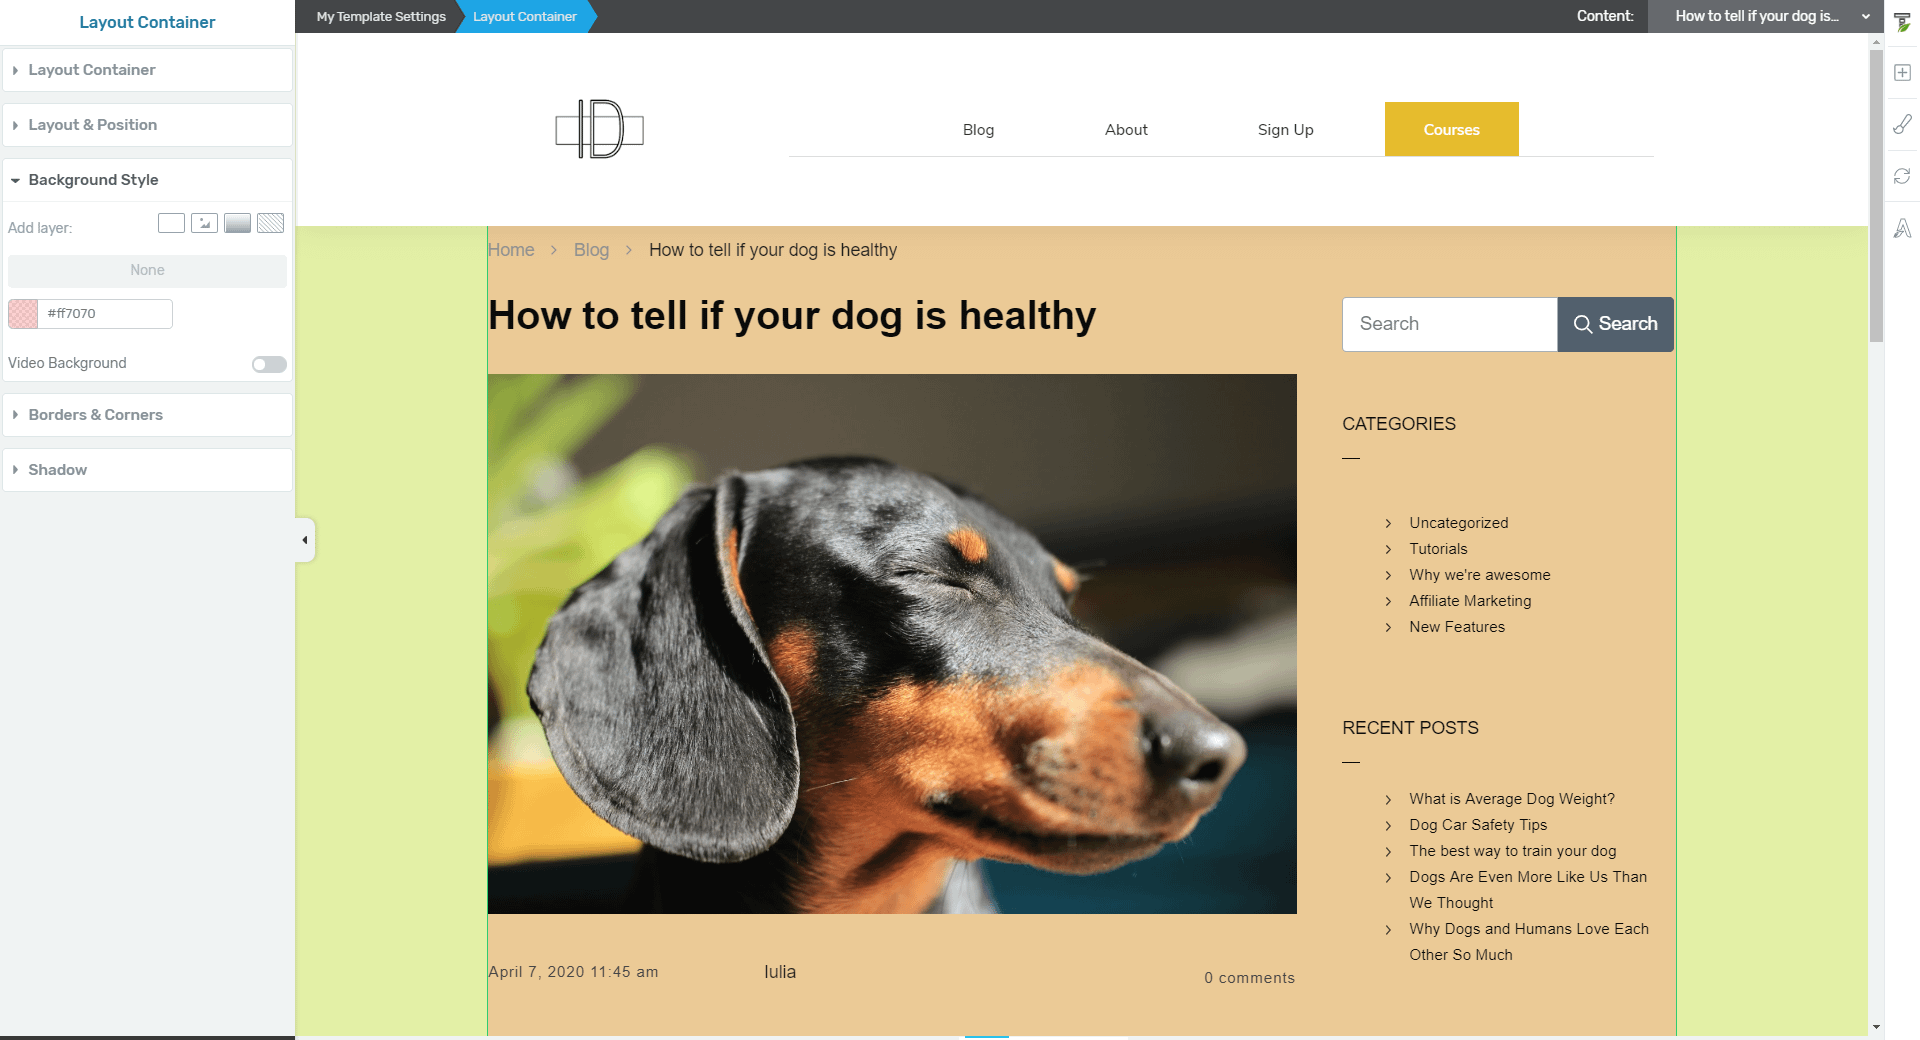
You can now easily see the difference, compared to the yellow color that I have previously applied, and where the “Layout Container” expands. Remember that the “Layout Container” will include the “Content Wrapper”.
3. Content Wrapper
The next item of the breadcrumbs path is the “Content Wrapper”:

This one comes with some options of its own. We have a separate article, here, that explains how to use all of the options that open in the left sidebar when you click on this item:
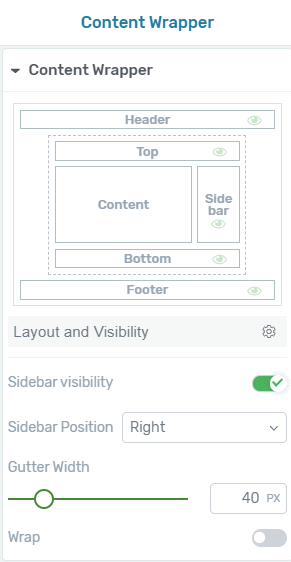
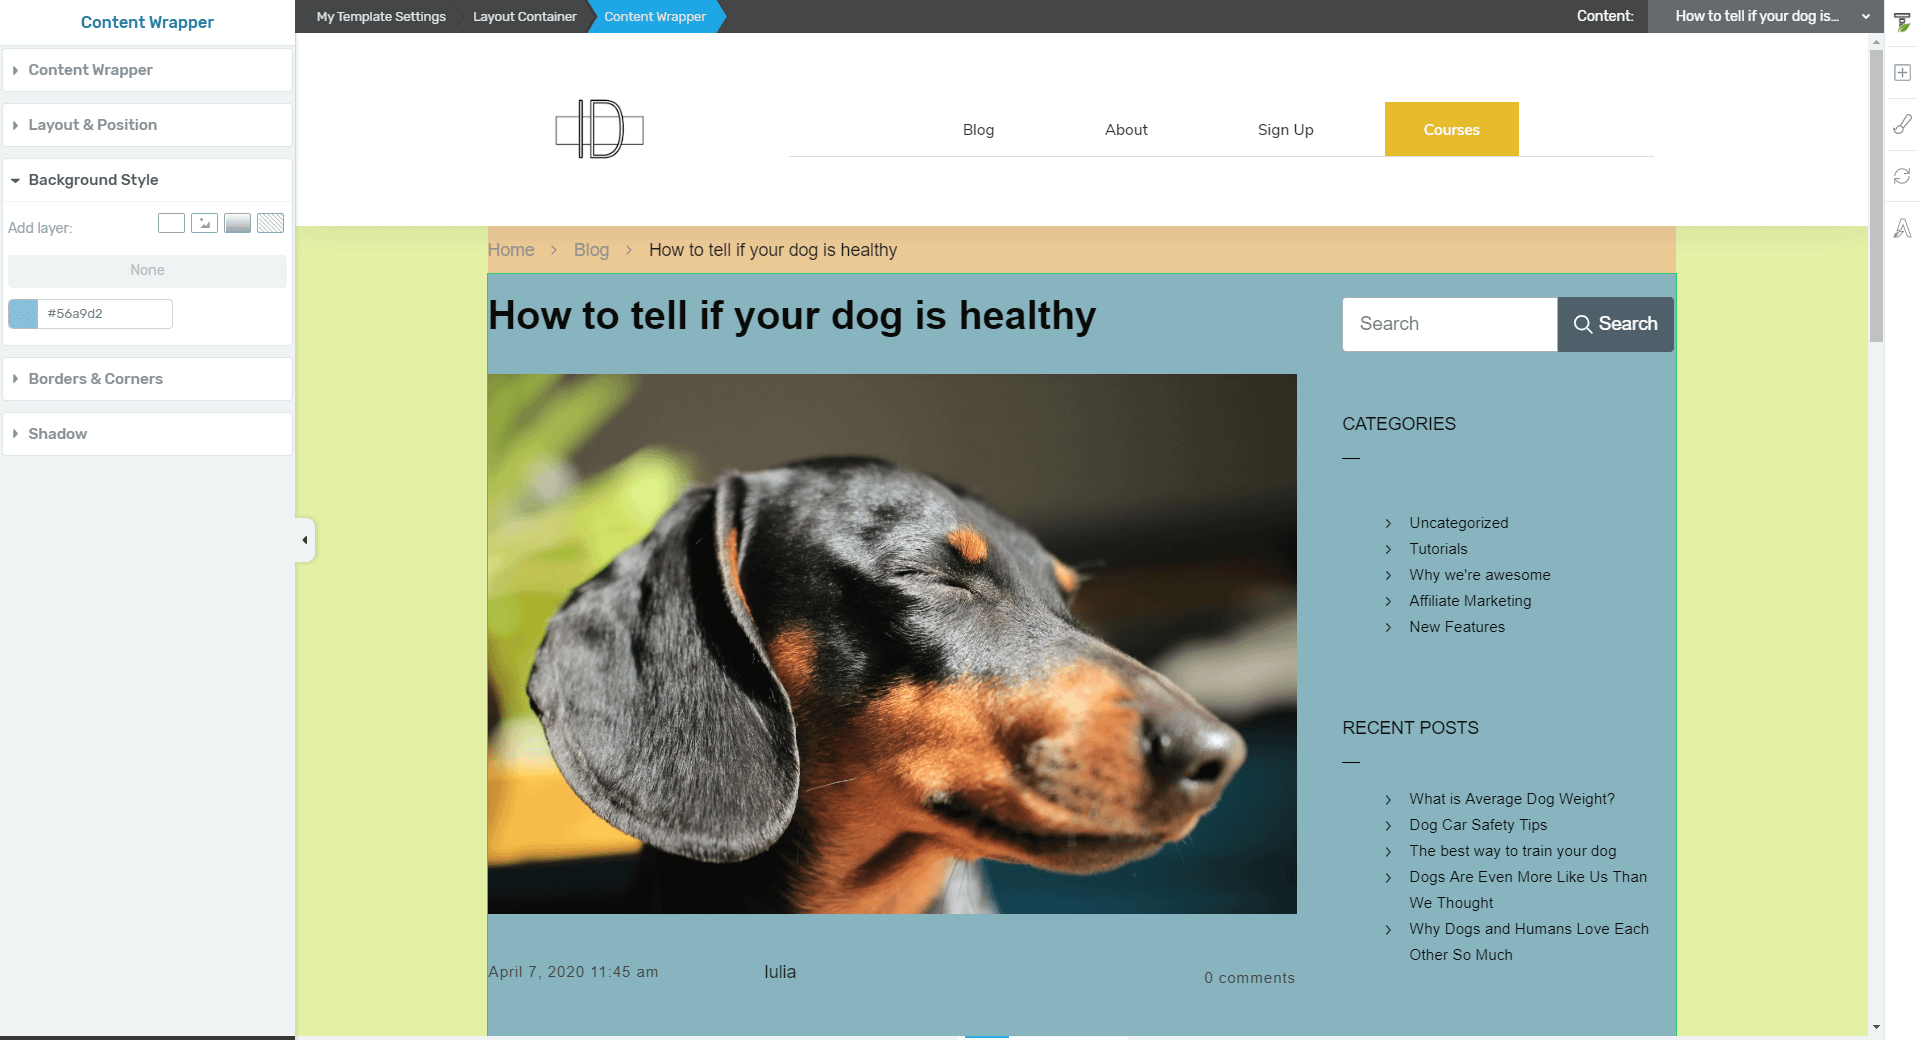
The “Content Wrapper” includes the “Content Area”, and it represents the space where the actual content of the post/page will be, as well as a “Sidebar” section if the template has one.
The “Content Wrapper” does not include the “Top” section, nor the “Bottom” section of the template. To continue the example with the background color, if you change it while editing the “Content Wrapper”, this is how the template will look like (I have chosen a light blue color for it):
4. Content Area
Next, we have the “Content Area” item of the breadcrumbs:

This represents the section where the actual content of the page or post will be. This, too, comes with some options of its own, in the left sidebar:
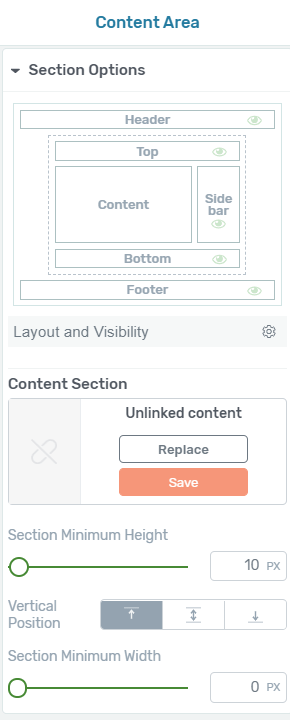
If you need more information on how to use each of these options, please make sure to read this article, which explains how to use this section.
Again, for a better understanding of what this area contains, exactly, I have changed its background color into a light red color:
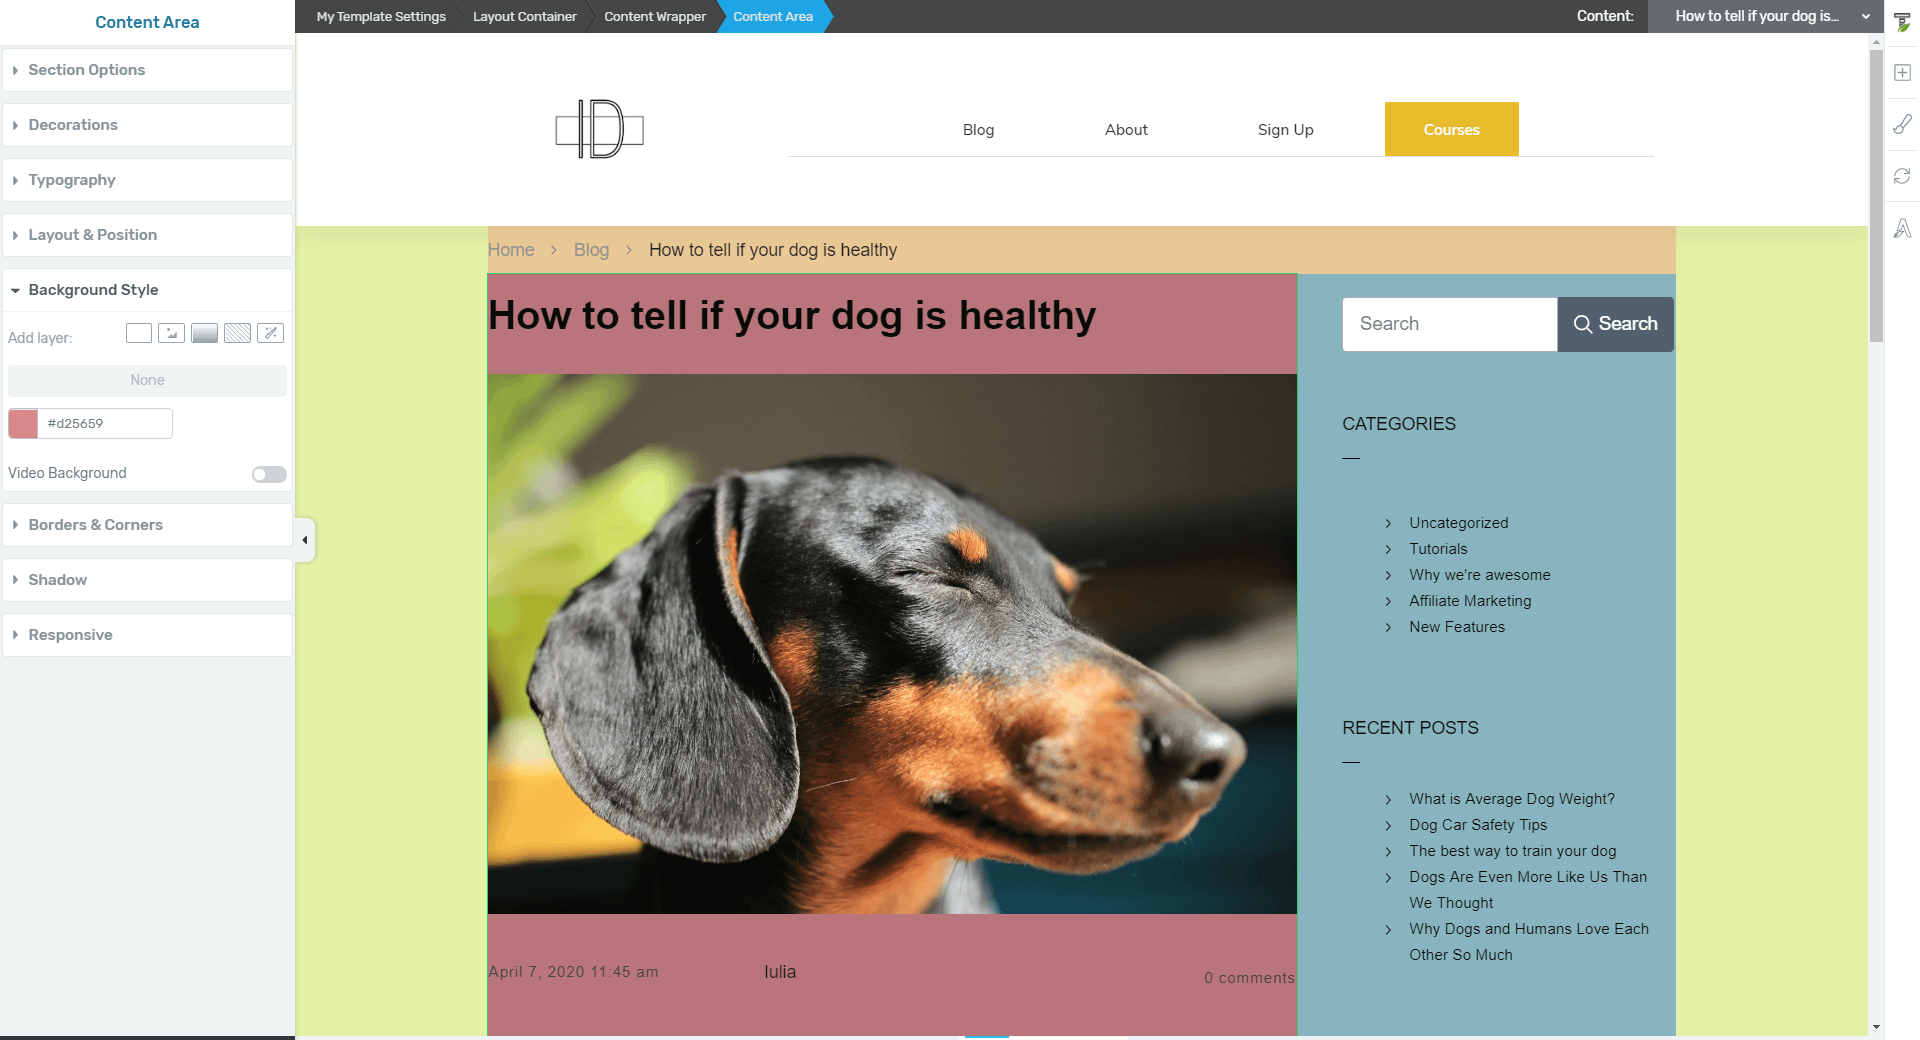
You can think of it like this: the “Layout Container” includes the “Content Wrapper”, which is made out of the “Content Area”, as well as the “Sidebar”, if the template also has a “Sidebar” section.
As a sum up, here are the four sections, with different background colors:


The sections and their colors are as follows:
- Yellow – “My Template Settings”
- Orange – “Layout Container”
- Blue – “Content Wrapper”
- Red – “Content Area”
Note: Another thing that can be easily confused in these sections, is the “Post Content” element. Keep in mind that this is a stand-alone element, with the help of which, content can be added into page/post templates. Please take a look at this tutorial, for more information about this element.
I hope this article was useful to you. Don’t forget to check out the rest of the tutorials and articles from our knowledge base.