If you are thinking of ways in which you can promote free resources, such as e-books, guides, and other digital downloads to your website visitors, then your sidebar might be a good place to start.
In this article we’ll have a look at how you can use the “Post List” element and custom post types to display these resources in your sidebar.
Make sure you check out this article from our knowledge base that explains how to create a template for a custom post:
Create a Custom Post Type
First, I’ve made sure to install and activate the Custom Post Types UI plugin on my WordPress website:
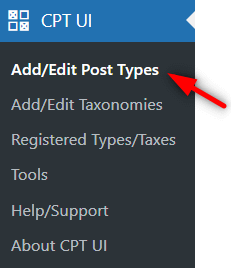
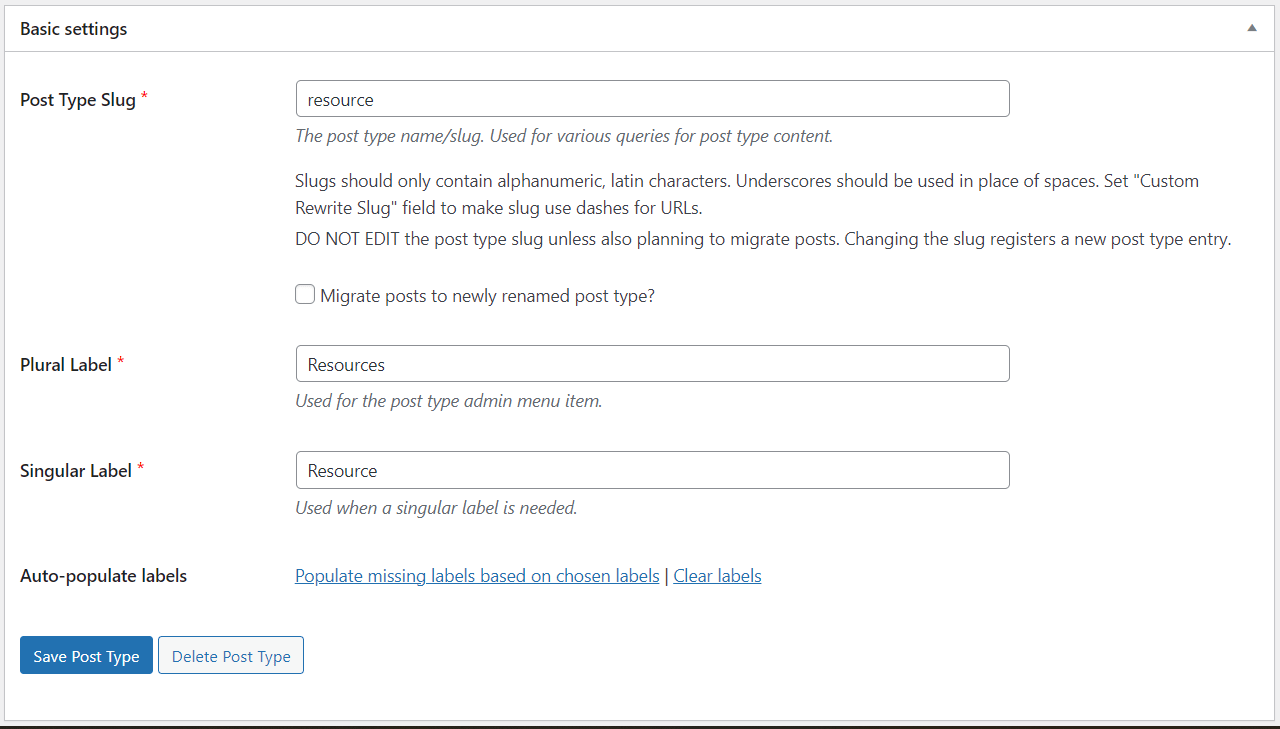
I’ve created a “Resources” custom post type using the options that became available in the WordPress admin dashboard:
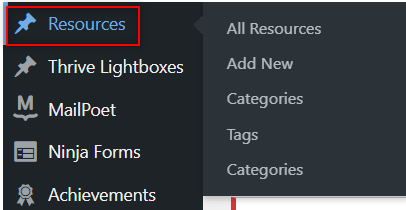
From this point onwards, the newly added custom post type will be listed in the WordPress admin dashboard:
Before we start creating our resources posts, let’s set up the template in Thrive Theme Builder.
Create a Custom Post Type Template in Thrive Theme Builder
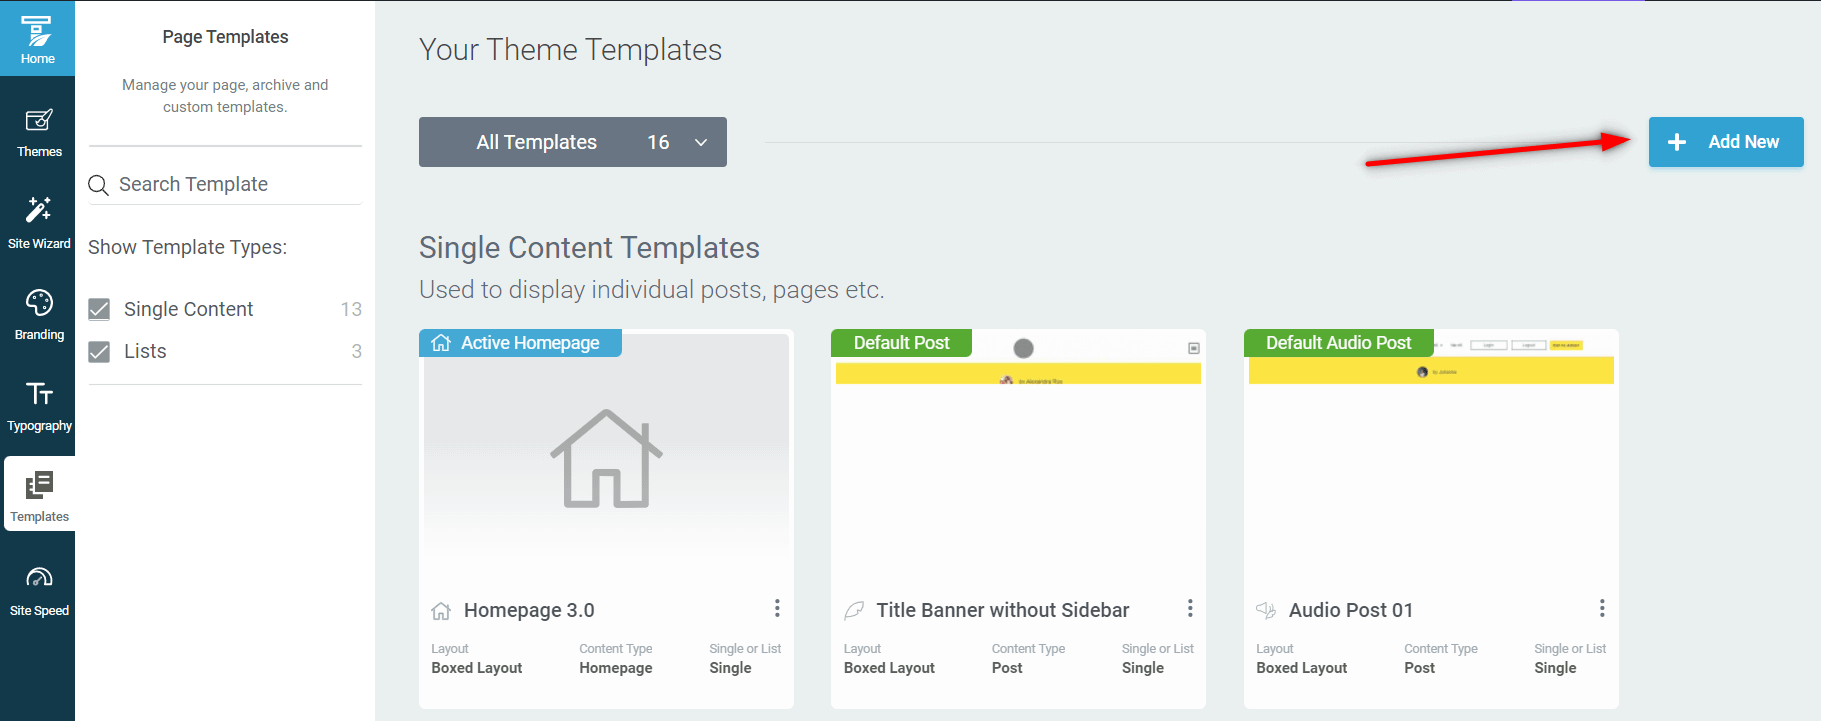
Access the template manager of Thrive Theme Builder and add a new template:
This section of our knowledge base might come in handy if you need to learn more about adding and customizing Thrive Theme Builder templates:
Type in a name for your template, and select the “Single” type:

The newly created “Resources” custom post should appear in the following drop-down list. Select it:
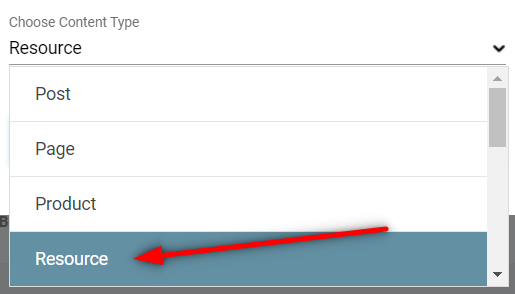
Finally, decide if you want to build your template from scratch or use a ready-made design:

Once this is done, the new template will be listed in the templates library:
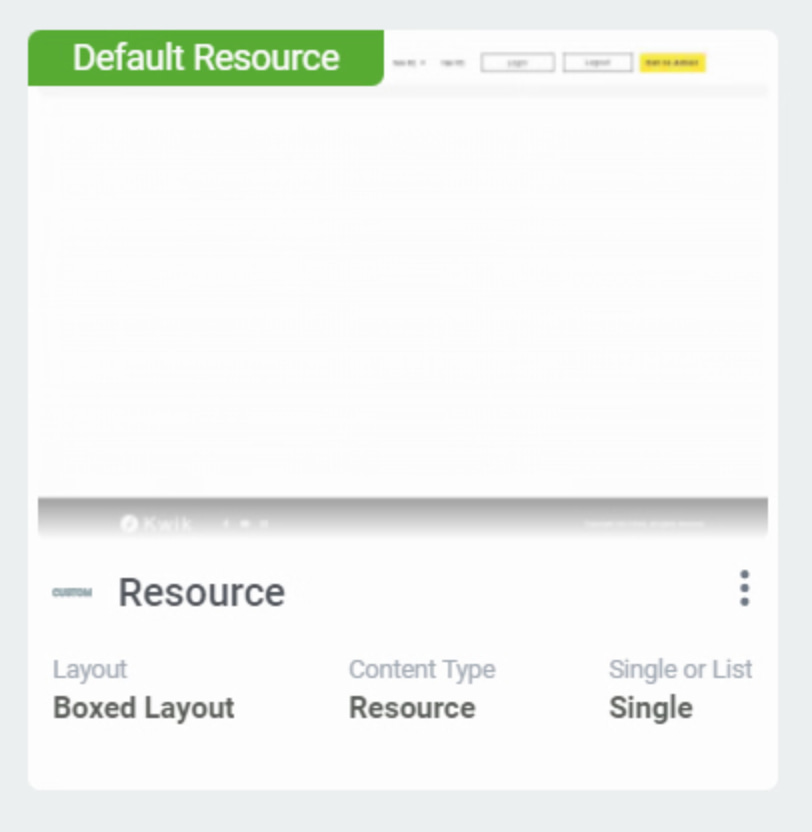
Apply the Template to Your Custom Posts
Now that you have your template created, you can apply it on the custom posts. Add a new resource from your WordPress admin dashboard:

Proceed in the same manner as when you are adding a new page or post:

Under the “Theme Builder Templates” make sure you select “Resource”:
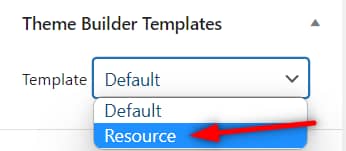
This is the template that you’ve just finished setting up in your template manager.
Proceed with working on your custom post and don’t forget to save and publish it when done.
Configure the ‘Post List’ Element
Lastly, access the template on which you plan to display the custom post types. I’ll be using my default post template:
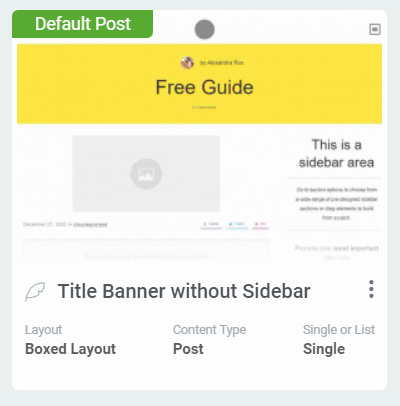
If you want to display the resources in the sidebar, make sure your template has a sidebar and that it’s visible:

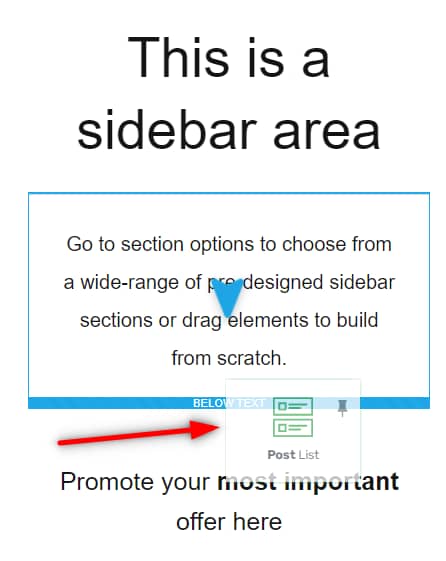
Proceed with adding a “Post List” element to it:
Choose template:
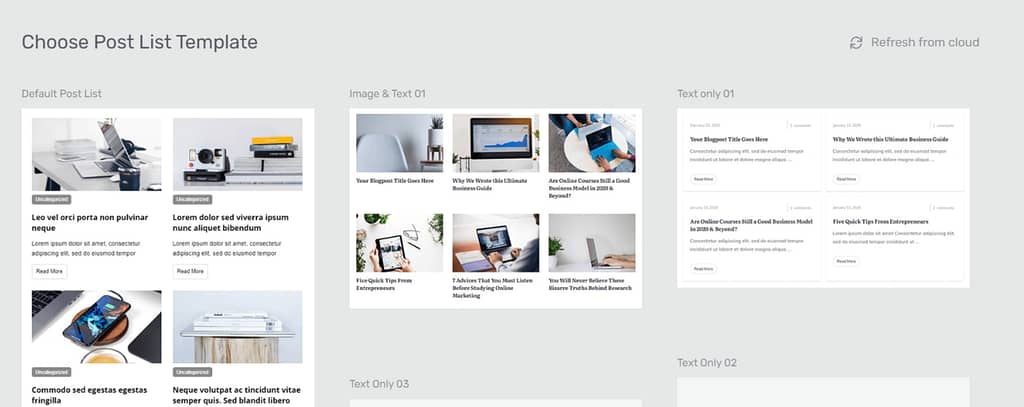
By default, the “Post List” element will display published posts form your website:
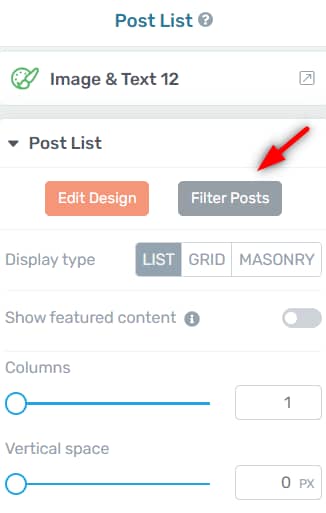
In order to make sure it displays the resources custom post types, click on the “Filter” button of the left sidebar list of options:
Finally, make sure only the “Resources” content type is selected in the “Content to display” drop-down list:
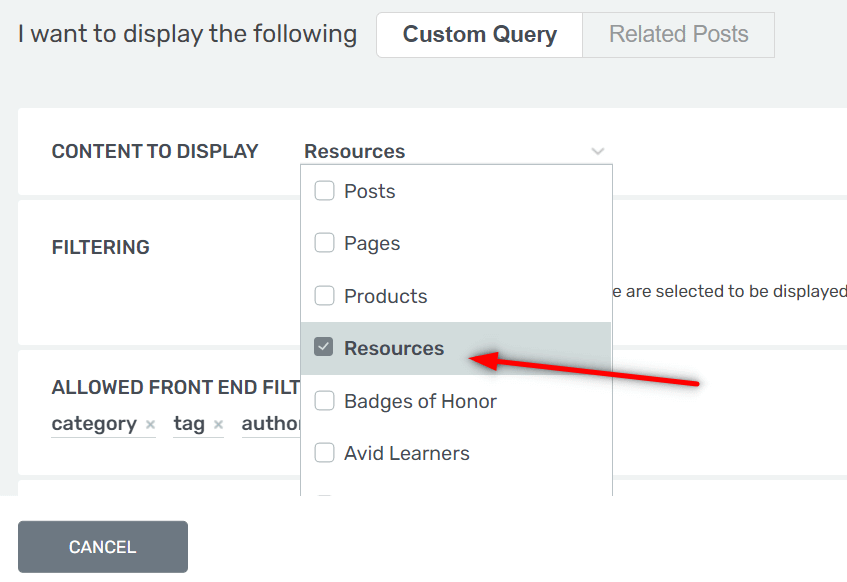
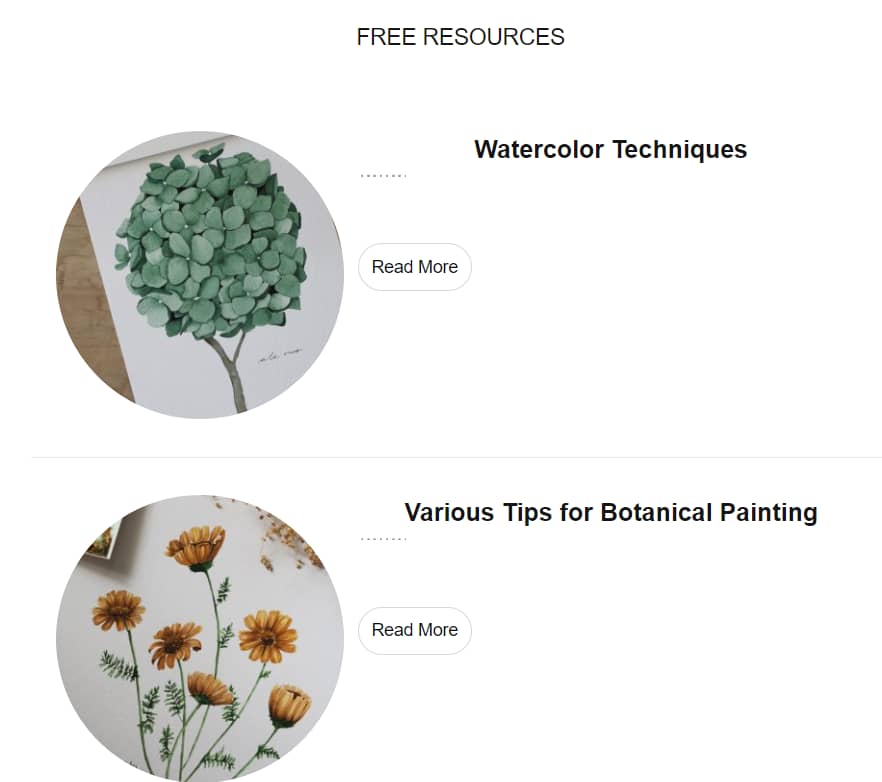
Your “Post List” should now display the resources custom post types:
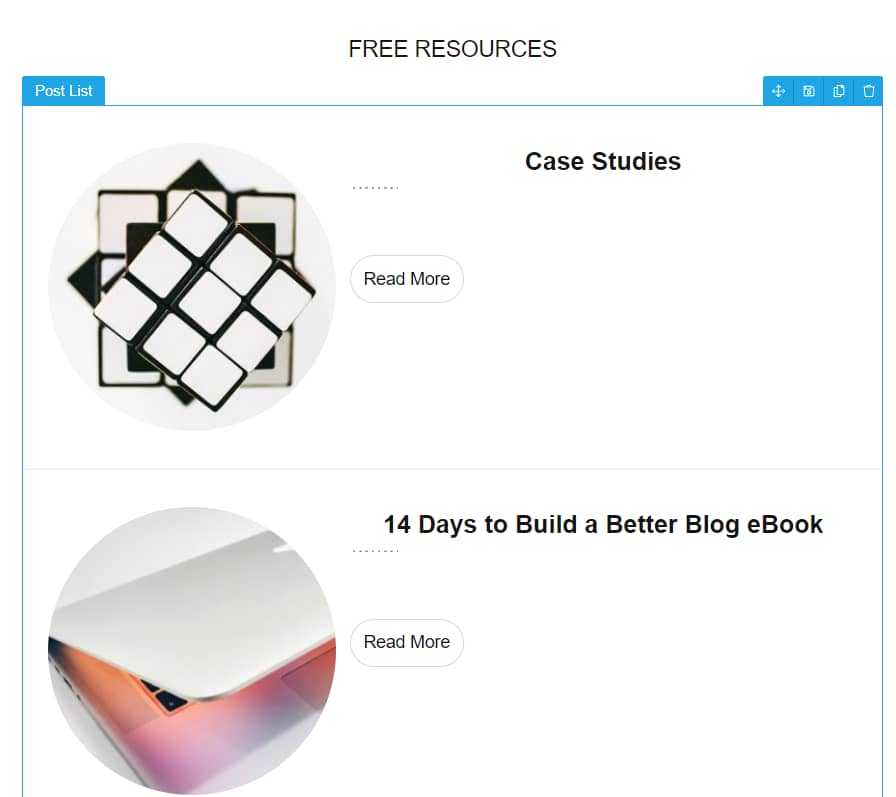
This is how easily you can use the “Post List” element and custom post types to display free resources in your sidebar.
I really hope this quick guide was useful to you. Make sure to rate it with a smile below if that was the case, and don’t forget to check out our knowledge base for other articles of this type: