This article will show you how to start editing content with Thrive Architect.
Editing a New Page/Post
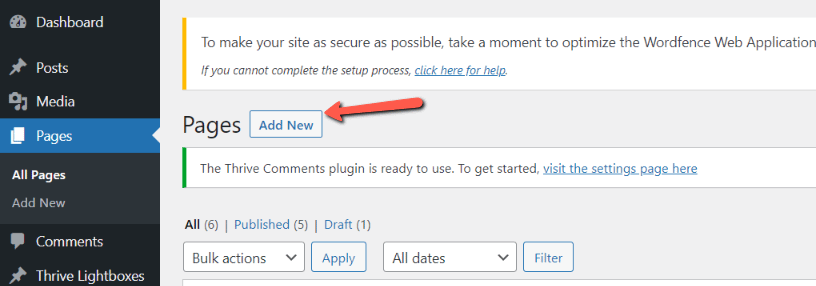
For that, head over to your WordPress admin dashboard, and access the “Pages” or “Posts” section:

After you do that, click on “Add New” in order to add a new page or post. For this example, I will be adding a new page:
Go ahead and give it a title:

There are two things you can do next: you can either go into the Thrive Architect editor and start working on it and save it as you go, or save it as a draft and then launch Thrive Architect:

I’ve saved mine as a draft first:

And then I launched the Thrive Architect editor:

The next step in the process is selecting what kind of page you would like to create:
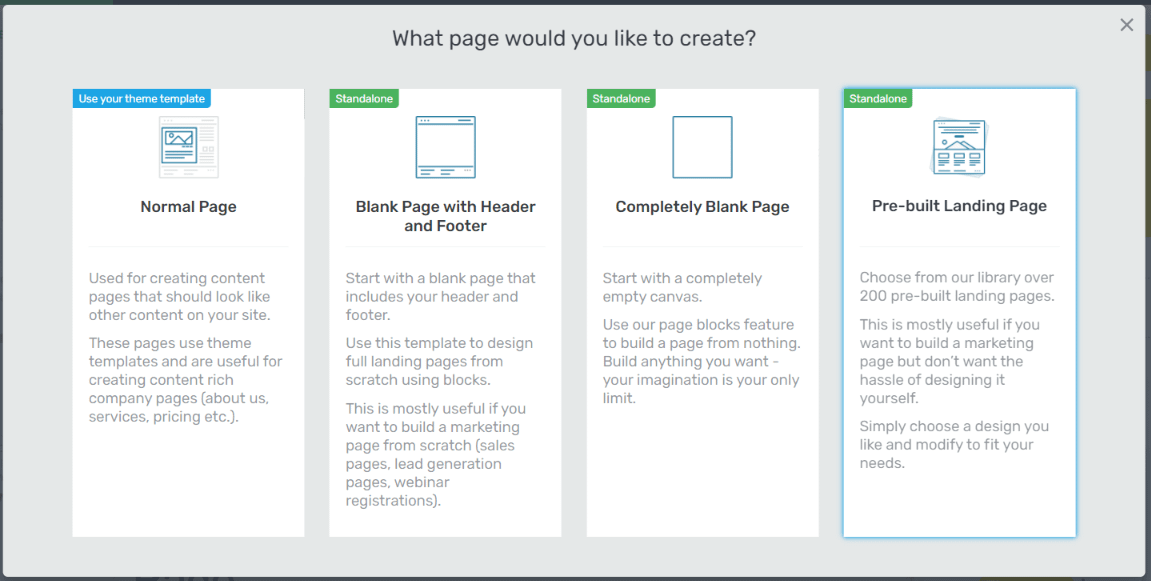
Here are some articles that you might find useful if you want to learn more about the types of pages you can choose from:
- How to Load a Thrive Architect Landing Page
- The Differences Between a Normal Page and a Landing Page
Let’s say you decide to go ahead with a pre-built landing page:
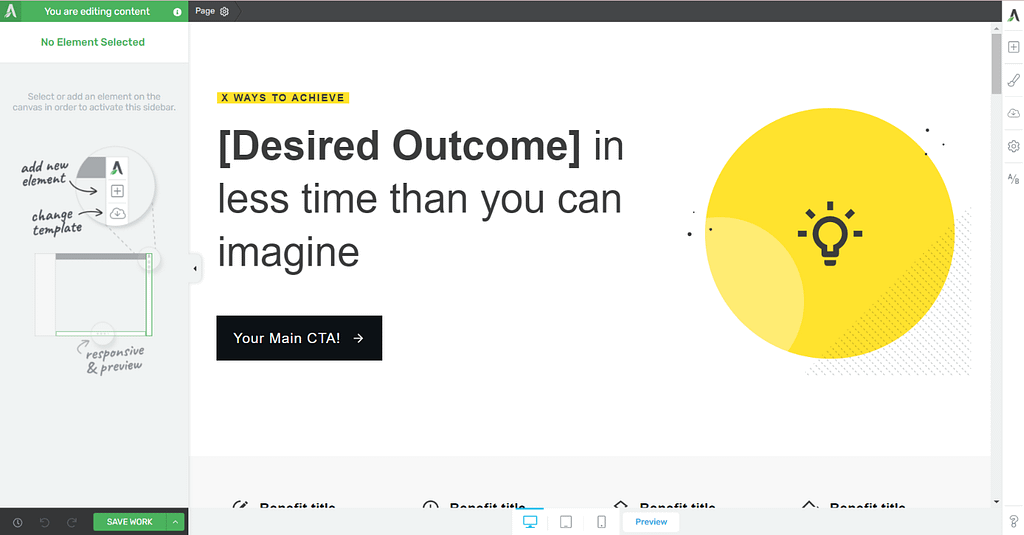
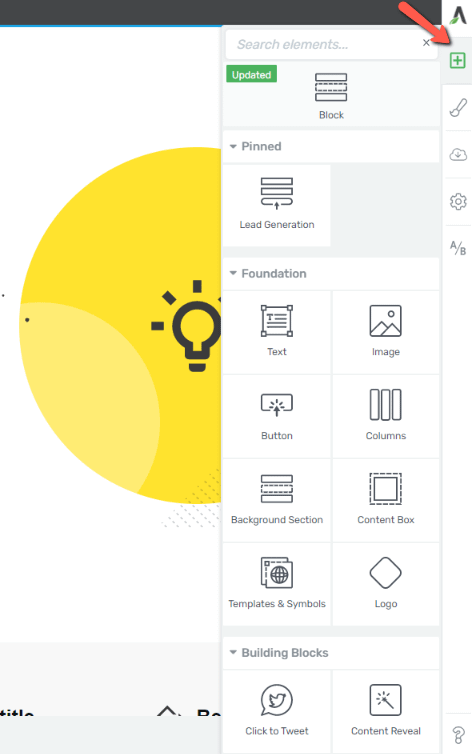
As soon as the page loads on your screen you can start making changes and customizing it to your liking, using the right sidebar list of elements:
Editing an Already Existing Page/Post
If, for example, you want to start editing content on an already existing page or post, here are the steps you need to take,
From the same WordPress admin dashboard, access the “Posts” or “Pages” sections:

Let’s access the “Posts” section this time:
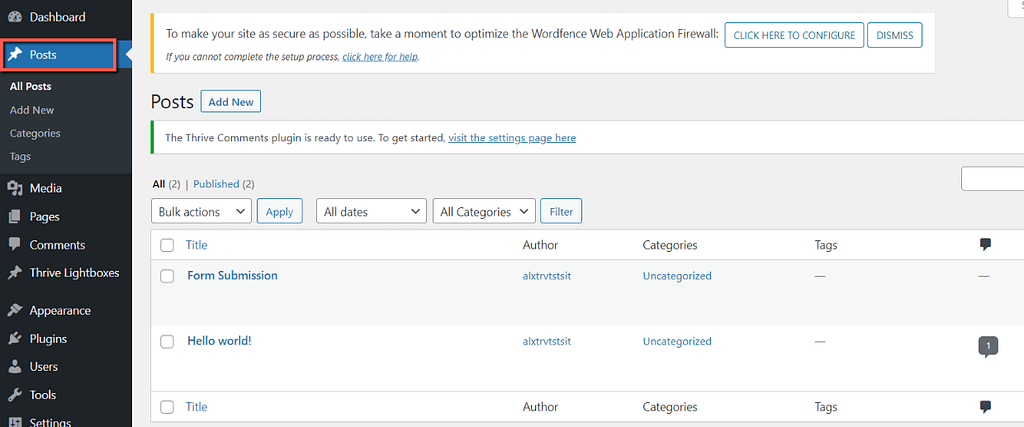
Next, simply hover over the post you would like to edit and click on the “Edit with Thrive Architect” option that appears on hover:

This will trigger the editor and you can start working on your content in Thrive Architect.
If, for example, the option does not show up when you hover over a page or post, don’t worry. There’s an explanation for that.
It might be that the user access for editing with Thrive Architect has not been granted for your role.
Here’s an article about how to check and solve this:
Hopefully this quick tutorial was useful to you. You can also check out the video detailing the steps described above:
Lastly, if you enjoyed this article, make sure to give it a smile and also, sign up for our tutorial newsletter, if you want to stay up to date with the latest articles added to our knowledge base.