Do you want to add dynamic data along with the lead information you receive through your form fields? The Smart Complete feature lets you automatically fill in fields with data you already know, helps you sort users more accurately, and lets you gather more up-to-date information from them.
The Smart Complete feature can be used in the same way for each of the forms that you create with Thrive Architect elements, with Thrive Quiz Builder, and with Thrive Ultimatum.
In this article, we’ll see how you can enable and use the Smart Complete feature in a Lead Generation element on your website.
- Accessing the Smart Complete Feature for a Field
- Selecting and Setting Up the Variable Type
- Hiding a Field if the Value Exists
- Setting a Default Value
Accessing the Smart Complete Feature for a Field
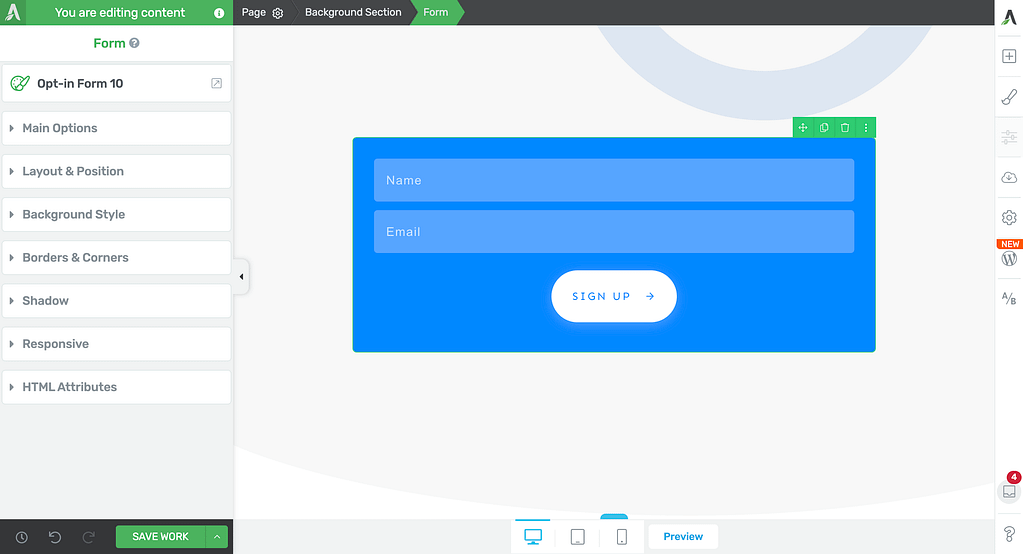
Since we’ll be using a Lead Generation element in this article, please ensure you have a Lead Generation element added to a page.
When in the editor, click the Lead Generation element to open its options in the left column.
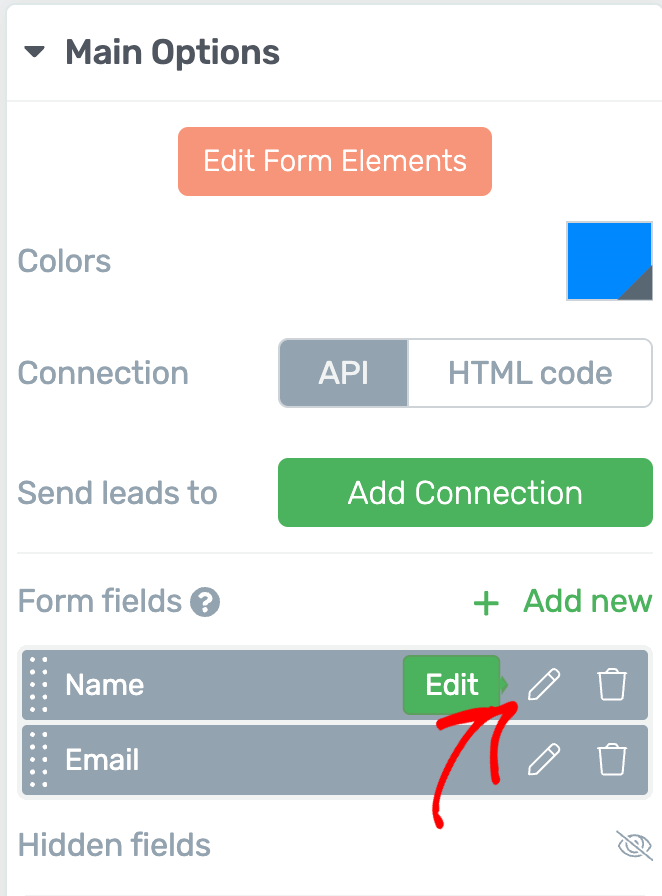
In the left column, under Main options, hover on the field you want to add the smart complete feature to and click the pen icon.
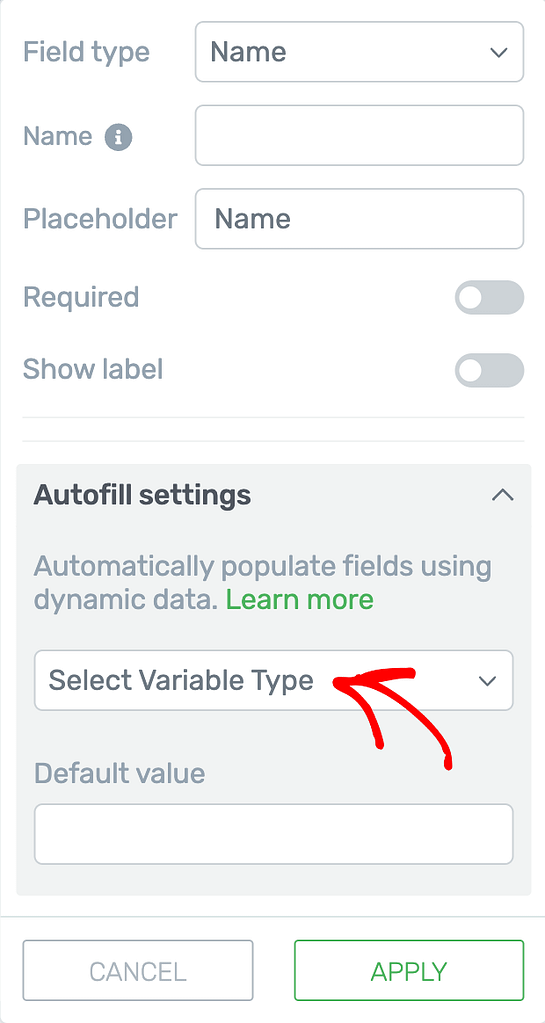
When you click edit, scroll down and click to open the Autofill Settings of the field.
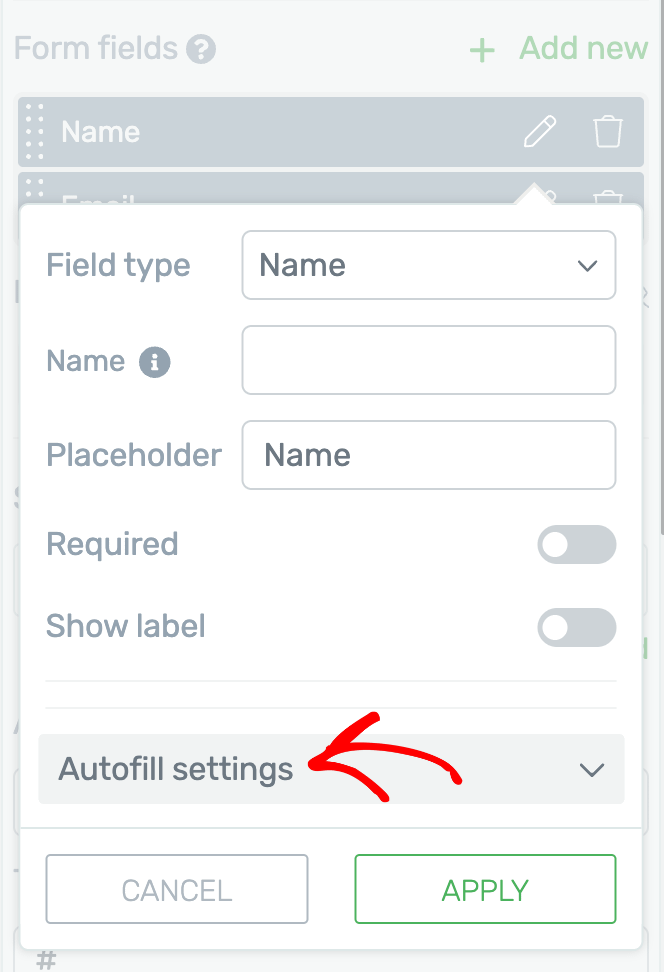
Clicking Autofill settings while editing a field will open the settings we’ll be learning about in the following sections of this article.
Selecting and Setting Up the Variable Type
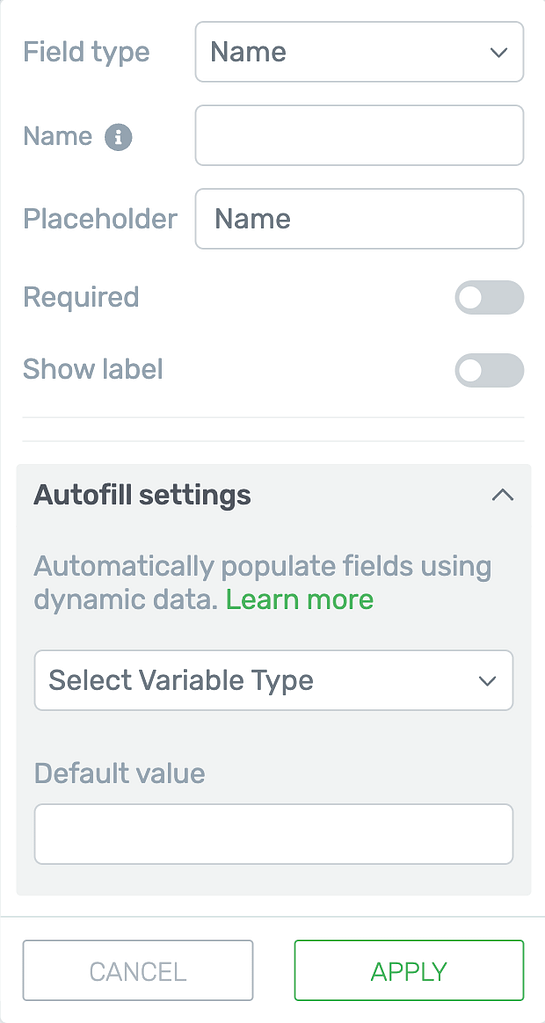
Variable types determine what dynamic data will be automatically filled in when a user completes the chosen field in the Lead Generation element.
So, to select a variable type, click on the dropdown that says Select Variable Type.
Opening the Select Variable Type dropdown will show up the list of variables you can select from.
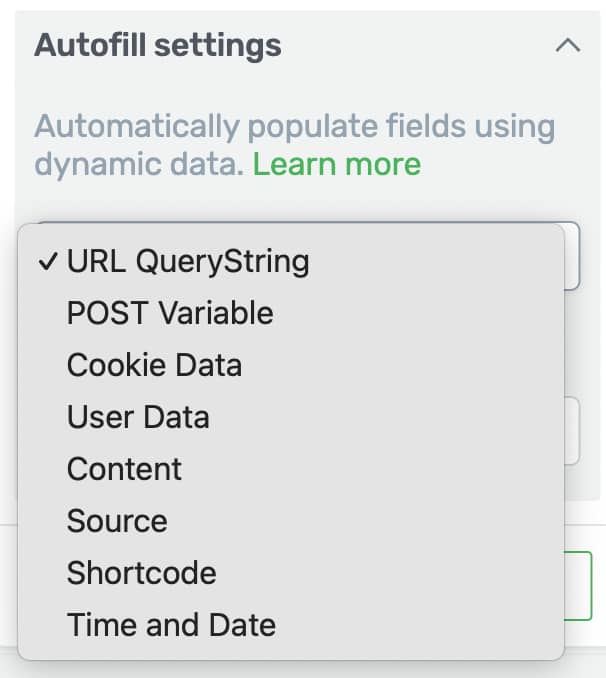
URL QueryString
The “URL QueryString” variable type can be used when you want a form field to be filled automatically using information from the page’s link (URL).
This is helpful if you want the form to know some information about the user (like their city, name, or anything else) based on how they arrived at the page without making them type it in.
To do this, you need to add the variable to the preview link of the page, by using this format:
&[variablename]=[variablevalue]
(without the brackets)
So, when you choose the “URL QueryString” variable type for a field, enter the Variable value from the link above into the Variable name field.
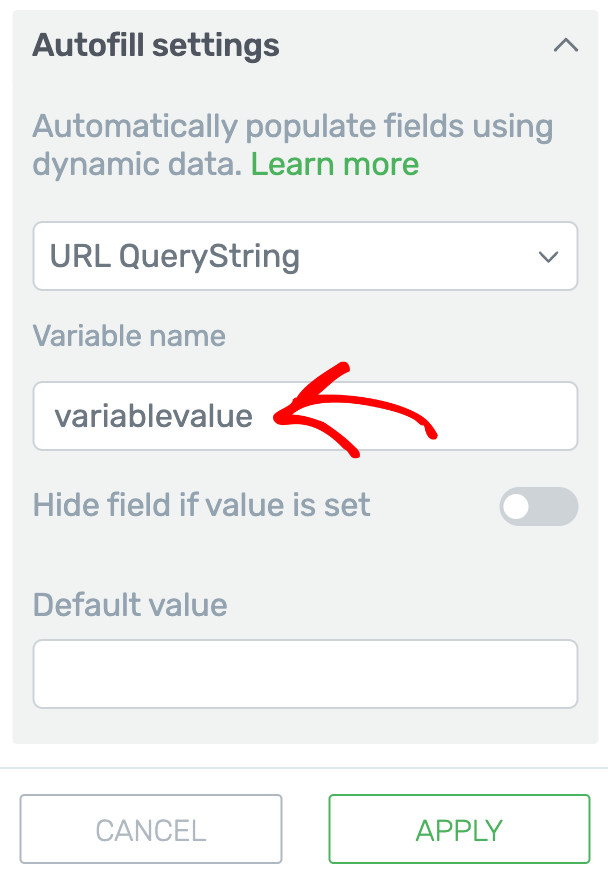
Once you finish this setup, click the Apply button.
After this setup, when a user submits the form, the field with “URL Query String” will be auto-filled with the value of the variable, just as you wanted.
POST Variable
This variable type is for getting data that is sent to the page through a POST request.
When someone submits a form on another page, or a system sends data directly to your page, it often uses a “POST request.” This is a way of sending information that isn’t visible in the page URL, but instead gets sent in the background.
If you know that a certain piece of information (like a user’s name or email) will be sent to your page this way, you can pick this variable type. The form will then automatically fill in the field with the value from the POST data, so the user doesn’t have to type it in themselves.
When you select the variable type as POST variable, enter the variable name in the next field.
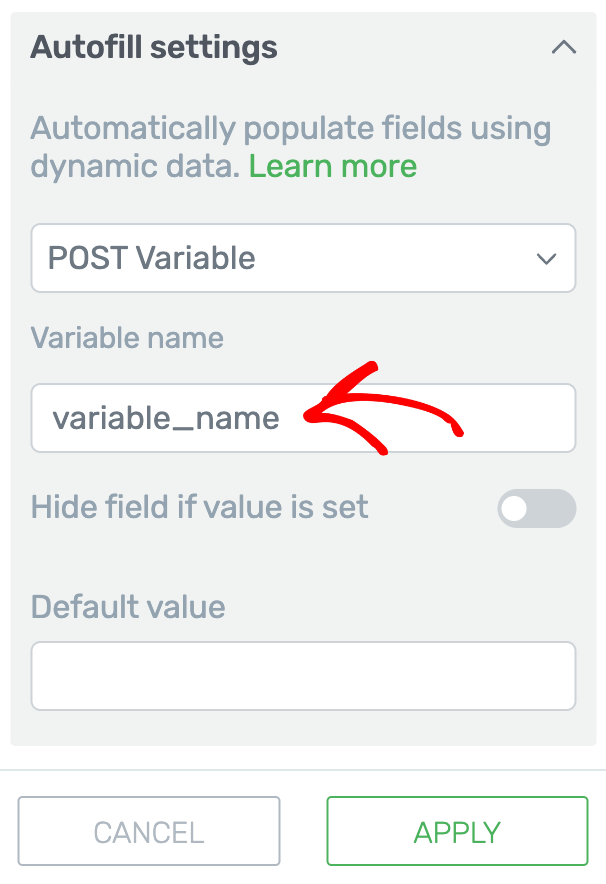
Once you finish this setup, click the Apply button.
If you set this up, the field will be auto-completed with the variable you have added when a user submits the form.
Cookie Data
The Cookie Data variable type can be used when you want the form to automatically fill in a field using information stored in the user’s browser cookies.
Cookies are small pieces of data that websites save in a user’s browser to remember things like their name, email, or preferences from previous visits. By choosing this variable type, you let the form use this stored information to fill out the field automatically, so users don’t have to enter it again.
After you choose the option from the list, type in the name of the variable in the “Variable name” field.
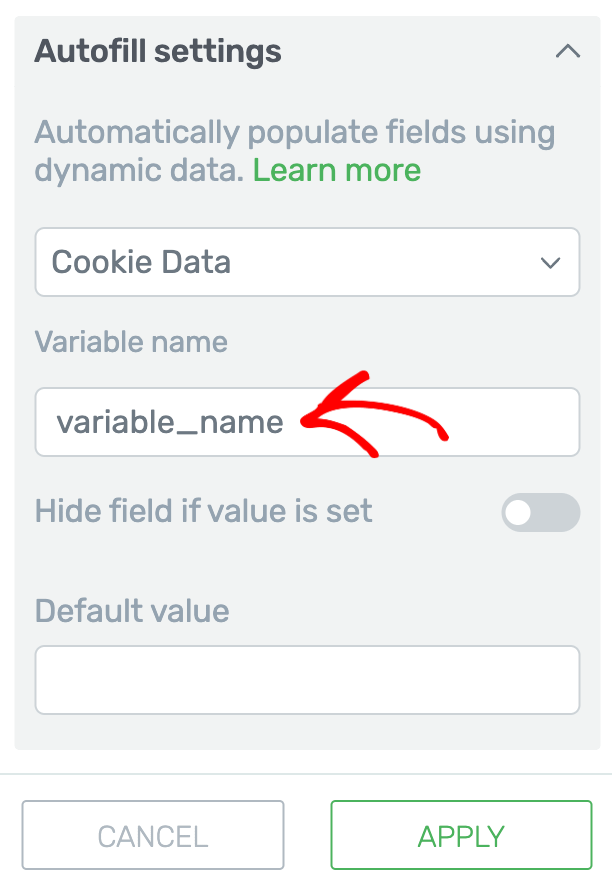
Once you finish this setup, click the Apply button.
If you need more information about what cookies are being used by Thrive Products, please take a look at this article.
User Data
The “User Data” variable type should be used when you want a form field to be automatically filled with information about the person completing the form.
We recommend you to use this type if you want the form to auto-fill with the user’s IP address, browser type, username, email address, or role, but only if the user is already registered on your WordPress site (found under the “Users” section in WordPress).
When you select User Data in the Variable type dropdown, click on the next dropdown field to select the user data.
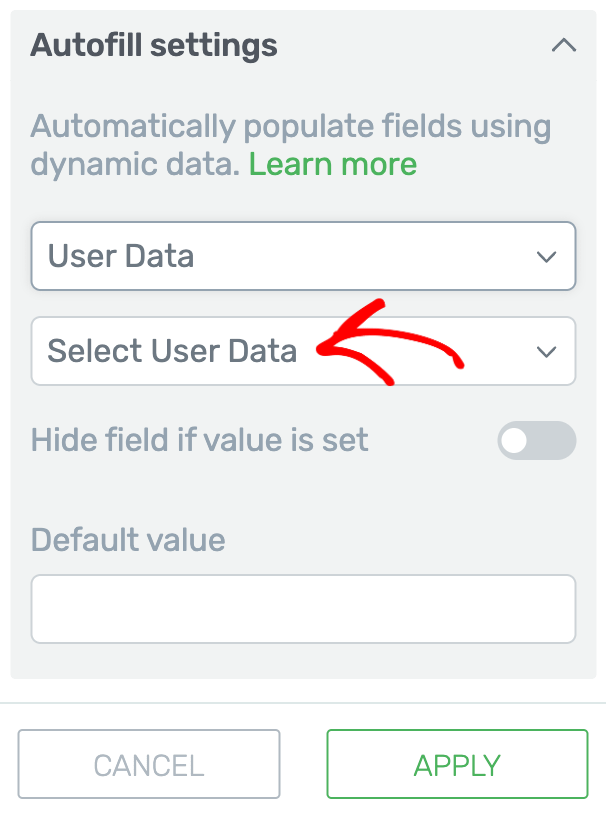
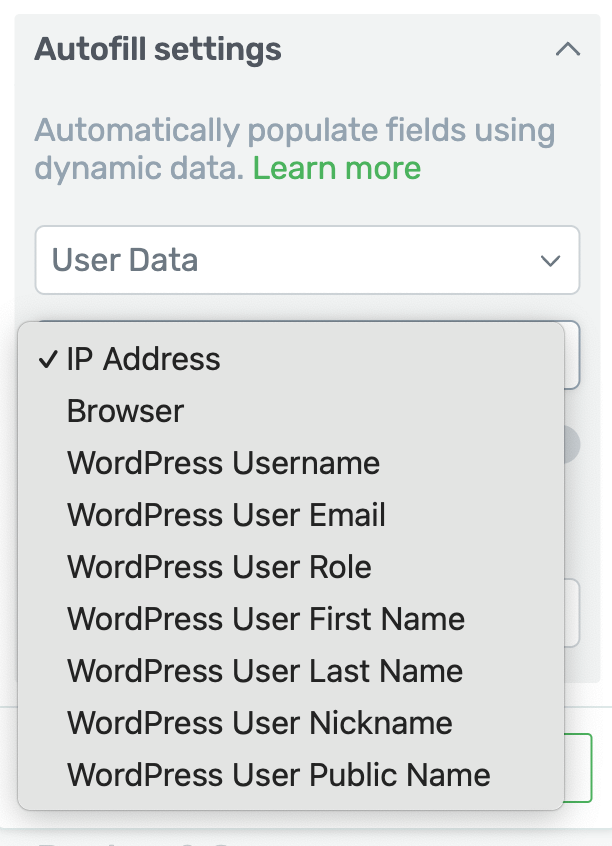
Clicking to select user data will display the list from which you can select the User Data you want to pass. You can select one among the following user data:
- IP Address
- Browser
- WordPress Username
- WordPress User Email
- WordPress User Role
- WordPress User First Name
- WordPress User Last Name
- WordPress User Nickname
- WordPress User Public Name
After selecting one of the user data from the list, click the Apply button.
Content
The Content variable type should be chosen when you want a form field to be automatically filled with details about the specific page or post where the form is located.
For example, you can set the field to show the:
- Page or post ID
- Title
- Content type (page or post)
- URL
After selecting Content as the variable type, click on the next dropdown to select the Content Value.
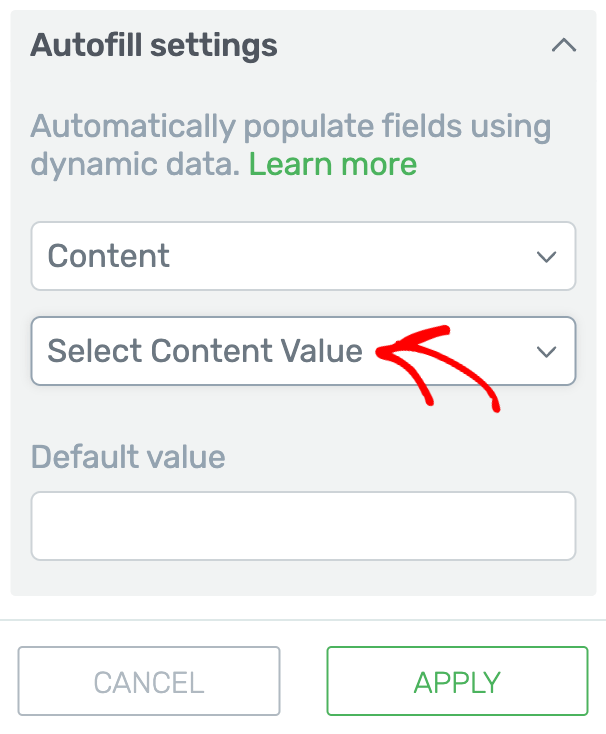
When you click on the dropdown, select the Content value from the ones that appear.
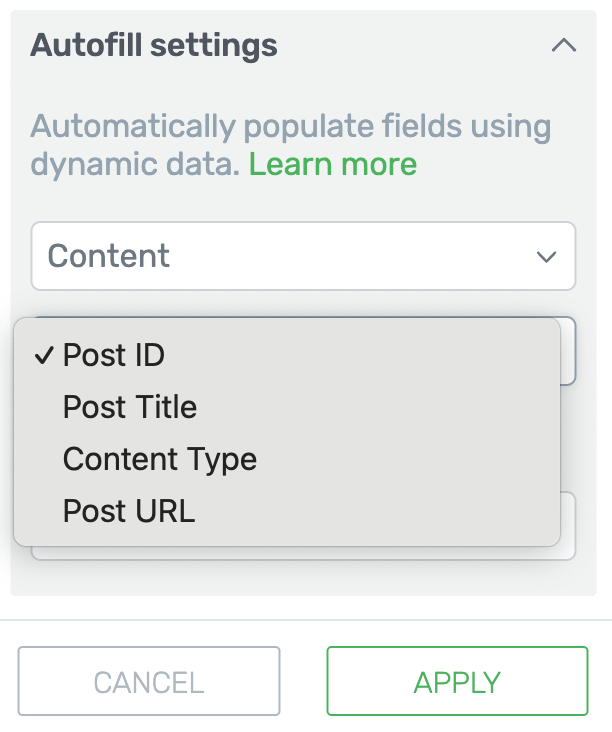
When you select the Content Value click the Apply button.
Source
You should select the Source Variable type if you want the form to automatically capture and display the URL of the page where the user came from before reaching and filling out the form.
This is useful for tracking how users found your page – by showing the “referring URL” in the form field.
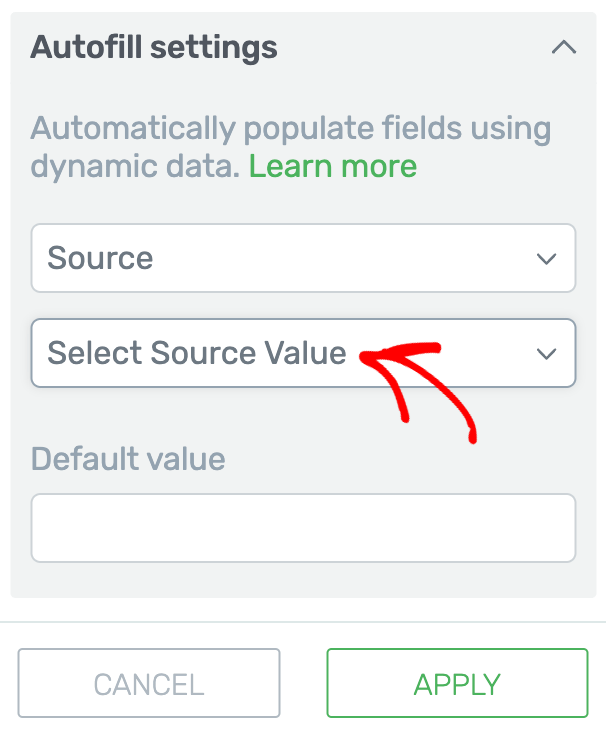
To set this up, select Source in the Variable Type dropdown and click on the next dropdown to select the source value.
In the source value dropdown select Referring URL.
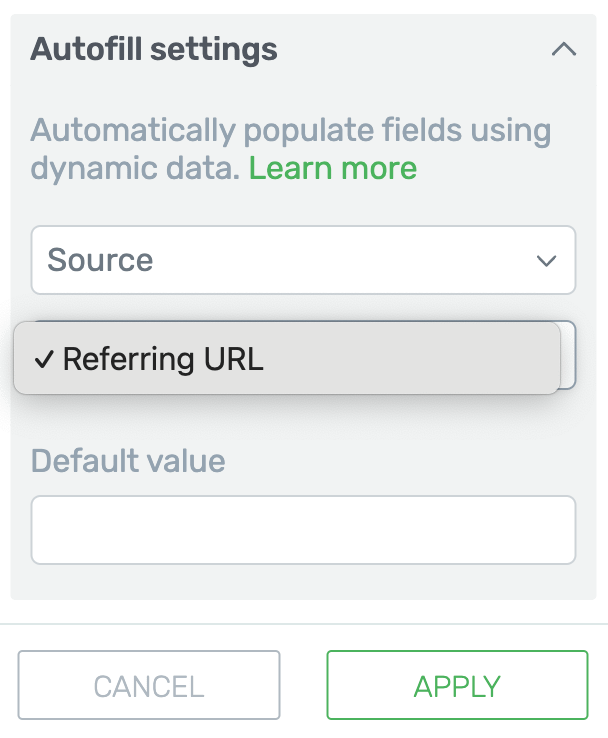
After you’ve selected the Referring URL as the source, click the Apply button.
Shortcode
You should use the Shortcode variable type when you want a form field to automatically display custom content by using a shortcode, along with any text you add.
This is useful if you want to show dynamic or special information like a custom message, a user’s data, or content generated by a plugin by placing the shortcode (and any extra text) in the form field. When someone completes the form, the field will automatically show the result of the shortcode and your chosen text.
When you select Shortcode as the variable type, enter the text and shortcode in the next field.
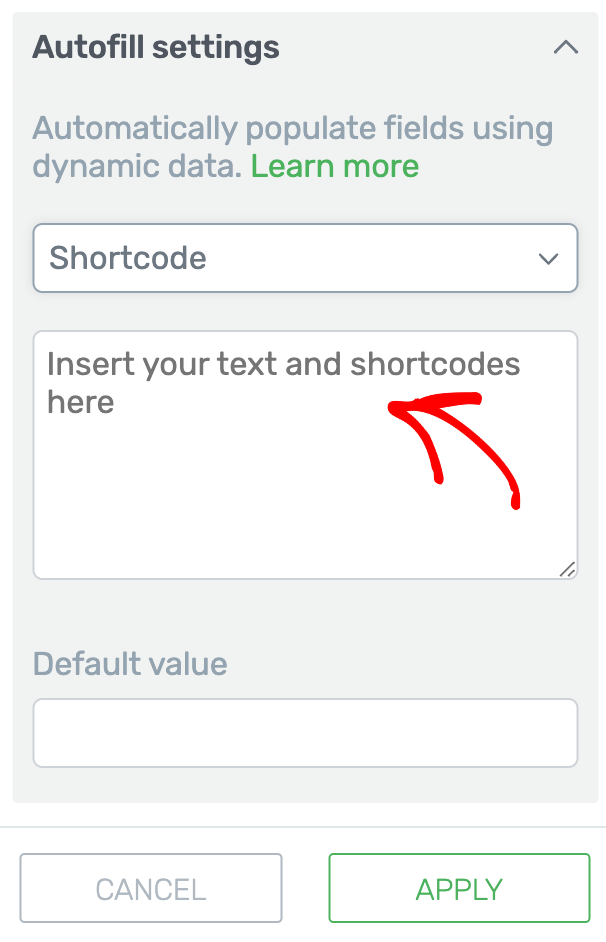
After selecting and adding the shortcode variable type, click the Apply button.
Time and Date
The Time and Date variable type should be used when you want to automatically record the exact time and date the form was completed, without requiring the user to enter this information themselves.
This allows you to track when each form submission was made, with the format you choose, while keeping the process easy for your users.
To set this up, select Time and Date in the Variable type field and in the second dropdown select the date format you want to use.
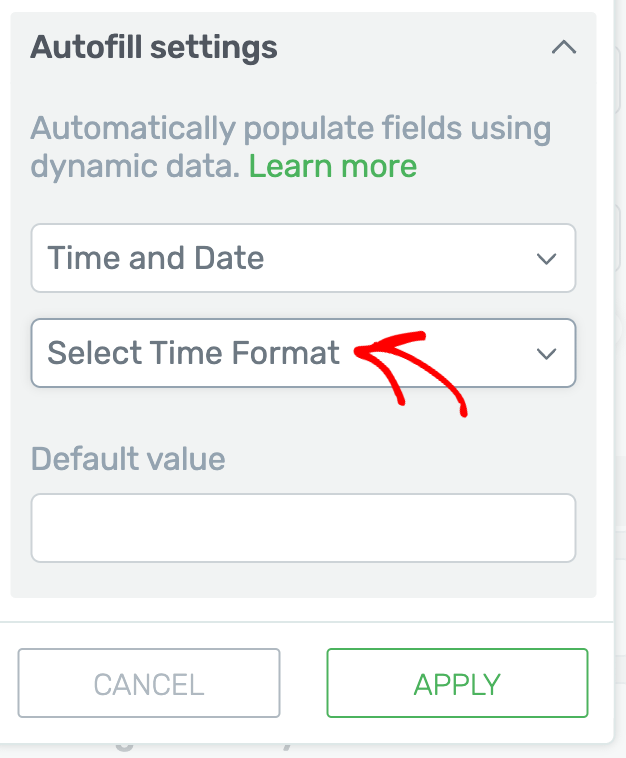
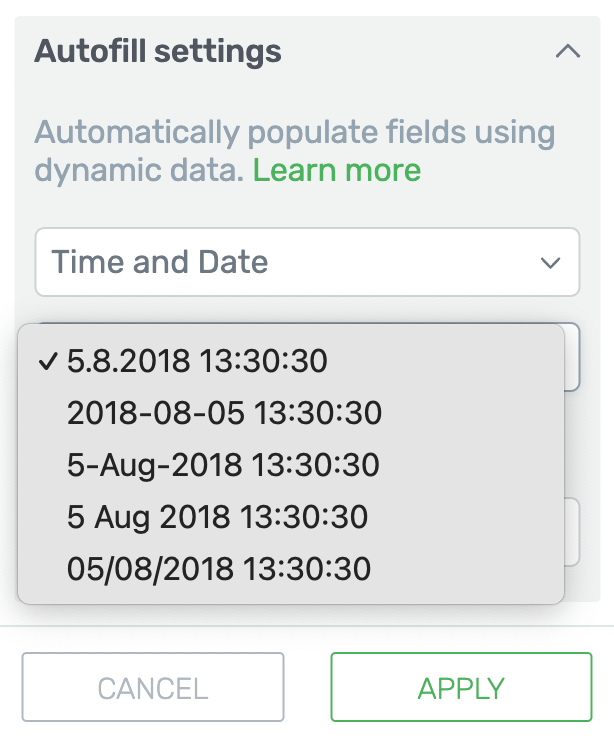
Clicking on the dropdown will display different date and time formats you can choose from. To proceed, select the date format and click the Apply button.
Hiding a Field If the Value Exists
The Hide field if value is set option is seen only when you select the URL QueryString, POST Variable, Cookie Data, or User Data variable types.
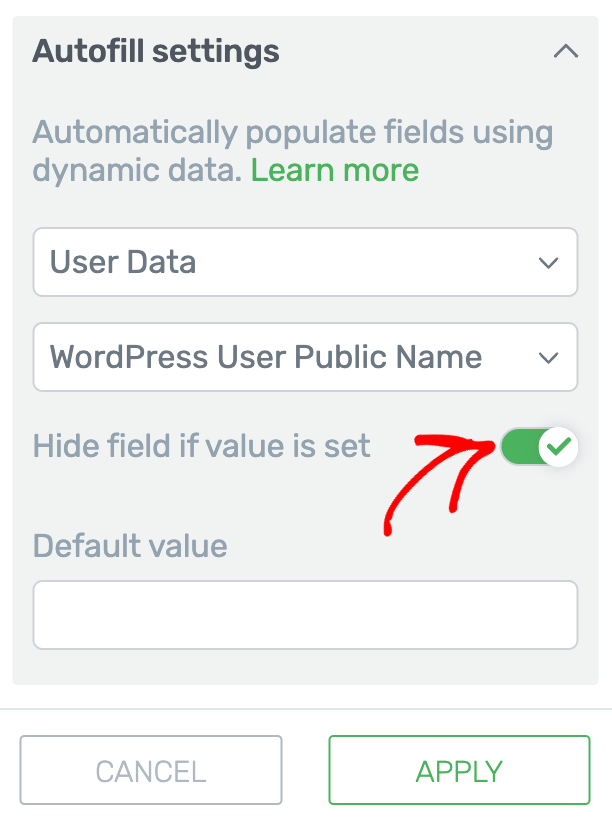
When you enable this option, if a user has already filled in a specific field before, that field will be hidden the next time they fill out the form.
To enable the Hide field if value is set option, click on the toggle button when you set one of above mentioned variable types.
When you enable this setting,
- Users don’t have to enter the same information again on repeat visits.
- The form becomes shorter and easier to complete for returning users.
- It improves the user experience by saving them time and effort.
Setting a Default Value
The Default Value field is available for any variable type you select from the above list.
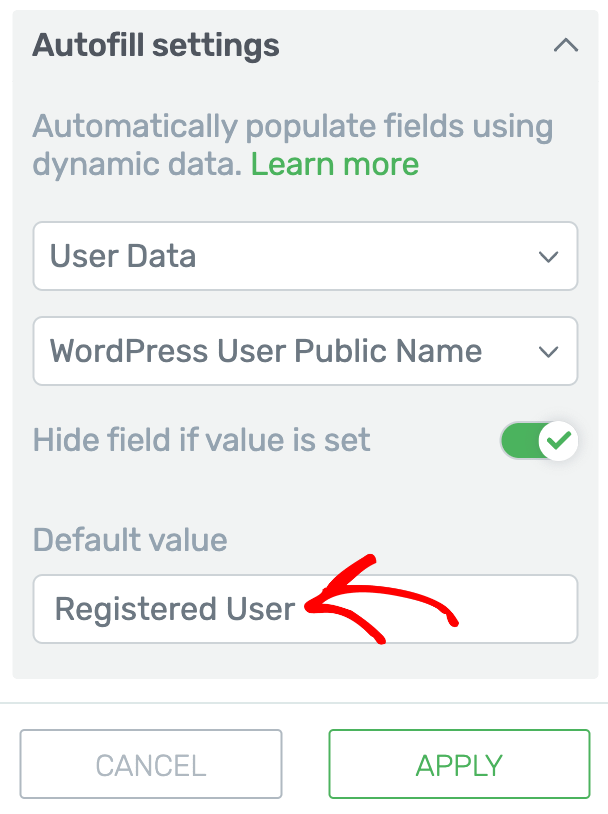
This field can be used to specify what should appear in the form field if the autofill settings or variables you set up don’t work or can’t be found.
To enable this, enter the default value you want to use in the given field and click Apply.
When you add a default value,
- The field won’t be empty or confusing if autofill fails.
- Users will see helpful placeholder information or an example of what to enter.
- It ensures the form remains clear and user-friendly, even if dynamic data isn’t available.
Note: Please ensure you click the Apply button to save the Smart Complete settings you’ve set for the form field.
We’ve just seen how you can add the Smart Complete feature to a form field in a Lead Generation element. It can be used in the same way for each of the forms that you create with Thrive Architect elements, with Thrive Quiz Builder, and with Thrive Ultimatum.
Next, do you want to tag subscribers according to their choice while signing up through a Lead Generation element? Here’s our document that will help.