When editing a “Lead Generation” element, you can add custom fields to your form. One of these types of custom fields is the “URL” field.
Set up the URL Field
Before you begin, you have to connect your “Lead Generation” element to your desired service. To do this, click on the “Lead Generation” element, go to the left sidebar menu and click on “Add Connection”:

If you’re not familiar with this step, check out this list and click on any of the services that we support to see a tutorial on how you can establish an API connection.
Then, after setting up a connection, you will have to add a new form field. As an example, I have connected my “Lead Generation” element to Mailchimp.
Now, to add a new field, in the “Form Fields” section of the left sidebar, click on “Add New”:
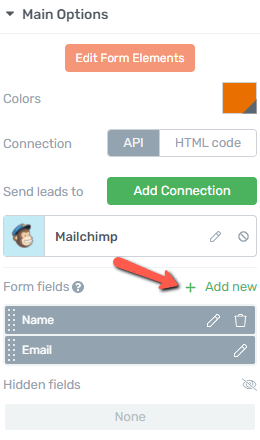
This will open a pop-up, where you will have to set up the new field form. Firstly, click on the “Field Type” section, to open the list with all of the available fields:

From this list, choose “URL”:
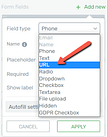
What comes next is to set a name and a placeholder for this field:
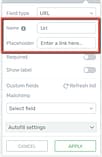
Just as the info note next to the option says, the name is optional, and it will not be visible for your users. This is just to help you identify the fields if you have multiple fields of the same type. The placeholder should represent the info you want users to complete in this field, and it will be visible to your users.
After that, choose whether you want the field to be required or not, as well as if you want the label to be shown, above the field:

Next comes selecting the field in MailChimp should the information from this “URL” field be added to. To do that, click on the “Select field” section and choose the field from the drop-down that opens:
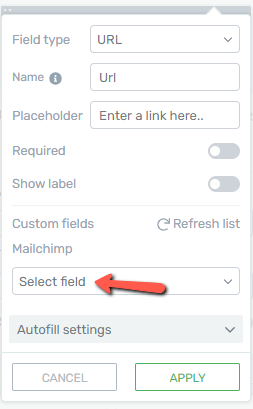
Lastly, if you want, set the “Autofill settings”. The process of setting these up has been described in this article. When you’re done setting the field up, click on the “Apply” button and the custom field will be added to your element:
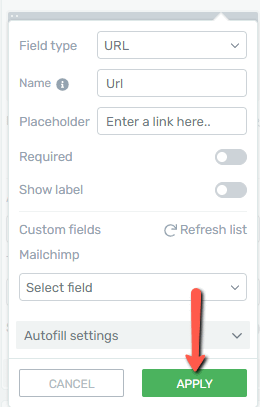
You might have noticed that setting up this field is similar to setting up a “Text” field. However, the difference between the custom “Text” and the “URL” field is that the latter should be used with the specific purpose of requesting a URL, a link from the people who will complete the form.
Edit the URL Field
To edit this field, you can click on the pencil icon from the list of form fields:
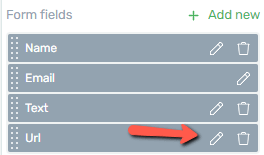
This will open the pop-up where you first set up the field. You can modify what you need to.
Moreover, if you enter the “Edit Mode” of the “Lead Generation” element, you will be able to further customize this field. If you want to do that, while the “Lead Generation” element is selected, click on the “Edit Form Elements” option:
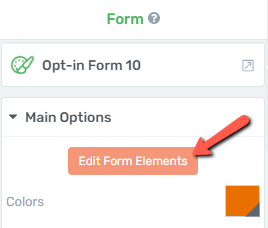
Then, you will be taken into the “Edit Mode” of the element. Select the “URL” field, by clicking on it, in the editor. Its options will appear in the left sidebar:
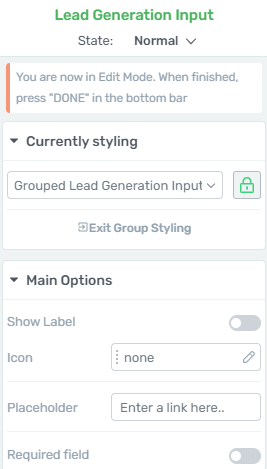
We’ve described how to use each of these options in the article about the “Text” custom field type, so please check out that one, for more information about these options.
Remove the field
If you want to delete this field, all you have to do is go back to the “Lead Generation” element options, and, in the form fields list, click on the trash can icon next to the field you want to eliminate:

These are the ways to set up and customize an “URL” custom field type, for the “Lead Generation” element.
Make sure you also check out this article, to see what other types of custom fields can be added to this element.
I hope this article was useful for you. If so, make sure to leave a smile below 🙂