How tiring can it be to copy all of your content from one website to another? With Thrive Architect, you can export and import pages and posts within minutes!
In this article, we’ll see how easy it is to export and import content from a page or page built using Thrive Architect.
Exporting Content Using Thrive Architect
Before we begin exporting content, please ensure you have created the source page or post.
Now that you have a page or post to export, open it in the Thrive Architect editor. To do this, log into your WordPress dashboard and navigate to Pages >> All Pages. Then, hover over the page you want and click on Edit with Thrive Architect.

Once the page is opened in the Thrive Architect editor, click on the Settings icon seen in the right-side panel. Then, click on Export Content.
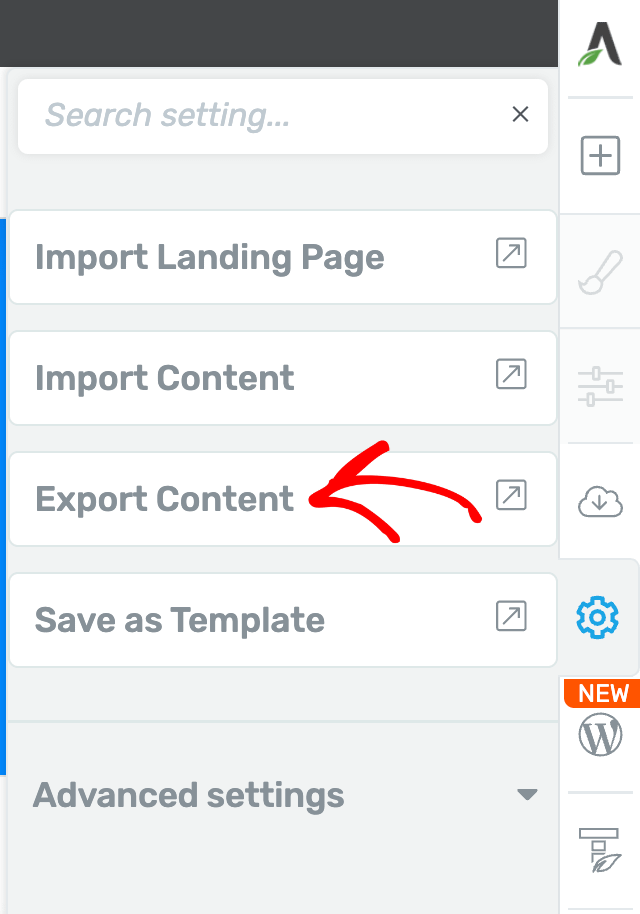
Clicking on this option will display a popup where you can name the content file. After naming the file, click on the Download File button.

After you click on this button, you’ll see a .zip file downloaded to your computer.
Importing Content Using Thrive Architect
Now that we’ve seen how to export content from a regular page or post using Thrive Architect, here’s how you can import the exported content.
The Import Content feature allows you to add the imported content section to a new or existing post or page.
To begin, open the page or post you want to import the content to in the Thrive Architect editor.
You can do this by navigating to Pages >> All Pages, hovering over the page you want, then clicking Edit with Thrive Architect.

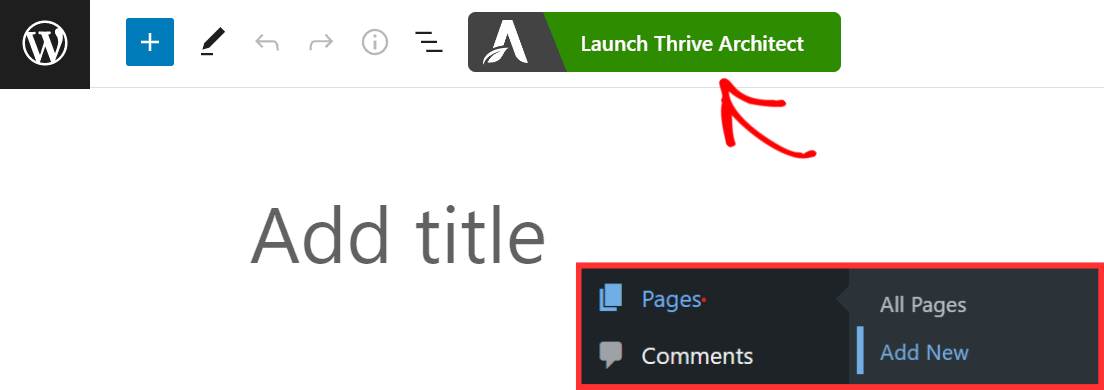
In case you want to import this content to a new page, you can create one by navigating to Pages >> Add New and then clicking on the Launch Thrive Architect button seen in the top admin bar in your WordPress dashboard.
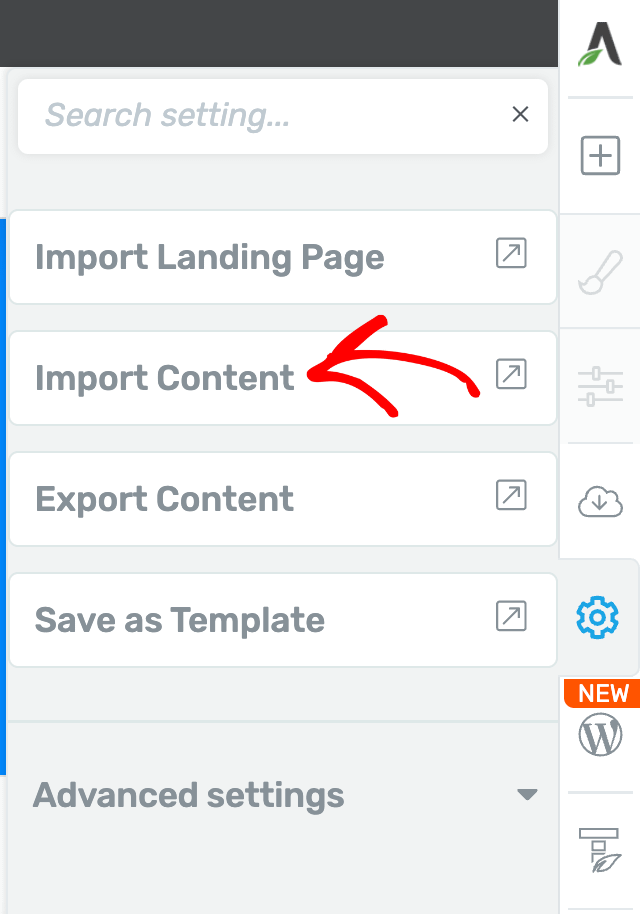
Now, when you have the desired page or post opened in the Thrive editor, click on the Settings icon in the extreme right-side panel and click on Import Content.
After choosing to import content, you’ll see a popup. You can click on the Select Files button to upload a file through your computer.
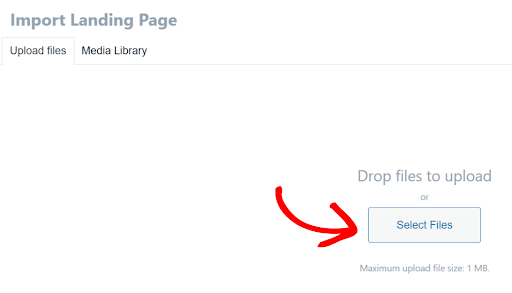
Go ahead and select the .zip file you exported earlier.
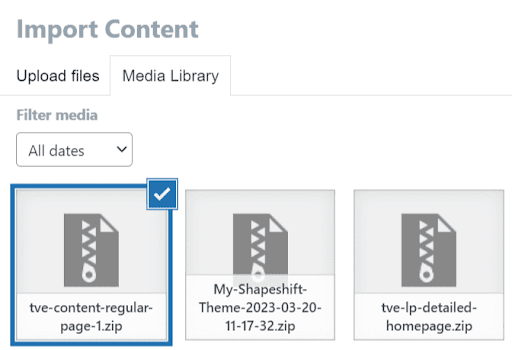
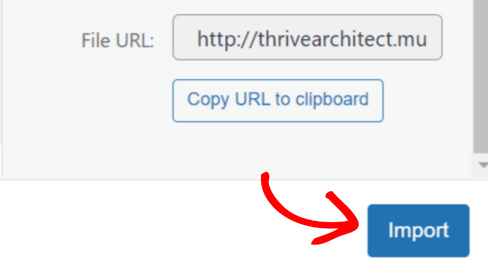
Now that you’ve selected the file, upload it and click on the Import button seen at the bottom right of the popup.
This newly imported content will be added under the already existing content of the page or post.
We’ve just seen how you can export and import content from pages or posts built using Thrive Architect.
Next, if you’d like to know how to import or export a Thrive Theme Builder theme, here’s an article that will help you export it from one website and use it on another.