Do you want to add dynamic information like Course Title and Course Description on your website pages or posts? You can use the Course List element to display the list of your Thrive Apprentice courses on a page or post.
To know more about the Course List element and how you can add it on a page, read our document here.
While you can edit and customize almost everything in a Course List element, some information is fetched dynamically from the Thrive Apprentice courses you’ve created. Therefore, not all the content in the Course List can be edited.
In this article, we’ll show you how you can insert dynamic information into the Course List element.
- Adding the Course List Element to a Page
- Accessing the Edit Mode of the Course List Element
- Adding Dynamic Information to a Course List Element
Adding the Course List Element to a Page
Like any other other Thrive Apprentice element you can drag and drop the Course List element on a page or post.
Dragging and dropping the element on page will display a popup where you have to select the template or the style in which you want your Thrive Apprentice courses on the page.
Accessing the Edit Mode of the Course List Element
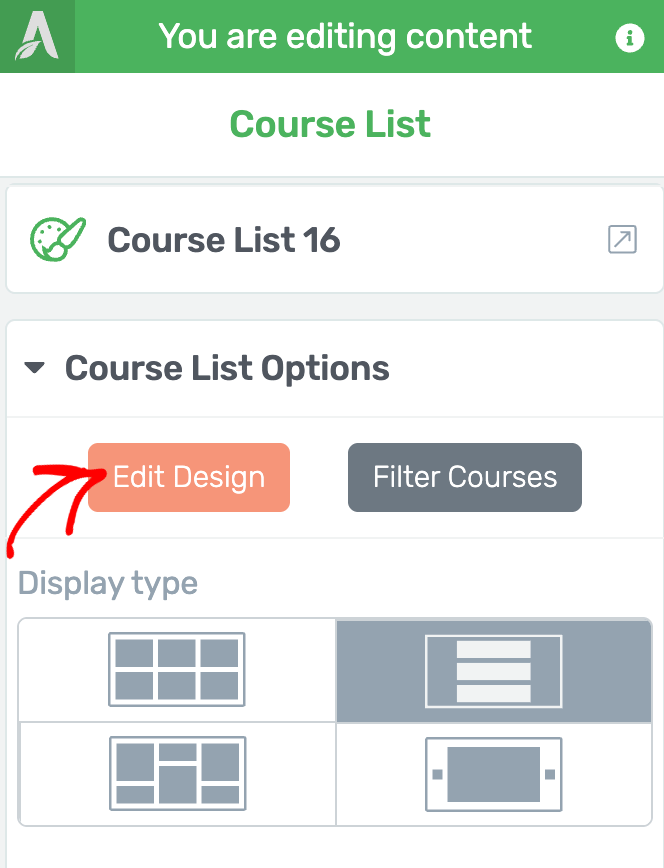
When added to the page, click on the element to open the Course List element options in the left column.
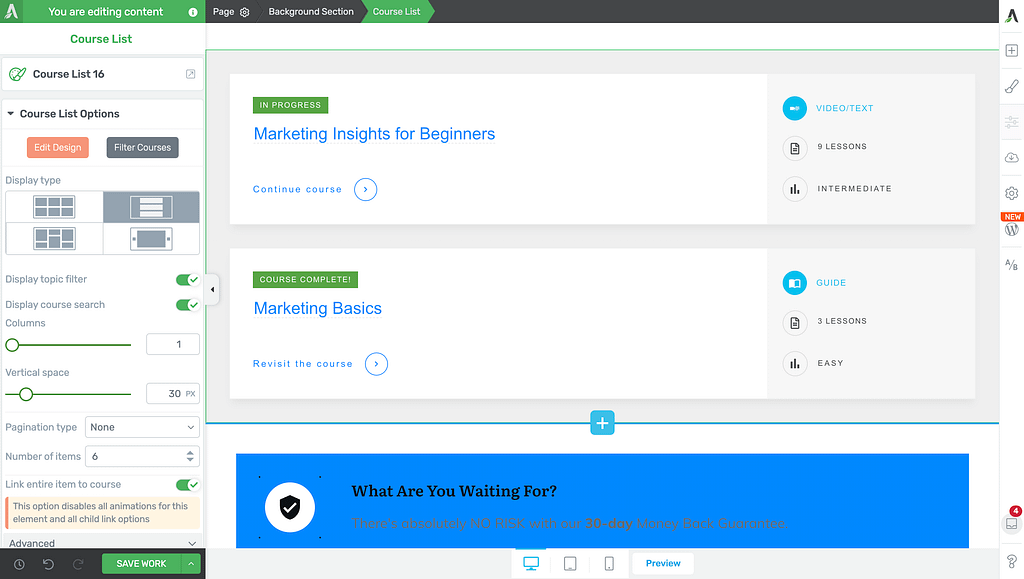
In the left column, under Main Options, click on the Edit Design button.
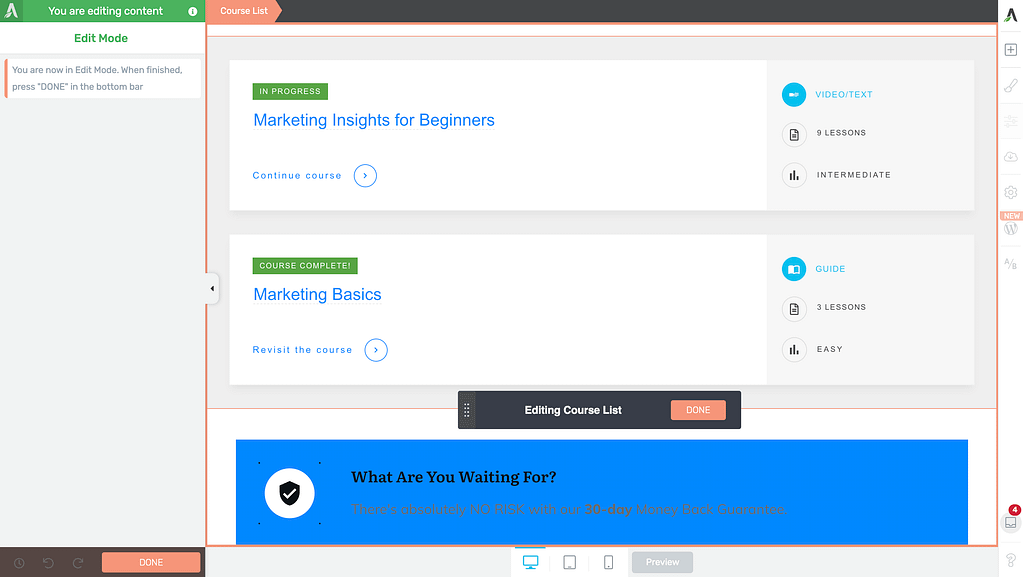
Clicking the Edit Design button will open the Course List in Edit Mode where you can click on each Course List element and edit it.
Adding Dynamic Information to a Course List Element
Once in the edit mode, you can add, edit, customize and style the course list added to your page. While you can edit some information in the course list, some can be fetched from the Thrive Apprentice course you’ve created.
There are two ways you can add dynamic information to a Course List.
Using Thrive Apprentice Elements in Thrive Architect
The Course List element lets you to display your Thrive Apprentice courses and their summaries anywhere on your pages or posts.
In addition to this, when you are in the “Edit Design” mode of these elements, you will be able to add and use new elements from the right sidebar, that are available only while you are editing the Course List element on the page.
These elements are used to display dynamic data such as the status of the course, the progress, number of lessons, difficulty level, and so on.
Here’s the list of Thrive Apprentice elements you can use:
- Action Button
- Author Image
- Cover Image
- Course Summary
- Difficulty Level
- Course Label
- Number of Lessons
- Course Name
- Progress Bar
- Progress
- Topic Icon
- Topic Title
- Course Type
- Course Type Icon
To know more about Thrive Apprentice elements and use them on your page to insert dynamic information, read our detailed document here.
Using the Text Element
Although the recommended method to use dynamic content in a Course List element is by using a Thrive Apprentice element, you can choose to insert it using a simple Text element too.
To do so, first ensure that you are in the Edit Mode of the Course List element.
While in the Edit Mode, go to the right panel and click on the plus (+) icon.
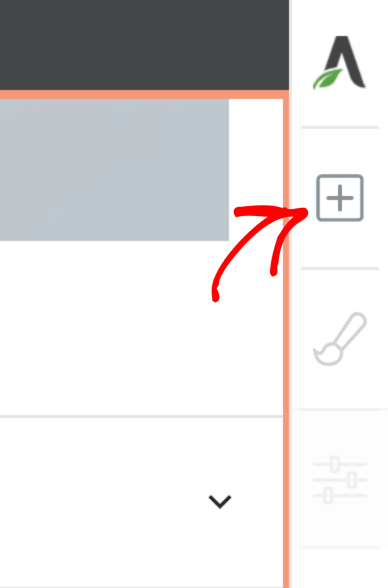
On clicking on the plus icon, you’ll see a list of elements you can use. From these elements, drag and drop the Text element inside a Course block.
Adding a Text element inside a Course block will add it to the other course blocks in the list.
Similarly, removing the element from one block will remove it from the others too.
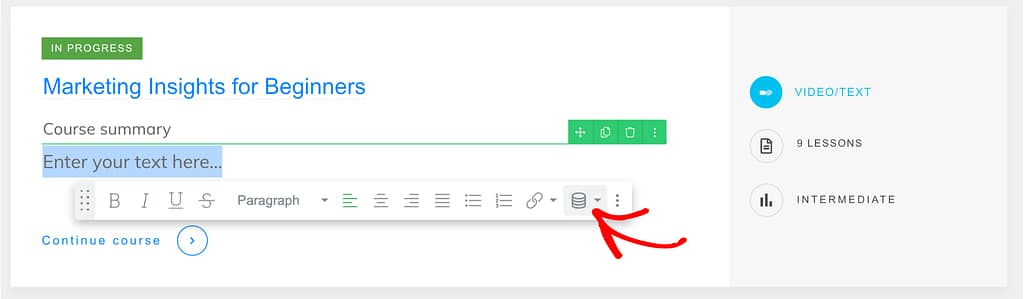
To add dynamic information inside this Text element, click on the text element and see the floating panel open.
In the floating panel, click on the drum icon to open the dynamic text settings.
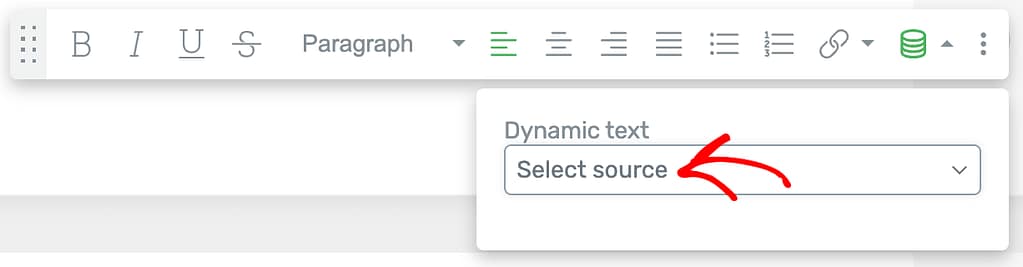
In the Dynamic text settings, click the dropdown to Select Source.
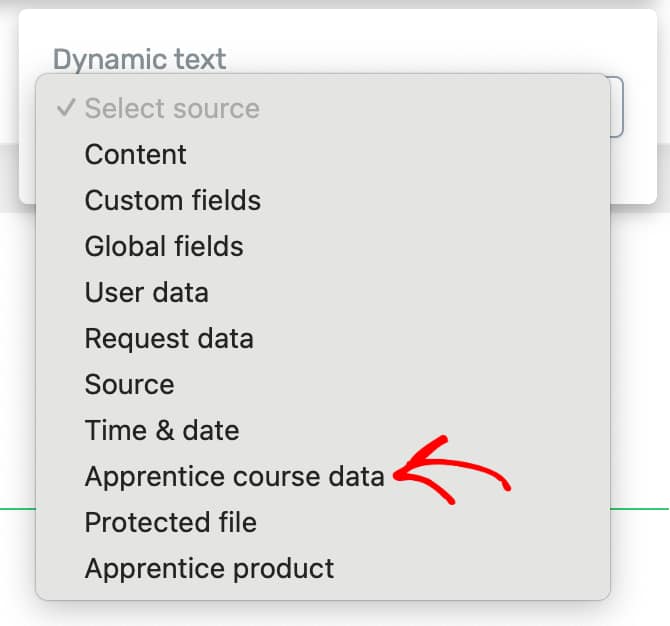
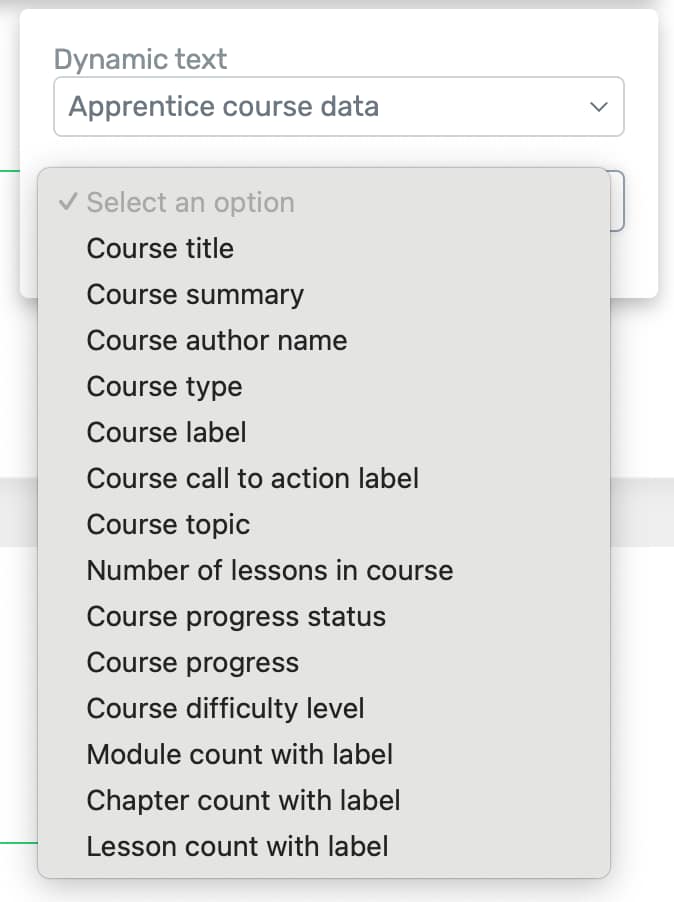
In the options that appear, select Apprentice course data as the source of the dynamic content.
After selecting the source, you’ll see another dropdown where you select the data you want to fetch in this text element.
The available options are as follows:
- Course title
- Course summary
- Course author name
- Course type
- Course label
- Course call-to-action label
- Course topic
- Number of lessons in course
- Course progress status
- Course progress
- Course difficulty level
- Module count with label
- Chapter count with label
- Lesson count with label
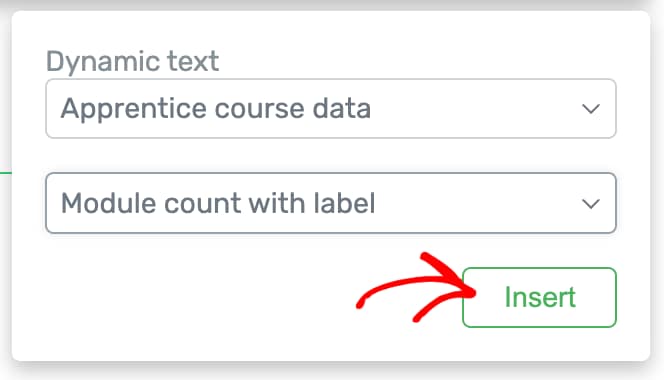
When you select the course data you want to display, click the Insert button.
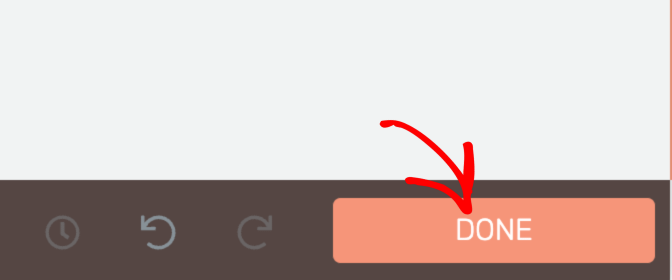
Once you finish adding the required information in the Course List element and customizing it as you want, click the Done button to close the edit mode.
We’ve just seen how you can add dynamic information inside a Course List element on a page or post. You can use both the above mentioned methods depending on what course data you want to display in the course list.
Next, if you want to customize this dynamically added information to add more style or effects, you can refer to our document that will help you understand and play around with the Text element.