The “Templates” section of the Thrive Theme Builder dashboard is where you can find each one of your templates and from where you can add new ones, manage the existing ones, etc. Basically, you will have to use the “Templates” section for any template-related action that you want to take.
The main goal of this article is to give you a better overview of the “Templates” section, by detailing how to navigate and use it.
Access the “Templates” section of the dashboard
Naturally, we will start with accessing this section. In order to do that, you will first have to go to your WordPress admin dashboard, hover over the “Thrive Dashboard” item from the left side menu and click on “Thrive Theme Builder”, from the sub-menu that opens:
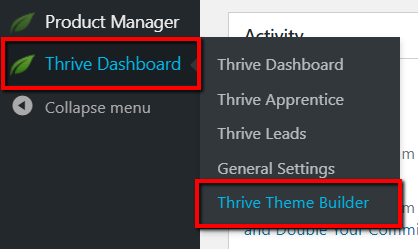
Once you have opened the Thrive Theme Builder dashboard, click on the “Templates” section from its left side:

This way, you have opened and accessed the “Templates” section.
View templates
The most basic aspect of the “Templates” section is that you can view your templates from here however you want. To make things even easier, you can decide which templates to be displayed, while you are using this section.
In order to do this, you will have to use the drop-down from the “Your Theme Templates” part of the “Templates” section. First click on the field with a little down arrow from this part:

Note: This field will also contain the collective name of the templates that are displayed at the moment in your “Templates” section. In the above example, this is the “Core Templates” name, but keep in mind that this may and will vary based on what templates are displayed.
When you click on the field, the drop-down will open with the various selections/groups of your templates that you can choose to display in your “Templates” section:

The selection/group that is currently displayed will have a grey background. In order to choose another selection to display, all you have to do is click on it and that selection/group will be displayed in your “Templates” section, so you can work on the templates from it.
Here is what each of the selections/groups represents:
Core Templates
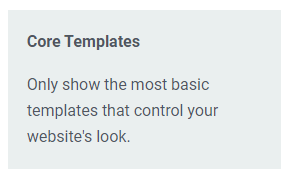
The “Core Templates” are the basic templates that define the way in which your website looks. They are the templates that are set as the default ones for each template type, so if you choose to display these, you will work on the “core” of your theme:
Homepage Templates
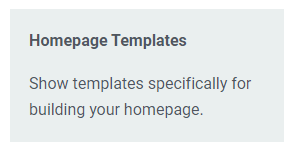
Just as its name says, the “Homepage Templates” are the templates that were created specifically to be suitable for your homepage. If you choose to display these in the “Templates” section, then, you can easily work on your homepage designs:
Archives
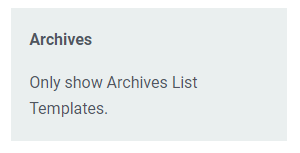
The “Archives” consists of the “List Templates”. If you choose to display the “Archives”, then you can work on the templates that are meant to be applied on your list pages, such as your “Archive”, “Blog Feed”, “Search”:
Custom Post Templates
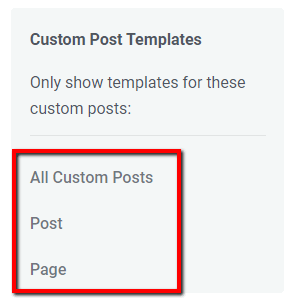
The “Custom Post Templates” group is a little different from the other selections/groups. It consists of three different sub-groups of templates you can choose from:
-
All Custom Posts: This sub-group will contain the templates that you have created to be suitable for your “Custom Post Type” pages/posts. Thus, if you want to work on those specific templates, click on this group to select it, and “All Custom Post” templates will be displayed.
-
Post: The “Post” sub-group contains every “Post Template” that you have created, therefore, if you select this sub-group, then your “Post Templates” will be displayed and you can customize them to fit your various posts.
-
Page: The “Page” sub-group contains the templates that are meant to be applied on the pages of your website, thus, if you want to work on the design of your “Page Templates”, click on the “Page” sub-group here and they will be displayed in your “Templates” section.
All Templates
If you want every kind of template to be displayed in your “Templates” section, all you have to do is to click on the “All Templates” group from the drop-down:
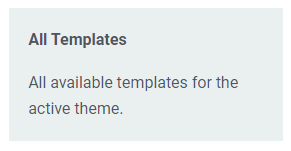
Note: Keep in mind that the viewing option you choose here will remain selected. This means that the templates from whichever selection/group you choose from the drop-down will be displayed until you decide to display other templates, by opening the drop-down again and choosing another group from it.
Template Types
There are two types in which all your templates are divided in your “Templates” section. You can see both of these if you have selected to display “All Templates” for example; or you can see them separately, based on the type the templates from the group you have chosen to display belong to.
Single Content Templates
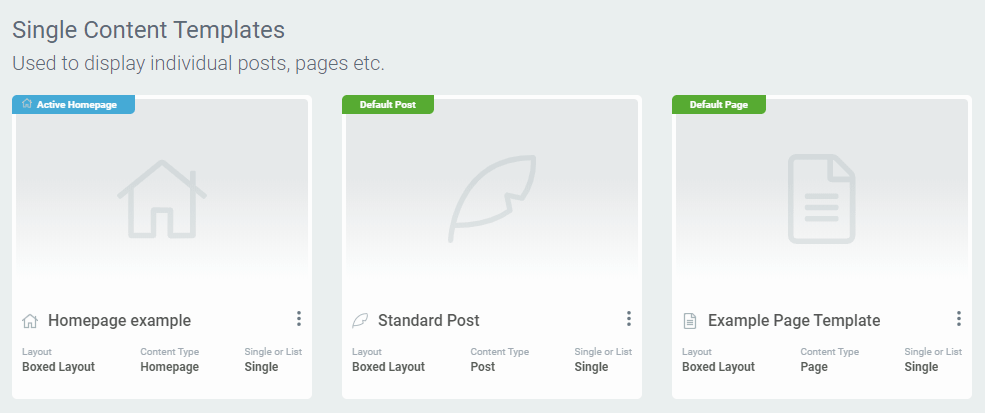
The first type is the “Single Content Templates” one. The templates that belong to this type are meant to be applied on individual posts and pages:
List Templates
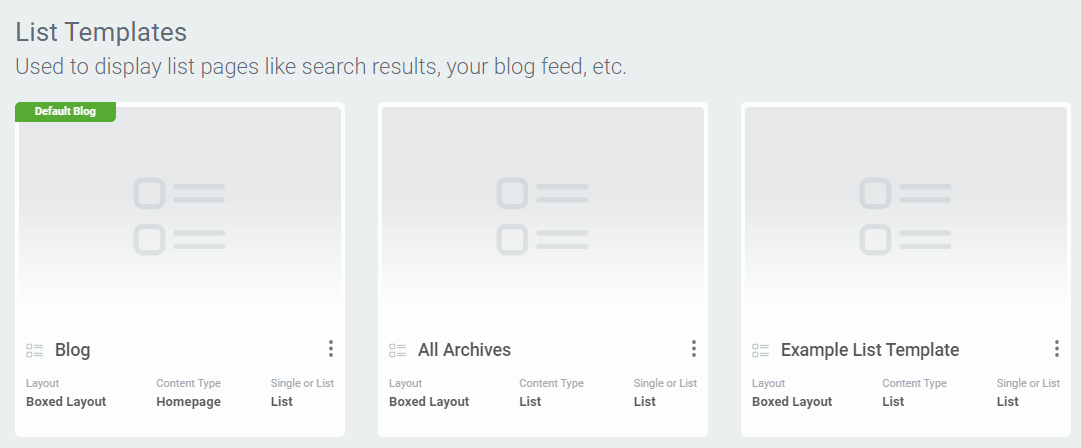
The other type is the “List Templates” one. The templates from this type are meant to be applied on the list pages from your websites, such as the blog feed, the search page, or the archive.
Filter
Furthermore, if you wish you can filter these post types to view only one of them. If you want to do that, you will have to use the “Show Template Types” section from the left side of the “Templates” section:
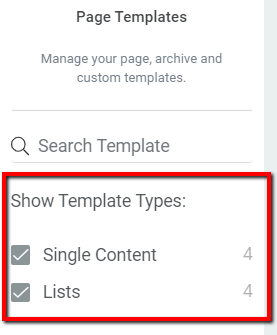
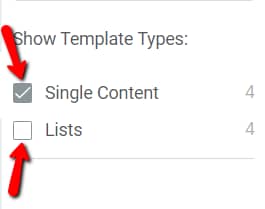
Simply click on the type you want to select or deselect and you will see the check sign next to it appear or disappear. If you want a type to be visible, then make sure the box next to it has the check sign in it, and if you do not want the type to be visible, make sure the check sign is not next to it.
For example, in the image below, the “Single Content Templates” are displayed and the “List Templates” are not:
Search for a template
If you want to search for a specific template, you can use the “Search Template” field of the “Templates” section. You will find it on the left side of the section:
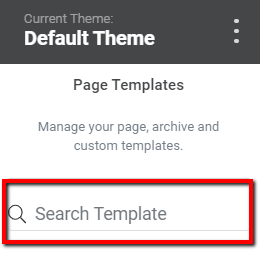
In order to search for a template, simply start typing in its name in this “Search Template” field and you will see the results, the template(s) with the same name appear in the “Your Theme Templates” part of the page.
Add templates
Another important aspect of the “Templates” section is that this is where you can add new templates from, using the “Add New” button from the upper right corner of the page:

If you want detailed information on how to add various template types to your dashboard, check out the following articles:
Edit & manage templates
Editing and managing templates can also easily be done directly from the “Templates” section. You can edit any template if you hover over it and then click on the “Edit” option:
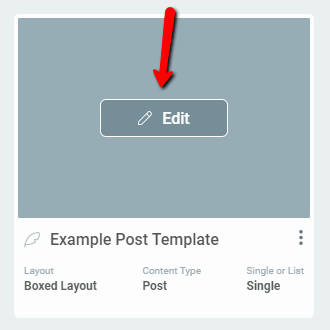
This article goes into more detail related explaining how to edit templates.
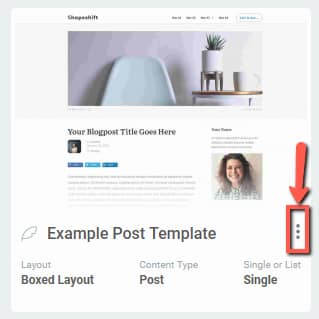
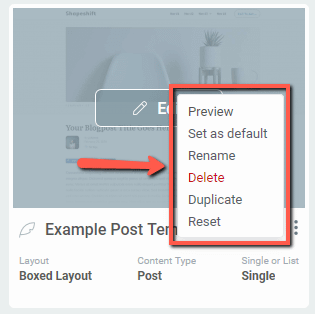
Moreover, you can manage (Preview, Set as Default, Rename, Delete, Duplicate or Reset) each of your templates, if you click on their “More” option and then use the “Managing Options”:
If you want to find more details about the Managing Options, check out this article.
These were the basic ways in which you can use the “Templates” section of the Thrive Theme Builder dashboard. If you would like detailed information about other Thrive Theme Builder features and options, check out our knowledge base section here.
Hopefully, this article was useful for you. If so, please give it a smile below 🙂