Do you want to make your online courses easier for students to follow and understand? Organizing your lessons into chapters with Thrive Apprentice helps structure your content clearly, so learners can navigate and progress through your course more smoothly.
In this article, we’ll show you how you can organize your Lessons in Chapters with Thrive Apprentice on your website.
- Creating Chapters in Thrive Apprentice
- Renaming and Deleting Chapters
- Adding a Lesson to a Chapter
- Ordering Lessons Inside a Chapter
Creating Chapters in Thrive Apprentice
To create chapters in Thrive Apprentice, please ensure you’ve created a course using Thrive Apprentice.
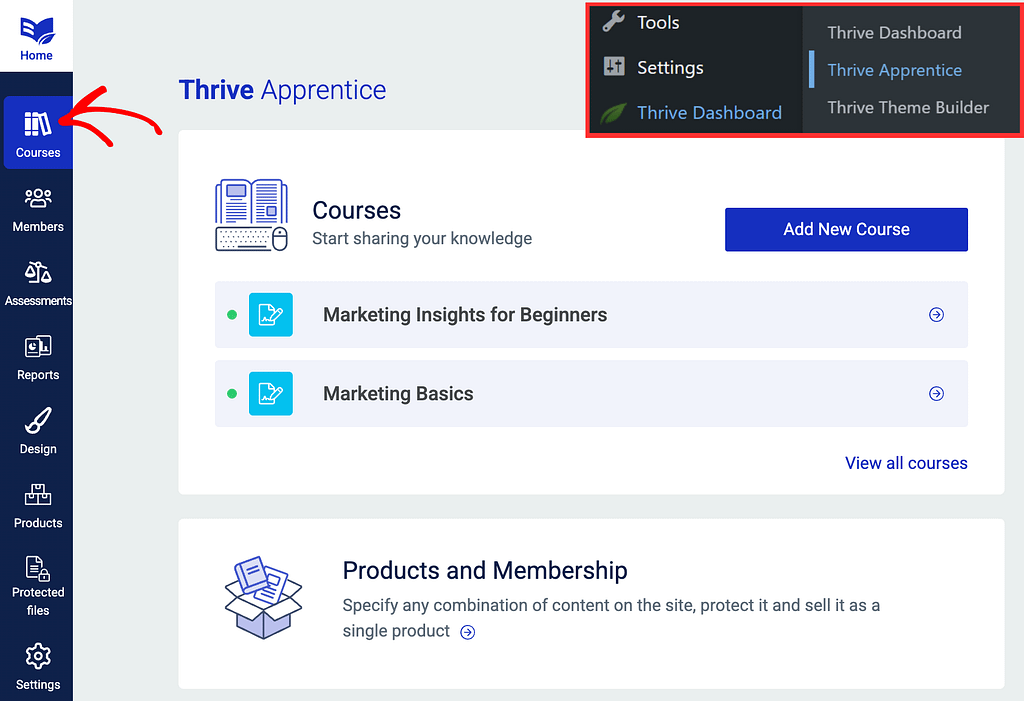
To open a course in Thrive Apprentice, first open your WordPress admin area, navigate to Thrive Dashboard >> Thrive Apprentice, and in the left panel click on Courses.
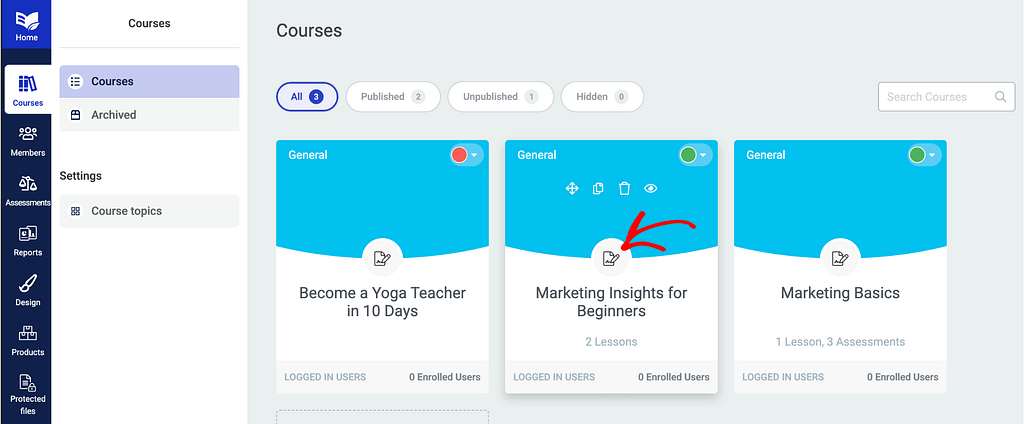
On the Courses page, click on the Course you want to add the chapter to.
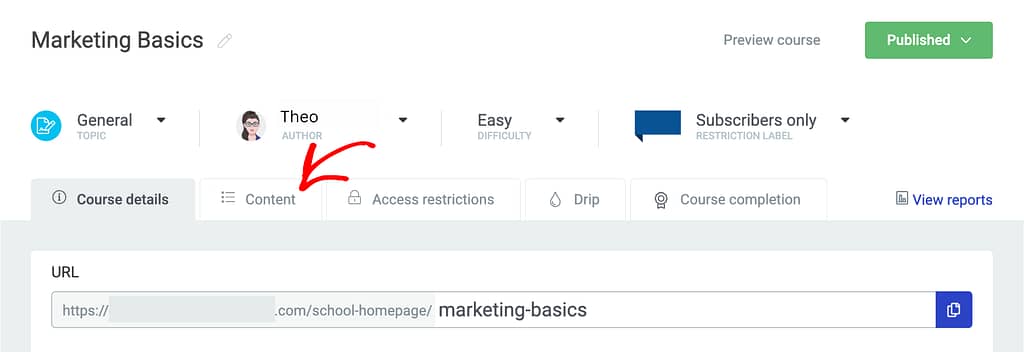
On the individual course page, click to open the Content tab.
In the Content tab, click on the + icon on the right or the +Add Chapter block.
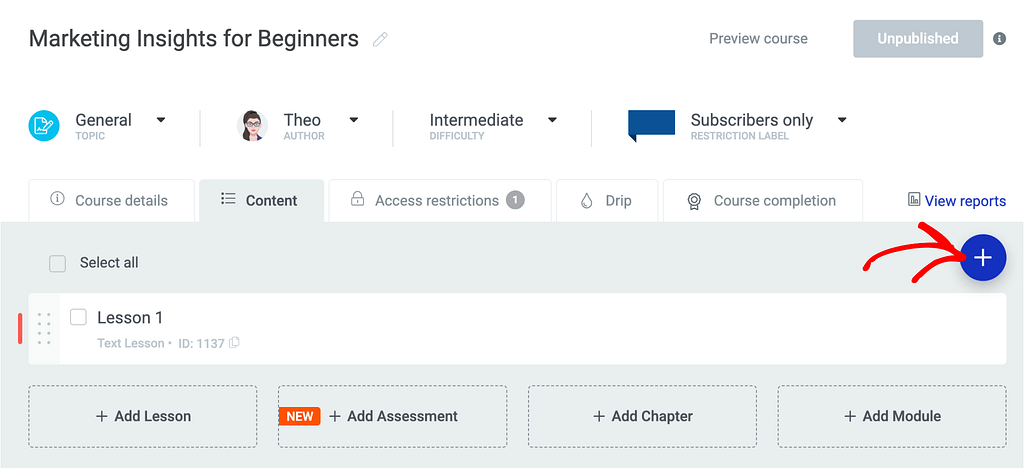
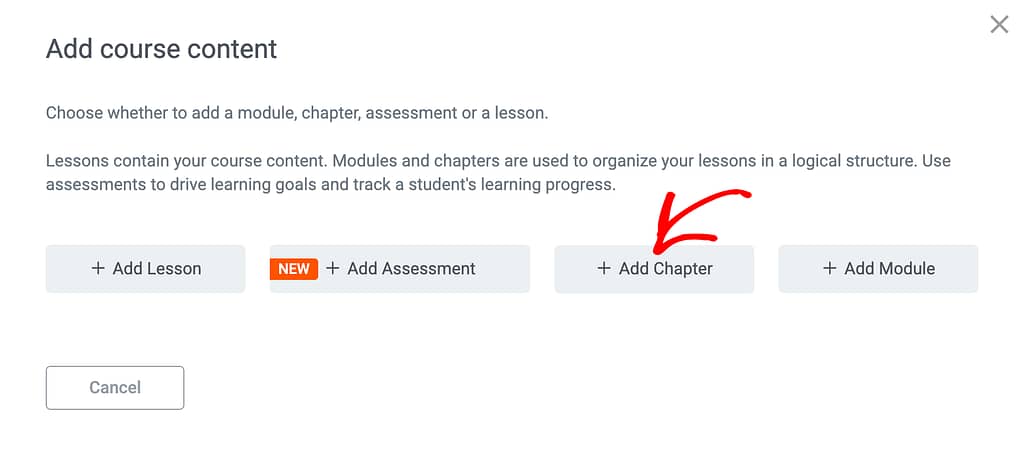
Clicking the plus icon, you’ll see a popup where you select the content type. On this popup, click Add Chapter.
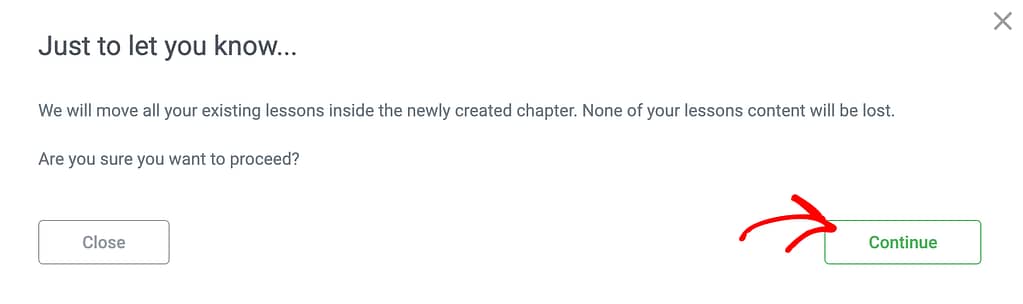
After you click to add a chapter you’ll see a notice mentioning that the present lesson inside the course will be added to the chapter.
Note: This notice is only seen when you already have a lesson or lessons in the course.
To proceed, click the Continue button.
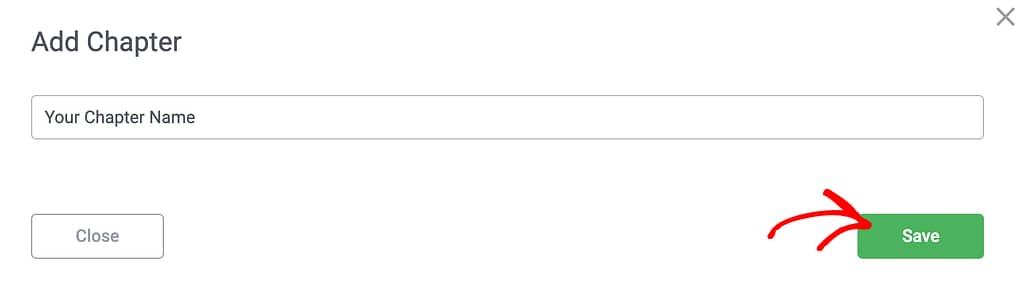
When you agree to add the lesson/lessons to the chapter, in the next step, enter the Chapter name and click the Save button.
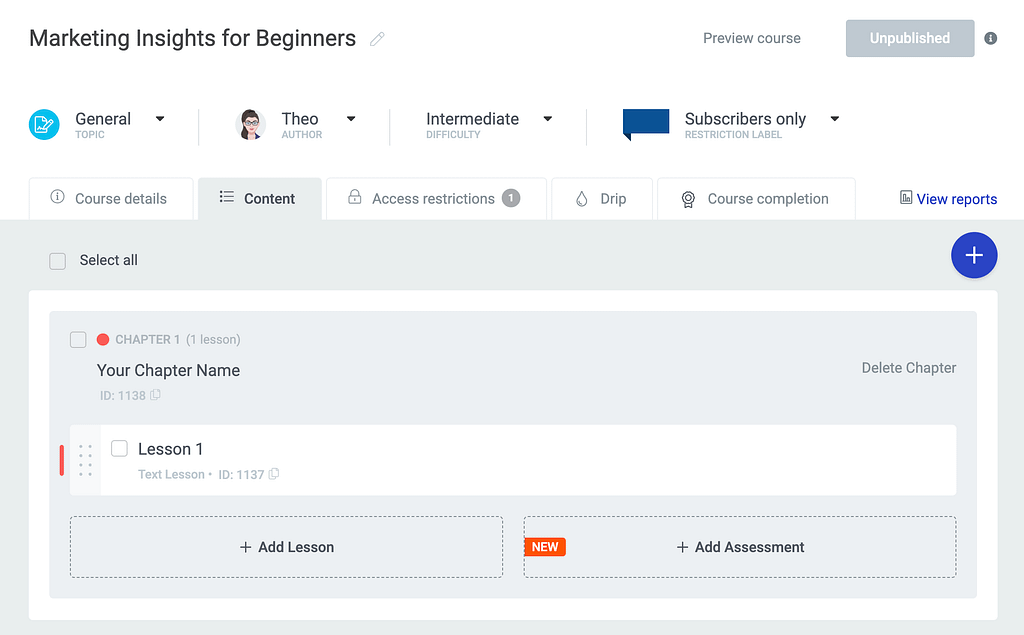
Clicking the button will close the popup and you’ll see the chapter added in the course with the lesson moved inside it.
Renaming and Deleting Chapters
When a chapter is created in a Thrive Apprentice course, you can both – rename and delete it when you want.
To rename a chapter, under the Content tab of the course, hover on the Chapter name, click on the pen icon, edit the name and click elsewhere to save it.
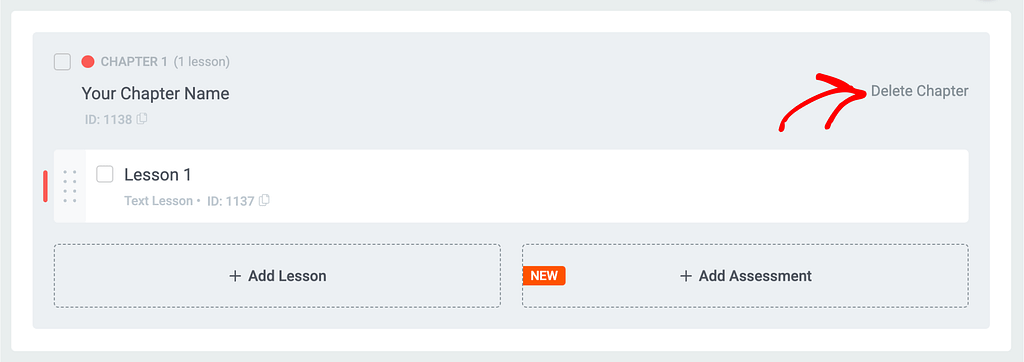
To delete a chapter, under the Content tab of the course, click on the Delete chapter link on the Chapter block.
Note: Deleting a chapter will delete the lessons inside it.
Adding a Lesson to a Chapter
Once you create a chapter inside a course, you may want to add more lessons to it.
To add a lesson to a chapter, inside the Chapter block, click on Add Lesson.
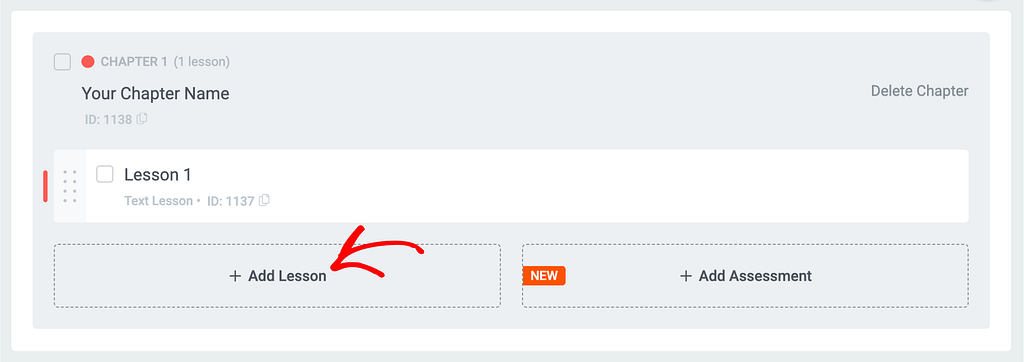
Clicking on Add Lesson will open a popup where you have to enter the Lesson name, type and more as listed in this section here.
Note: Publishing a lesson, publishes the chapter it is contained in.
Ordering Lessons Inside a Chapter
Want to reorder lessons inside a chapter? This can be easily done by clicking the dots beside the lesson name and dragging and dropping it in the order you want.
We’ve just seen how you can add a chapter inside a Thrive Apprentice course, add a lesson inside it, reorder lessons, rename and delete the chapter.
Next, if you want to display your published Thrive Apprentice lesson on a Thrive Architect page, here’s a document that can help.