Find out in this article how to use various features from the Thrive Architect editor, in order to get the most out of it.
When you are building your page content with Thrive Architect, you will notice that there’s an entire list of elements you can use.
Access the List of Elements
All these elements can be simply accessed by clicking on the plus sign from the right-hand side of the page:
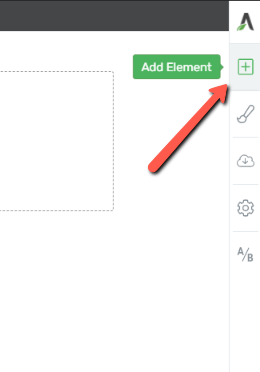
This will open the list of elements:
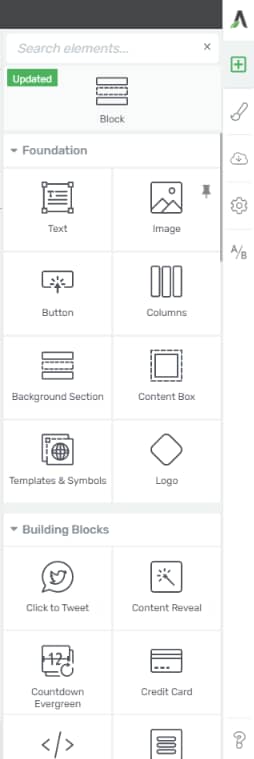
The most commonly used elements will be listed under the “Foundation” section, whilst the remaining ones will be listed under other sections based on their purpose of use:

Drag and Drop Feature
If you want to start building your page, you will simply have to find the element you want to use and drag and drop it onto your canvas:

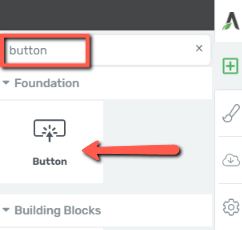
If you are looking for a particular element, you can also use the search field to type its name and look it up:
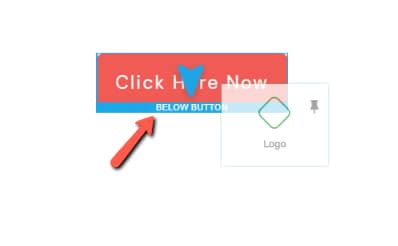
When you are placing an element next to another one, you will notice that there are multiple areas in which you can do that: it can be placed above, below, and next to an already existing element:
Furthermore, if you hover over it, you will notice the following additional options:
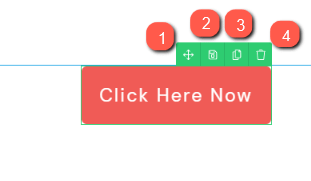
The first one (1) will allow you to move the element around and place it in a different part of your content.
The following option (2) will allow you to save your element for later use:
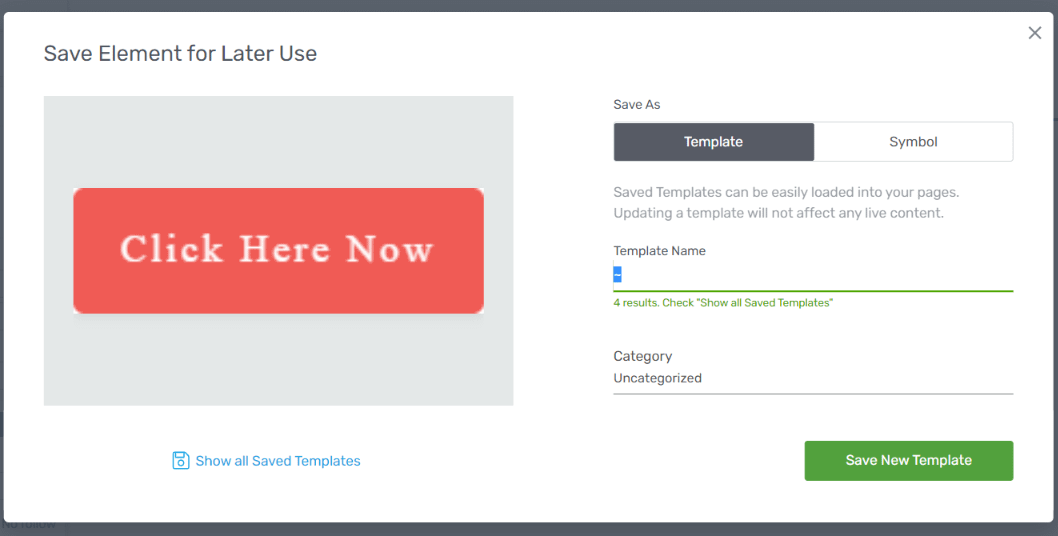
This article from our knowledge base might help you if you want to learn more about how to save your element as a template or as a symbol.
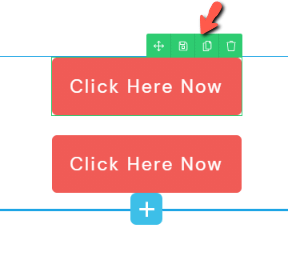
Then you can use the duplicate option (3) if you want to duplicate your element:
And lastly, use the trash icon (4) if you want to simply remove the element from your content.
Pin an Element
If you are using an element more often than the others and would like to quickly be able to find it, then you can pin it at the top of your element list.
To do that, simply hover over the element and click on the little pin symbol from the upper corner of the element:

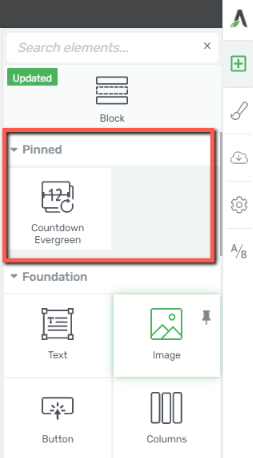
This will automatically create a new section in the list, where you will find all your pinned elements:
Use the Main Options of the Element
Each element has a particular set of options that you can use to further customize it. Whenever you are placing a new element onto your canvas, the corresponding options will be listed in the left sidebar:
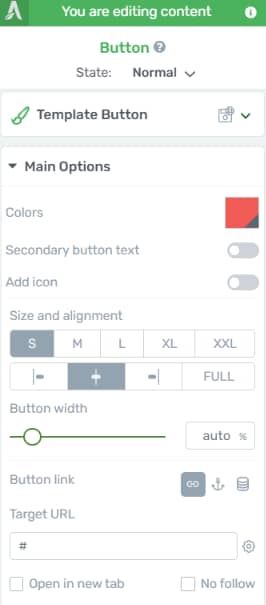
Whenever you want to move on to the following element, you simply have to select it from your page and start using the new set of options that appears in the left sidebar.
Besides the specific options you can use here, you will also be able to use a more general set of options which are the same in the case of most elements:
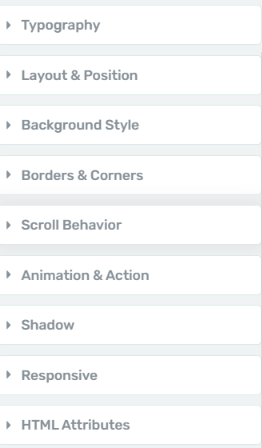
For each element and option, we have dedicated articles in our knowledge base, which you can find linked here.
I hope this quick tutorial about how to use the drag and drop and pin functionality in Thrive Architect was useful to you.