We have recently developed a website optimization project, that will increase the speed of your website, and bring overall improvements to your website’s Core Web vitals.
We’ve called this our “Project Lightspeed” code optimization project, and, in short, we are going to roll out some code changes, that will improve our optimization processes. This is an ongoing project, and we will keep rolling improvements in the near future.
Our team has done a great job explaining both the technical and the not-so-technical terms and ideas revolving around this project, so please start by reading those articles:
|
Note: Using this tool and optimizing your website will not have any impact on the way your website will look like or behave in the front end. However, just as safety measures, we always recommend creating a staging site prior to making any modifications, as well as periodically backing up your website. Here are some resources regarding these matters: |
This article, however, will go through the steps to be taken in order to activate and start using our new Asset Optimization tool.
Project Lightspeed in the Thrive Dashboard
By default, Project Lightspeed will be enabled automatically on your site. However, in case you’re looking for a way to manually enable the optimization tool, you will have to access your Thrive Dashboard from your admin panel:
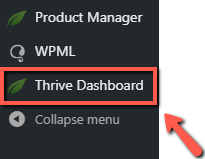
Scroll down to the “Thrive Features” section, to get to the “Project Lightspeed” card:
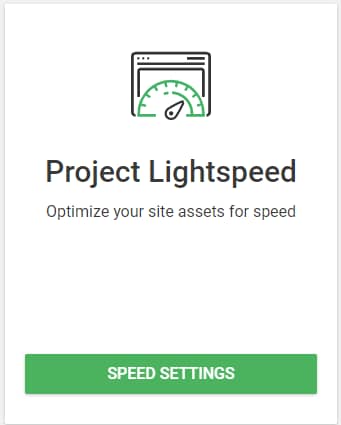
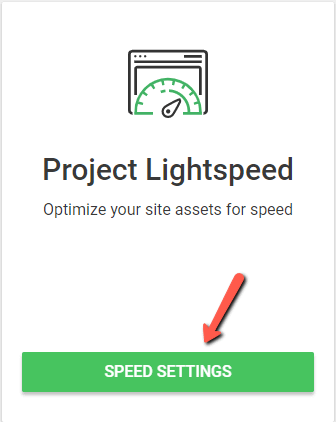
Access the options by clicking on “Speed Settings”:
Enabling this tool will ensure that assets such as JavaScript and CSS files will be loaded only on the pieces of content where they are actually being used.
Moreover, we have moved to a modular approach, meaning that the CSS and JavaScript files will now be broken apart, which will have the browser only loading what is specifically required to be loaded on a certain page.
This can noticeably improve your site speed score, especially the Largest Contentful Paint (LCP) one. This represents a speed metric, and it measures the amount of time required for the largest piece of content from a website to properly render.
Analyze your website
In order for our tool to start optimizing your site in these ways, you will first have to analyze it. Once you click on the “Speed Settings” button from the “Project Lightspeed” card, you will be taken to this page:
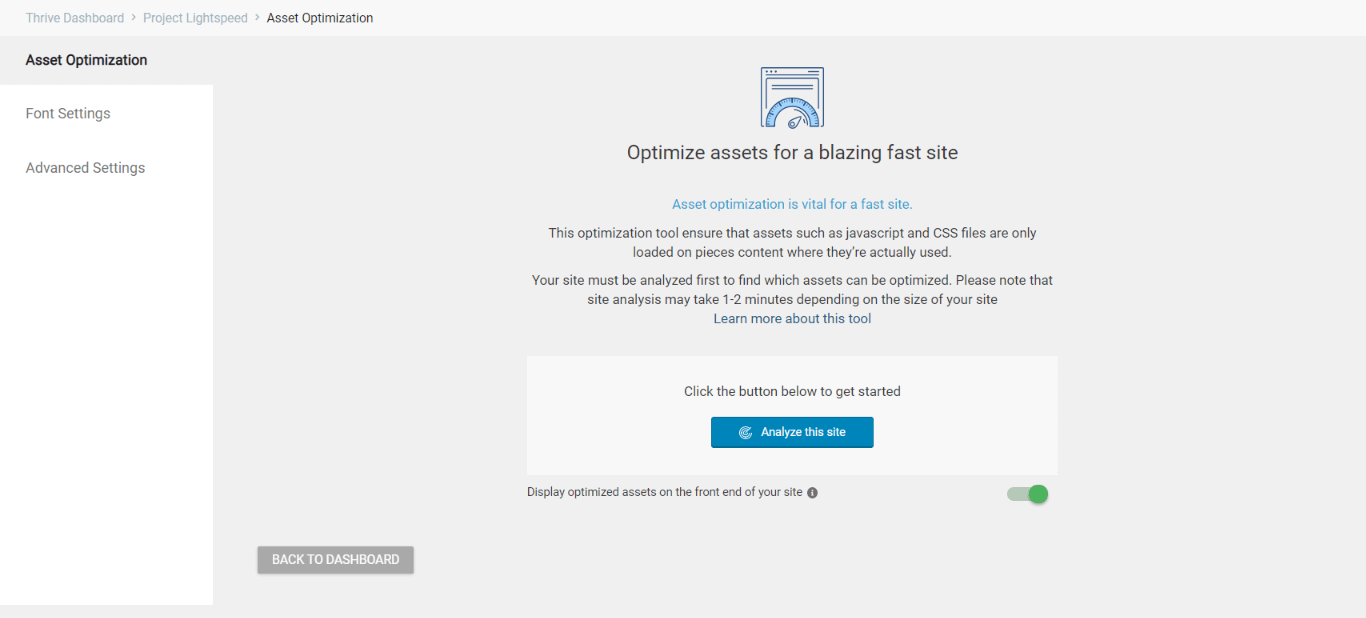
There are three available tabs here:
-
Asset Optimization
In this article, we will focus on the “Asset Optimization” tab, and we have created separate articles for the other two.
To start the process, click on the “Analyze this site” button:

As you do that, the analysis will start, and it might take one or two minutes for it to complete. When finished, you will be notified of the status of your website, and you will see one of three messages:
-
none of your site assets are fully optimized
-
some of your site assets are fully optimized
-
all of your site assets are fully optimized
→ None of your site assets are fully optimized
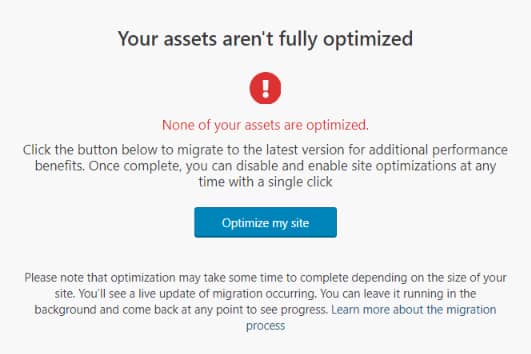
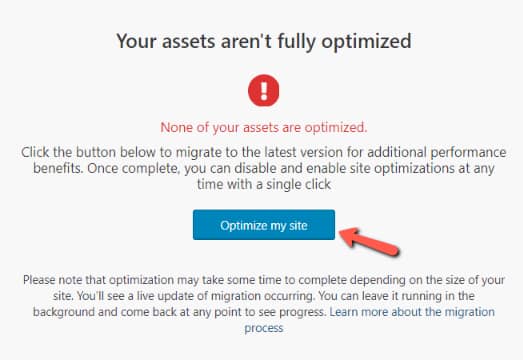
If this is the first message you see, it means that you haven’t tried the tool yet. Click on “Optimize my site” to get started:
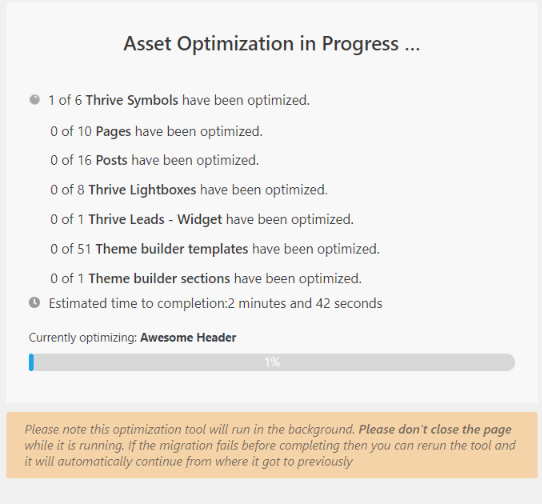
The process will immediately start:
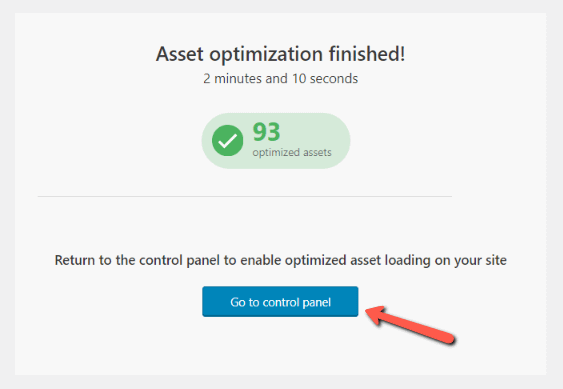
You will be notified when it finishes, and you will be able to see the number of optimized assets. Your site will be running to the most optimized version, and you can then go back to the control panel:
→ Some of your site assets are fully optimized
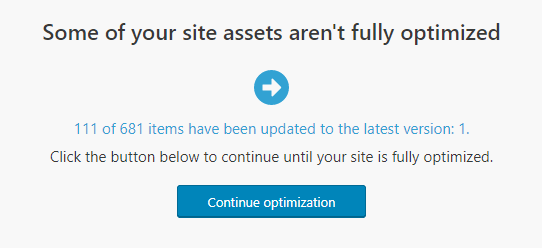
If this is the situation in which you find yourself, it means that the optimization process has been run before, but it hasn’t fully completed, and thus the website will be only partially optimized.
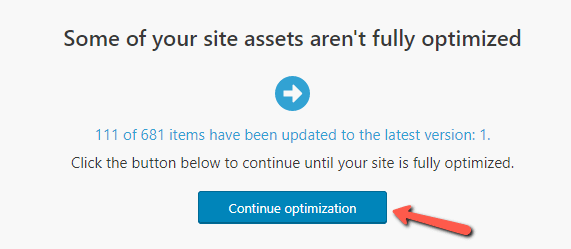
To complete and finish the optimization process, click on “Continue Optimization”:
The process will then begin, and you will be asked not to close the page while it is running:
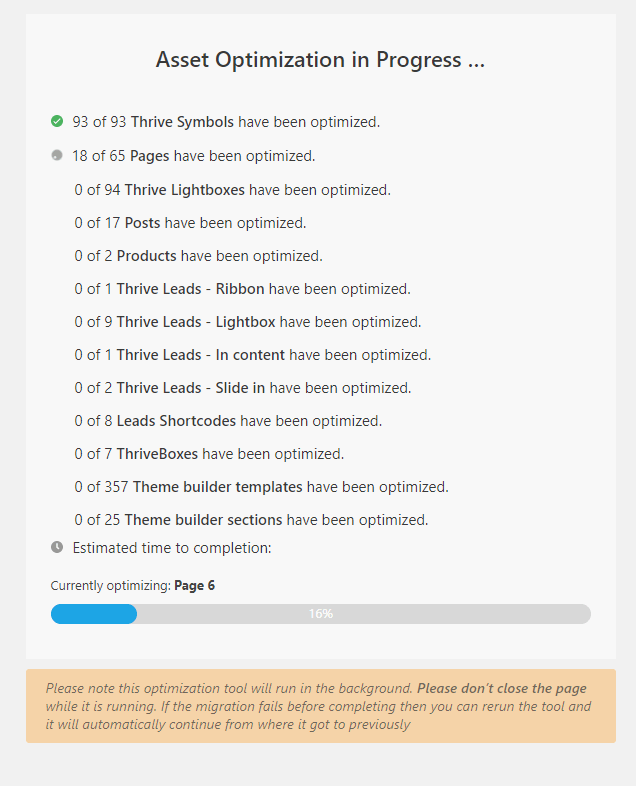
And when it finishes, you will receive the success notification again.
→ All assets are optimized to the latest version
If you have already used the tool, and there are no updates to be made, you will see the “All assets are optimized to the latest version” message:
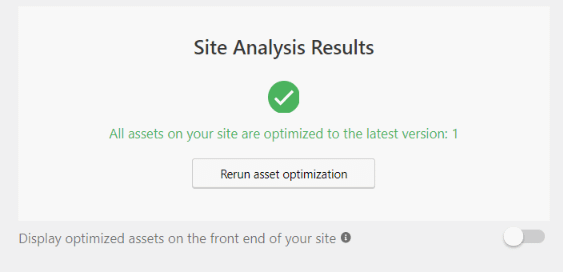
If at any point you will want to come back and rerun the process, you can do so from the control panel, by clicking on this button:
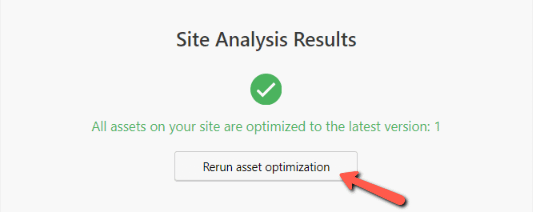
The optimization can be done even if all the assets are optimized to the latest version.
→ Update to the latest asset optimization version
In case the assets have been previously optimized, but the version is not up-to-date with the latest one that we’ve released, you will have the option to update them to the latest version.
This means that, for example, if we decide to push some more files to be optimized in the future, and you have already gone through the asset optimization process, you will be able to quickly update to the latest version so that all of the assets will be optimized.
The ‘Display optimized assets on the front end of your site’ toggle
In order for the optimized assets to be visible on the front end of your site, you will have to enable this toggle:

This will only be enabled by default in case you have just started using Thrive Architect, but have not yet created any content on your site.
Also, if you ever decide you want to disable the asset optimization process, switching this toggle off will do that for you, and you can come back and re-enable it anytime. This will only affect the way the JavaScript and CSS files are loaded on your website, so the process can be turned on and off at any given time.
Project Lightspeed in the Thrive Theme Builder Dashboard
The asset optimization process can also be accessed from the Thrive Theme Builder dashboard. When navigating through the “Home” dashboard, one of the sections that you can access is the “Site Speed” one.
From here, you are able to choose between a few different ways in which you can optimize your site, amongst which you will also find the “Project Lightspeed” section:
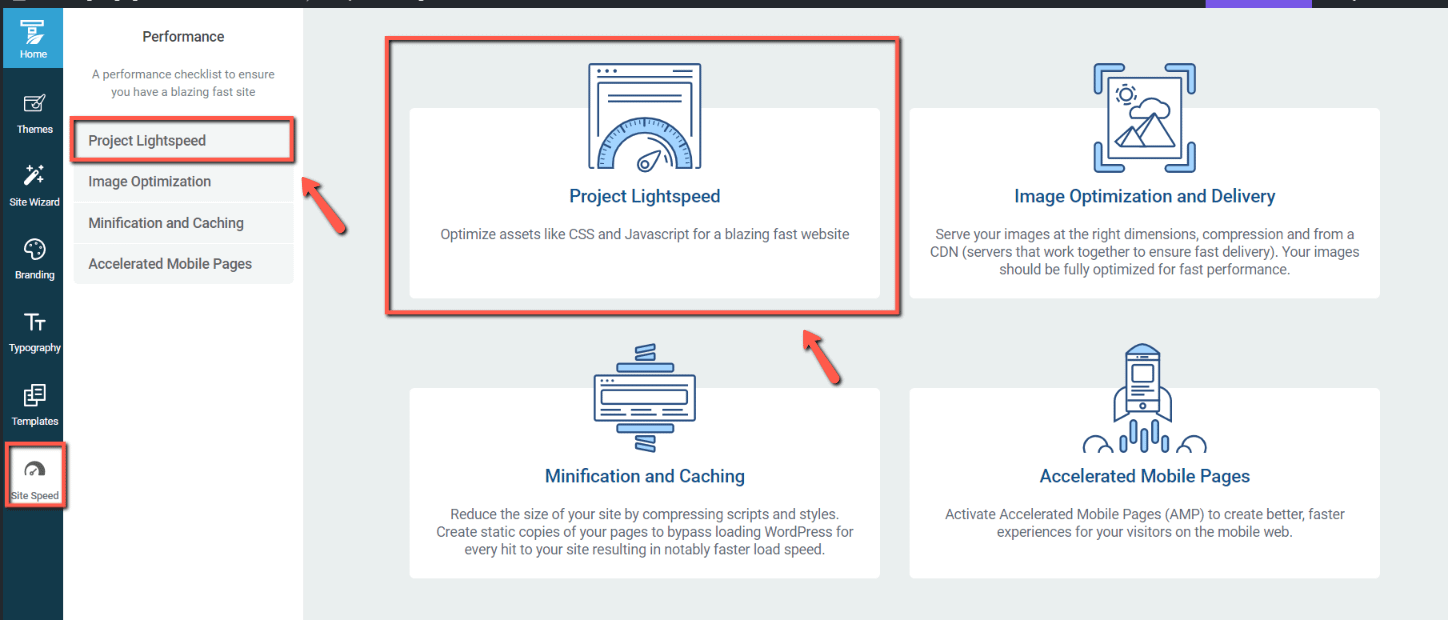
Clicking on the card will take you straight to the “Project Lightspeed” section of your Thrive Dashboard, and from there on, the process will work exactly as described in the beginning of this article (the “Analyze this site” step), depending on the situation in which you find yourself:
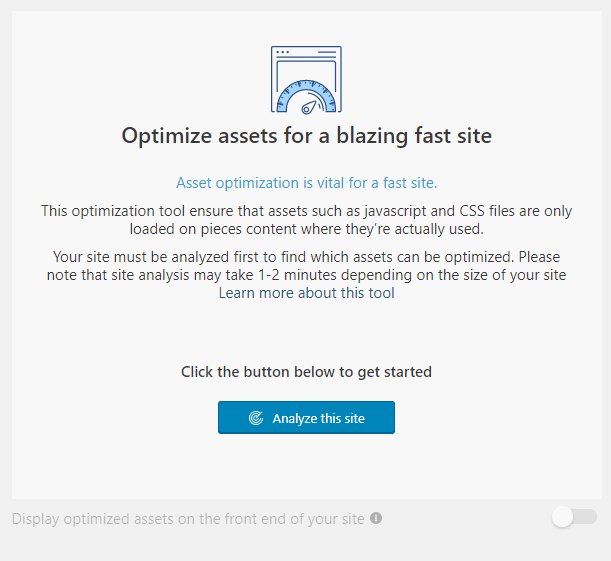
This is how you can use the asset optimization tool in order to ensure that the JavaScript and CSS files are efficiently loaded on your website.
Having trouble with the optimization process? Please check out this article.
Hopefully, this article was useful to you. If that’s the case, don’t forget to leave a smile below 😄