Do you want to prevent your resources and PDF files from being downloaded through shared downloadable links by people who have not purchased your course? This can be done using the Protected Files feature in Thrive Apprentice.
This article will show you how to protect files, but also how to add them to pages/posts/course content or as lesson resources.
- What are Protected Files?
- Protecting Files in Thrive Apprentice
- Understanding the Protected File Options
- Adding Protected Files to Posts, Pages or Course Content
- Managing Access Restriction Rules for Protected Files
What are Protected Files?
The Protected Files feature in Thrive Apprentice lets you protect the files you upload on your website. This way, any file (PDF, XLS, DOC, etc.) that you include as resources for your courses will be secure and protected from being shared by students or course participants.
A student that has access to your course will easily be able to download the resources associated with that course. However, if they decide to share the downloadable link, this will be protected and will not allow someone who doesn’t have access to that resource to download it.
Protecting Files in Thrive Apprentice
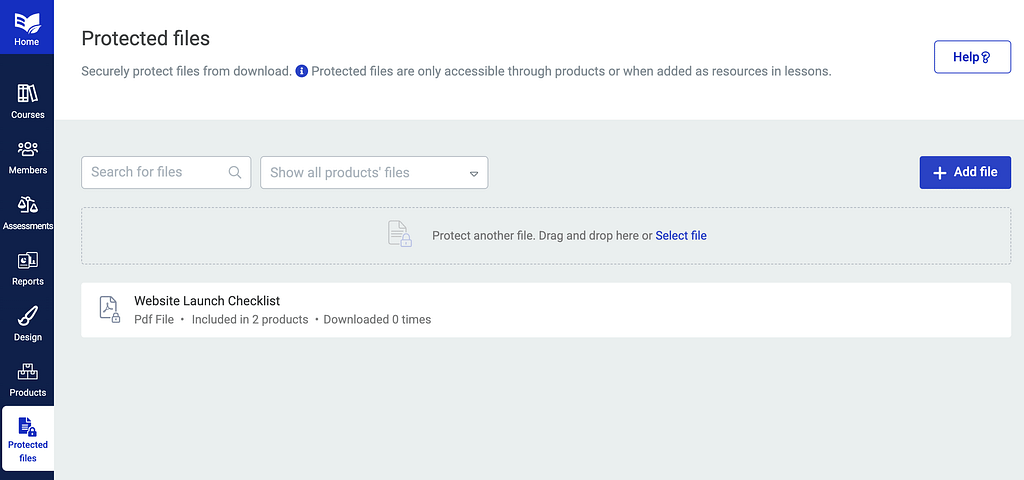
To protect your files in Thrive Apprentice, you begin by opening your WordPress admin area, navigating to Thrive Dashboard >> Thrive Apprentice, and clicking on Protected Files.

You’ll also find the Protected files block on the Thrive Apprentice dashboard.
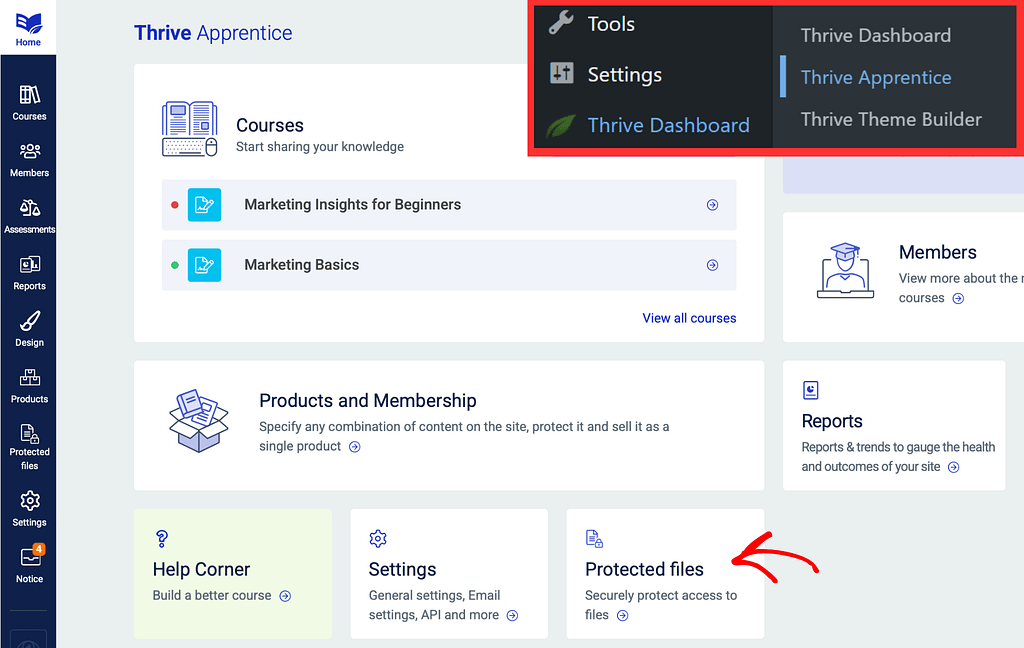
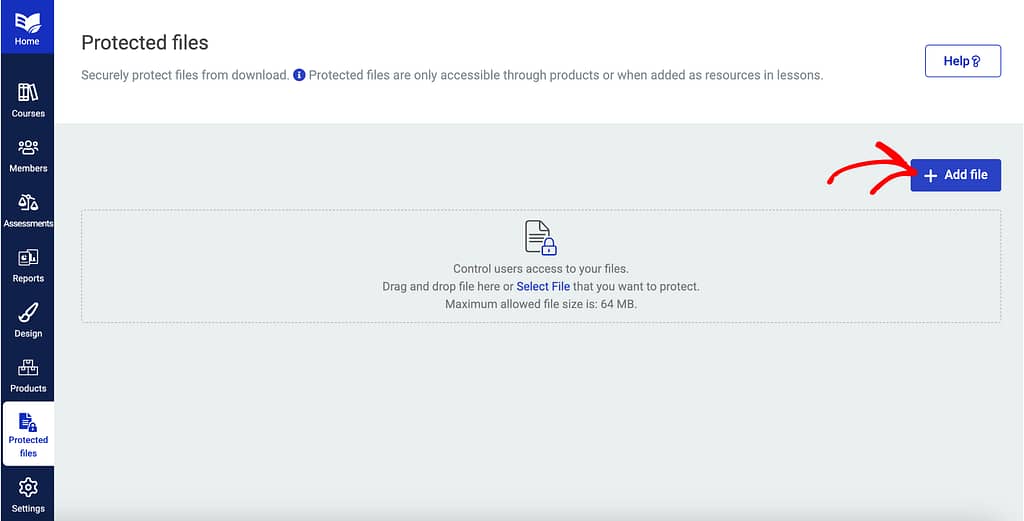
Clicking on Protected files will take you to a page where you can add files to be protected. This page gives you two ways to add a file you want to mark as protected.
To add a file, click the Add new button or drag and drop the file in the center block on the page.
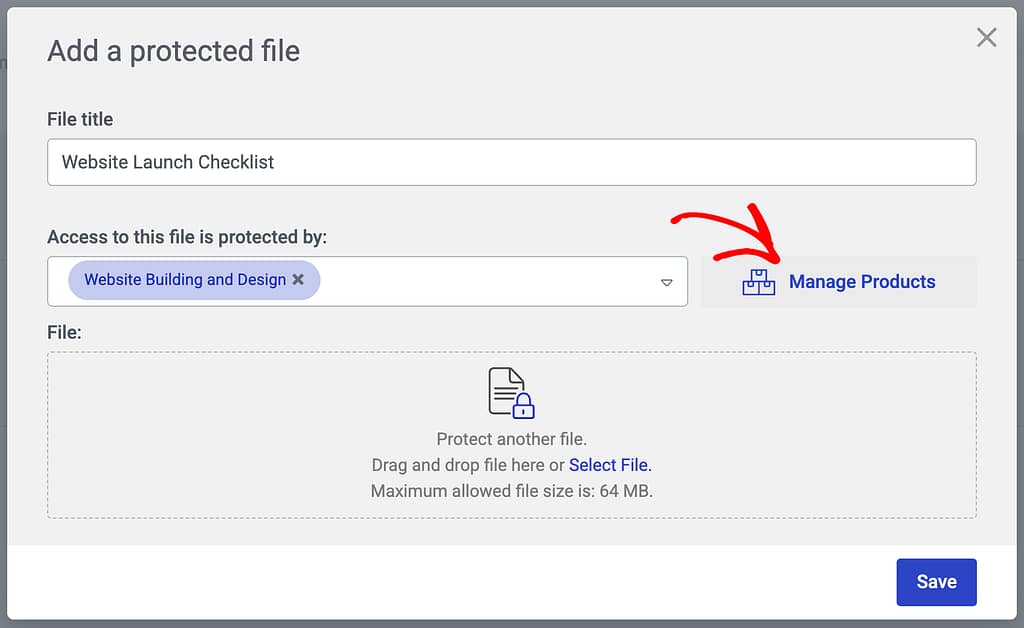
When you click Add New, you’ll see a popup where you start by entering the File title. The File title is the same that will be used as a filename when a user downloads the file.
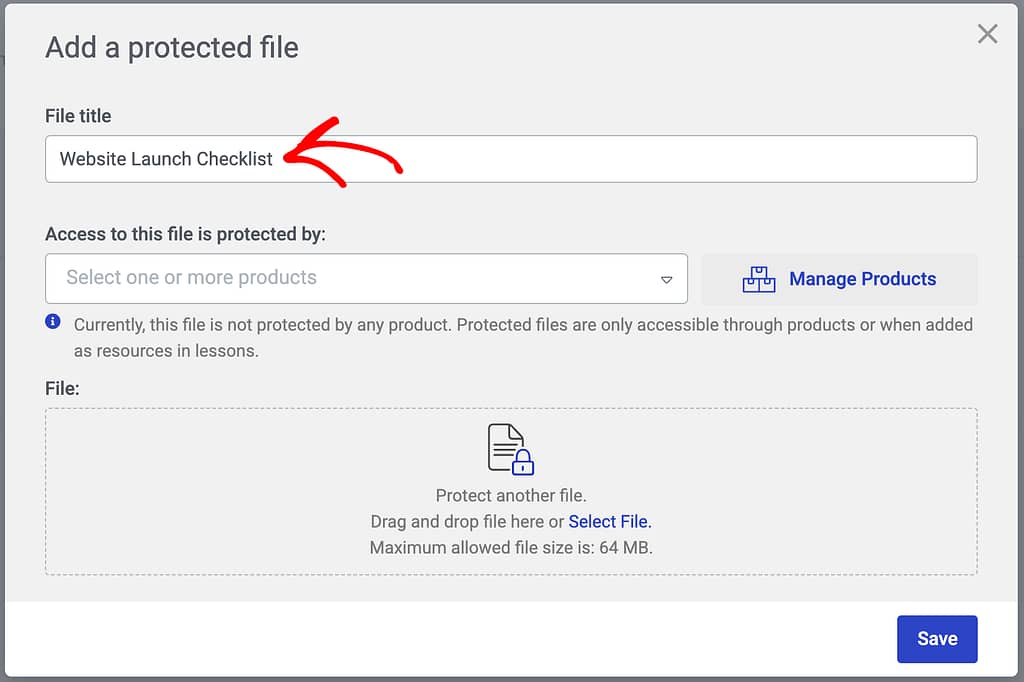
After the file title, in the next field you have to select the product under which you want to protect the file.
The file protection will be based on the access restriction rules applied for the selected product.
For example, if the product is accessible to subscribers on your website, the file under it will be available for download only when the user has logged in and is detected as a subscriber.
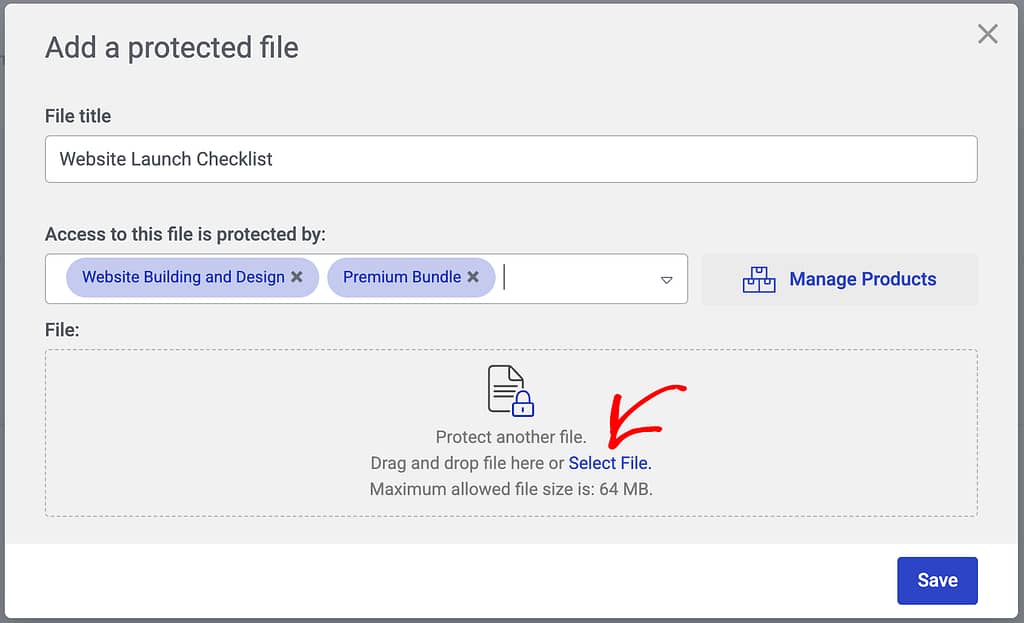
So, to protect the file, click on the dropdown and select the product you want to add the file to.
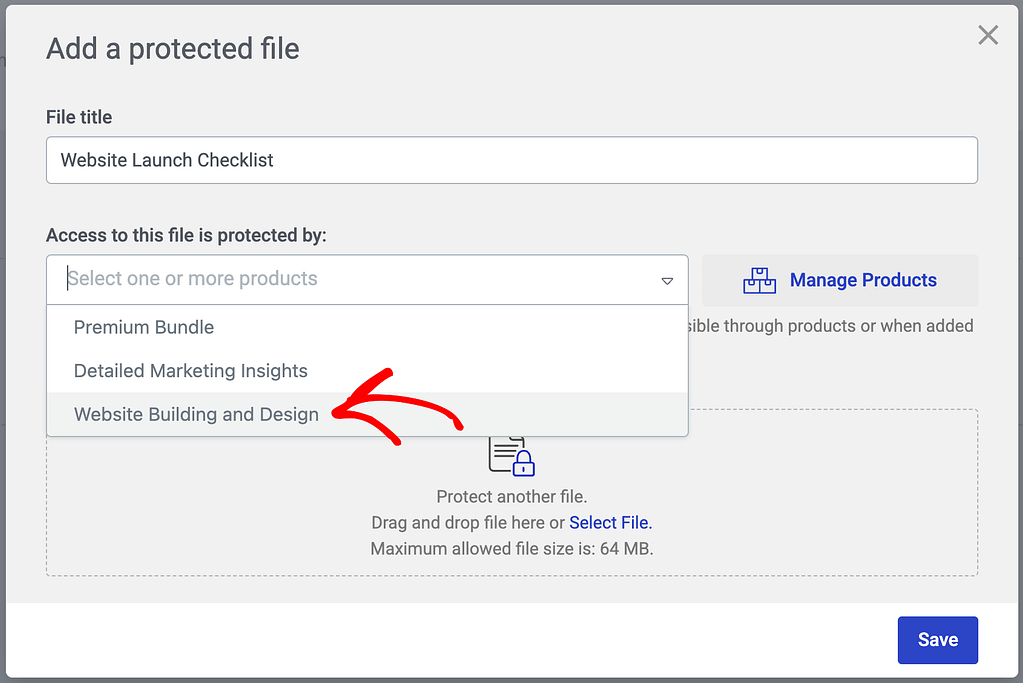
You can select multiple products in the above field.
Also, the popup gives you a Manage Products link, which leads you to the Thrive Apprentice products page to manage the products on your website.
After you’ve managed and selected the products in the popup, drag and drop your file or click Select File to upload the file you want to protect under the selected products.
Once the file is uploaded, click the Save button.
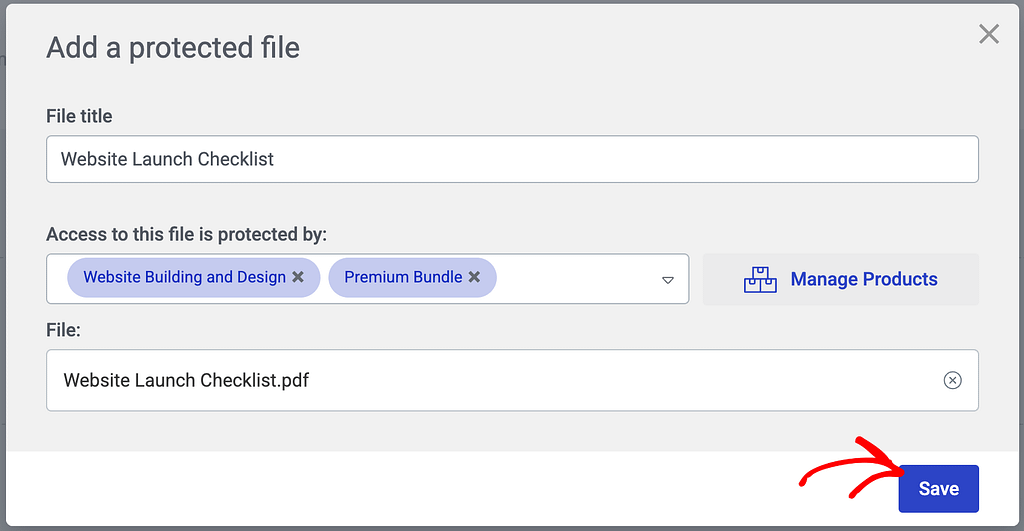
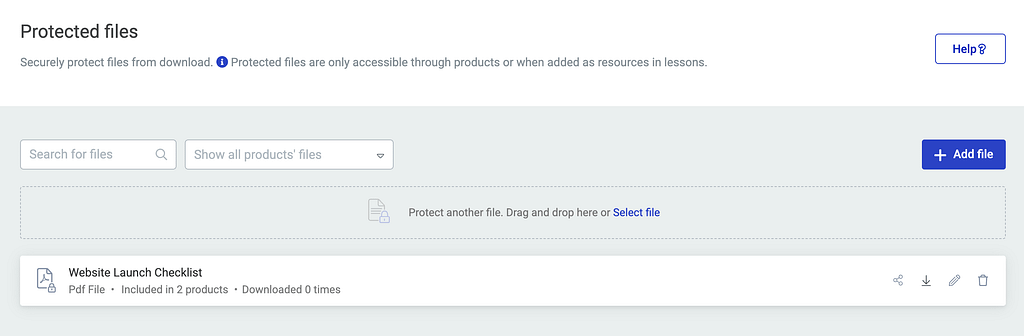
Clicking save will upload the file and list it on the Protected Files page in Thrive Apprentice.
Understanding the Protected File Options
When a file is uploaded to be a protected file, you’ll see it on the Thrive Apprentice Protected Files page.
Hovering in the file name will give you the following options.
- Share the file: Clicking here will show you how to add the file to different pages, posts or lessons on your website.
- Download the file: Clicking this will download the file on your computer.
- Edit the file: Clicking this will open a popup where you can change the file title and the products you want to add it to.
- Delete the file: Clicking this will take you one step closer to deleting the file.
Adding Protected Files to Posts, Pages or Course Content
Protected files can be inserted as links throughout your Thrive Apprentice pages and posts. Moreover, when editing a lesson in the Thrive Apprentice editor, you can also insert links or buttons so that users can directly download a secure and protected file.
Adding a Protected File to a Page or Post
There are two ways you can add protected files to pages and posts.
- Adding Protected File as a Link
- Adding Protected File in a Button
Adding Protected File as a Link
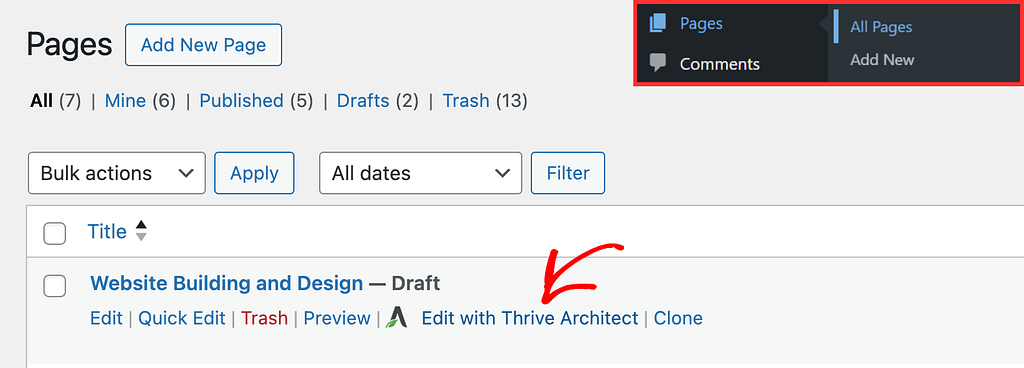
To add a protected file as a link on the page, open the page in the Thrive Architect editor.
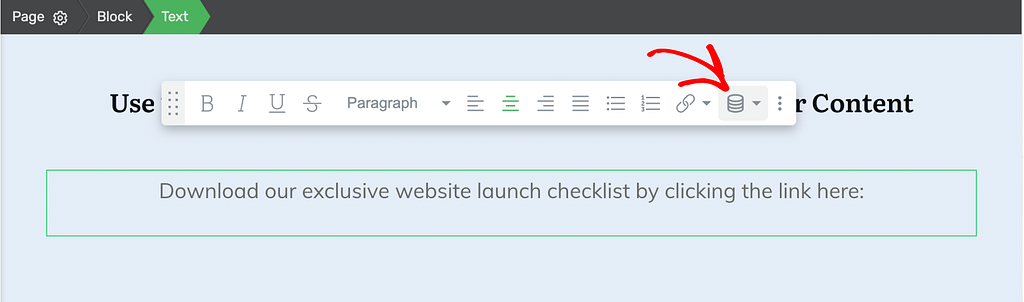
While the page is open in the editor, add a text element to the page and insert a call to action to encourage users to download the file.

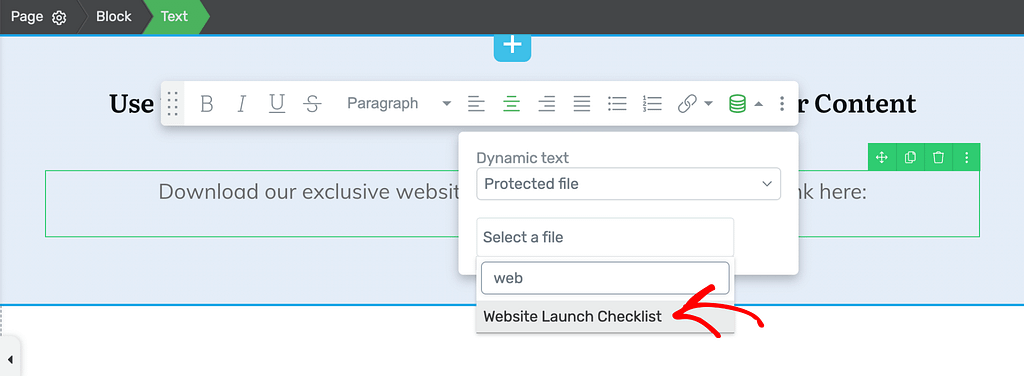
When you add the text, click to add the cursor where you want to insert the download link, and click the drum icon (dynamic link) in the floating panel.
Clicking the icon will open a dropbox. In the dropbox, select the source as Protected File.
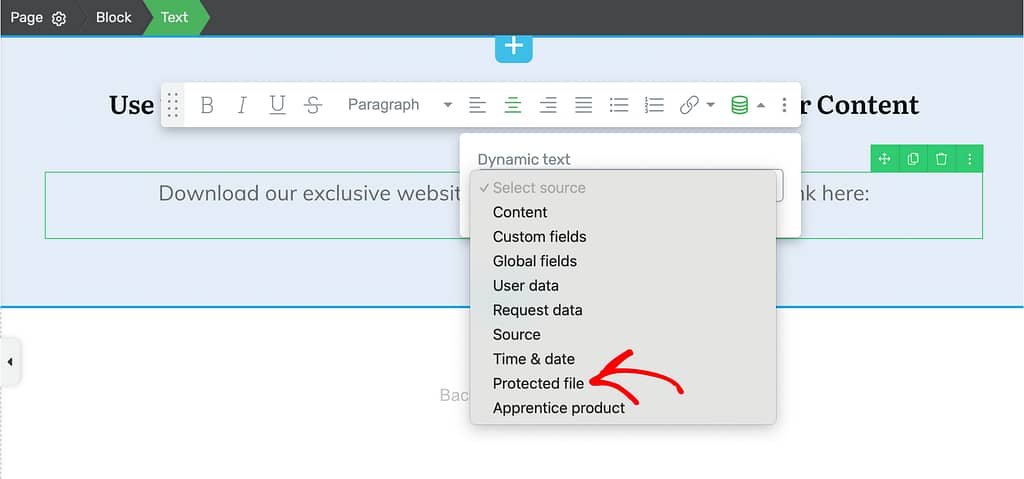
After you select the Protected File as the source, select the file you want to add here.
Once you select the file, click the Insert button to add the protected file as a link on the page.
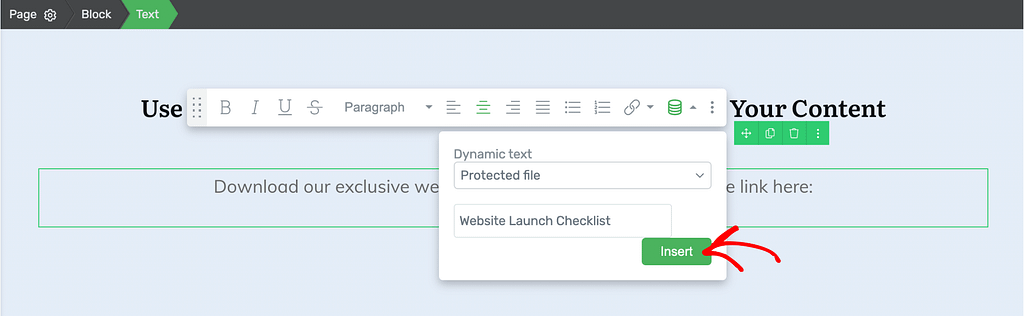
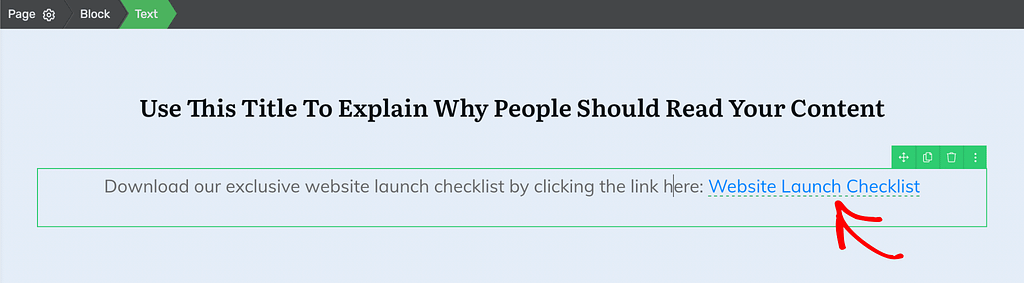
After you click Insert, you’ll see a link to the protected file added to the page.
Adding Protected File in a Button
To add a protected file as a link on the page, open the page in the Thrive Architect editor.
While the page is open in the editor, add a button to the page and click on it to open the button options in the left column.
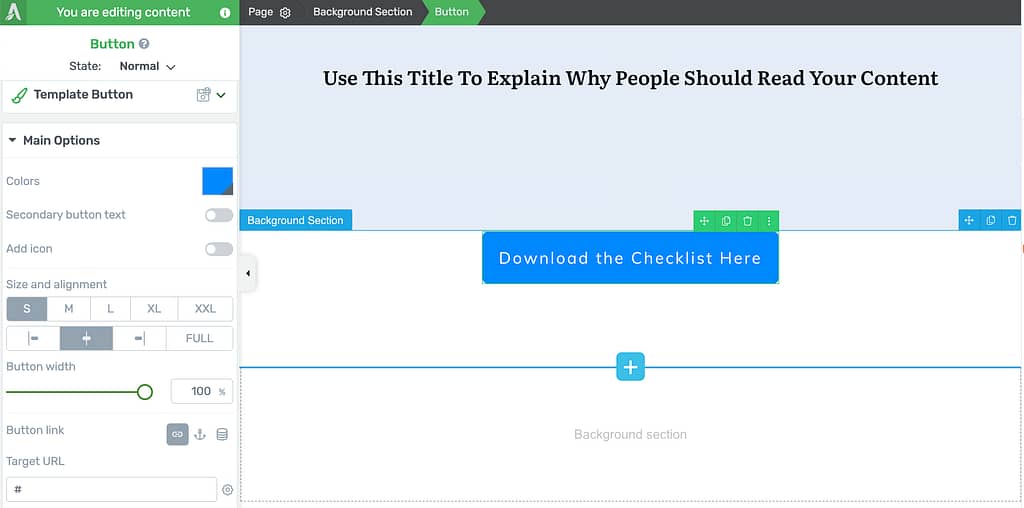
In the left column, open Main options, go to Button link, and click on the drum icon (dynamic link).
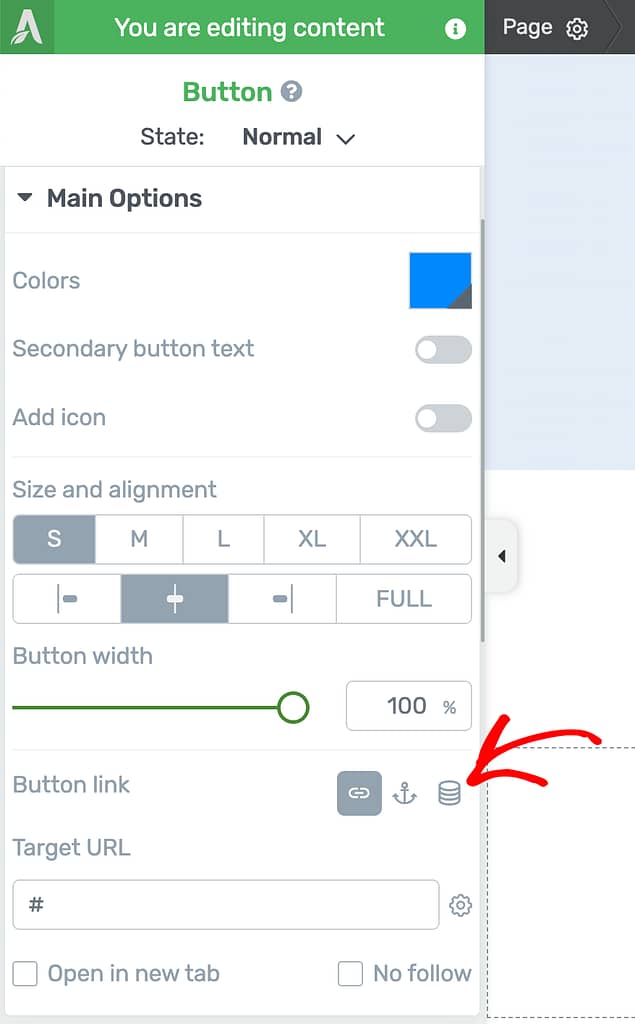
Clicking the icon will open the Button dynamic link options.
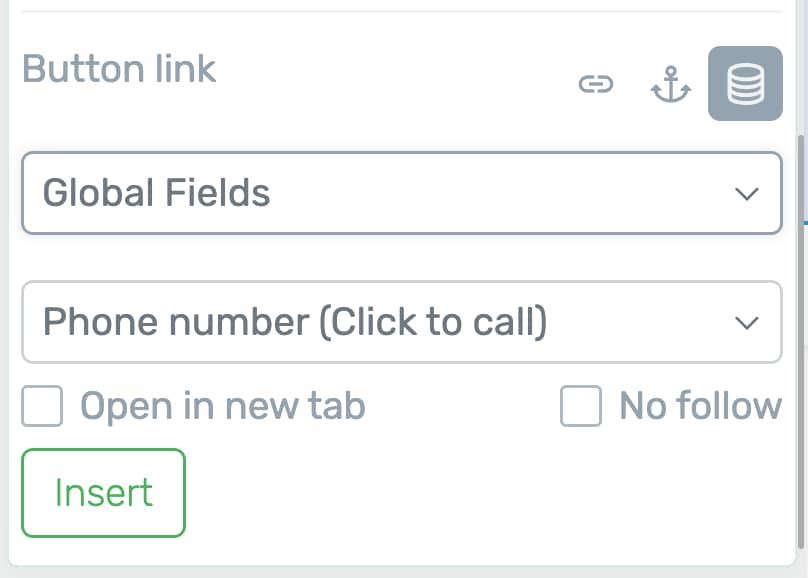
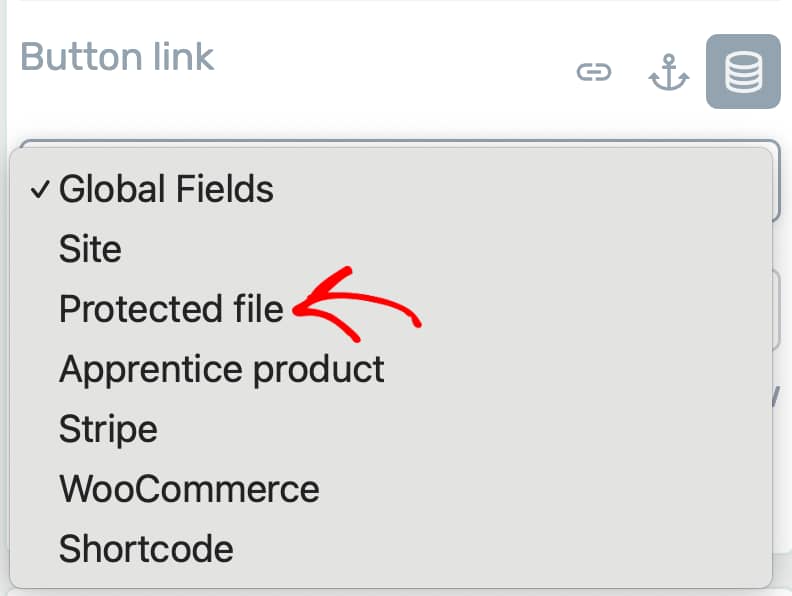
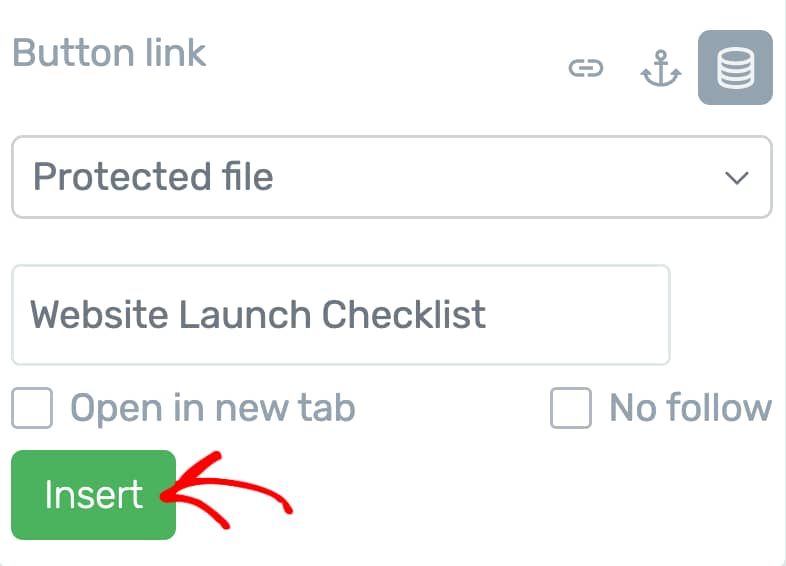
To add a dynamic link to a button, click the first dropdown to select the source as Protected File.
When you select the dynamic link source as Protected file, select the file you want to offer through the button.
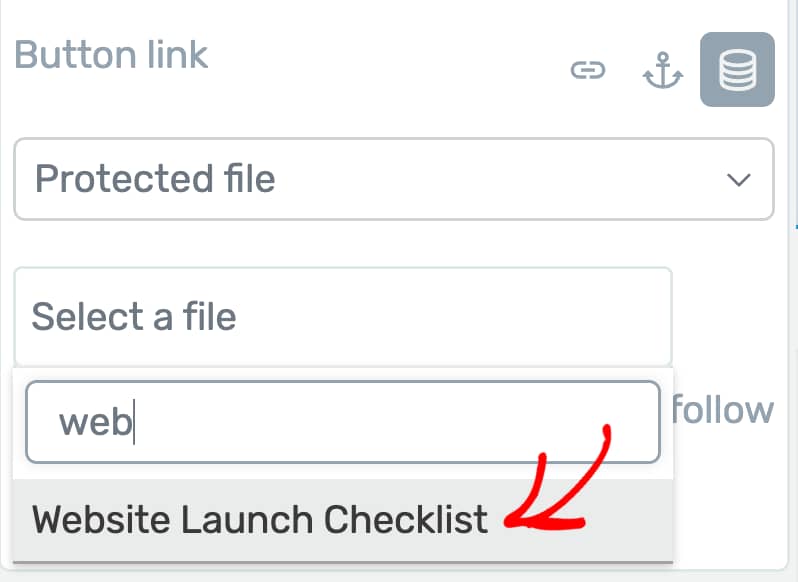
After selecting the protected file, you can choose to open it in a new tab or decide whether you want to make this a No Follow link. Once you finish setting things up here, click Insert.
Adding a Protected File to a Course Content
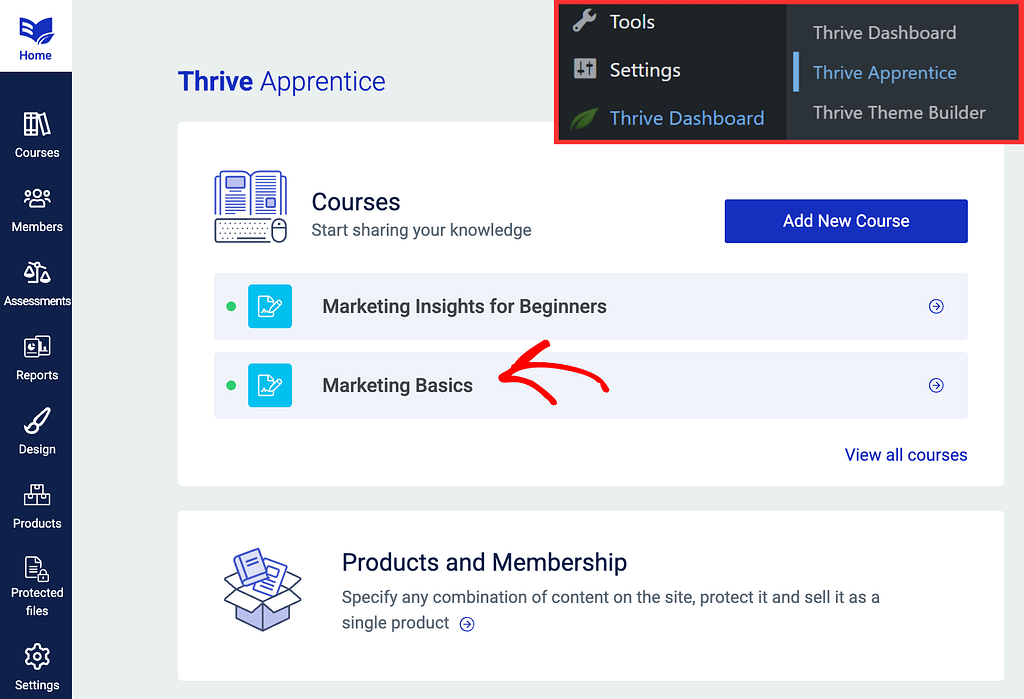
To add a protected file in a Thrive Apprentice course content, open your WordPress admin area, navigate to Thrive Dashboard >> Thrive Apprentice, and click on the course you want to enter.
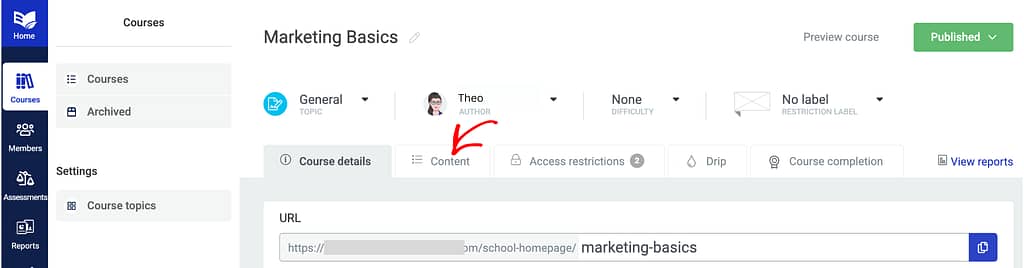
On the course page, click on the Content tab to open it.
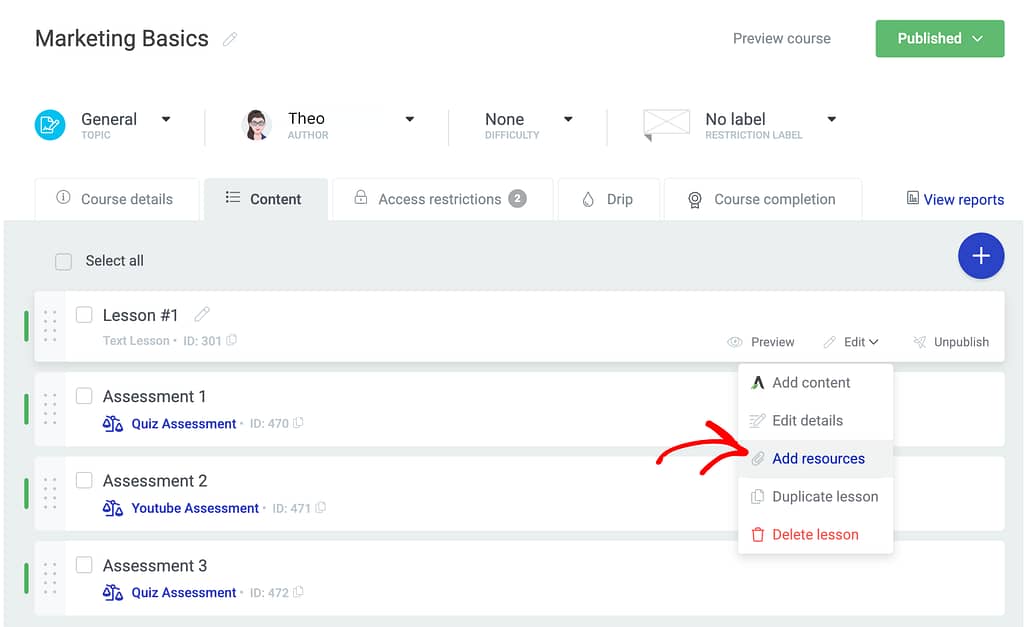
Under the Content tab, hover on the content you want to add the file to, hover on Edit, and click on Add resource.
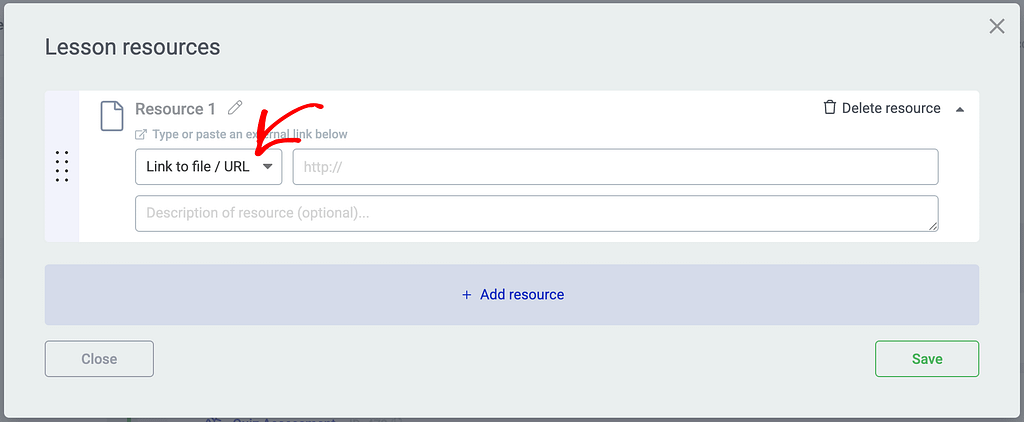
When you click to add resources, you’ll see a popup on which you click the Add resource button.

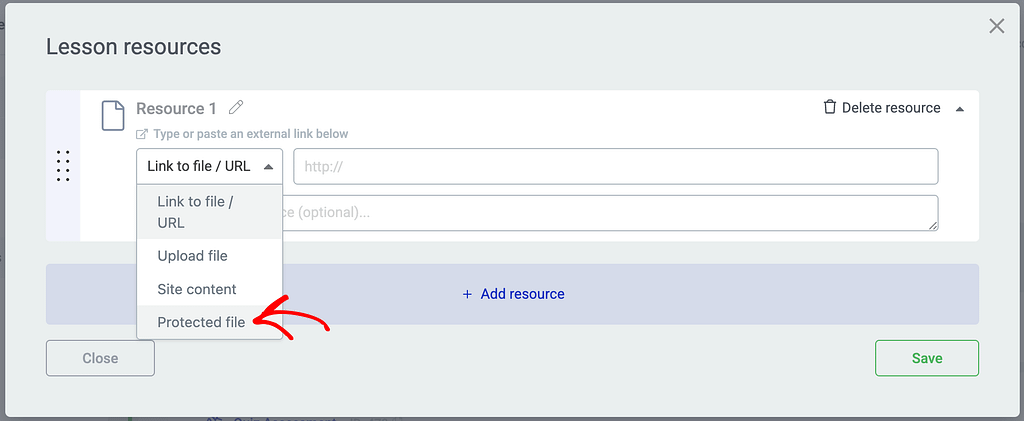
After clicking the button, you’ll be asked to select the type of resource and enter the URL. Here, click the dropdown to select the type of resource.
In the dropdown, select Protected file.
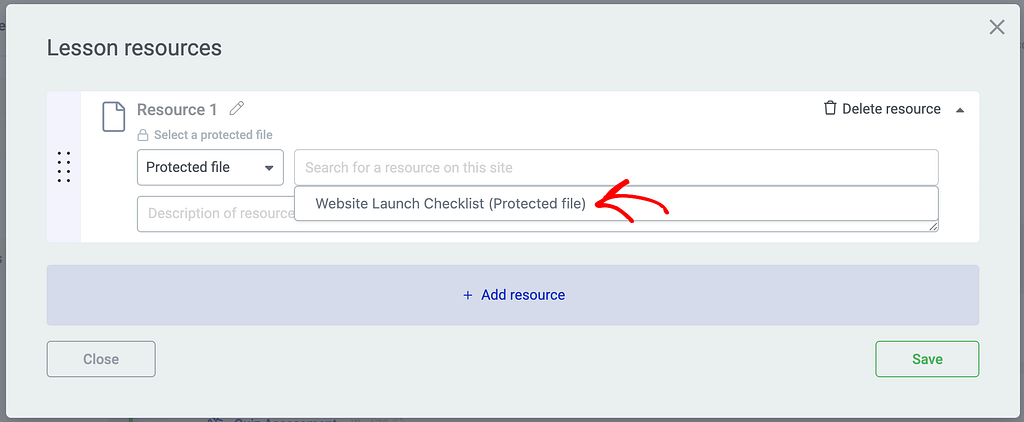
After selecting the resource type as protected file, search and select the protected file you want to add to the lesson.
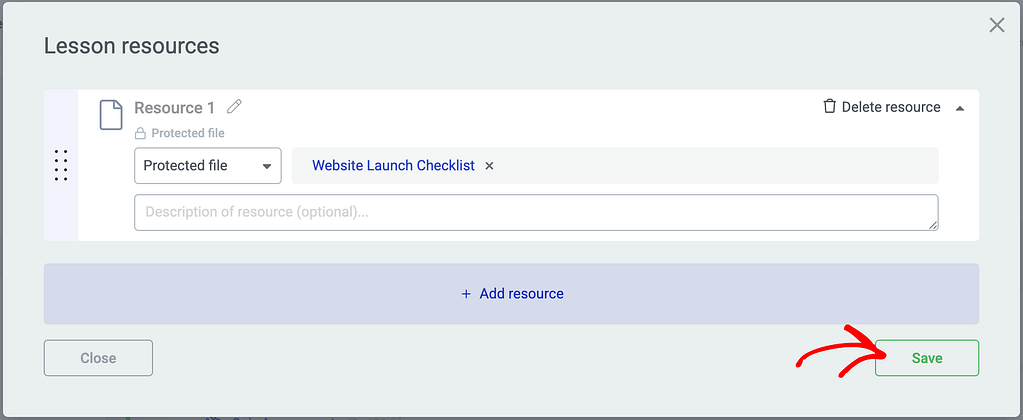
After selecting the file, you can add a description if you want. Once done, click Save.
Managing Access Restriction Rules for Protected Files
If the file has been protected by a product and a user that does not have access to the product is trying to download the file, the behavior will be inherited from the “Login & access restriction” section of the Thrive Apprentice general settings.
If you want the behavior to be different for each protected file, you can make the modifications in the “Access Restriction Rules” section of the product that protects that file.
We’ve just seen what are protected files, how you can add protected files and use them in pages, posts or course content.
Next, if you want to understand the priority of access rules when multiple rules are used together, here is a document that will help.