Sometimes, when you are updating your Thrive plugins, you might find yourself in a situation in which you cannot access your dashboard anymore.
This means that, while performing the update, something caused it to be incomplete and hence, your website might be unresponsive.
You can solve this is in numerous ways, but in this article we will show you how to do so using by renaming the plugin folder, using cPanel, WPX Hosting, or through FTP.
What we suggest you do is:
-
rename the plugin for which the update has failed (using services such as cPanel / WPX Hosting or via FTP);
-
delete the remains of the plugin;
-
re-install it using Thrive Product Manager.
Here is how to rename the plugin using cPanel, WPX Hosting, or the FTP details of your site:
→ Renaming the plugin using cPanel
Here is how to rename the malfunctioning plugin if you’re using cPanel:
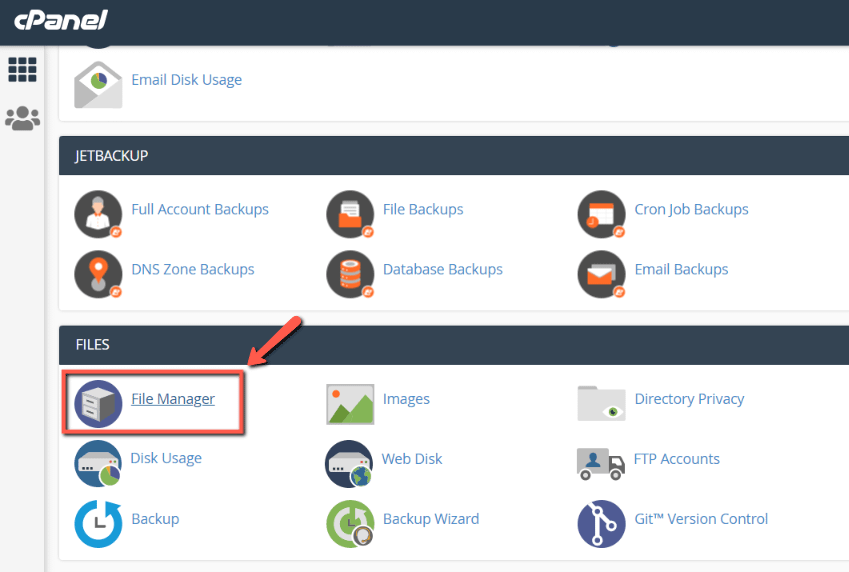
First, you have to log into your cPanel and access your “File Manager”:
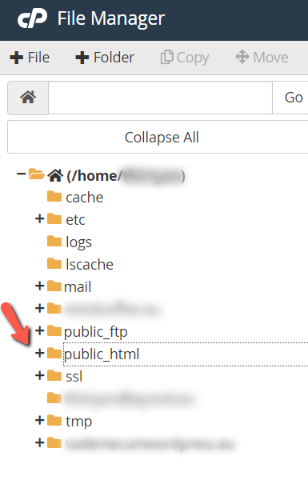
Now you’ll have to access your “public_html” folder and expand it:
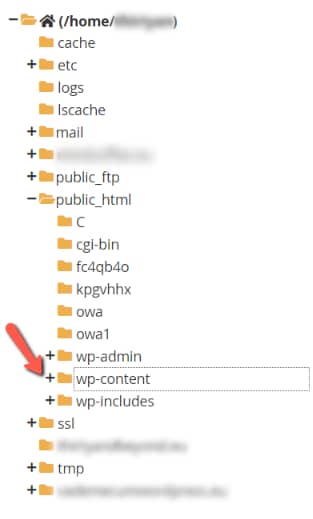
And next, expand the contents of the “wp-content” folder:
After you do that, go to the “plugins” folder and click on it:

This will open the full list of plugins installed on your website:
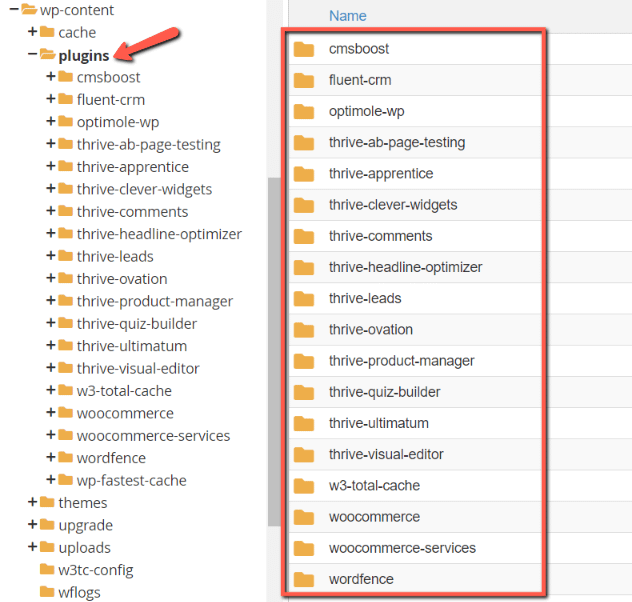
Right-click on the one for which the update was incomplete, and rename it.
In this example, we will be renaming the Thrive Architect plugin, which appears in the dashboard as “thrive-visual-editor”:

From here on, you can move on to the next step, which is to delete the plugin and re-install it, explained a bit later in this article.
→ Renaming the plugin using WPX Hosting
Things work pretty similar if you’re using WPX Hosting, as well. You are also able to rename the plugin from their backend.
For that, access your account and, from the top menu, go to “WordPress Hosting”:
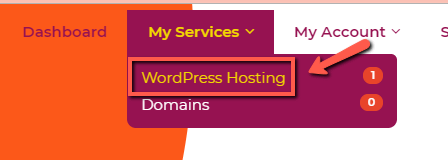
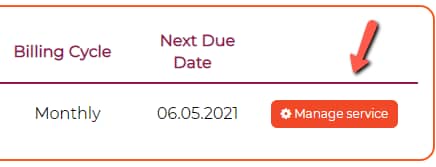
You will see a list of your products. Click on “Manage Service”:
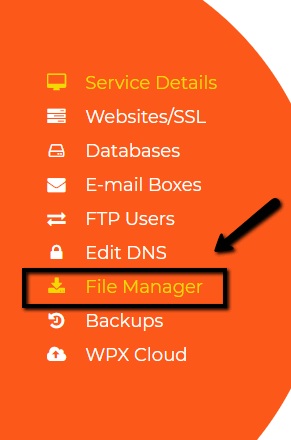
In the left sidebar with options, go to “File Manager”:
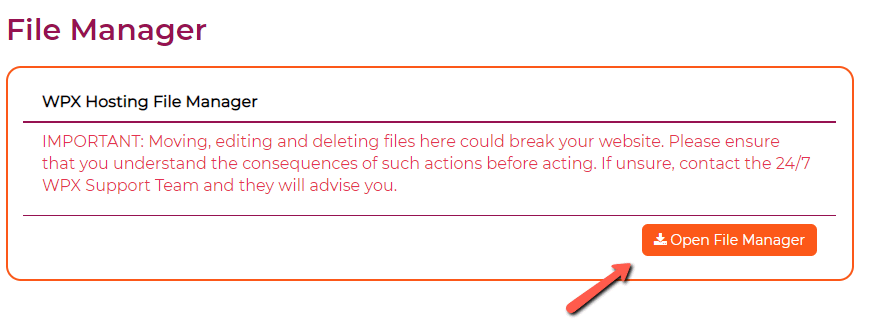
Then, click on “Open File Manager”:
And when you do that, you can access the “public_html” directory → “wp-content” → “plugins”:
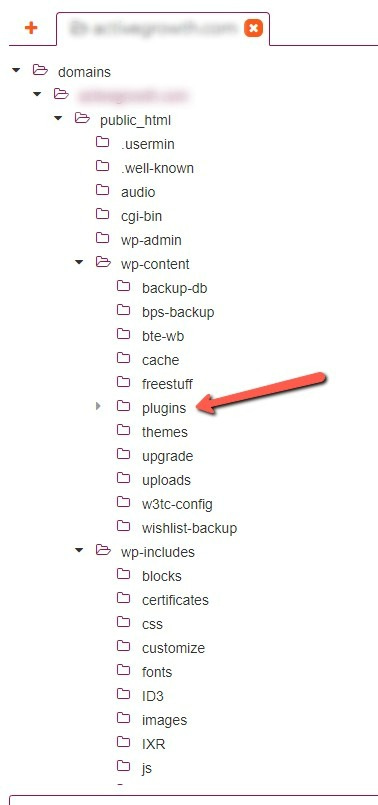
Find the malfunctioning plugin in the list, right-click on it and rename it, just as explained in the case of using cPanel:
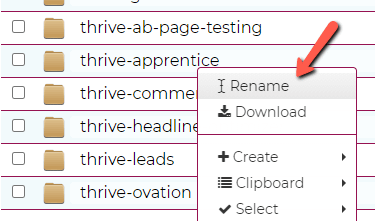
You can then move on to the next step, and that is to delete the plugin and re-install it, explained a bit later in this article.
→ Renaming the plugin using FTP details
If you have FTP details for your website, you can also rename the plugin folder using them. I will be using FileZilla as an example, but any FTP client software will work as well.
In Filezilla, enter your website FTP details in the top section:

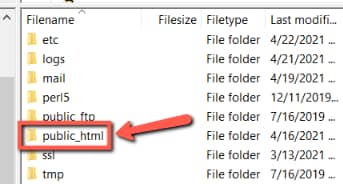
Then, open the “public_html” directory:
Go to “wp-content”:
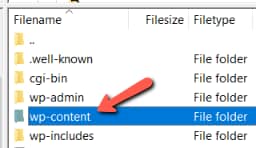
Access the “plugins” folder:
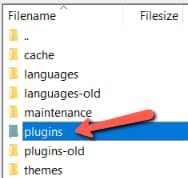
And here is where you will find all of the Thrive Themes plugins. Right-click on the one for which the update has failed, and rename it:
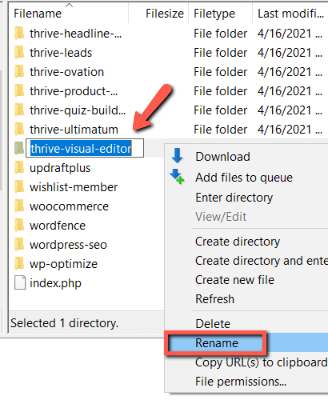
Once renamed, you can move on to the next step:
→ Delete and reinstall your plugin
After you’ve renamed the plugin folder using the method of your choice, you can head over to your WordPress admin dashboard and access the “Plugins” section of your left sidebar:
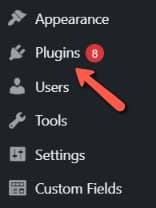
You should see this notification, letting you know that the plugin has been deactivated and the file does not exist anymore:

The plugin should be deactivated by default, as a result of the renaming action performed in your cPanel. Thus, you can go ahead and “Delete” it:
Next, access the “Product Manager” of your left sidebar:
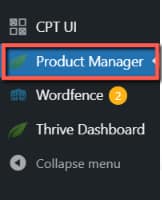
Find the plugin that you’ve just deleted:

With your “Install Product” checkbox selected, go ahead and click on the “Install selected products”:

Once the installation is complete, you should receive a success notification. Simply click on the “Go to the Thrive Themes Dashboard” from the bottom side of the page to return to your dashboard:

Now your website should be working properly and you should be able to access your dashboard without any problems.
Hopefully, the troubleshooting solution described in this article will be useful to you. If so, don’t hesitate to rate it with a smile below 🙂