The “Block” element might come in handy when you are building your pages or posts with Thrive Architect. The element is designed in such a way that it allows you to easily add content to your blog posts or pages, as it comes with a set of pre-defined templates you can choose from.
The templates have images added to them, which you can either keep (if they go with your website’s design), or you can replace them with your own images.
You might have stumbled upon blocks in which you cannot actually select the image itself. That is because the image is set as a “Background Style” layer of another element that is part of that block template.
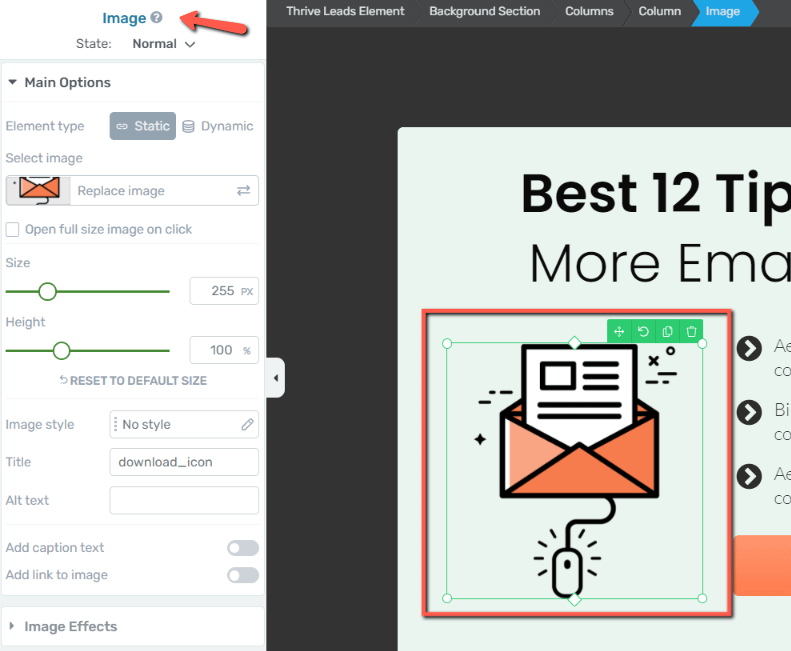
You will notice that the images either come as individual “Image” elements, which you can select and edit:
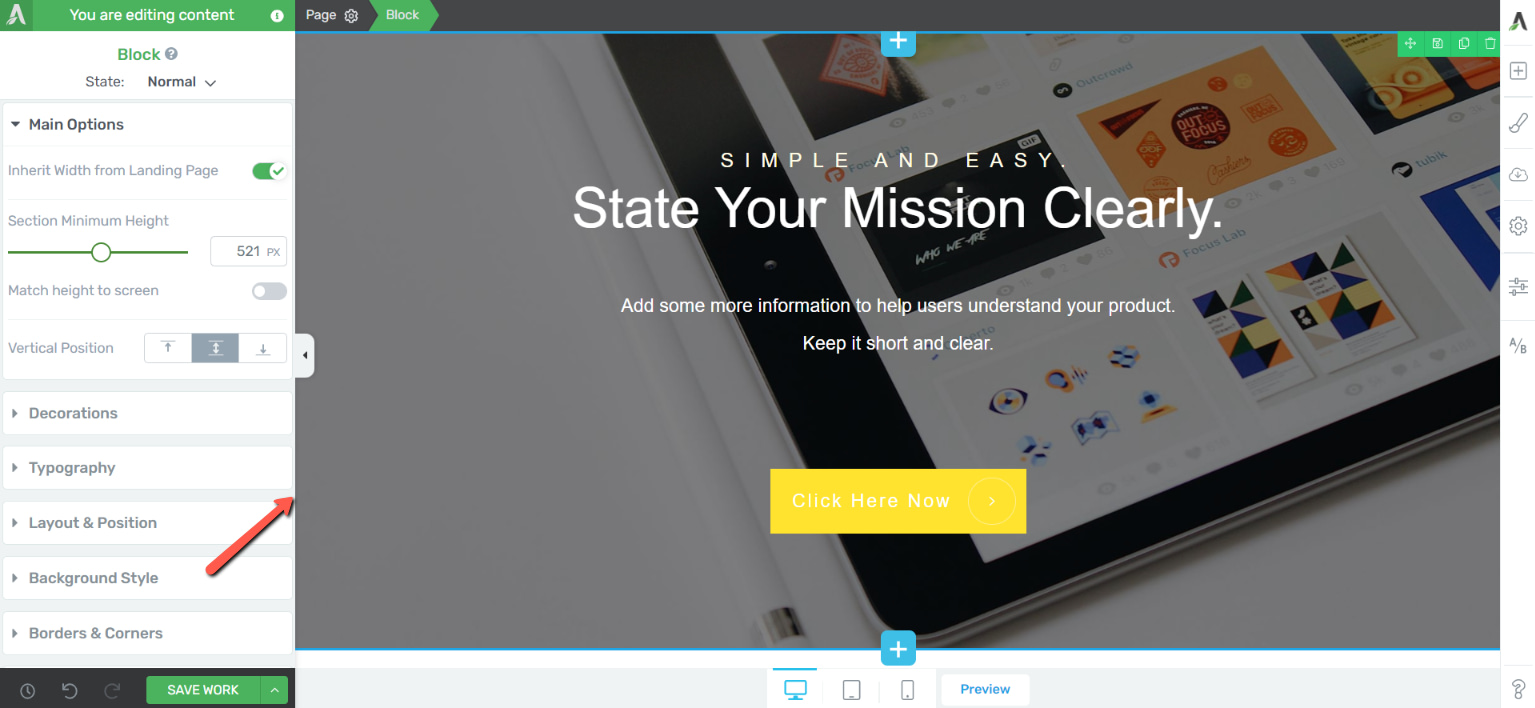
or as background images set for the entire “Block” element, like in the below example:
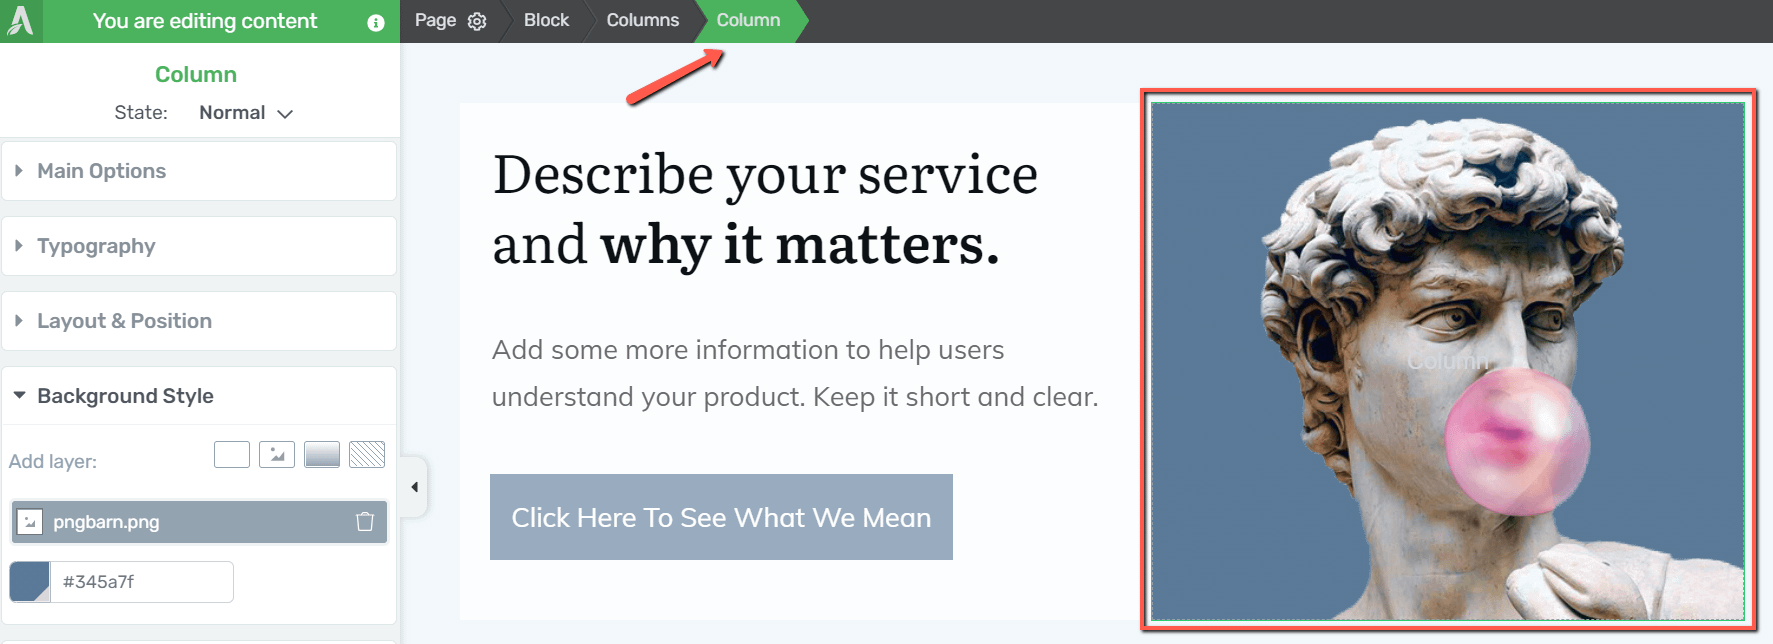
or as background images of another element that is a part of the block, such as content boxes, or columns:

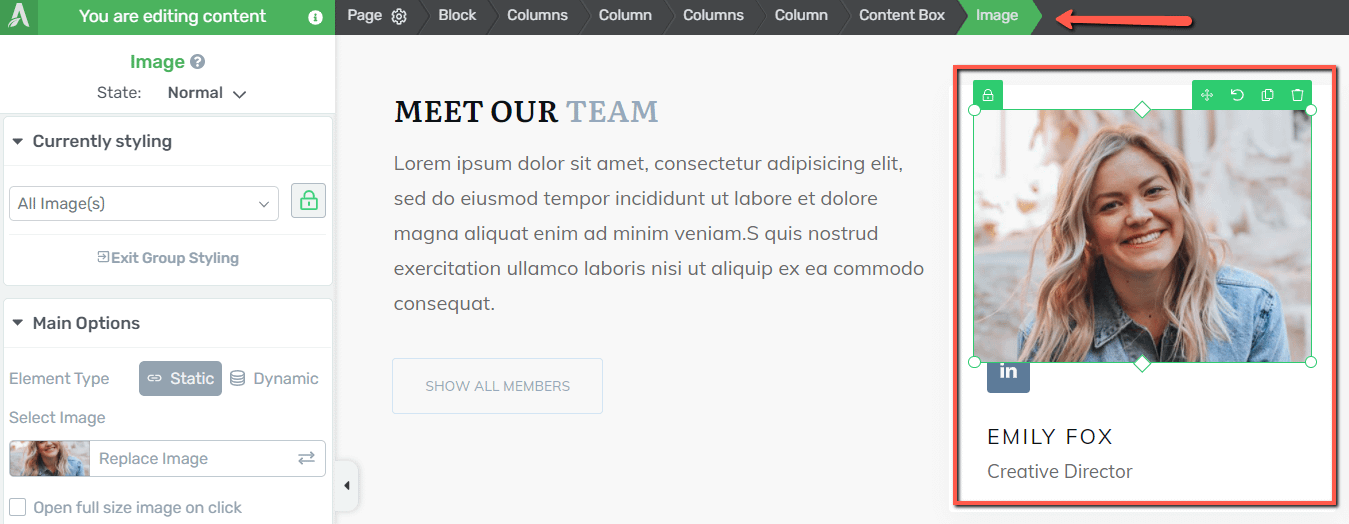
The easiest way to figure out whether the image is added to the block as an individual element or as a background style layer is to select it and then check the breadcrumbs. The purpose of the breadcrumbs is to let you easily see which element from the canvas is selected, and also navigate more easily through the content.
If the “image” appears in the breadcrumbs, then you can edit/remove/customize it as you would normally do with any “Image” element:
If, on the other hand, you have clicked on the image but the breadcrumbs show a different element as the selected one, this means that your image is set as a background layer of that element:
If you are trying to remove the image, and that image is set as the entire background of the block, then your block will be removed from the page as well:
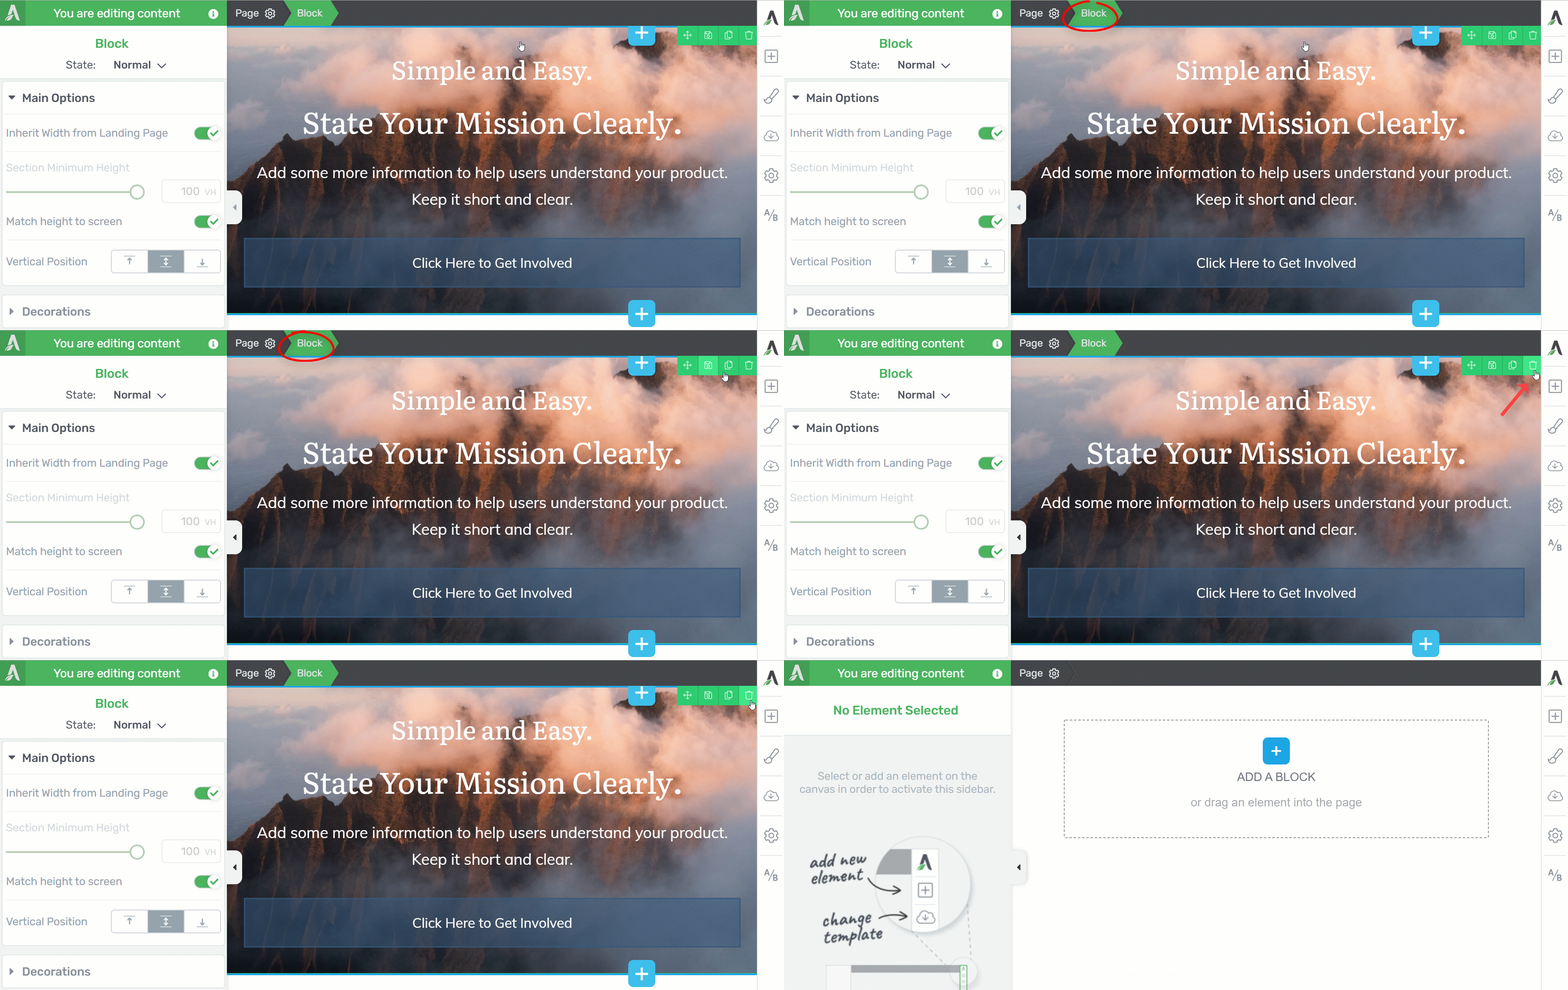
Here’s how you can remove or replace it without affecting the element itself:
After you select the image, head over to the left sidebar options, and click on “Background Style”:
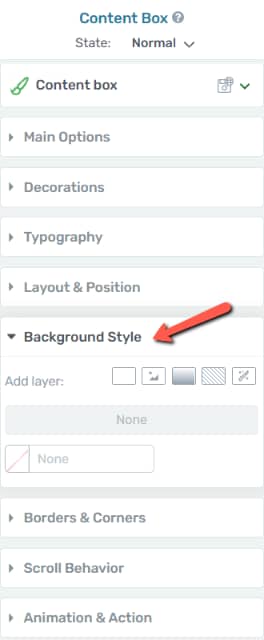
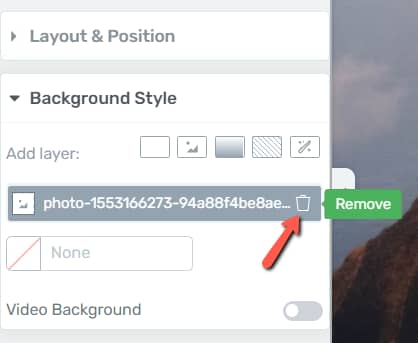
As soon as you do that, the options will appear in the sidebar. You can notice that the image is added as a “layer”, and you can easily remove it from the trash icon:
The image has been removed, but your block is still on your page or post, along with the other elements composing it:
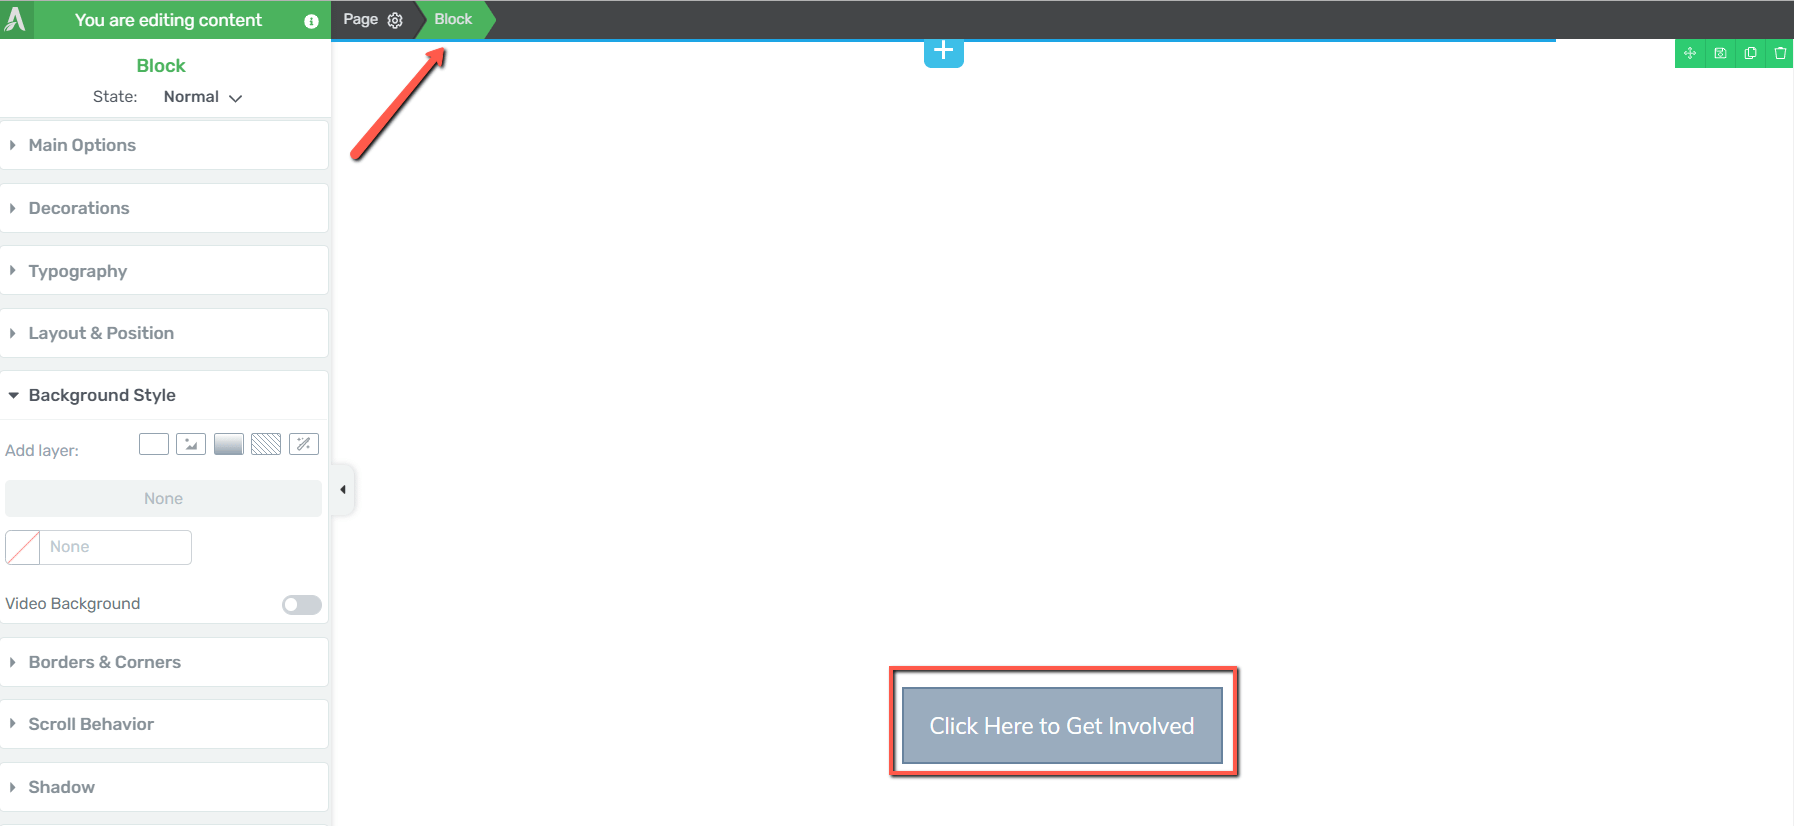
Now you can easily add a new background image if you want, by clicking on the “Image” button of the same left sidebar options:
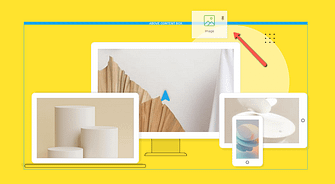
Click on the “Choose Image” field to open the media library and select the new image:
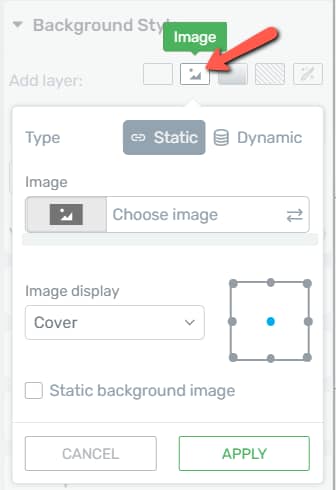
Note: As shown above, you can choose between displaying a “Static” or a “Dynamic” image here. This article explains in-depth what each of these types does, and how you can use its corresponding options.
And that’s it – your background image has been replaced without affecting the overall design of the block:
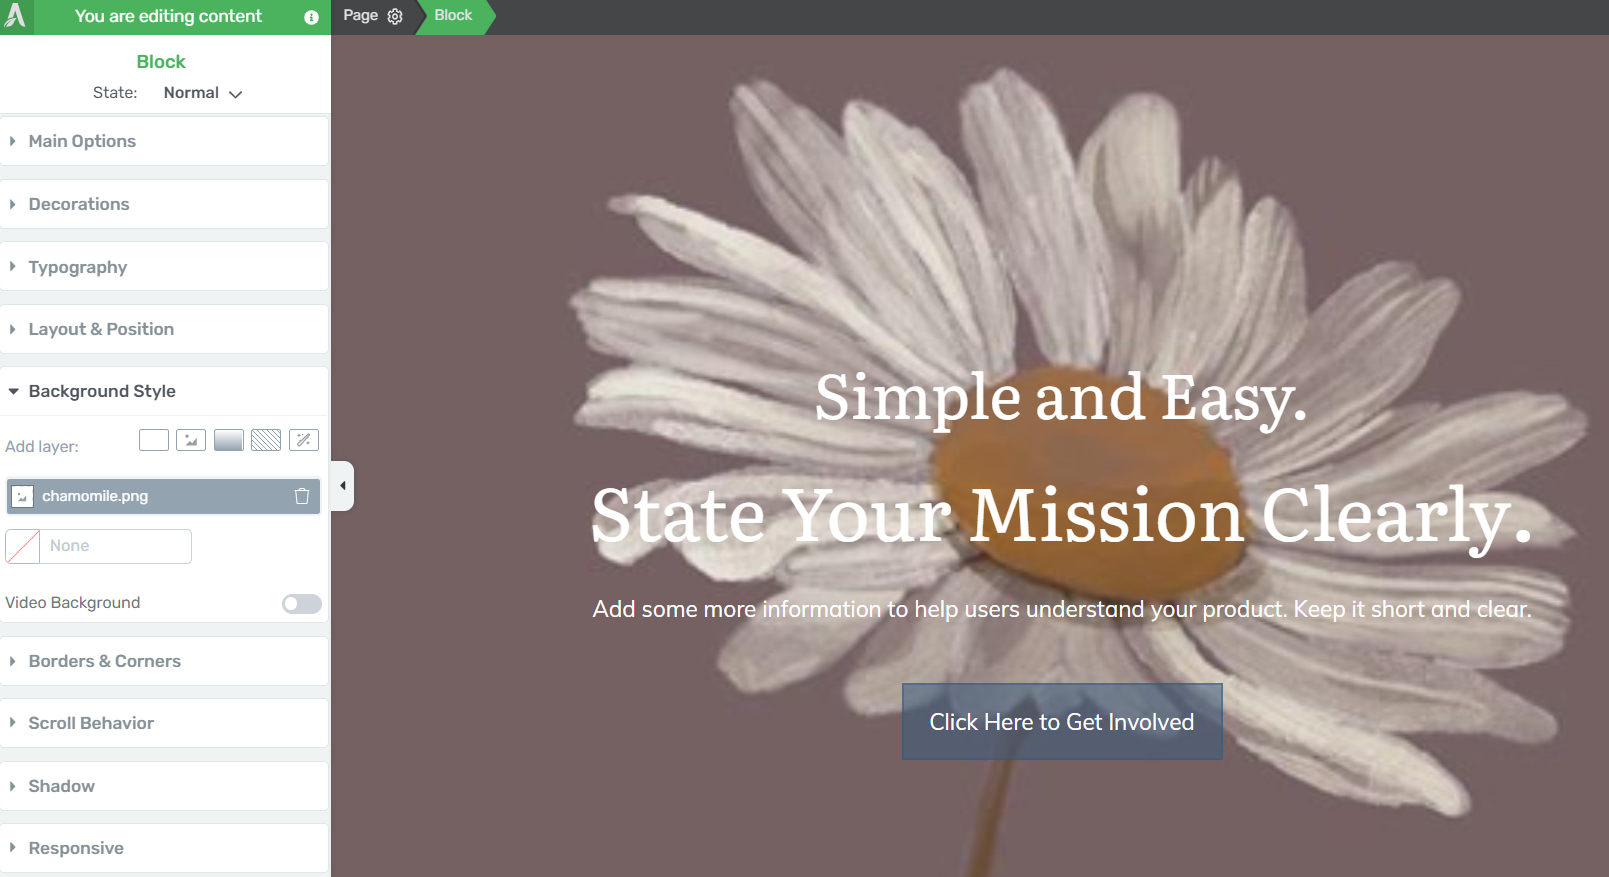
You can use the “Background Style” options to customize your image even further, and if you want to learn more about how to do that, you can check out this dedicated article from our knowledge base:
If you want, you can also add multiple images to your block, from the right sidebar. Just drag and drop it wherever you best see fit within your block template and then use the corresponding “Image” options to further customize it.
Hopefully, you found useful this article about how you remove or replace an image from a “Block” element when that image is set as a “Background Style” layer.